

Time-saving cleaning hacks are like little bursts of magic in our busy lives, aren’t they? I know I’m always on the lookout for ways to reclaim my weekends from endless scrubbing and tidying. Let’s face it, nobody wants to spend their precious free time battling dust bunnies and stubborn stains!
Cleaning, as a chore, has been around for as long as humans have had homes. From ancient civilizations using natural remedies like vinegar and ash to clean their dwellings, to the modern era with its plethora of cleaning products, the quest for a spotless space has always been a constant. But somewhere along the way, cleaning became synonymous with time-consuming drudgery.
That’s where these time-saving cleaning hacks come in! Imagine having more time to pursue your hobbies, spend quality time with loved ones, or simply relax and unwind. This DIY guide is packed with clever tips and tricks that will revolutionize your cleaning routine, making it faster, easier, and even (dare I say it?) a little bit enjoyable. We’ll explore simple solutions using everyday items you probably already have in your home, so you can ditch the harsh chemicals and embrace a more efficient and eco-friendly approach to keeping your space sparkling. Get ready to say goodbye to endless hours of scrubbing and hello to a cleaner, happier you!
Time-Saving Cleaning Hacks: Reclaim Your Weekend!
Okay, let’s be honest, cleaning isn’t exactly anyone’s favorite pastime. But a clean home is a happy home, right? So, I’ve compiled some of my absolute favorite time-saving cleaning hacks that will help you get the job done faster and more efficiently, leaving you with more time to binge-watch your favorite shows or, you know, actually enjoy life!
Hack 1: The Microwave Cleaning Steam Bomb
Microwaves are notorious for splatters and stuck-on food. Instead of scrubbing for ages, try this steam cleaning trick. It’s seriously a game-changer!
What you’ll need:
* 1 cup of water
* 1/4 cup of white vinegar
* A microwave-safe bowl
* A clean sponge or cloth
Step-by-step instructions:
1. Mix it up: In your microwave-safe bowl, combine the water and white vinegar. The vinegar helps to loosen the grime and deodorize the microwave.
2. Microwave magic: Place the bowl in the microwave and heat it on high for 5-7 minutes. You want the mixture to boil and create steam inside the microwave. Don’t open the door immediately! Let the steam work its magic for another 2-3 minutes.
3. Wipe it down: Carefully remove the bowl (it will be hot!). Use a clean sponge or cloth to wipe down the inside of the microwave. The steam should have loosened all the stuck-on food, making it super easy to clean. For stubborn spots, you might need a little extra elbow grease, but it will be significantly easier than scrubbing without the steam.
4. Clean the turntable: Don’t forget to remove and wash the microwave turntable! You can usually just wash it with soap and water in the sink.
Hack 2: Sparkling Shower Head with a Bag of Vinegar
Hard water deposits can clog your shower head, reducing water pressure and making your shower less enjoyable. This simple hack will dissolve those deposits and restore your shower head to its former glory.
What you’ll need:
* White vinegar
* A plastic bag (a sandwich bag or grocery bag works)
* A rubber band or twist tie
Step-by-step instructions:
1. Vinegar bath: Fill the plastic bag with enough white vinegar to completely submerge the shower head.
2. Secure the bag: Carefully attach the bag to the shower head, using a rubber band or twist tie to secure it in place. Make sure the shower head is fully immersed in the vinegar.
3. Soak overnight: Let the shower head soak in the vinegar overnight (or for at least a few hours). This allows the vinegar to dissolve the mineral deposits.
4. Remove and rinse: Remove the bag and discard the vinegar. Run the shower for a few minutes to flush out any remaining vinegar and loosened deposits.
5. Wipe clean: Use a clean cloth to wipe down the shower head. You should notice a significant improvement in water pressure and a sparkling clean shower head!
Hack 3: Blindingly Bright Blinds with a Sock
Cleaning blinds can be a tedious task, but this hack makes it much faster and easier.
What you’ll need:
* An old sock (clean, of course!)
* White vinegar and water solution (equal parts)
* A spray bottle (optional)
Step-by-step instructions:
1. Prepare the sock: Dampen the sock with the vinegar and water solution. You can either dip the sock directly into the solution or spray it with a spray bottle. Make sure the sock is damp, not soaking wet.
2. Slip it on: Slide the sock onto your hand, like a glove.
3. Blind cleaning time: Use your sock-covered hand to wipe down each slat of the blinds. The sock will pick up dust and grime, leaving the blinds clean.
4. Rinse and repeat: If the sock gets too dirty, rinse it with clean water and re-dampen it with the vinegar and water solution. Repeat the process until all the blinds are clean.
5. Dry: Allow the blinds to air dry completely.
Hack 4: Garbage Disposal Refresh with Citrus Power
Garbage disposals can get pretty stinky. This hack uses citrus fruits to freshen them up and break down food particles.
What you’ll need:
* Citrus peels (lemon, lime, orange, grapefruit – any combination works!)
* Ice cubes
* Salt
* Water
Step-by-step instructions:
1. Prepare the citrus: Cut the citrus peels into small pieces that will easily fit down the garbage disposal.
2. Ice and salt: Toss a handful of ice cubes and a tablespoon of salt into the garbage disposal. The ice helps to scrub the disposal blades, while the salt acts as an abrasive cleaner.
3. Citrus boost: Add the citrus peels to the garbage disposal.
4. Grind it up: Turn on the cold water and run the garbage disposal for about 30 seconds. The citrus peels will help to freshen the disposal and break down any lingering food particles.
5. Rinse thoroughly: Turn off the garbage disposal and continue running the cold water for another minute to rinse everything through.
Hack 5: Streak-Free Mirrors and Windows with Coffee Filters
Forget paper towels! Coffee filters are lint-free and perfect for achieving streak-free mirrors and windows.
What you’ll need:
* Coffee filters
* Glass cleaner (or a mixture of white vinegar and water)
Step-by-step instructions:
1. Spray the surface: Spray the mirror or window with glass cleaner or your vinegar and water solution.
2. Wipe with coffee filter: Use a coffee filter to wipe the surface clean. The coffee filter will absorb the cleaner and leave a streak-free shine.
3. Repeat if necessary: If the surface is particularly dirty, you may need to use a fresh coffee filter and repeat the process.
Hack 6: Deep Clean Your Cutting Boards with Lemon and Salt
Cutting boards, especially wooden ones, can harbor bacteria and odors. This simple hack uses the natural cleaning power of lemon and salt to disinfect and deodorize your cutting boards.
What you’ll need:
* Half a lemon
* Coarse salt (sea salt or kosher salt)
Step-by-step instructions:
1. Sprinkle with salt: Sprinkle a generous amount of coarse salt over the surface of the cutting board.
2. Lemon scrub: Use the cut side of the lemon to scrub the salt into the cutting board. Apply firm pressure and scrub in a circular motion. The lemon juice will help to disinfect the board, while the salt will act as an abrasive cleaner.
3. Let it sit: Let the lemon and salt mixture sit on the cutting board for about 5-10 minutes.
4. Rinse thoroughly: Rinse the cutting board thoroughly with warm water.
5. Dry completely: Allow the cutting board to air dry completely before storing it.
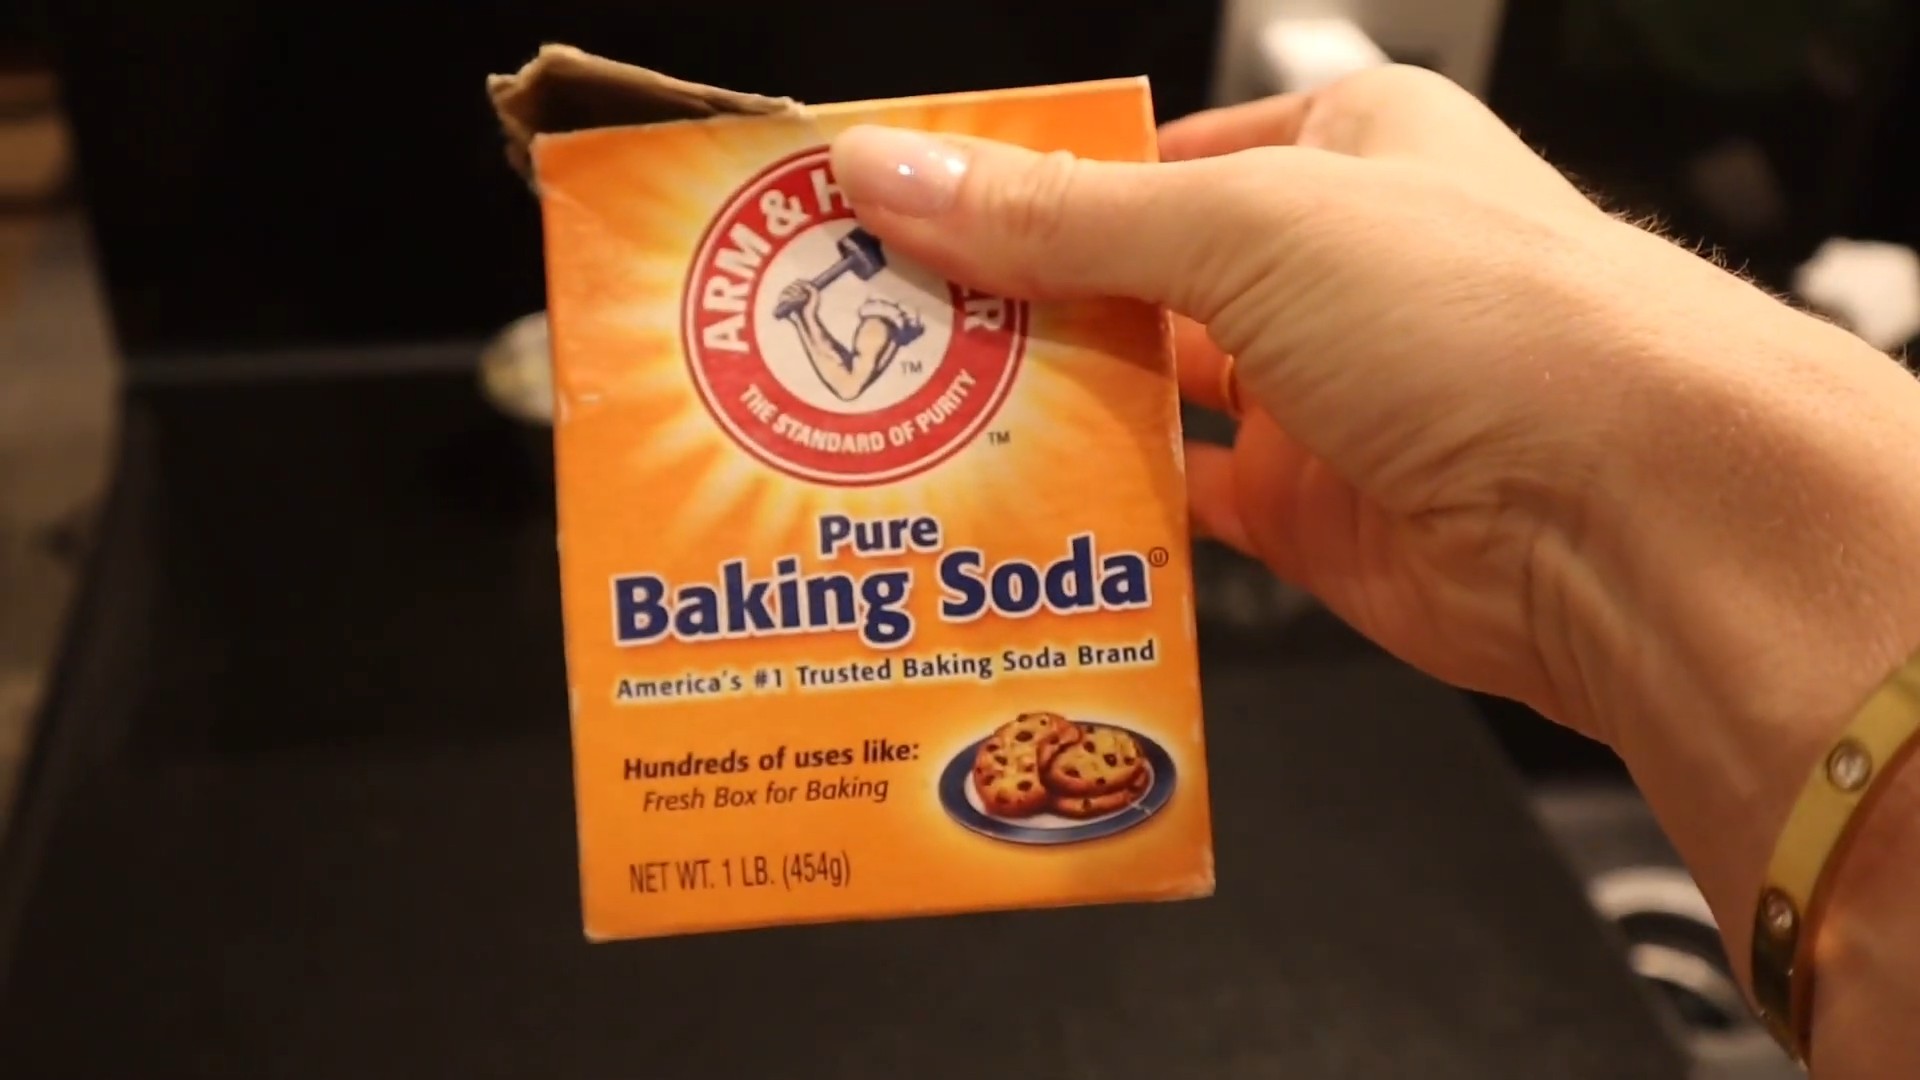
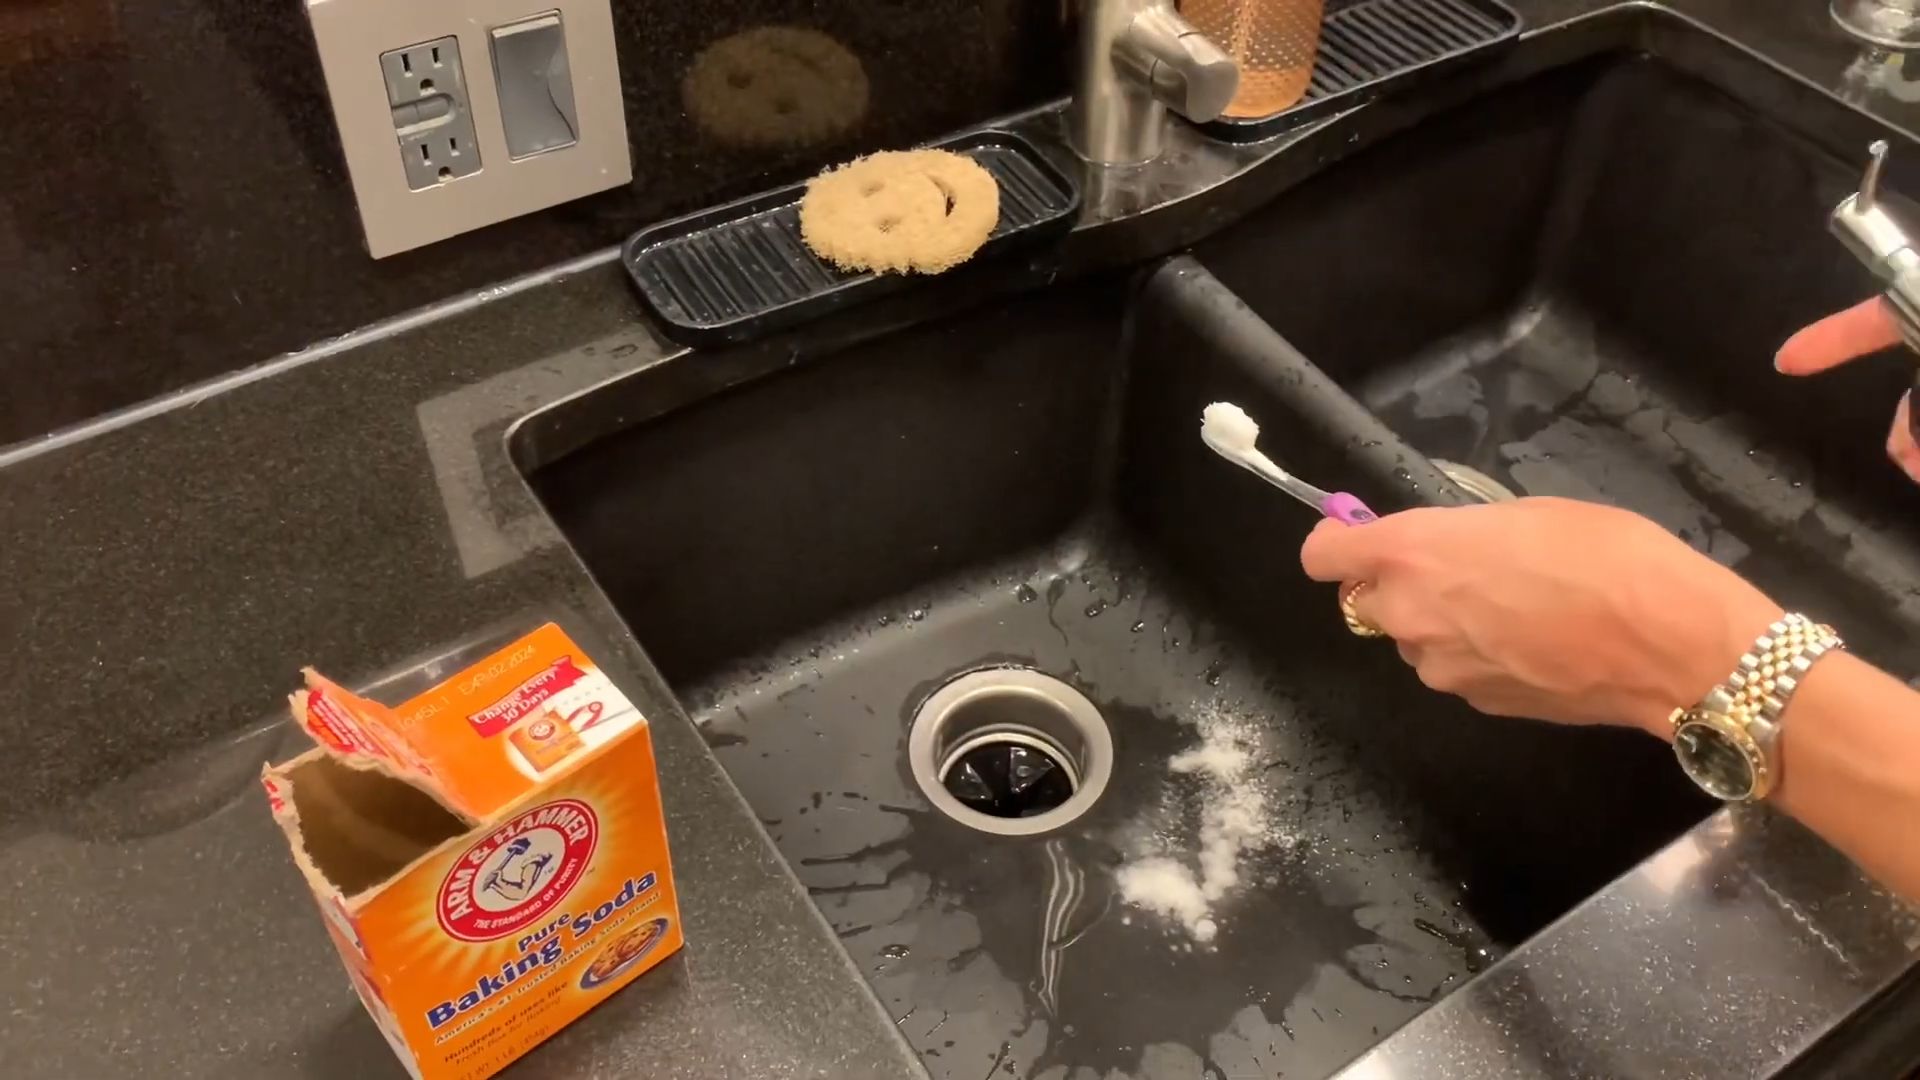
Hack 7: Effortless Oven Cleaning with Baking Soda Paste
Oven cleaning is the worst, right? But this baking soda paste trick makes it surprisingly easy.
What you’ll need:
* Baking soda
* Water
* A bowl
* A spatula or sponge
* White vinegar (optional)
Step-by-step instructions:
1. Make the paste: In a bowl, mix baking soda and water to form a thick paste. You want the consistency to be spreadable but not too runny.
2. Coat the oven: Spread the baking soda paste all over the inside of your oven, avoiding the heating elements. Be generous with the paste, especially on areas with baked-on grease and grime.
3. Let it sit overnight: This is the key! Let the baking soda paste sit in the oven overnight (or for at least 12 hours). This allows the baking soda to loosen the grime.
4. Wipe it out: The next day, use a spatula or sponge to scrape out the baking soda paste. It should come off fairly easily, along with the loosened grime.
5. Vinegar boost (optional): For stubborn spots, spray a little white vinegar onto the baking soda residue. The vinegar will react with the baking soda, creating a fizzing action that helps to lift the grime.
6. Rinse and dry: Wipe down the inside of the oven with a damp cloth to remove any remaining baking soda residue. Dry the oven thoroughly before using it.
Hack 8: Dust-Free Furniture with Fabric Softener
This hack not only cleans your furniture but also helps to repel dust, keeping it cleaner for longer.
What you’ll need:
Conclusion
So there you have it! This simple yet incredibly effective DIY cleaning hack is more than just a time-saver; it’s a game-changer for anyone looking to streamline their cleaning routine and reclaim precious hours. We’ve shown you how to create a powerful, all-purpose cleaner using ingredients you likely already have in your pantry. Forget spending a fortune on expensive, chemical-laden products when you can achieve sparkling results with this natural and budget-friendly alternative.
Why is this a must-try? Because it’s efficient, economical, and environmentally conscious. It cuts through grease and grime with ease, leaving your surfaces clean and fresh without the harsh odors or potential health risks associated with commercial cleaners. Plus, the satisfaction of creating something yourself that works so well is an added bonus!
But the beauty of this DIY trick lies in its versatility. Feel free to experiment with different essential oils to customize the scent to your liking. Lavender, lemon, tea tree, and eucalyptus are all excellent choices, each offering unique aromatherapy benefits alongside their cleaning properties. For tougher stains, consider adding a tablespoon of borax to the mixture for an extra boost of cleaning power. If you’re dealing with hard water, a splash of distilled white vinegar can help prevent streaks and mineral buildup.
Remember to always test your DIY cleaner on an inconspicuous area first, especially on delicate surfaces like wood or marble. While the ingredients are generally safe, it’s always better to be cautious.
We are confident that once you try this time saving cleaning hack, you’ll wonder how you ever lived without it. It’s a simple solution to a common problem, and it’s guaranteed to make your cleaning routine faster, easier, and more enjoyable.
Now, it’s your turn! We encourage you to give this DIY cleaning hack a try and see the amazing results for yourself. Don’t be afraid to experiment with different variations and find what works best for your home and your cleaning needs.
Most importantly, we want to hear about your experience! Share your tips, tricks, and feedback in the comments below. Let us know what essential oil combinations you tried, what surfaces you cleaned, and how this DIY cleaner has helped you save time and effort. Your insights will not only help other readers but also inspire us to continue sharing valuable and effective cleaning solutions. Let’s build a community of clean-living enthusiasts who are passionate about saving time and money while keeping our homes sparkling clean! We can’t wait to hear from you!
Frequently Asked Questions
What exactly makes this a “time saving cleaning hack”?
This DIY cleaning solution saves time in several ways. First, it’s an all-purpose cleaner, meaning you can use it on a variety of surfaces, eliminating the need for multiple specialized cleaning products. This reduces the time spent switching between different cleaners and reading labels. Second, the ingredients are readily available and easy to mix, so you can whip up a batch in minutes. Finally, its effectiveness means you’ll spend less time scrubbing and more time enjoying your clean home. The concentrated formula cuts through grime quickly, reducing the overall cleaning time per task.
Is this DIY cleaner safe for all surfaces?
While this DIY cleaner is generally safe for most surfaces, it’s always best to test it on an inconspicuous area first, especially on delicate materials like wood, marble, granite, or painted surfaces. The acidity of vinegar, even in diluted form, can potentially damage certain finishes. Avoid using it on porous surfaces that could absorb the solution. For wood, ensure it’s properly sealed before using the cleaner. If you’re unsure, consult the manufacturer’s instructions for your specific surface.
Can I use different essential oils? What are the best options?
Absolutely! Experimenting with different essential oils is a great way to customize your DIY cleaner and add a personal touch. Some of the best options include:
* **Lavender:** Known for its calming and relaxing properties, lavender also has antibacterial and antifungal benefits.
* **Lemon:** A powerful degreaser with a fresh, citrusy scent. Lemon essential oil is also known for its antiseptic properties.
* **Tea Tree:** A natural disinfectant with strong antibacterial and antifungal properties. Tea tree oil is particularly effective for cleaning bathrooms and kitchens.
* **Eucalyptus:** A refreshing scent with antiseptic and antiviral properties. Eucalyptus oil is great for cleaning surfaces that need extra sanitizing.
* **Peppermint:** A stimulating and invigorating scent with antibacterial properties. Peppermint oil can also help repel insects.
When choosing essential oils, make sure to use high-quality, pure essential oils for the best results and safety.
How long does this DIY cleaner last?
This DIY cleaner typically lasts for several weeks when stored properly in an airtight container. To maximize its shelf life, store it in a cool, dark place away from direct sunlight. Over time, the essential oils may lose their potency, so it’s best to use the cleaner within a month or two for optimal effectiveness. If you notice any changes in color, odor, or consistency, it’s best to discard the cleaner and make a fresh batch.
Can I use this cleaner on my windows and mirrors?
Yes, this DIY cleaner can be used on windows and mirrors, but it’s important to dilute it properly to avoid streaks. Use a spray bottle and lightly mist the surface, then wipe clean with a microfiber cloth. For best results, follow up with a dry microfiber cloth to buff the surface and remove any remaining streaks. You can also add a small amount of rubbing alcohol to the mixture for extra streak-free shine.
Is this DIY cleaner safe for pets and children?
While the ingredients in this DIY cleaner are generally considered safe, it’s still important to exercise caution when using it around pets and children. Keep the cleaner out of reach of children and supervise them when they are in the area being cleaned. Avoid spraying the cleaner directly on pets or allowing them to ingest it. If you’re concerned about potential sensitivities, you can use milder essential oils like lavender or chamomile. Always ensure proper ventilation when cleaning to minimize exposure to fumes.
What if I don’t have all the ingredients listed? Can I substitute anything?
While the specific ingredients listed are recommended for optimal results, you can make some substitutions if necessary. For example, if you don’t have white vinegar, you can use apple cider vinegar, although it may have a slightly different scent. If you don’t have a specific essential oil, you can use another one with similar properties or omit it altogether. However, keep in mind that substitutions may affect the effectiveness or scent of the cleaner.
How do I dispose of this DIY cleaner?
This DIY cleaner is generally safe to dispose of down the drain. However, if you’ve added borax to the mixture, it’s best to check your local regulations for proper disposal methods. You can also dilute the cleaner with plenty of water before pouring it down the drain to minimize any potential environmental impact. Avoid pouring large quantities of undiluted cleaner down the drain, as this could potentially harm your plumbing system.

Leave a Comment