

Spring Onion Container Gardening: Your Guide to a Year-Round Harvest
I’ve always loved the crisp, sharp bite of fresh spring onions, but the grocery store versions just don’t compare to homegrown ones. That’s why I’m so excited to share my secrets for spring onion container gardening! This isn’t just about growing your own food; it’s about connecting with nature, saving money, and enjoying the incredible satisfaction of harvesting your own delicious produce, all year round.
While the history of cultivating onions stretches back millennia, with evidence suggesting their use in ancient Egypt and Mesopotamia, the convenience of container gardening is a relatively modern innovation. It allows us to overcome space limitations and enjoy the bounty of fresh herbs and vegetables, even if we only have a balcony or a small patio. This makes spring onion container gardening particularly appealing to urban dwellers and anyone with limited outdoor space.
Why Choose Container Gardening for Spring Onions?
Let’s face it, buying spring onions regularly can get expensive. Plus, the quality can be inconsistent. With spring onion container gardening, you’ll have a constant supply of fresh, flavorful onions at your fingertips. You’ll control the growing conditions, ensuring healthy plants and a delicious harvest. It’s a rewarding experience, perfect for beginners and experienced gardeners alike. You’ll be amazed at how easy it is to grow your own!
In this article, I’ll walk you through everything you need to know, from choosing the right containers and soil to planting, caring for, and harvesting your spring onions. Get ready to transform your outdoor space (or even your kitchen windowsill!) into a thriving little onion patch!
Growing Spring Onions in Containers: A Step-by-Step Guide
I love spring onions! That fresh, sharp flavor is perfect in so many dishes. But buying them regularly can get expensive. So, I decided to try growing my own in containers. It’s surprisingly easy, and now I have a constant supply of these delicious green stalks. Here’s how I did it, and how you can too!
Choosing Your Containers and Location
- Container Size and Material: You don’t need huge containers. Anything from 6 inches to 12 inches in diameter will work perfectly for a small family. I prefer using plastic pots because they’re lightweight, easy to clean, and retain moisture well. Terracotta pots are also a good option, but they dry out faster, so you’ll need to water more frequently.
- Drainage Holes: Essential! Make sure your containers have drainage holes at the bottom to prevent root rot. If your pots don’t have them, you can easily drill some yourself (just be careful!).
- Sunlight: Spring onions need at least 6 hours of sunlight per day. Choose a sunny spot on your patio, balcony, or even a sunny windowsill if you’re growing them indoors.
- Number of Containers: The number of containers you’ll need depends on how many spring onions you plan to grow and how much space you have available. Start with one or two and increase as needed.
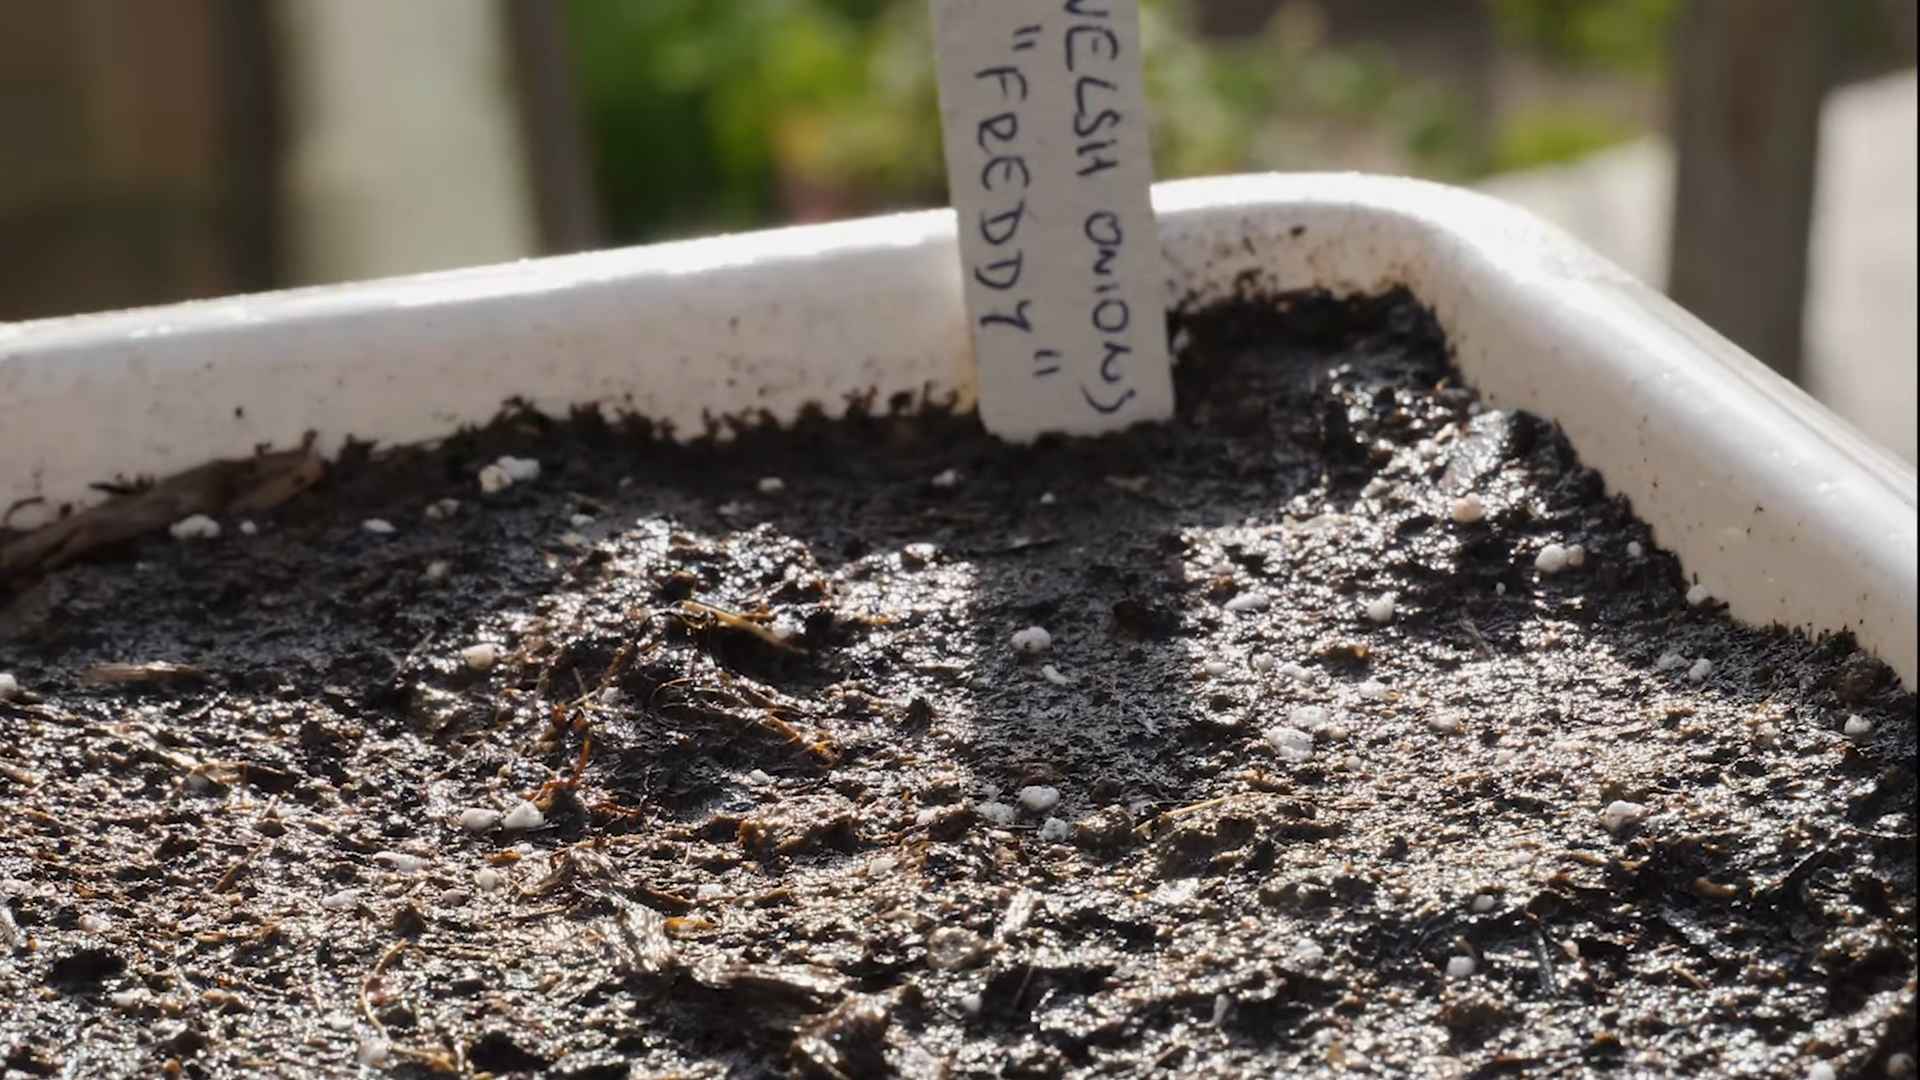
Preparing the Soil
- Choose the Right Soil: Use a well-draining potting mix. Avoid using garden soil directly from your yard, as it can be too heavy and compact for container gardening. A good quality seed-starting mix or a general-purpose potting mix will work well.
- Fill the Containers: Fill your chosen containers with the potting mix, leaving about an inch of space from the top. This allows for easy watering and prevents spillage.
- Lightly Water the Soil: Gently water the soil until it’s evenly moist but not soggy. You want the soil to be damp, not waterlogged.
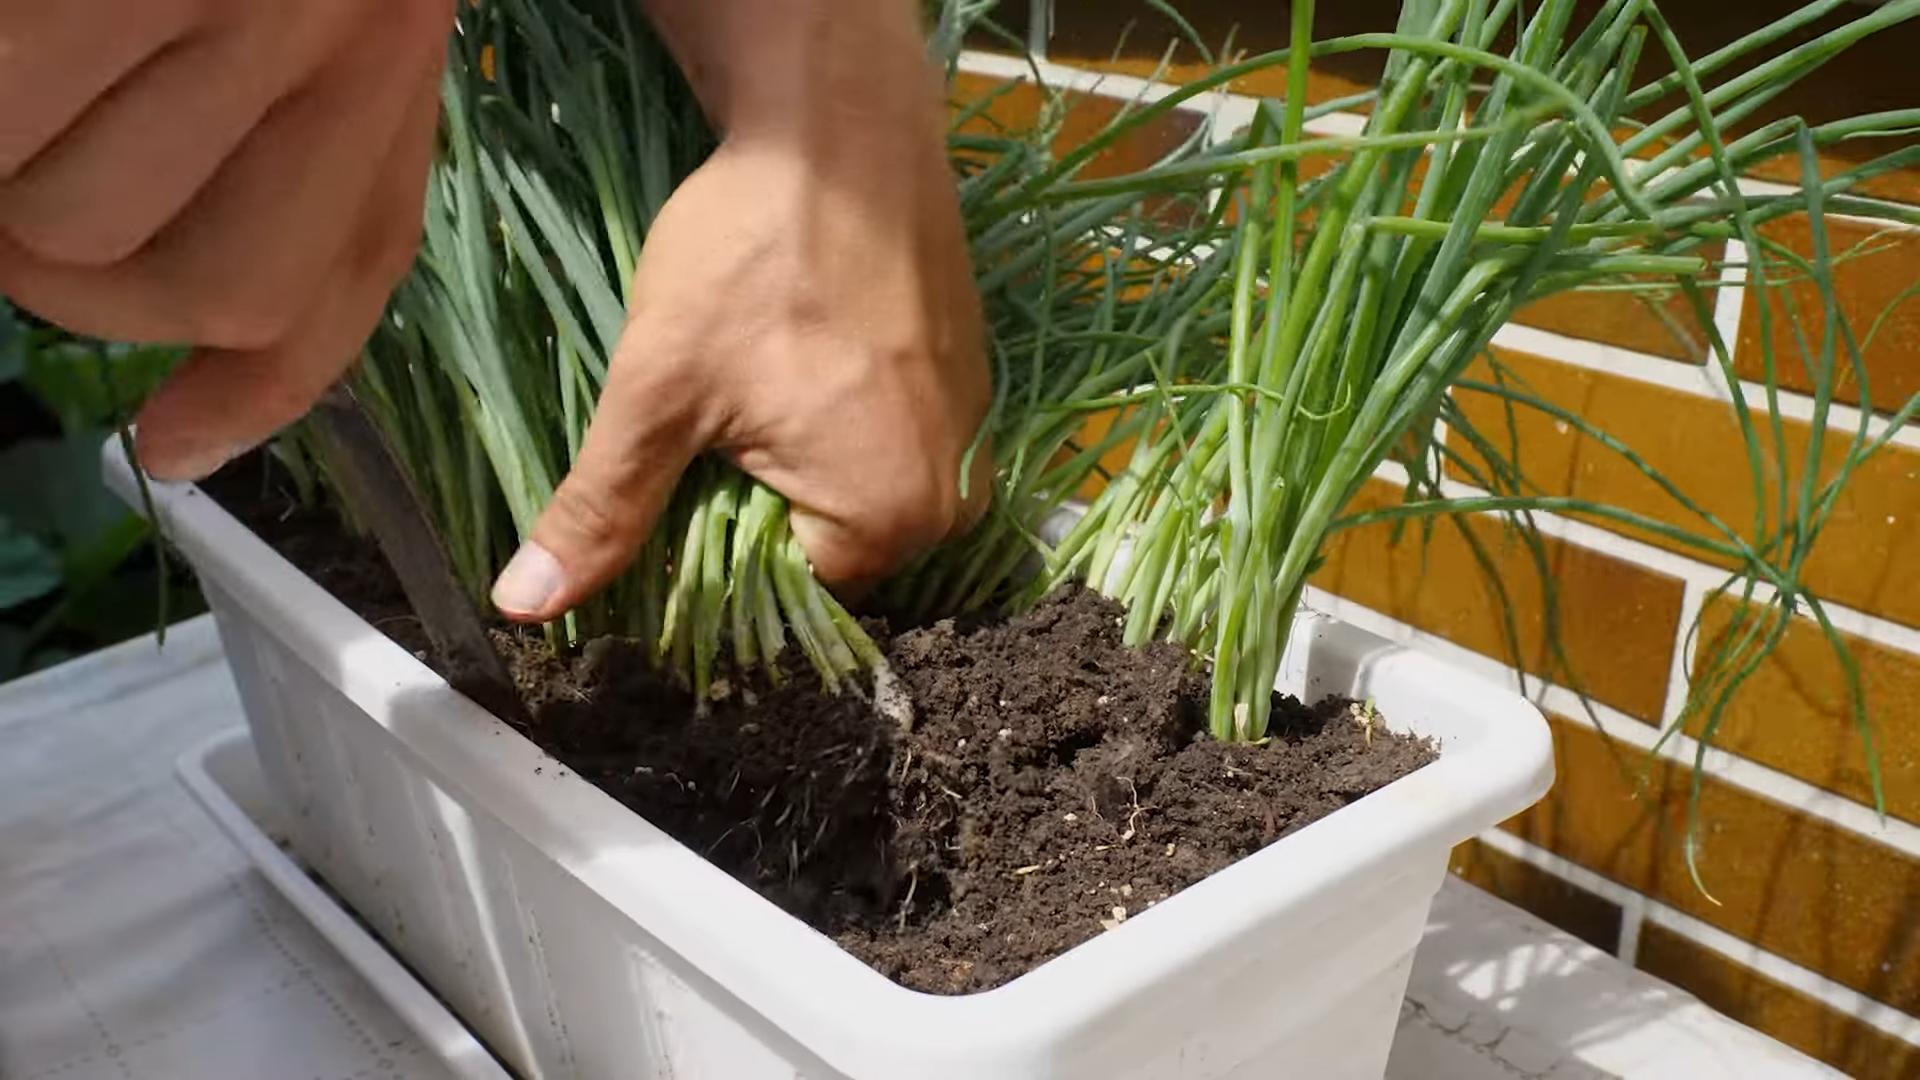
Planting Your Spring Onions
- Buying Spring Onion Sets or Seeds: You can start with either spring onion sets (small bulbs) or seeds. Sets are easier for beginners, as they’ll sprout faster. Seeds require a bit more patience but offer a larger harvest in the long run.
- Planting Sets: If using sets, plant them about 1 inch apart and 1 inch deep. Make sure the pointed end faces upwards.
- Planting Seeds: If using seeds, sow them about ¼ inch deep and ½ inch apart. Gently cover them with soil.
- Watering After Planting: After planting, give the soil a gentle watering. Avoid overwatering, as this can wash away the seeds or rot the sets.
Caring for Your Spring Onions
- Watering: Water regularly, keeping the soil consistently moist but not waterlogged. Check the soil moisture daily, especially during hot and dry weather. The frequency of watering will depend on your climate and the type of container you’re using.
- Fertilizing: Spring onions are relatively low-maintenance, but a balanced liquid fertilizer every few weeks will promote healthy growth and a bountiful harvest. Follow the instructions on the fertilizer packaging for the correct dilution rate.
- Weeding: Regularly check for weeds and remove them promptly. Weeds compete with your spring onions for nutrients and water.
- Pest Control: Keep an eye out for pests like aphids or onion flies. If you notice any infestations, treat them immediately using an appropriate organic pesticide or insecticidal soap.
- Thinning (if necessary): If you planted seeds and they’re growing too close together, thin them out to give each plant enough space to grow. You can use the thinned-out plants in your cooking.
Harvesting Your Spring Onions
- Harvesting Time: You can start harvesting your spring onions about 6-8 weeks after planting (for sets) or 8-10 weeks after sowing (for seeds), depending on the variety and growing conditions.
- How to Harvest: Simply snip off the green stalks from the base of the plant, leaving the bulb in the ground. This allows the plant to continue growing and producing more stalks. You can harvest multiple times from the same plant.
- Storage: Store harvested spring onions in a plastic bag in the refrigerator for up to a week to maintain freshness.
Troubleshooting Common Problems
Yellowing Leaves:
This could indicate overwatering, underwatering, or nutrient deficiency. Check the soil moisture and adjust your watering schedule accordingly. If the problem persists, consider fertilizing your plants.
Slow Growth:
Insufficient sunlight or lack of nutrients could be the cause. Ensure your plants receive at least 6 hours of sunlight daily and fertilize them regularly.
Pest Infestations:
Regularly inspect your plants for pests. If you find any, treat them promptly using an appropriate organic pesticide or insecticidal soap. You can also try using natural pest control methods, such as introducing beneficial insects.
Root Rot:
This is usually caused by overwatering and poor drainage. Ensure your containers have adequate drainage holes and avoid overwatering your plants.
Tips for Success
- Start Small: Begin with a small number of containers to get a feel for the process before expanding.
- Choose the Right Variety: Select spring onion varieties that are suitable for your climate and growing conditions.
- Be Patient: Growing your own spring onions takes time and patience. Don’t get discouraged if you don’t see results immediately.
- Have Fun: Enjoy the process of growing your own food! It’s a rewarding experience.
Conclusion
So there you have it – a simple, yet incredibly rewarding journey into the world of spring onion container gardening! This DIY trick isn’t just about saving money on grocery bills; it’s about experiencing the unparalleled freshness and flavor of homegrown spring onions. The satisfaction of snipping a vibrant green stalk directly from your own container, knowing exactly where it came from and how it was grown, is truly unmatched. This method transforms a mundane kitchen staple into a fun, engaging project that connects you more deeply with your food. The ease of propagation, the minimal space required, and the rapid growth cycle make spring onion container gardening accessible to everyone, regardless of gardening experience. It’s a perfect project for beginners, and a delightful addition for seasoned gardeners looking to maximize their space and yield.
Beyond the basic method outlined, the possibilities are endless! Experiment with different types of containers – terracotta pots, repurposed plastic bottles, even hanging baskets can work wonders. Consider adding a layer of gravel or broken pottery at the bottom for better drainage. You can also try growing other alliums in containers using similar techniques, such as chives, garlic chives, or even scallions. For a truly bountiful harvest, consider using a nutrient-rich potting mix specifically designed for herbs and vegetables. Remember to regularly water your spring onions, keeping the soil consistently moist but not waterlogged. A sunny location will encourage vigorous growth, but even a partially shaded spot can work well.
We encourage you to embrace the simplicity and satisfaction of this spring onion container gardening method. It’s a fantastic way to add a touch of green to your kitchen, enhance your culinary creations, and connect with the natural world. Share your experiences with us! Post pictures of your thriving spring onion containers on social media using #SpringOnionContainerGardening and tag us – we’d love to see your green thumbs in action. Let’s build a community of home gardeners, sharing tips, tricks, and the joy of harvesting fresh, flavorful spring onions right from our own homes. Don’t hesitate to experiment, adapt the method to your own space and preferences, and most importantly, enjoy the process!
Frequently Asked Questions
Q: How often should I water my spring onions in containers?
A: Water your spring onions regularly, keeping the soil consistently moist but not soggy. Check the soil moisture daily, especially during hot and dry weather. The frequency will depend on factors like container size, weather conditions, and the type of potting mix used. A good rule of thumb is to water when the top inch of soil feels dry to the touch.
Q: What type of container is best for growing spring onions?
A: Almost any container will work, as long as it has drainage holes to prevent waterlogging. Popular choices include terracotta pots, plastic pots, repurposed containers (like yogurt cups or plastic bottles – ensure they are thoroughly cleaned), and even hanging baskets. Choose a container size appropriate for the number of spring onions you plan to grow. Larger containers will allow for more plants and a more substantial harvest.
Q: What kind of soil should I use?
A: A well-draining potting mix is ideal for growing spring onions in containers. Avoid using garden soil directly, as it can be too heavy and retain too much water. A commercial potting mix specifically formulated for herbs and vegetables is a great option. You can also improve drainage by adding perlite or vermiculite to your potting mix.
Q: How long does it take for spring onions to grow from cuttings?
A: You should see noticeable growth within a few weeks, with the first harvest possible in as little as 4-6 weeks, depending on growing conditions. Regular harvesting encourages further growth, ensuring a continuous supply of fresh spring onions.
Q: Can I grow spring onions from seed?
A: Yes, you can! While the method described focuses on propagation from cuttings, you can also start spring onions from seed. Sow seeds directly into your chosen container, following the instructions on the seed packet. This method may take a little longer to yield a harvest.
Q: What should I do if my spring onions start to bolt (flower)?
A: Bolting is a natural process that occurs when spring onions are exposed to long days and warm temperatures. While it signals the end of the vegetative growth phase, you can still harvest the bulbs and leaves. The leaves may become slightly tougher, but they are still edible. To prevent bolting, consider providing some shade during the hottest part of the day.
Q: What are some common problems I might encounter?
A: Common problems include pests (like aphids) and diseases (like fungal infections). Regularly inspect your plants for signs of pests or diseases. If you notice any problems, take appropriate action, such as using insecticidal soap or a fungicide. Proper watering and good air circulation can help prevent many issues.
Q: Can I use this method year-round?
A: The success of this method depends on your climate and growing conditions. In warmer climates, you can grow spring onions year-round. In colder climates, you may need to bring your containers indoors during the winter months or use a greenhouse to protect them from frost.
Leave a Comment