

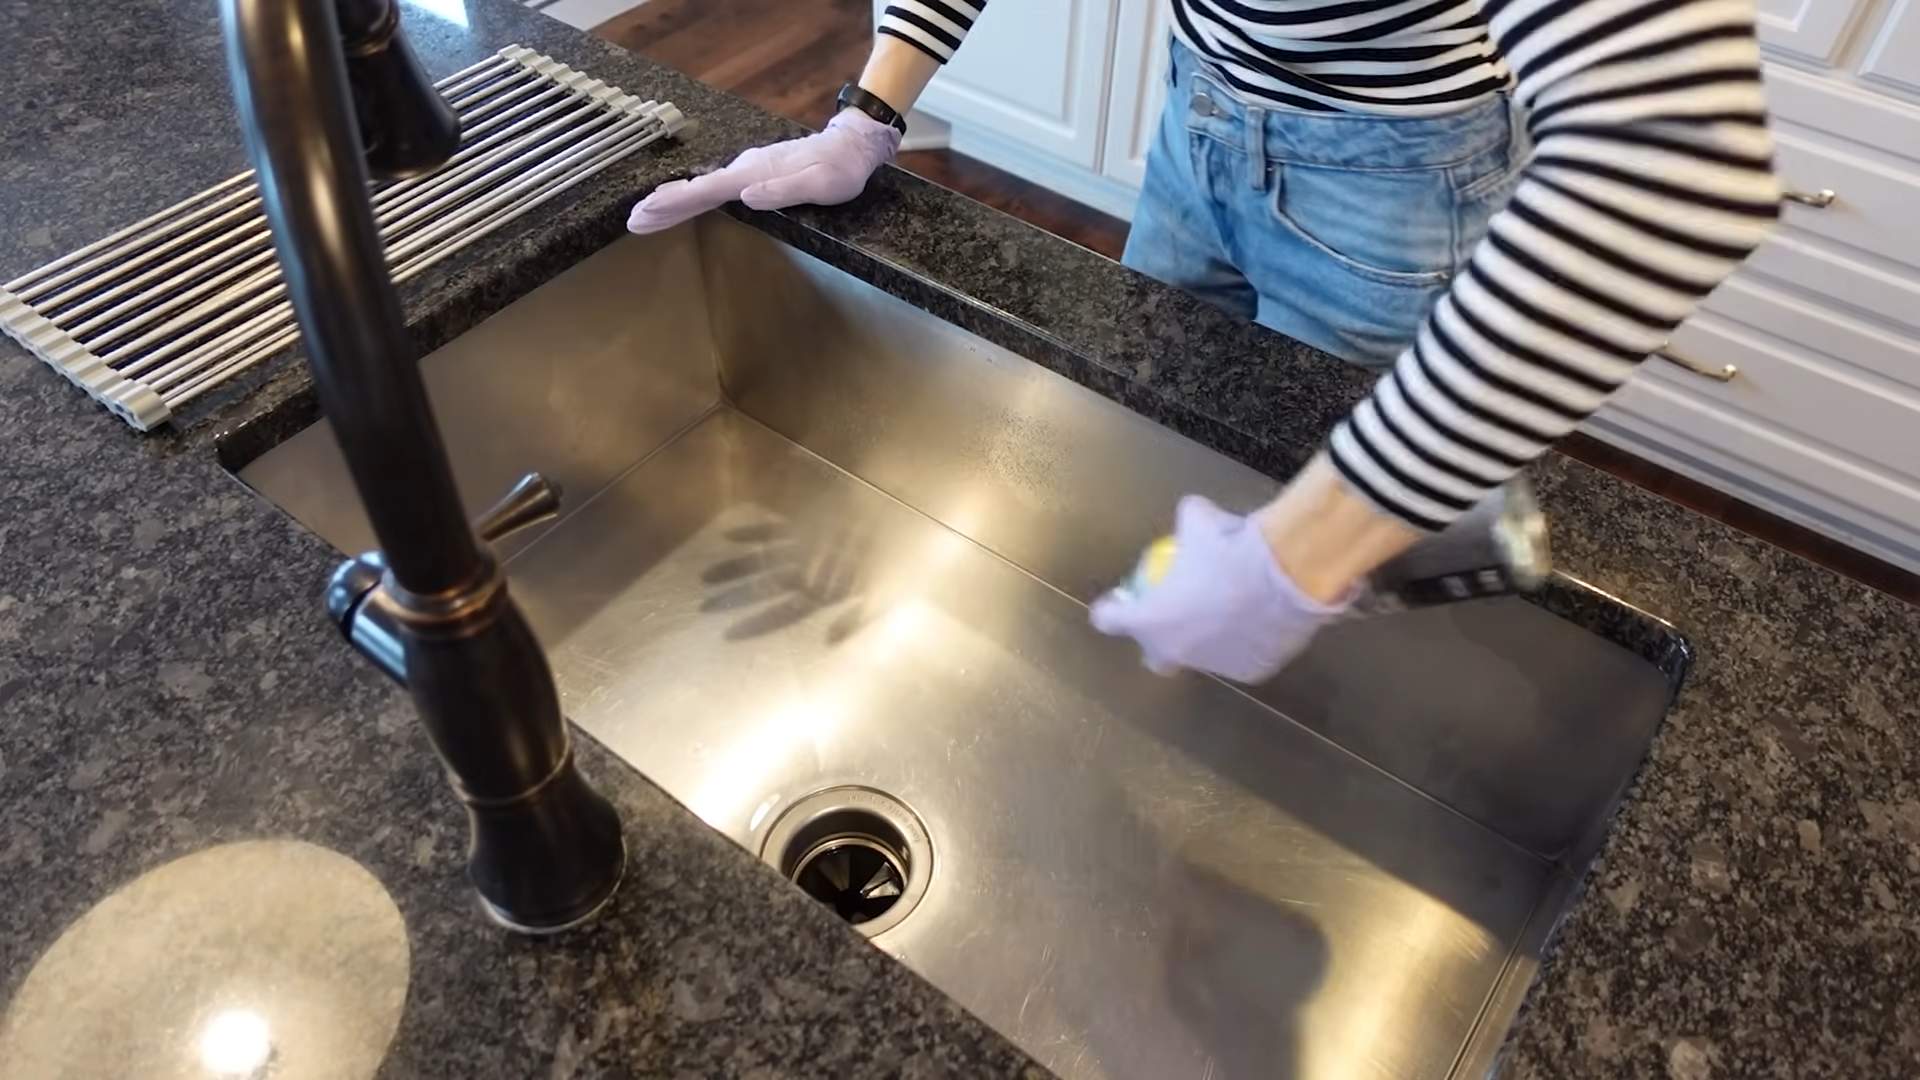
Sparkling stainless steel sink – who doesn’t dream of one? I know I do! A gleaming sink is the heart of a clean and inviting kitchen. But let’s be honest, achieving that showroom shine can feel like a constant battle against water spots, food residue, and the dreaded dullness that seems to creep in no matter how often you scrub.
For generations, a pristine sink has been a symbol of domestic pride. Think about it – from the humble washbasins of the past to the modern marvels of today, a clean sink has always represented order and care within the home. But back then, they didn’t have the easy DIY tricks we have now!
That’s why I’m so excited to share these simple, yet incredibly effective, DIY hacks to keep your sparkling stainless steel sink looking its absolute best. Forget harsh chemicals and expensive cleaners! These methods use common household items you probably already have in your pantry. I’ll show you how to banish those unsightly marks, restore the shine, and keep your sink looking brand new. Ready to transform your kitchen with these easy and affordable solutions? Let’s dive in!
DIY Sparkling Stainless Steel Sink: A Guide to Gleaming Goodness
Alright, let’s face it, a dull, stained stainless steel sink can really bring down the whole kitchen vibe. But don’t worry, you don’t need to spend a fortune on fancy cleaners! I’m going to walk you through a super effective DIY method to get your sink sparkling like new. This isn’t just about surface cleaning; we’re talking deep cleaning and polishing for a truly impressive shine.
What You’ll Need: Your Arsenal of Cleaning Supplies
Before we dive in, let’s gather our supplies. This is a pretty straightforward process, and you probably already have most of these items at home:
* **Baking Soda:** This is our gentle abrasive and deodorizer. A true cleaning champion!
* **White Vinegar:** The acid in vinegar helps to dissolve hard water stains and grime.
* **Dish Soap:** A good quality dish soap to cut through grease and food residue.
* **Lemon (Optional):** For extra cleaning power and a fresh scent.
* **Olive Oil:** Yes, olive oil! This is our secret weapon for a brilliant shine.
* **Soft Sponges or Microfiber Cloths:** Avoid abrasive scrubbers that can scratch the stainless steel.
* **Spray Bottle:** For easy application of the vinegar solution.
* **Old Toothbrush:** Perfect for getting into those hard-to-reach areas around the drain and faucet.
* **Rubber Gloves (Optional):** To protect your hands, especially if you have sensitive skin.
* **Paper Towels:** For drying and polishing.
Step-by-Step Guide to a Sparkling Sink
Okay, now that we have everything we need, let’s get started! I’ve broken down the process into easy-to-follow steps.
1. **Rinse and Remove Debris:** Start by rinsing your sink thoroughly with warm water. Remove any large food particles or debris that might be lingering. You want a clean slate to work with.
2. **Dish Soap Wash:** Squirt a generous amount of dish soap onto a soft sponge or cloth. Scrub the entire sink surface, including the sides, bottom, and around the drain. This will remove any grease or loose grime. Rinse thoroughly with warm water.
3. **Baking Soda Scrub:** Now for the magic ingredient! Sprinkle a generous amount of baking soda all over the damp sink surface. Don’t be shy!
4. **Gentle Scrubbing Action:** Using a damp sponge or cloth, gently scrub the baking soda into the sink. Focus on areas with stains or water spots. The baking soda acts as a mild abrasive, helping to lift away dirt and grime without scratching the stainless steel.
5. **Vinegar Power:** Fill your spray bottle with white vinegar. Spray the vinegar liberally over the baking soda-covered sink. You’ll notice a fizzing reaction – that’s the vinegar reacting with the baking soda, which helps to loosen stubborn stains and grime.
6. **Let it Sit (The Waiting Game):** Let the baking soda and vinegar mixture sit for about 10-15 minutes. This gives the solution time to work its magic and break down any remaining dirt and stains.
7. **Scrub Again (The Second Scrub):** After the waiting period, use your sponge or cloth to scrub the sink again, paying extra attention to any problem areas. For those hard-to-reach spots around the drain and faucet, use your old toothbrush.
8. **Rinse Thoroughly (The Big Rinse):** Rinse the sink thoroughly with warm water until all traces of baking soda and vinegar are gone. Make sure you get into all the corners and crevices.
9. **Lemon Boost (Optional):** If you want an extra boost of cleaning power and a fresh scent, cut a lemon in half and rub it all over the sink surface. The citric acid in the lemon will help to remove any remaining stains and leave your sink smelling amazing. Rinse thoroughly.
10. **Dry Completely (The Drying Phase):** This is crucial! Use a clean, dry microfiber cloth or paper towels to dry the sink completely. This will prevent water spots from forming and help to maintain the shine.
Polishing for a Dazzling Shine: The Olive Oil Secret
Now for the final touch that will take your sink from clean to dazzling! This is where the olive oil comes in.
1. **Apply Olive Oil:** Pour a small amount of olive oil (about a teaspoon) onto a clean, dry paper towel.
2. **Buff the Sink:** Use the paper towel to buff the olive oil into the entire sink surface, using circular motions. You don’t need a lot of oil; a thin layer is all you need.
3. **Buff to a Shine:** Use a clean, dry paper towel to buff the sink until it shines. This will remove any excess oil and leave a beautiful, protective coating.
Maintaining Your Sparkling Sink: Tips and Tricks
Now that you’ve put in the effort to get your sink sparkling, you’ll want to keep it that way! Here are a few tips to help you maintain its shine:
* **Rinse After Each Use:** Make it a habit to rinse your sink after each use to prevent food particles and stains from building up.
* **Avoid Abrasive Cleaners:** Stick to gentle cleaning methods like baking soda and vinegar. Abrasive cleaners can scratch the stainless steel surface.
* **Dry Regularly:** Drying your sink after each use will prevent water spots from forming.
* **Weekly Deep Clean:** Repeat the cleaning process described above at least once a week to keep your sink looking its best.
* **Don’t Let Food Sit:** Avoid letting food sit in the sink for extended periods, as this can lead to stains and odors.
* **Use a Sink Grid:** A sink grid can help to protect the bottom of your sink from scratches and dents.
* **Avoid Harsh Chemicals:** Avoid using harsh chemicals like bleach or ammonia, as these can damage the stainless steel.
* **Address Stains Promptly:** If you notice any stains, address them promptly to prevent them from becoming permanent. A paste of baking soda and water can be effective for removing stubborn stains.
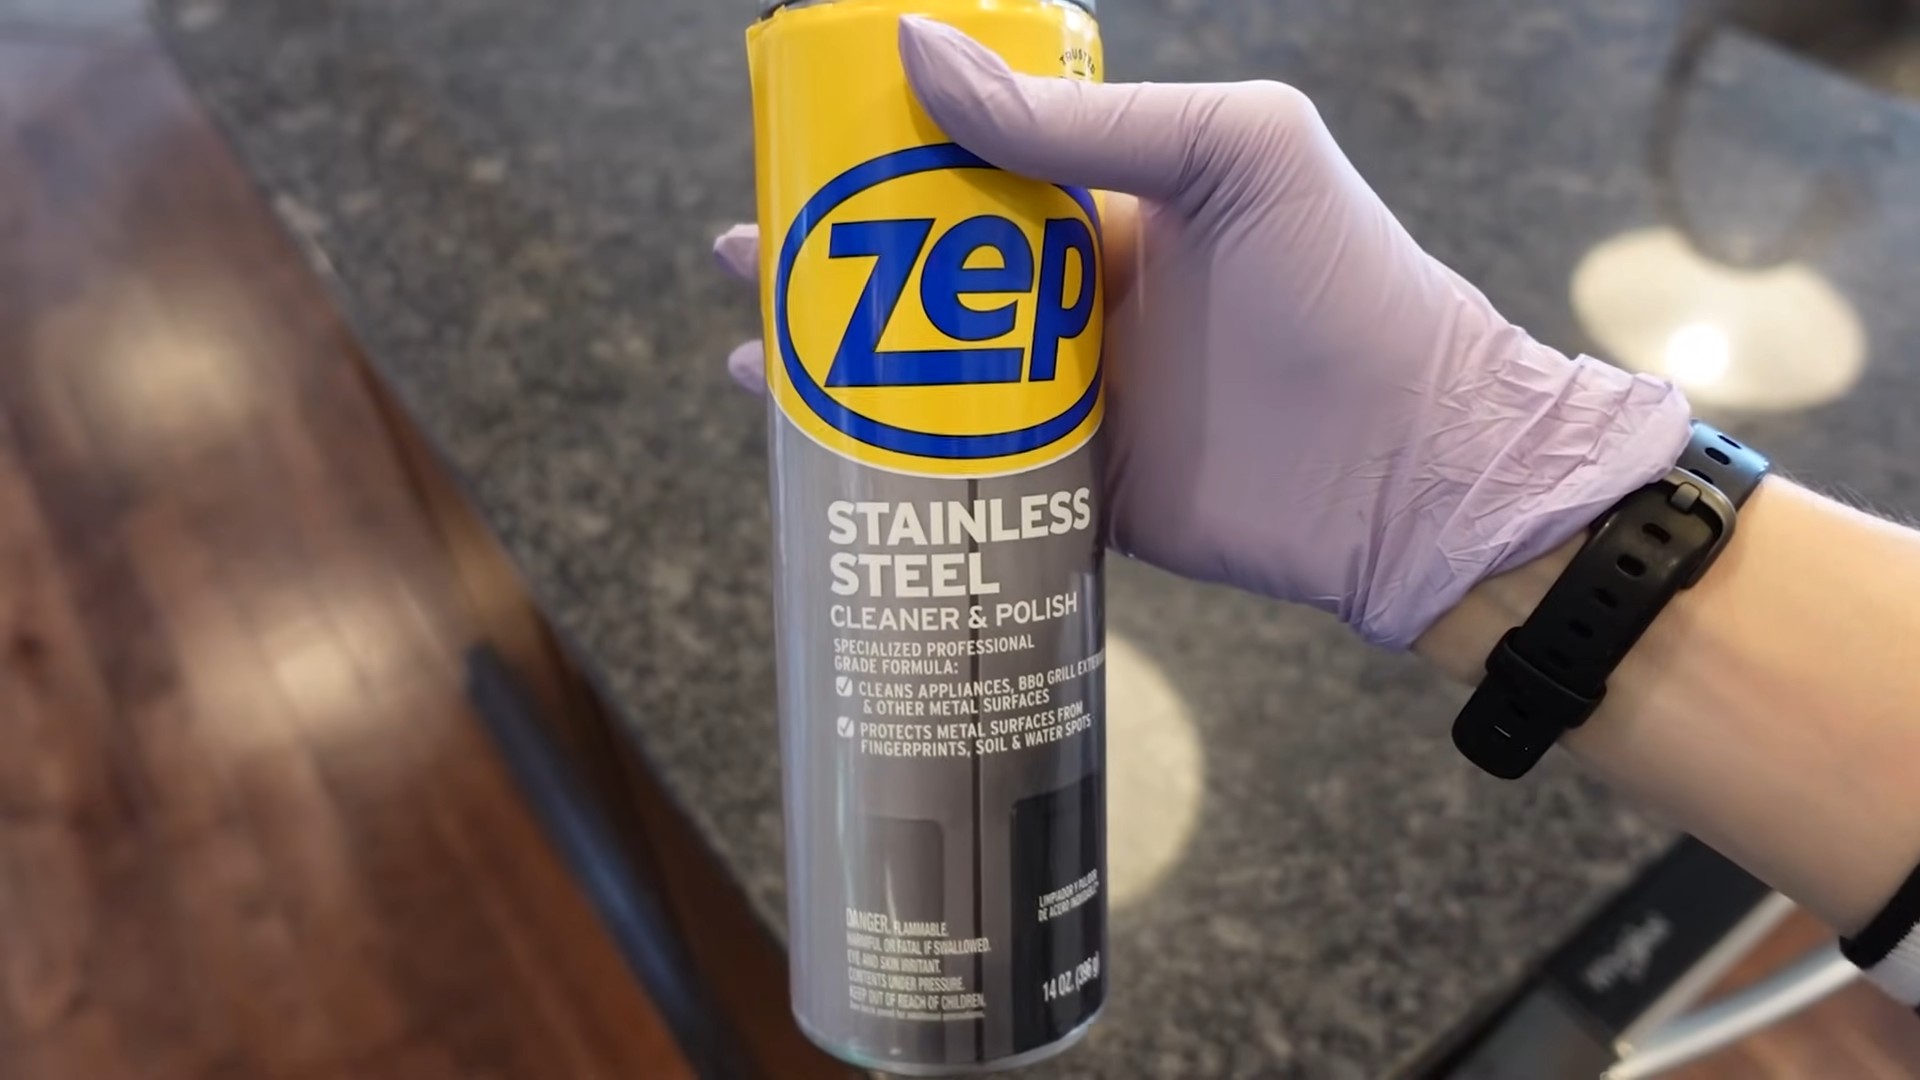
* **Consider a Stainless Steel Cleaner:** While the DIY method is effective, you can also use a commercially available stainless steel cleaner for extra shine and protection. Just be sure to choose a cleaner that is specifically designed for stainless steel.
* **Proper Disposal of Grease:** Never pour grease down the drain! This can clog your pipes and cause serious plumbing problems. Instead, pour grease into a container and dispose of it properly.
Troubleshooting: Common Sink Cleaning Challenges
Sometimes, even with the best efforts, you might encounter some challenges. Here are a few common issues and how to address them:
* **Hard Water Stains:** If you have hard water, you may notice stubborn white spots on your sink. Vinegar is your best friend here! Soak a paper towel in vinegar and place it over the affected area for a few hours, then scrub and rinse.
* **Rust Spots:** While stainless steel is rust-resistant, it can sometimes develop rust spots, especially if exposed to iron-containing water. A paste of baking soda and water can often remove these spots. For more stubborn rust, you can try using a commercial rust remover specifically designed for stainless steel.
* **Scratches:** While it’s best to avoid scratching your sink in the first place, minor scratches can sometimes be buffed out with a stainless steel polish. For deeper scratches, you may need to consult a professional.
* **Lingering Odors:** If your sink has a lingering odor, try pouring a cup of baking soda down the drain, followed by a cup of vinegar. Let it fizz for about 30 minutes, then flush with hot water. You can also try grinding up lemon or lime peels in your garbage disposal to freshen it up.
By following these steps and tips, you can keep your stainless steel sink sparkling and looking its best for years to come. Happy cleaning!
Conclusion
So, there you have it! Achieving a sparkling stainless steel sink without harsh chemicals or expensive cleaners is not only possible, it’s surprisingly easy and incredibly rewarding. We’ve walked you through a simple yet effective DIY method that utilizes ingredients you likely already have in your pantry. This isn’t just about cleaning; it’s about transforming your kitchen sink into a gleaming focal point, a testament to the power of natural cleaning solutions.
Why is this DIY trick a must-try? Because it’s a game-changer. It’s gentle on your sink, tough on grime, and kind to the environment. Commercial cleaners often contain abrasive chemicals that can dull the finish of your stainless steel over time. This method, on the other hand, uses the natural cleaning power of baking soda, vinegar, and lemon (or olive oil) to lift away dirt, eliminate water spots, and leave behind a brilliant shine. Plus, it’s significantly more cost-effective than constantly buying specialized cleaning products.
But the beauty of this method lies in its adaptability. Feel free to experiment with variations to suit your specific needs and preferences. For instance, if you have particularly stubborn stains, you can create a paste of baking soda and hydrogen peroxide and let it sit on the affected area for a few minutes before scrubbing. If you prefer a different scent, you can add a few drops of your favorite essential oil, like lavender or tea tree, to the baking soda paste. Just be sure to test it in an inconspicuous area first to ensure it doesn’t react with your sink.
Another variation involves using cream of tartar instead of baking soda for an extra polishing boost. Cream of tartar is a mild abrasive that can help remove stubborn stains and leave your sink looking even brighter. Simply mix it with a little water to form a paste and apply it to the sink, scrubbing gently before rinsing.
For those who prefer a more eco-friendly approach, consider using a reusable microfiber cloth instead of paper towels. Microfiber cloths are highly absorbent and effective at removing dirt and grime, and they can be washed and reused countless times.
Ultimately, the key to a sparkling stainless steel sink is consistency. Incorporate this DIY cleaning routine into your regular kitchen maintenance, and you’ll be amazed at how easy it is to keep your sink looking its best. A quick wipe-down with a damp cloth and a sprinkle of baking soda after each use can go a long way in preventing buildup and maintaining that coveted shine.
We’re confident that you’ll love the results of this DIY trick. So, go ahead and give it a try! We encourage you to share your experience with us. Did you find it easy to follow? Did you try any variations? What were your results? Share your tips, tricks, and photos in the comments below. We can’t wait to hear from you and learn from your experiences. Let’s create a community of sparkling sinks!
Frequently Asked Questions (FAQ)
1. Will this DIY method scratch my stainless steel sink?
No, when used correctly, this method is gentle and safe for stainless steel. Baking soda is a mild abrasive, but it’s not harsh enough to scratch the surface. However, it’s crucial to use a soft cloth or sponge and avoid applying excessive pressure while scrubbing. Always scrub in the direction of the grain of the stainless steel to prevent any potential scratching. If you’re concerned, test the method in an inconspicuous area of the sink first.
2. How often should I clean my stainless steel sink using this method?
The frequency of cleaning depends on how often you use your sink and how much buildup occurs. For general maintenance, cleaning your sink once or twice a week with this method is usually sufficient. However, if you notice stubborn stains or excessive buildup, you may need to clean it more frequently. A quick daily wipe-down with a damp cloth and a sprinkle of baking soda can also help prevent buildup and maintain the shine.
3. Can I use this method on other stainless steel appliances?
Yes, this method can be used on other stainless steel appliances, such as refrigerators, dishwashers, and ovens. However, it’s essential to test it in an inconspicuous area first to ensure it doesn’t damage the finish. Avoid using this method on stainless steel appliances with special coatings or finishes, as it may damage them. Always follow the manufacturer’s instructions for cleaning your stainless steel appliances.
4. What if I don’t have baking soda? Can I use something else?
While baking soda is the preferred ingredient for this method, you can use other mild abrasives, such as cream of tartar or a gentle dish soap. However, baking soda is generally considered the most effective and safest option for cleaning stainless steel. If you use dish soap, be sure to rinse the sink thoroughly to remove any residue.
5. My sink has hard water stains. Will this method remove them?
Yes, this method can help remove hard water stains. The vinegar in the cleaning solution helps to dissolve mineral deposits, while the baking soda provides a gentle abrasive action to lift away the stains. For stubborn hard water stains, you can soak a paper towel in vinegar and place it over the affected area for a few minutes before scrubbing.
6. Can I use bleach to clean my stainless steel sink?
No, it is generally not recommended to use bleach on stainless steel. Bleach can corrode stainless steel and cause discoloration or pitting. It’s best to stick to gentler cleaning solutions, such as baking soda, vinegar, and lemon juice.
7. How do I prevent water spots on my stainless steel sink?
To prevent water spots, dry your sink thoroughly after each use. You can use a clean, dry cloth or a squeegee to remove any excess water. Applying a thin layer of olive oil to the sink after cleaning can also help repel water and prevent water spots.
8. What if my sink has rust spots?
For rust spots, you can try using a paste of baking soda and water or a commercial stainless steel cleaner specifically designed to remove rust. Apply the paste to the rust spots and let it sit for a few minutes before scrubbing gently. Rinse thoroughly and dry the sink. If the rust spots are severe, you may need to consult a professional cleaner.
9. Can I use steel wool to clean my stainless steel sink?
No, never use steel wool to clean your stainless steel sink. Steel wool is too abrasive and will scratch the surface. Always use a soft cloth or sponge.
10. Is it safe to use this method if I have a septic system?
Yes, this method is generally safe for septic systems. Baking soda and vinegar are both natural and biodegradable, and they won’t harm the bacteria in your septic tank. However, it’s always a good idea to check with your septic system manufacturer or a professional if you have any concerns.


Leave a Comment