

Shower Mold Removal: Ugh, just the words themselves can send shivers down your spine, right? I know the feeling! We’ve all been there, staring at those unsightly black or green spots creeping across our shower tiles and grout. It’s not just an eyesore; it can also be a health hazard. But before you reach for those harsh chemicals or resign yourself to a lifetime of scrubbing, let me tell you a secret: you can conquer shower mold with simple, DIY tricks!
For centuries, people have battled mold in their homes, using everything from natural remedies to potent concoctions. In ancient cultures, mold was often associated with dampness and decay, and its removal was seen as essential for maintaining a healthy living space. While we’ve come a long way since then, the fundamental challenge remains the same: how to effectively and safely eliminate mold.
That’s where this DIY guide comes in. I’m going to share some of my favorite and most effective methods for shower mold removal, using ingredients you probably already have in your pantry. Why spend a fortune on expensive, store-bought cleaners when you can achieve sparkling results with a little elbow grease and some clever hacks? Not only will you save money, but you’ll also avoid exposing yourself and your family to potentially harmful chemicals. So, let’s dive in and reclaim your shower from the clutches of mold!
DIY Shower Mold Removal: A Comprehensive Guide
Okay, let’s face it, shower mold is the bane of every homeowner’s existence. It’s unsightly, smells bad, and can even be a health hazard. But don’t despair! You don’t need to call in a professional (unless it’s a really, really bad case). I’m going to walk you through a few DIY methods that I’ve personally used to banish that nasty mold from your shower.
Understanding the Enemy: What is Shower Mold?
Before we dive into the cleaning, let’s understand what we’re dealing with. Shower mold is typically a type of fungus that thrives in warm, moist environments. It feeds on organic matter like soap scum, shampoo residue, and even dead skin cells (gross, I know!). The most common types you’ll find in your shower are black mold (Stachybotrys chartarum), which is the most concerning due to its potential health effects, and mildew, which is usually white or gray and easier to remove.
Safety First!
Important: Before you start any mold removal process, protect yourself! Mold spores can be irritating to your lungs and skin.
* Wear gloves: Protect your hands from harsh chemicals and mold spores.
* Wear a mask: A simple dust mask or respirator will prevent you from inhaling mold spores.
* Ventilate the area: Open windows and turn on the bathroom fan to improve airflow.
* Wear eye protection: Goggles will protect your eyes from splashes.
Method 1: The Power of Baking Soda and Vinegar
This is my go-to method for mild to moderate mold growth. It’s natural, effective, and you probably already have these ingredients in your pantry!
Materials You’ll Need:
* Baking soda
* White vinegar
* Spray bottle
* Scrub brush (an old toothbrush works great for tight spots)
* Sponge
* Water
* Paper towels or a clean cloth
Step-by-Step Instructions:
1. Prepare the Baking Soda Paste: In a small bowl, mix baking soda with a little water to form a thick paste. The consistency should be similar to toothpaste. This paste will act as a gentle abrasive to scrub away the mold.
2. Apply the Baking Soda Paste: Using your fingers or a small spatula, apply the baking soda paste directly to the moldy areas. Make sure to cover the mold completely.
3. Let it Sit: Allow the baking soda paste to sit on the mold for at least 30 minutes. This gives the baking soda time to penetrate the mold and loosen its grip. For stubborn mold, you can leave it on for a few hours.
4. Scrub, Scrub, Scrub: After the soaking time, use your scrub brush or toothbrush to vigorously scrub the moldy areas. You’ll see the mold starting to lift away. Don’t be afraid to put some elbow grease into it!
5. Rinse with Water: Once you’ve scrubbed away the mold, rinse the area thoroughly with water. Make sure to remove all traces of the baking soda paste.
6. Vinegar Time: Fill your spray bottle with white vinegar. Vinegar is a natural disinfectant and will help kill any remaining mold spores.
7. Spray and Let it Dry: Spray the cleaned area generously with vinegar. Don’t rinse it off! Let the vinegar air dry. The vinegar smell will dissipate quickly.
8. Repeat if Necessary: For particularly stubborn mold, you may need to repeat this process a few times.
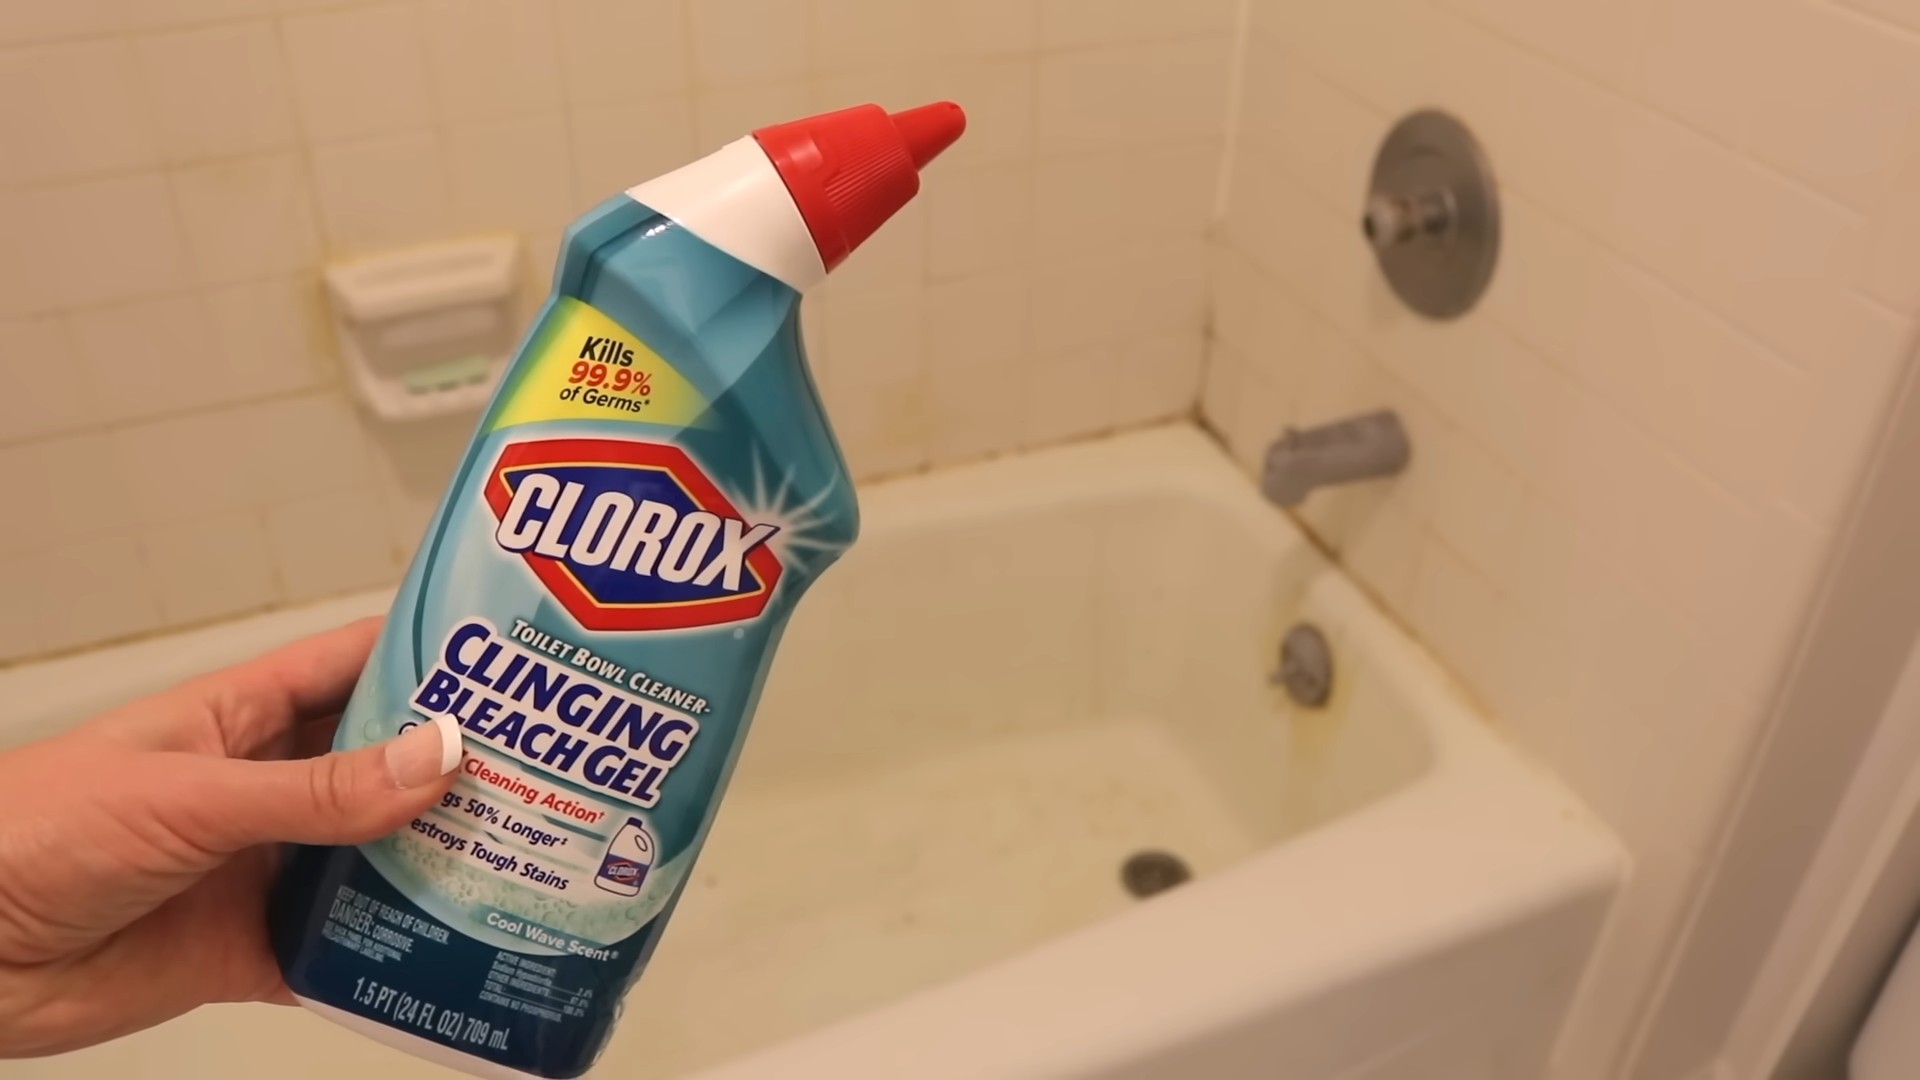
Method 2: Bleach Power (Use with Caution!)
Bleach is a powerful mold killer, but it should be used with caution due to its strong fumes and potential to damage surfaces. Always wear gloves, a mask, and eye protection when working with bleach. Never mix bleach with ammonia, as this creates toxic fumes.
Materials You’ll Need:
* Bleach (unscented)
* Water
* Spray bottle
* Scrub brush
* Sponge
* Paper towels or a clean cloth
Step-by-Step Instructions:
1. Dilute the Bleach: In your spray bottle, mix one part bleach with ten parts water. This dilution is strong enough to kill mold but less likely to damage surfaces.
2. Spray the Moldy Areas: Spray the bleach solution directly onto the moldy areas. Make sure to saturate the mold completely.
3. Let it Sit: Allow the bleach solution to sit on the mold for at least 10 minutes. This gives the bleach time to kill the mold spores.
4. Scrub (If Needed): In some cases, the bleach will kill the mold and it will simply wipe away. However, if the mold is stubborn, you may need to scrub it gently with a scrub brush.
5. Rinse Thoroughly: After the soaking time, rinse the area thoroughly with water. Make sure to remove all traces of the bleach solution.
6. Dry the Area: Use paper towels or a clean cloth to dry the area completely. This will help prevent mold from returning.
7. Ventilate: Keep the bathroom well-ventilated for several hours after using bleach.
Method 3: Hydrogen Peroxide to the Rescue
Hydrogen peroxide is another effective and less harsh alternative to bleach. It’s a natural disinfectant and antifungal agent.
Materials You’ll Need:
* 3% Hydrogen peroxide (the kind you find in the drugstore)
* Spray bottle
* Scrub brush
* Sponge
* Paper towels or a clean cloth
Step-by-Step Instructions:
1. Pour Hydrogen Peroxide into Spray Bottle: Pour the 3% hydrogen peroxide directly into your spray bottle. No need to dilute it.
2. Spray the Moldy Areas: Spray the hydrogen peroxide generously onto the moldy areas. Make sure to saturate the mold completely.
3. Let it Sit: Allow the hydrogen peroxide to sit on the mold for at least 10 minutes. For stubborn mold, you can let it sit for up to an hour.
4. Scrub (If Needed): If the mold is still visible after the soaking time, scrub it gently with a scrub brush.
5. Rinse Thoroughly: Rinse the area thoroughly with water.
6. Dry the Area: Use paper towels or a clean cloth to dry the area completely.
Dealing with Mold in Caulk and Grout
Mold loves to hide in the porous surfaces of caulk and grout. Here’s how to tackle it:
Materials You’ll Need:
* Your chosen cleaning solution (baking soda paste, bleach solution, or hydrogen peroxide)
* Old toothbrush or grout brush
* Cotton balls or paper towels
* Caulk removal tool (optional)
* New caulk (optional)
Step-by-Step Instructions:
1. Apply the Cleaning Solution: Apply your chosen cleaning solution directly to the moldy caulk and grout.
2. Scrub with a Toothbrush: Use an old toothbrush or grout brush to scrub the moldy areas. Pay close attention to the grout lines.
3. Soak Stubborn Areas: For stubborn mold, soak cotton balls or paper towels in your cleaning solution and place them directly on the moldy areas. Let them sit for several hours or even overnight.
4. Rinse Thoroughly: Rinse the area thoroughly with water.
5. Dry the Area: Dry the area completely.
6. Recaulk (If Necessary): If the mold is deeply embedded in the caulk and you can’t remove it, you may need to remove the old caulk and apply new caulk. This is a bit more involved, but it’s the best way to eliminate the mold completely. You can find caulk removal tools and caulk at your local hardware store.
Preventing Mold from Returning
Once you’ve banished the mold, the key is to prevent it from coming back! Here are a few tips:
* Ventilate: Always run the bathroom fan during and after showers to remove excess moisture.
* Dry Surfaces: Wipe down shower walls and doors after each use to remove water droplets.
* Clean Regularly: Clean your shower regularly with a mold-killing cleaner.
Okay, let’s face it, shower mold is the bane of every homeowner’s existence. It’s unsightly, smells bad, and can even be a health hazard. But don’t despair! You don’t need to call in a professional (unless it’s a really, really bad case). I’m going to walk you through a few DIY methods that I’ve personally used to banish that nasty mold from your shower.
Understanding the Enemy: What is Shower Mold?
Before we dive into the cleaning, let’s understand what we’re dealing with. Shower mold is typically a type of fungus that thrives in warm, moist environments. It feeds on organic matter like soap scum, shampoo residue, and even dead skin cells (gross, I know!). The most common types you’ll find in your shower are black mold (Stachybotrys chartarum), which is the most concerning due to its potential health effects, and mildew, which is usually white or gray and easier to remove.
Safety First!
Important: Before you start any mold removal process, protect yourself! Mold spores can be irritating to your lungs and skin.
* Wear gloves: Protect your hands from harsh chemicals and mold spores.
* Wear a mask: A simple dust mask or respirator will prevent you from inhaling mold spores.
* Ventilate the area: Open windows and turn on the bathroom fan to improve airflow.
* Wear eye protection: Goggles will protect your eyes from splashes.
Method 1: The Power of Baking Soda and Vinegar
This is my go-to method for mild to moderate mold growth. It’s natural, effective, and you probably already have these ingredients in your pantry!
Materials You’ll Need:
* Baking soda
* White vinegar
* Spray bottle
* Scrub brush (an old toothbrush works great for tight spots)
* Sponge
* Water
* Paper towels or a clean cloth
Step-by-Step Instructions:
1. Prepare the Baking Soda Paste: In a small bowl, mix baking soda with a little water to form a thick paste. The consistency should be similar to toothpaste. This paste will act as a gentle abrasive to scrub away the mold.
2. Apply the Baking Soda Paste: Using your fingers or a small spatula, apply the baking soda paste directly to the moldy areas. Make sure to cover the mold completely.
3. Let it Sit: Allow the baking soda paste to sit on the mold for at least 30 minutes. This gives the baking soda time to penetrate the mold and loosen its grip. For stubborn mold, you can leave it on for a few hours.
4. Scrub, Scrub, Scrub: After the soaking time, use your scrub brush or toothbrush to vigorously scrub the moldy areas. You’ll see the mold starting to lift away. Don’t be afraid to put some elbow grease into it!
5. Rinse with Water: Once you’ve scrubbed away the mold, rinse the area thoroughly with water. Make sure to remove all traces of the baking soda paste.
6. Vinegar Time: Fill your spray bottle with white vinegar. Vinegar is a natural disinfectant and will help kill any remaining mold spores.
7. Spray and Let it Dry: Spray the cleaned area generously with vinegar. Don’t rinse it off! Let the vinegar air dry. The vinegar smell will dissipate quickly.
8. Repeat if Necessary: For particularly stubborn mold, you may need to repeat this process a few times.
Method 2: Bleach Power (Use with Caution!)
Bleach is a powerful mold killer, but it should be used with caution due to its strong fumes and potential to damage surfaces. Always wear gloves, a mask, and eye protection when working with bleach. Never mix bleach with ammonia, as this creates toxic fumes.
Materials You’ll Need:
* Bleach (unscented)
* Water
* Spray bottle
* Scrub brush
* Sponge
* Paper towels or a clean cloth
Step-by-Step Instructions:
1. Dilute the Bleach: In your spray bottle, mix one part bleach with ten parts water. This dilution is strong enough to kill mold but less likely to damage surfaces.
2. Spray the Moldy Areas: Spray the bleach solution directly onto the moldy areas. Make sure to saturate the mold completely.
3. Let it Sit: Allow the bleach solution to sit on the mold for at least 10 minutes. This gives the bleach time to kill the mold spores.
4. Scrub (If Needed): In some cases, the bleach will kill the mold and it will simply wipe away. However, if the mold is stubborn, you may need to scrub it gently with a scrub brush.
5. Rinse Thoroughly: After the soaking time, rinse the area thoroughly with water. Make sure to remove all traces of the bleach solution.
6. Dry the Area: Use paper towels or a clean cloth to dry the area completely. This will help prevent mold from returning.
7. Ventilate: Keep the bathroom well-ventilated for several hours after using bleach.
Method 3: Hydrogen Peroxide to the Rescue
Hydrogen peroxide is another effective and less harsh alternative to bleach. It’s a natural disinfectant and antifungal agent.
Materials You’ll Need:
* 3% Hydrogen peroxide (the kind you find in the drugstore)
* Spray bottle
* Scrub brush
* Sponge
* Paper towels or a clean cloth
Step-by-Step Instructions:
1. Pour Hydrogen Peroxide into Spray Bottle: Pour the 3% hydrogen peroxide directly into your spray bottle. No need to dilute it.
2. Spray the Moldy Areas: Spray the hydrogen peroxide generously onto the moldy areas. Make sure to saturate the mold completely.
3. Let it Sit: Allow the hydrogen peroxide to sit on the mold for at least 10 minutes. For stubborn mold, you can let it sit for up to an hour.
4. Scrub (If Needed): If the mold is still visible after the soaking time, scrub it gently with a scrub brush.
5. Rinse Thoroughly: Rinse the area thoroughly with water.
6. Dry the Area: Use paper towels or a clean cloth to dry the area completely.
Dealing with Mold in Caulk and Grout
Mold loves to hide in the porous surfaces of caulk and grout. Here’s how to tackle it:
Materials You’ll Need:
* Your chosen cleaning solution (baking soda paste, bleach solution, or hydrogen peroxide)
* Old toothbrush or grout brush
* Cotton balls or paper towels
* Caulk removal tool (optional)
* New caulk (optional)
Step-by-Step Instructions:
1. Apply the Cleaning Solution: Apply your chosen cleaning solution directly to the moldy caulk and grout.
2. Scrub with a Toothbrush: Use an old toothbrush or grout brush to scrub the moldy areas. Pay close attention to the grout lines.
3. Soak Stubborn Areas: For stubborn mold, soak cotton balls or paper towels in your cleaning solution and place them directly on the moldy areas. Let them sit for several hours or even overnight.
4. Rinse Thoroughly: Rinse the area thoroughly with water.
5. Dry the Area: Dry the area completely.
6. Recaulk (If Necessary): If the mold is deeply embedded in the caulk and you can’t remove it, you may need to remove the old caulk and apply new caulk. This is a bit more involved, but it’s the best way to eliminate the mold completely. You can find caulk removal tools and caulk at your local hardware store.
Preventing Mold from Returning
Once you’ve banished the mold, the key is to prevent it from coming back! Here are a few tips:
* Ventilate: Always run the bathroom fan during and after showers to remove excess moisture.
* Dry Surfaces: Wipe down shower walls and doors after each use to remove water droplets.
* Clean Regularly: Clean your shower regularly with a mold-killing cleaner.
* Fix Leaks: Repair any leaks promptly to prevent moisture buildup.
* Use a Squeegee: A squeegee is your best friend! Use it to remove water from shower walls and doors after each use.
* Consider a Dehumidifier: If you live in a humid climate, consider using a dehumidifier in your bathroom to reduce moisture levels.
When to Call a Professional
While these DIY methods are effective for most cases of shower mold, there are times when you should call in a professional mold remediation company.
* Ext
Conclusion
So, there you have it! Banishing shower mold doesn’t require harsh chemicals or expensive professional services. This simple, DIY shower mold removal trick is a game-changer for anyone battling those unsightly and potentially harmful spots in their bathroom. We’ve shown you how to harness the power of readily available ingredients to create a potent, yet safe, solution that tackles mold at its source.
Why is this a must-try? Because it’s effective, affordable, and environmentally conscious. Commercial mold removers often contain harsh chemicals that can irritate your skin, damage surfaces, and release harmful fumes into your home. Our DIY method, on the other hand, utilizes ingredients like baking soda, vinegar, and hydrogen peroxide – all readily available, budget-friendly, and generally safer for you and your family. Plus, you’ll be reducing your reliance on plastic bottles and contributing to a more sustainable lifestyle.
But the benefits don’t stop there. This method is also incredibly versatile. While we’ve outlined a specific recipe, feel free to experiment with variations to suit your needs and preferences. For instance, if you’re dealing with particularly stubborn mold, you can increase the concentration of vinegar or hydrogen peroxide in your solution. Or, if you prefer a more pleasant scent, add a few drops of your favorite essential oil, such as tea tree oil (known for its antifungal properties) or lavender oil (for its calming aroma). Just be sure to test any new additions on a small, inconspicuous area first to ensure they don’t damage the surface.
Another variation involves the application method. While we recommend using a spray bottle for easy and even coverage, you can also apply the solution with a sponge or cloth, especially for targeted areas. For grout lines, a small brush, like an old toothbrush, can be incredibly effective at scrubbing away mold. Remember to always wear gloves and eye protection when working with any cleaning solution, even a DIY one.
The key to successful shower mold removal is consistency. Don’t expect to eliminate all the mold with just one application. Depending on the severity of the infestation, you may need to repeat the process several times over a few days or weeks. Regular maintenance is also crucial to prevent mold from returning. Make sure to ventilate your bathroom well after showering, wipe down wet surfaces, and address any leaks or water damage promptly.
We are confident that this DIY shower mold removal trick will become your go-to solution for a clean and healthy bathroom. It’s a simple, effective, and affordable way to keep your shower sparkling and mold-free.
Now, it’s your turn! We encourage you to try this DIY method and see the amazing results for yourself. Don’t just take our word for it – experience the difference firsthand. And most importantly, we want to hear about your experience! Share your tips, tricks, and before-and-after photos in the comments below. Let’s create a community of DIY enthusiasts who are committed to keeping their homes clean and healthy, one shower at a time. Your feedback will not only help other readers but also inspire us to continue developing and sharing effective DIY solutions. Let us know what worked best for you, any challenges you encountered, and any variations you tried. Together, we can conquer shower mold and create a healthier living environment for everyone.
Frequently Asked Questions (FAQ)
What exactly causes shower mold?
Shower mold thrives in warm, damp environments with poor ventilation. The combination of moisture from showering, soap scum, and organic matter creates the perfect breeding ground for mold spores. These spores are naturally present in the air, but they only become a problem when they find a suitable environment to grow. Leaky faucets, inadequate ventilation, and infrequent cleaning can all contribute to mold growth in your shower.
Is shower mold dangerous?
Yes, shower mold can be dangerous, especially for individuals with allergies, asthma, or weakened immune systems. Mold spores can trigger allergic reactions, causing symptoms such as sneezing, coughing, runny nose, skin rashes, and watery eyes. In more severe cases, mold exposure can lead to asthma attacks, respiratory infections, and other health problems. Certain types of mold, such as Stachybotrys chartarum (black mold), can produce mycotoxins, which are toxic substances that can cause serious health issues. Even if you don’t have any known allergies or health conditions, prolonged exposure to shower mold can still irritate your respiratory system and cause discomfort. Therefore, it’s important to address mold growth promptly and effectively.
How often should I clean my shower to prevent mold?
Ideally, you should wipe down your shower walls and door after each use to remove excess moisture and soap scum. A more thorough cleaning, including scrubbing the grout lines and applying a mold-preventing solution, should be done at least once a week. If you live in a humid climate or have poor ventilation in your bathroom, you may need to clean your shower more frequently. Regular cleaning will help prevent mold from taking hold and keep your bathroom fresh and healthy.
What if the mold is really bad and deeply embedded?
For severe mold infestations, you may need to take more aggressive measures. First, try increasing the concentration of vinegar or hydrogen peroxide in your DIY cleaning solution. You can also try using a specialized mold remover that is specifically designed for deep cleaning. Apply the solution liberally to the affected areas and let it sit for a longer period of time, such as several hours or even overnight. Use a stiff brush or scrub pad to thoroughly scrub the mold away. If the mold is deeply embedded in the grout, you may need to remove and replace the grout altogether. In extreme cases, you may need to consult with a professional mold remediation company to ensure that the mold is completely removed and the underlying moisture problem is addressed.
Can I use bleach to remove shower mold?
While bleach can be effective at killing surface mold, it’s not the best solution for shower mold removal. Bleach only removes the color of the mold, but it doesn’t kill the mold spores. This means that the mold will likely return quickly. Additionally, bleach can be harmful to your health and the environment. It can irritate your skin, eyes, and respiratory system, and it can damage surfaces such as grout and caulk. Bleach also reacts with ammonia to produce toxic fumes. Our DIY method is a safer and more effective alternative to bleach for shower mold removal.
Will this DIY solution work on all types of surfaces?
This DIY solution is generally safe for most shower surfaces, including tile, grout, fiberglass, and acrylic. However, it’s always a good idea to test the solution on a small, inconspicuous area first to ensure that it doesn’t damage the surface. Avoid using this solution on natural stone surfaces, such as marble or granite, as the vinegar can etch the stone. For natural stone, use a pH-neutral cleaner specifically designed for those surfaces.
How can I improve ventilation in my bathroom to prevent mold?
Improving ventilation is crucial for preventing mold growth in your bathroom. Make sure to run the exhaust fan during and after showering to remove excess moisture. If you don’t have an exhaust fan, consider installing one. You can also open a window to allow fresh air to circulate. Keep the bathroom door open after showering to allow the room to dry out completely. Consider using a dehumidifier to remove excess moisture from the air, especially in humid climates.
What are some other tips for preventing shower mold?
In addition to regular cleaning and good ventilation, there are several other things you can do to prevent shower mold. Wipe down wet surfaces after each use, including the shower walls, door, and floor. Use a squeegee to remove water from the shower walls and door. Wash your shower curtain or liner regularly. Fix any leaks or water damage promptly. Avoid leaving wet towels or washcloths in the shower. Consider using a mold-resistant shower curtain or liner. By following these tips, you can create a less hospitable environment for mold and keep your shower clean and healthy.
How long will it take to see results with this DIY method?
The time it takes to see results will depend on the severity of the mold infestation. For light mold growth, you may see a noticeable improvement after just one application. For more severe mold, you may need to repeat the process several times over a few days or weeks. Be patient and persistent, and you will eventually see results. Remember to focus on regular maintenance to prevent the mold from returning.
Leave a Comment