

Shoe Box Reuse Ideas: Are you drowning in shoe boxes? I know I am! Before you toss them in the recycling bin, hold on! You’re about to discover a treasure trove of creative and practical ways to give those humble cardboard containers a new lease on life.
For centuries, humans have been repurposing everyday objects, driven by necessity and ingenuity. Think of the early settlers transforming discarded materials into tools and shelter. This spirit of resourcefulness is alive and well today, and it’s especially relevant when it comes to reducing waste and embracing sustainable living. Shoe boxes, often overlooked, are a fantastic starting point.
In a world increasingly conscious of environmental impact, finding innovative ways to reuse items is more important than ever. Plus, let’s be honest, who doesn’t love a good DIY project that saves money and adds a personal touch to their home? From stylish storage solutions to fun kids’ crafts, these shoe box reuse ideas will inspire you to think outside the (shoe) box and transform clutter into creativity. I’m excited to share these simple, yet effective, hacks that will not only declutter your space but also contribute to a greener lifestyle. Let’s get started!
Shoe Box Transformations: From Clutter to Clever!
Hey there, fellow DIY enthusiasts! Got a stack of shoe boxes gathering dust? Don’t toss them! I’m going to show you how to transform those humble cardboard containers into stylish and functional items for your home. We’ll cover everything from organizing your closet to creating adorable decor pieces. Let’s get crafty!
Project 1: Chic Drawer Dividers
Tired of rummaging through messy drawers? Shoe box dividers are a game-changer! They’re super easy to make and will bring order to your chaotic spaces.
Materials You’ll Need:
* Shoe boxes (various sizes depending on your drawer dimensions)
* Ruler or measuring tape
* Pencil
* Scissors or a craft knife
* Decorative paper (wrapping paper, scrapbook paper, fabric – get creative!)
* Glue stick or double-sided tape
Step-by-Step Instructions:
1. Measure Your Drawers: The first step is crucial! Accurately measure the inside dimensions of your drawers – length, width, and height. Write these measurements down; you’ll need them to determine the size of your dividers.
2. Prepare the Shoe Boxes: Select shoe boxes that are slightly taller than the height of your drawer. This allows for some trimming and ensures the dividers fit snugly. If your shoe boxes are too short, you can reinforce them by gluing extra cardboard to the bottom.
3. Cut the Shoe Boxes to Size: Using your measurements, mark the cutting lines on the shoe boxes with a pencil. Remember to account for the height of the drawer. It’s better to cut a little extra off than not enough. Use scissors or a craft knife to carefully cut along the marked lines. A craft knife and a cutting mat will give you the cleanest cuts.
4. Reinforce the Edges (Optional): For added durability, you can reinforce the cut edges of the shoe boxes with packing tape or decorative washi tape. This will prevent the cardboard from fraying and give your dividers a more polished look.
5. Decorate the Dividers: This is where you can let your creativity shine! Choose your favorite decorative paper or fabric. Measure the surface area of the shoe box dividers and cut the paper or fabric to size, leaving a small overlap on each edge.
6. Adhere the Decorative Paper/Fabric: Apply glue stick or double-sided tape to the surface of the shoe box dividers. Carefully position the decorative paper or fabric and smooth it out to avoid any wrinkles or bubbles. Fold the overlapping edges of the paper or fabric over the edges of the dividers and secure them with glue or tape.
7. Arrange in Drawers: Once the glue is dry, arrange your new dividers in your drawers. Experiment with different configurations to find the most efficient way to organize your items. You can use them for socks, underwear, jewelry, office supplies – anything that needs a little order!
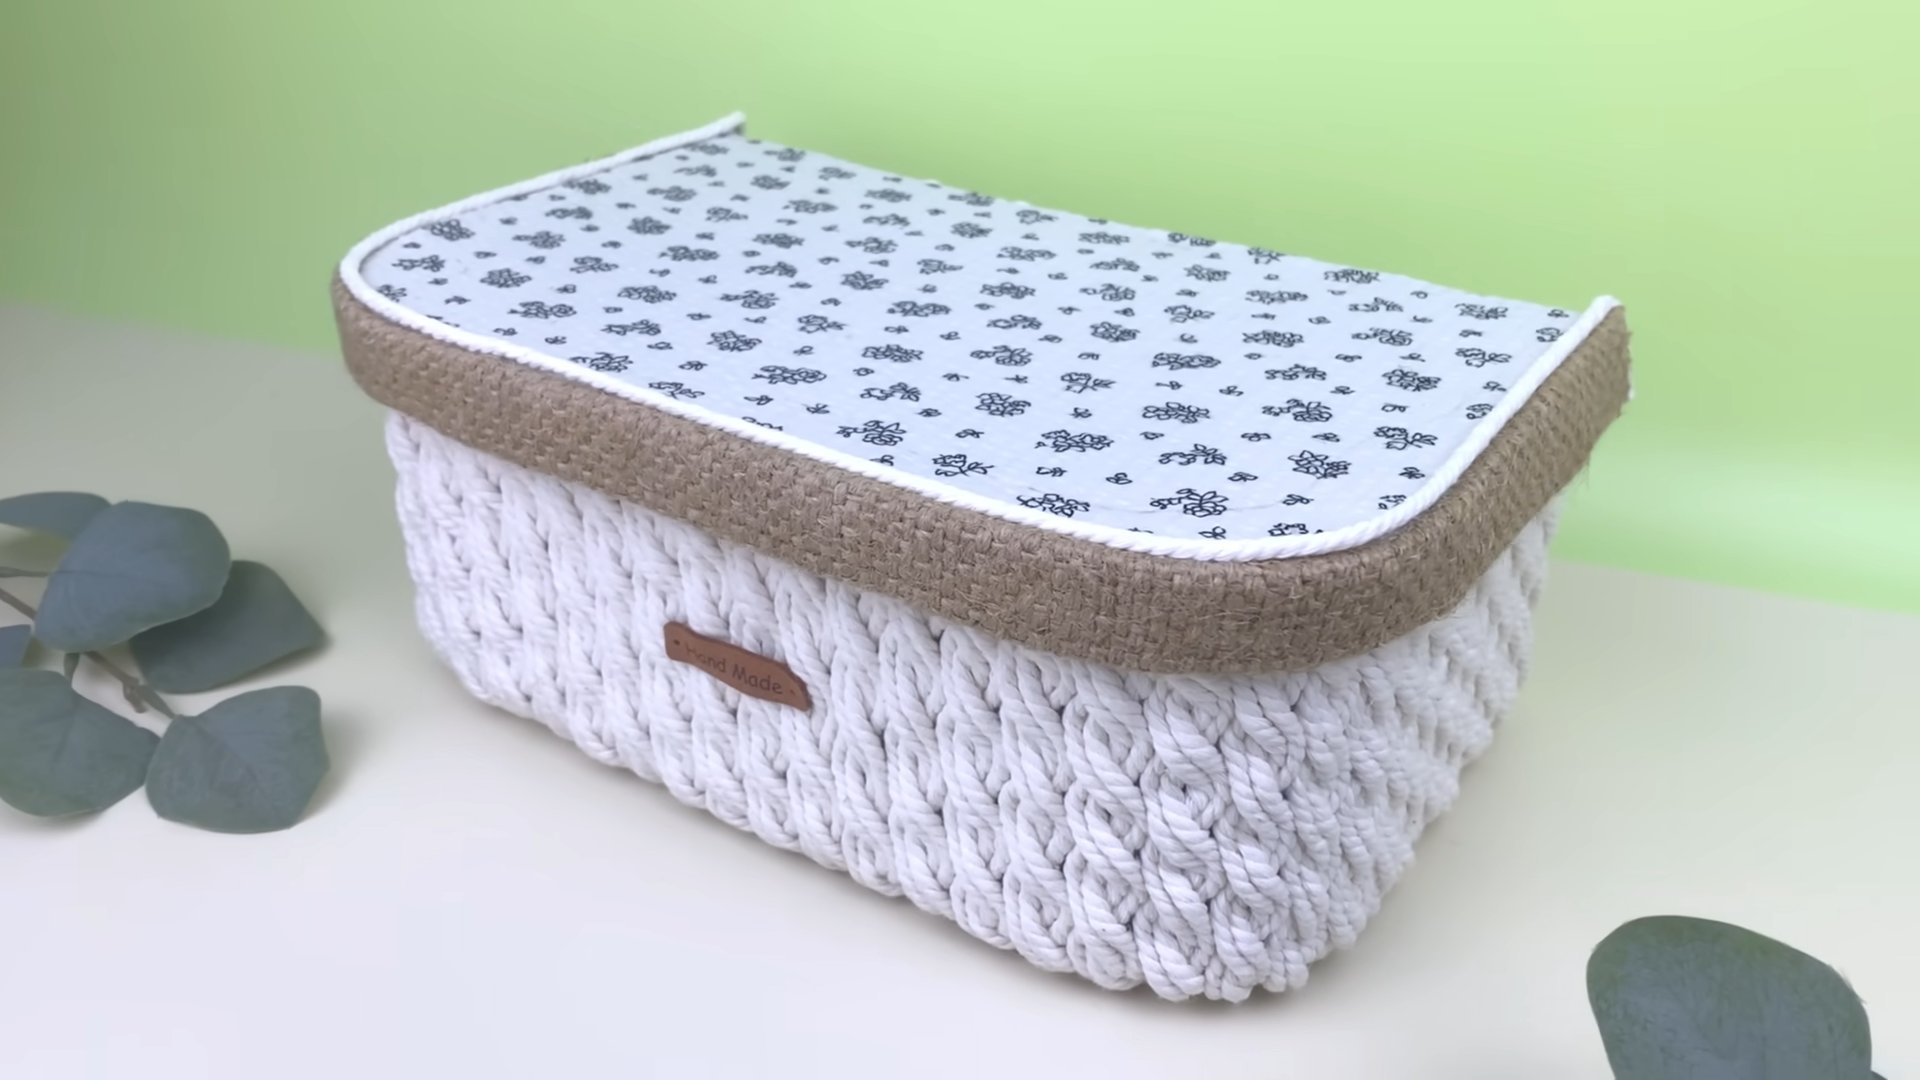
Project 2: Stylish Storage Baskets
Transform plain shoe boxes into chic storage baskets that will add a touch of style to any room. These are perfect for storing magazines, toys, craft supplies, or anything else you want to keep organized.
Materials You’ll Need:
* Shoe boxes (choose boxes in good condition)
* Fabric (burlap, canvas, linen – choose a durable fabric)
* Scissors
* Hot glue gun and glue sticks
* Ruler or measuring tape
* Pencil
* Optional: Embellishments (ribbon, buttons, lace, etc.)
Step-by-Step Instructions:
1. Measure the Shoe Box: Measure the outside dimensions of the shoe box – length, width, and height. You’ll need these measurements to cut the fabric.
2. Cut the Fabric: Cut the fabric into pieces that are large enough to cover the entire shoe box, including the bottom and inside. Be sure to leave a few extra inches on each side for folding and gluing. I usually add about 2-3 inches all around.
3. Attach Fabric to the Outside: Start by applying hot glue to the bottom of the shoe box. Carefully attach the fabric to the bottom, smoothing it out as you go. Then, apply hot glue to the sides of the shoe box and wrap the fabric around, making sure to pull it taut to avoid any wrinkles.
4. Fold and Glue the Edges: Fold the excess fabric over the top edges of the shoe box and secure it with hot glue. Make sure the edges are neatly folded and glued for a clean finish.
5. Line the Inside (Optional): For a more polished look, you can line the inside of the shoe box with fabric as well. Cut the fabric to fit the inside dimensions of the box and secure it with hot glue.
6. Add Embellishments (Optional): Now comes the fun part! Add embellishments to your storage baskets to personalize them. You can glue on ribbon, buttons, lace, or any other decorative items you like. Get creative and make them your own!
7. Let the Glue Dry: Allow the hot glue to dry completely before using your new storage baskets.
Project 3: Cord Organizer
Tired of tangled cords behind your desk or entertainment center? This simple shoe box hack will keep your cords organized and out of sight.
Materials You’ll Need:
* Shoe box (with lid)
* Scissors or craft knife
* Drill (optional, for larger cords)
* Decorative paper or paint (optional, for decorating the box)
Step-by-Step Instructions:
1. Prepare the Shoe Box: If you want to decorate the shoe box, now is the time to do it. You can paint it, cover it with decorative paper, or leave it plain.
2. Cut Holes for the Cords: Determine where you want the cords to enter and exit the box. Use scissors or a craft knife to cut holes in the sides or back of the shoe box. For larger cords, you may need to use a drill to create larger holes. Make sure the holes are large enough to accommodate the cords, but not so large that they look messy.
3. Place Power Strip Inside: Place a power strip inside the shoe box. Plug all of your devices into the power strip.
4. Organize the Cords: Neatly arrange the cords inside the shoe box, making sure they are not tangled. You can use zip ties or Velcro straps to keep the cords organized.
5. Close the Lid: Close the lid of the shoe box. The cords will now be hidden inside the box, creating a cleaner and more organized look.
6. Label the Cords (Optional): To easily identify which cord belongs to which device, you can label the cords with small tags or labels.
Project 4: Photo Storage Box
Protect your precious memories by creating a custom photo storage box from a shoe box. This is a great way to keep your photos organized and safe from damage.
Materials You’ll Need:
* Shoe box (with lid)
* Cardstock or photo paper
* Scissors or paper cutter
* Glue stick or double-sided tape
* Labels (optional)
Step-by-Step Instructions:
1. Prepare the Shoe Box: Make sure the shoe box is clean and dry. If you want to decorate the box, you can paint it, cover it with decorative paper, or leave it plain.
2. Cut Dividers: Cut pieces of cardstock or photo paper to create dividers for the photos. The size of the dividers will depend on the size of the shoe box and the size of your photos. I usually make them about 4 inches tall and the width of the box.
3. Label the Dividers (Optional): Label the dividers with dates, events, or categories to help you organize your photos.
4. Assemble the Box: Place the dividers inside the shoe box, creating sections for your photos.
5. Store Your Photos: Carefully place your photos inside the box, organizing them by date, event, or category.
6. Close the Lid: Close the lid of the shoe box to protect your photos from dust and light.
Project 5: Miniature Dollhouse
Unleash your inner child and create a charming miniature dollhouse from a shoe box! This is a fun and creative project that can be enjoyed by both kids and adults.
Materials You’ll Need:
* Shoe box (with lid)
* Construction paper or scrapbook paper
* Scissors
* Glue stick
* Small furniture and accessories (dollhouse furniture, miniature figurines, etc.)
* Optional: Fabric scraps, paint, markers
Step-by-Step Instructions:
1. Prepare the Shoe Box: Decide which side of the shoe box will be the front of the dollhouse. You can cut out a window or door in the front of the box if you like.
2. Decorate the Walls:
Conclusion
So, there you have it! Transforming those humble shoe boxes into functional and stylish organizers is not just a clever way to declutter; it’s a testament to the power of resourcefulness and creativity. We’ve explored a range of ideas, from simple drawer dividers to sophisticated charging stations, all born from the simple act of reusing something you’d normally discard.
Why is this DIY trick a must-try? Because it’s incredibly versatile, budget-friendly, and eco-conscious. You’re not just saving money on expensive storage solutions; you’re also reducing waste and giving new life to materials that would otherwise end up in landfills. Plus, the satisfaction of creating something useful and beautiful with your own hands is truly rewarding.
But the possibilities don’t end here! Feel free to experiment with different fabrics, paints, and embellishments to personalize your shoe box creations. Consider using patterned paper or washi tape for a pop of color. Add labels to keep everything organized and easily identifiable. For a more rustic look, try covering the boxes with burlap or twine. If you’re feeling ambitious, you could even combine multiple shoe boxes to create larger storage units or custom shelving. Think about adding small wheels to the bottom of larger boxes to create easily movable storage bins. You can also use different sized shoe boxes to create a tiered organizer for your desk or vanity.
Don’t be afraid to think outside the box (pun intended!). The beauty of this DIY project lies in its adaptability. Tailor the designs to suit your specific needs and aesthetic preferences. Need a place to store your jewelry? Line a shoe box with velvet and add small compartments. Want to organize your craft supplies? Use dividers to separate different types of materials. The only limit is your imagination.
We’ve shown you how to make drawer organizers, charging stations, and even decorative storage boxes. Each project is designed to be easy to follow, even for beginners. Remember to take your time, be patient, and most importantly, have fun! The process of transforming something ordinary into something extraordinary is incredibly fulfilling.
Ultimately, this is more than just a collection of DIY projects; it’s an invitation to embrace a more sustainable and creative lifestyle. By choosing to reuse and repurpose, you’re making a conscious effort to reduce your environmental impact and create a more beautiful and organized home.
So, grab those shoe boxes, gather your supplies, and get ready to unleash your inner DIY enthusiast. We’re confident that you’ll be amazed at what you can create. And most importantly, we want to hear about your experiences! Share your photos and stories with us on social media using #ShoeBoxReuseIdeas. We can’t wait to see what you come up with! Let’s inspire each other to transform the ordinary into the extraordinary, one shoe box at a time. This is a great way to get creative and practice some shoe box reuse ideas.
FAQ
What kind of shoe boxes work best for these projects?
The best shoe boxes for these projects are sturdy ones made from thick cardboard. Avoid using flimsy boxes that are easily crushed or damaged. Boxes from higher-end shoe brands often tend to be more durable. Also, consider the size of the shoe box in relation to what you plan to store in it. Larger boxes are great for storing bulky items, while smaller boxes are ideal for organizing smaller items like jewelry or office supplies. If you’re planning to paint or cover the boxes with fabric, choose boxes with a smooth surface for better adhesion.
How do I reinforce a shoe box if it’s not very sturdy?
If your shoe box is a bit flimsy, there are several ways to reinforce it. You can use packing tape to reinforce the corners and edges of the box. Another option is to glue cardboard strips along the inside of the box for added support. You can also line the inside of the box with a layer of thick paper or fabric to provide extra strength. For heavier items, consider adding a cardboard bottom to the inside of the box for increased stability.
What kind of glue should I use for these projects?
The best type of glue to use depends on the materials you’re working with. For paper and fabric, a craft glue or Mod Podge works well. For heavier materials like cardboard or wood, a stronger adhesive like wood glue or construction adhesive is recommended. Hot glue can also be used for quick and easy bonding, but it may not be as durable as other types of glue. Always test the glue on a small, inconspicuous area of the box before applying it to the entire project.
How do I prevent the fabric or paper from wrinkling when I glue it to the shoe box?
To prevent wrinkling, apply a thin, even layer of glue to the surface of the shoe box. Smooth the fabric or paper onto the glue, starting from the center and working your way outwards. Use a brayer or a credit card to smooth out any air bubbles or wrinkles. If you’re using Mod Podge, apply a thin layer to the top of the fabric or paper as well to seal it and prevent it from peeling. Allow the glue to dry completely before adding any embellishments.
Can I paint the shoe boxes instead of covering them with fabric or paper?
Yes, you can definitely paint the shoe boxes! Acrylic paint is a great option because it adheres well to cardboard and dries quickly. Before painting, prime the shoe box with a layer of gesso to create a smooth surface and prevent the paint from soaking into the cardboard. Apply several thin coats of paint, allowing each coat to dry completely before applying the next. You can also use stencils or stamps to add designs to the painted boxes.
How do I add dividers to the shoe boxes?
Adding dividers to shoe boxes is a great way to organize smaller items. You can use cardboard, foam board, or even plastic dividers. Measure the inside of the shoe box and cut the dividers to the desired size. Use glue or tape to secure the dividers in place. For adjustable dividers, consider using Velcro or clips. You can also create custom dividers by cutting slots in the cardboard and interlocking them to create compartments.
How do I make a charging station out of a shoe box?
To make a charging station, cut holes in the shoe box for the charging cables to pass through. You can use a drill or a craft knife to cut the holes. Make sure the holes are large enough to accommodate the plugs. Place a power strip inside the shoe box and plug in your devices. You can also add dividers to separate the devices and keep them organized. Decorate the shoe box to match your décor.
How do I label the shoe boxes so I know what’s inside?
There are many ways to label your shoe boxes. You can use adhesive labels, write directly on the box with a marker, or create custom labels using a label maker. For a more decorative look, consider using chalkboard paint and writing on the box with chalk. You can also attach tags to the boxes with ribbon or twine. Be sure to label the boxes clearly and concisely so you can easily find what you’re looking for.
Are there any safety precautions I should take when working on these projects?
Yes, it’s important to take safety precautions when working on these projects. Always use sharp tools like craft knives or scissors with caution. Protect your work surface with a cutting mat. Wear gloves when working with glue or paint to protect your hands. If you’re using power tools like a drill, wear safety glasses to protect your eyes. Work in a well-ventilated area when using glue or paint. And always supervise children when they are working on these projects.
What are some other creative ideas for reusing shoe boxes?
Besides the ideas mentioned in the article, there are many other creative ways to reuse shoe boxes. You can use them to create shadow boxes, dioramas, or even miniature dollhouses. They can also be used to store photos, keepsakes, or seasonal decorations. Cut them up and use the cardboard to create stencils or templates. The possibilities are endless! Let your imagination run wild and see what you can create.

Leave a Comment