

Shiny Sink Cleaning: Are you tired of looking at a dull, grimy sink every day? I know I was! It felt like no matter how much I scrubbed, that sparkle just wouldn’t come back. But don’t worry, I’ve got you covered! This isn’t just another cleaning article; it’s your ultimate guide to transforming your sink from drab to dazzling with simple, DIY tricks and hacks.
Throughout history, a clean and well-maintained home has been a symbol of pride and prosperity. While the materials and methods have evolved, the desire for a gleaming sink remains constant. Think about it – our sinks are workhorses, constantly battling food scraps, grease, and hard water stains. They deserve a little TLC!
Let’s face it, a sparkling clean sink not only looks fantastic, but it also promotes better hygiene in your kitchen or bathroom. Nobody wants to prepare food or brush their teeth in a dirty environment. Plus, learning these simple shiny sink cleaning techniques will save you money on expensive cleaning products and keep harsh chemicals out of your home. I’m going to share my favorite, tried-and-true methods that use ingredients you probably already have in your pantry. Get ready to say goodbye to stubborn stains and hello to a sink that shines!
DIY: Transform Your Dull Sink into a Sparkling Showpiece!
Okay, let’s face it, a grimy sink can really bring down the whole kitchen vibe. But don’t despair! I’m going to show you how to achieve a seriously shiny sink using simple ingredients you probably already have at home. This isn’t just about a quick rinse; we’re talking about a deep clean that will leave your sink looking brand new. Get ready to be amazed!
What You’ll Need:
Before we dive in, let’s gather our supplies. This is a pretty low-cost project, which is always a win!
* Baking Soda: Our gentle abrasive and deodorizer.
* White Vinegar: The acid that cuts through grime and hard water stains.
* Dish Soap: For general cleaning and degreasing.
* Lemon (Optional): Adds a fresh scent and extra cleaning power.
* Salt (Optional): Another gentle abrasive for stubborn stains.
* Soft Sponge or Cloth: For scrubbing without scratching.
* Old Toothbrush: Perfect for getting into those hard-to-reach areas.
* Spray Bottle: To easily apply the vinegar.
* Microfiber Cloth: For the final polish and shine.
* Rubber Gloves: To protect your hands, especially if you have sensitive skin.
* Water: For rinsing, of course!
The Cleaning Process: Step-by-Step
Alright, let’s get down to business! Follow these steps, and you’ll be admiring your sparkling sink in no time.
1. Rinse and Remove Debris: Start by giving your sink a good rinse with warm water. Remove any large pieces of food or debris that might be lingering. We want a clean slate to work with.
2. Baking Soda Power: Generously sprinkle baking soda all over the sink surface, including the basin, drain, and faucet. Don’t be shy! The baking soda will act as a gentle abrasive to lift away grime.
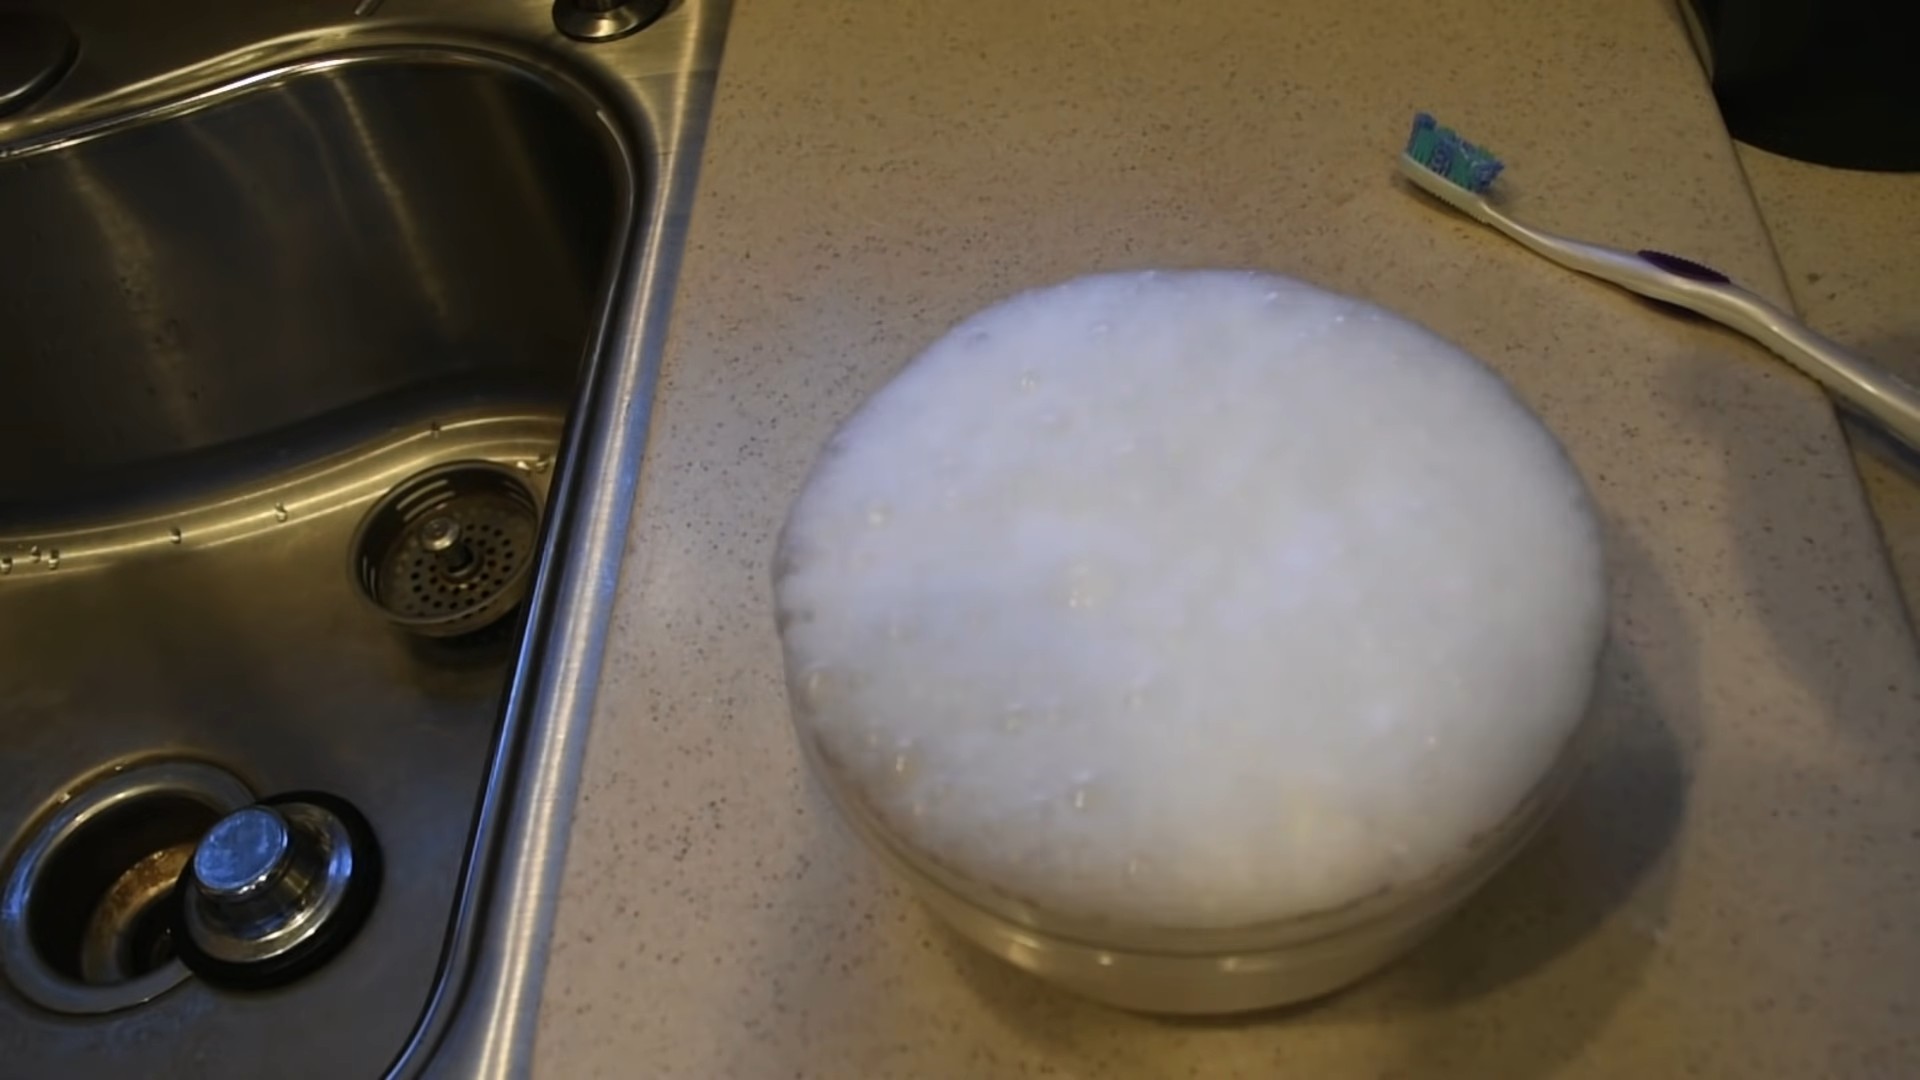
3. Vinegar Fizz: Now for the fun part! Fill your spray bottle with white vinegar and spray it directly onto the baking soda. You’ll see it fizz and bubble – that’s the magic happening! The vinegar reacts with the baking soda to loosen dirt and dissolve hard water stains. Let this mixture sit for about 5-10 minutes. This gives it time to really work its magic.
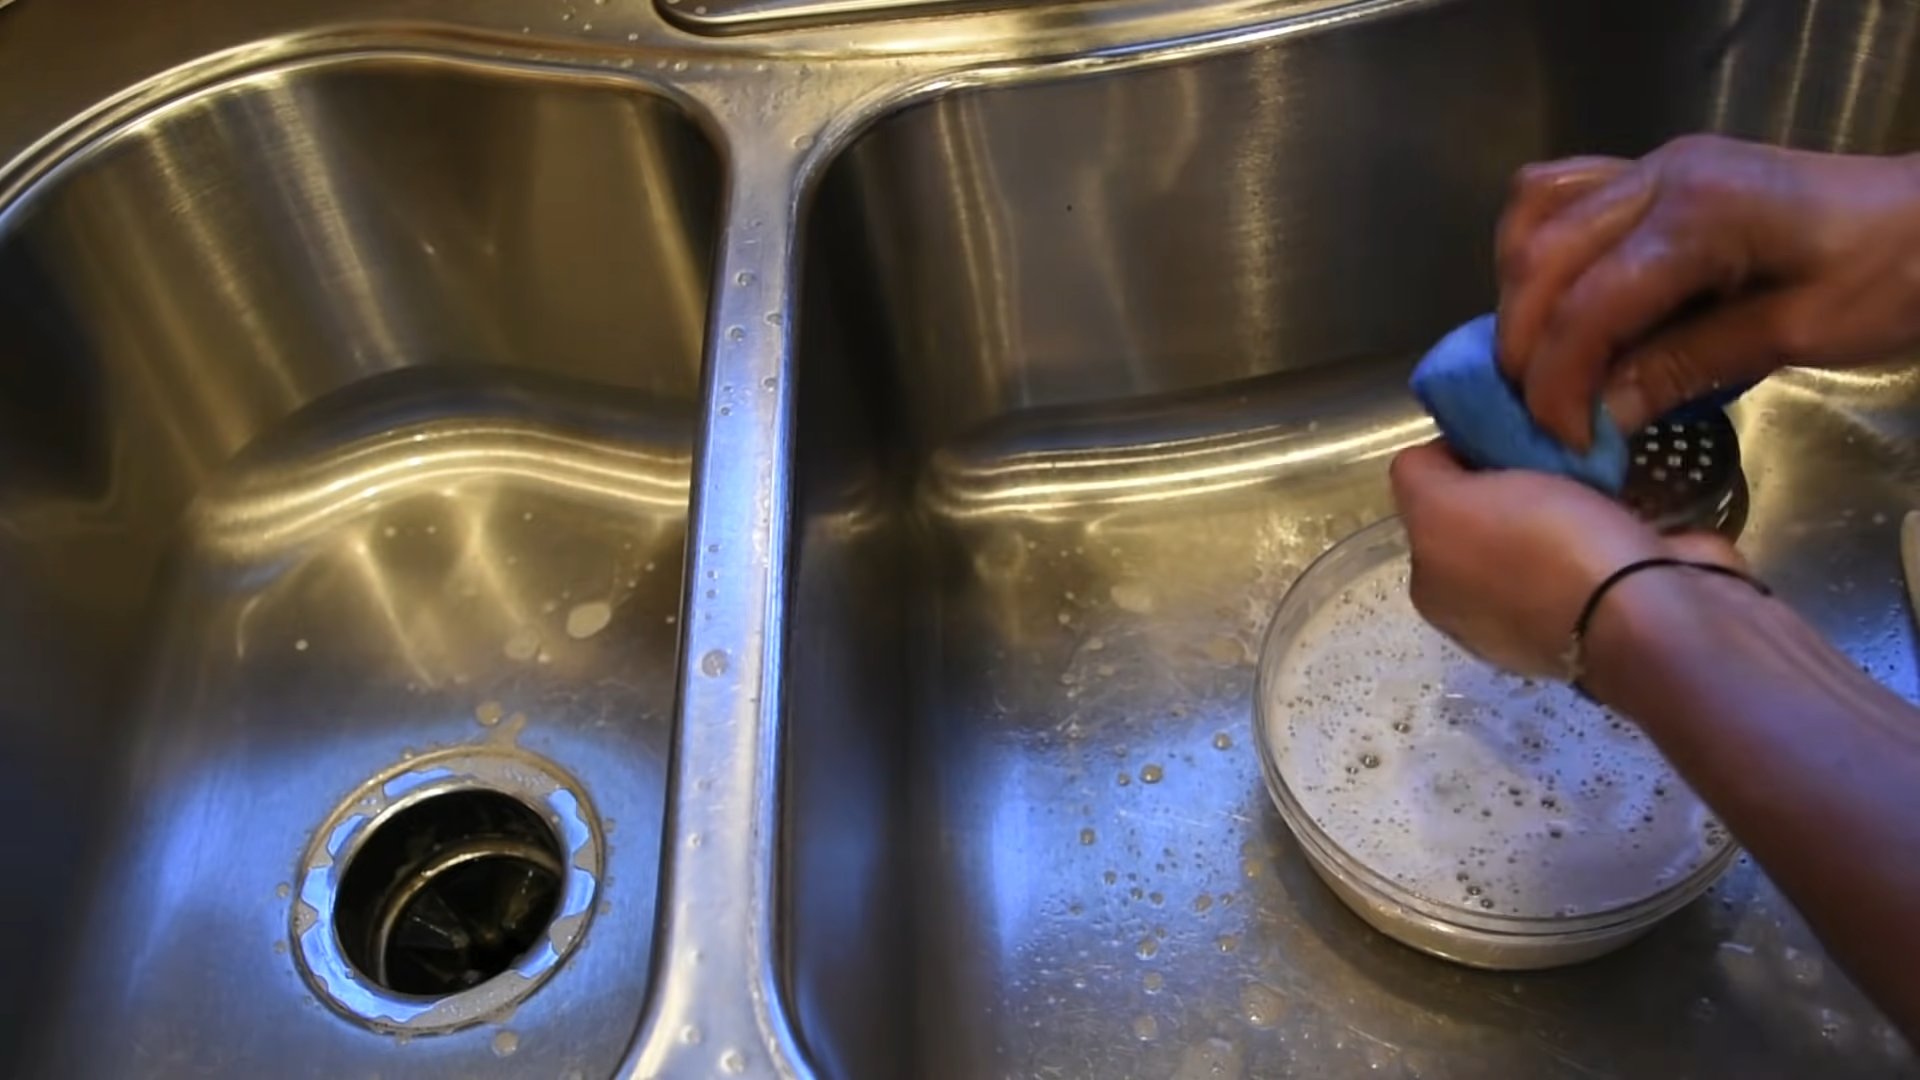
4. Scrub-a-dub-dub: Grab your soft sponge or cloth and start scrubbing the sink. Pay extra attention to areas with stubborn stains or buildup. For those hard-to-reach spots around the drain and faucet, use your old toothbrush. You might be surprised at how much gunk comes off!
5. Rinse Thoroughly: Once you’ve scrubbed every nook and cranny, rinse the sink thoroughly with warm water. Make sure to remove all traces of baking soda and vinegar.
6. Dish Soap Wash: Now, let’s give the sink a good wash with dish soap. This will help remove any remaining grease or grime and leave it smelling fresh. Apply a small amount of dish soap to your sponge or cloth and scrub the entire sink surface.
7. Final Rinse: Rinse the sink again with warm water, making sure to remove all traces of dish soap.
8. Lemon Boost (Optional): If you want an extra boost of cleaning power and a fresh scent, cut a lemon in half and rub it all over the sink surface. The citric acid in the lemon will help dissolve any remaining hard water stains and leave a lovely citrus aroma. Let the lemon juice sit for a few minutes before rinsing again.
9. Salt Scrub for Stubborn Stains (Optional): If you still have some stubborn stains after all that, try making a paste of salt and water. Apply the paste to the stains and gently scrub with your sponge or cloth. The salt will act as a gentle abrasive to lift away the stains. Rinse thoroughly.
10. Dry and Polish: Finally, dry the sink completely with a clean microfiber cloth. This is the key to achieving that sparkling shine! Buff the surface until it’s gleaming.
Dealing with Specific Sink Types
The above method works great for most stainless steel and porcelain sinks. However, here are a few considerations for other sink materials:
* Stainless Steel Sinks: Be sure to scrub in the direction of the grain to avoid scratching. Avoid using abrasive cleaners or steel wool, as these can damage the surface.
* Porcelain Sinks: Porcelain can be prone to chipping, so be gentle when scrubbing. Avoid using harsh chemicals or abrasive cleaners.
* Composite Sinks: Composite sinks are generally durable and easy to clean. However, avoid using abrasive cleaners or scouring pads, as these can dull the surface.
* Copper Sinks: Copper sinks require special care. Avoid using acidic cleaners like vinegar or lemon juice, as these can damage the patina. Use a copper-specific cleaner and follow the manufacturer’s instructions.
Maintaining Your Shiny Sink
Now that you’ve got your sink looking its best, here are a few tips to keep it that way:
* Rinse After Each Use: Make it a habit to rinse your sink after each use to prevent food particles and grime from building up.
* Wipe Down Regularly: Wipe down your sink with a damp cloth or sponge every day to remove any spills or splatters.
* Avoid Harsh Chemicals: Avoid using harsh chemicals or abrasive cleaners, as these can damage the sink surface.
* Protect from Scratches: Use a sink grid or mat to protect the bottom of your sink from scratches.
* Deep Clean Regularly: Deep clean your sink using the method described above every week or two to keep it looking its best.
Troubleshooting Common Sink Problems
Sometimes, you might encounter specific problems that require a little extra attention. Here are a few common sink problems and how to solve them:
* Hard Water Stains: Hard water stains can be tough to remove. Try soaking a paper towel in vinegar and placing it over the stains for a few hours. Then, scrub with baking soda and rinse thoroughly.
* Rust Stains: Rust stains can be caused by iron in the water or from rusty objects left in the sink. Try using a rust remover or a paste of lemon juice and salt.
* Clogged Drain: A clogged drain can be a major headache. Try using a plunger or a drain snake to clear the blockage. You can also try pouring a mixture of baking soda and vinegar down the drain, followed by hot water.
* Lingering Odors: If your sink has a lingering odor, try pouring a cup of baking soda down the drain, followed by hot water. You can also try running a lemon or orange peel through the garbage disposal.
Extra Tips and Tricks
Here are a few extra tips and tricks to help you achieve a truly sparkling sink:
* Use a Magic Eraser: A magic eraser can be great for removing stubborn stains and scuff marks. Just be sure to test it in an inconspicuous area first to make sure it doesn’t damage the sink surface.
* Polish with Olive Oil: After drying your sink, you can polish it with a small amount of olive oil to give it an extra shine. Just apply a few drops of olive oil to a clean microfiber cloth and buff the surface.
* Use a Water Softener: If you have hard water, consider installing a water softener to prevent hard water stains from forming in the first place.
* Clean Your Faucet: Don’t forget to clean your faucet! Use a soft cloth or sponge to wipe down the faucet and remove any water spots or grime. You can also use a toothbrush to clean around the base of the faucet.
By following these steps and tips, you can transform your dull sink into a sparkling showpiece that you’ll be proud to show off. Happy cleaning!
Conclusion
So, there you have it! This simple, yet incredibly effective DIY trick for achieving a shiny sink cleaning is a game-changer for anyone who wants a sparkling clean kitchen without resorting to harsh chemicals or expensive cleaning products. We’ve walked you through the easy steps, highlighting how readily available ingredients can transform your dull, stained sink into a gleaming centerpiece.
But why is this DIY method a must-try? Beyond the obvious benefit of a visually appealing sink, it’s about creating a healthier and more pleasant environment in your home. Commercial cleaners often contain volatile organic compounds (VOCs) that can irritate your respiratory system and contribute to indoor air pollution. This DIY approach utilizes natural ingredients like baking soda, vinegar, and lemon, which are not only effective cleaners but also environmentally friendly and safe for your family and pets.
Furthermore, this method is incredibly cost-effective. You likely already have most of the ingredients in your pantry, saving you money on expensive cleaning supplies. The satisfaction of creating a powerful cleaning solution from scratch and witnessing its transformative effects is an added bonus!
Don’t feel limited to the exact recipe we provided. The beauty of DIY is its adaptability. For instance, if you have a particularly stubborn stain, try creating a paste of baking soda and hydrogen peroxide and letting it sit on the affected area for a longer period before scrubbing. You can also add a few drops of your favorite essential oil, like lavender or tea tree, to the vinegar solution for a pleasant scent and added antibacterial properties. If you have a stainless steel sink, consider using a microfiber cloth for the final polish to prevent scratches and enhance the shine. For porcelain sinks, be gentle with your scrubbing to avoid damaging the finish.
We’ve found that this method works wonders on a variety of sink materials, including stainless steel, porcelain, and even composite sinks. However, always test a small, inconspicuous area first to ensure compatibility, especially if you have a more delicate or antique sink.
Ultimately, this DIY shiny sink cleaning trick is about empowering you to take control of your cleaning routine and create a healthier, more beautiful home. It’s a simple, effective, and affordable way to achieve professional-level results without the harsh chemicals or hefty price tag.
We are confident that you’ll be amazed by the results. So, ditch the store-bought cleaners and give this DIY method a try. We encourage you to experiment with variations, find what works best for your sink and your preferences, and most importantly, share your experience with us! Let us know in the comments below how this trick worked for you, any modifications you made, and any tips you have to share with fellow readers. We can’t wait to hear about your sparkling clean sinks! Your feedback will help others discover the magic of this simple yet effective cleaning solution. Let’s create a community of sparkling sinks, one DIY trick at a time!
Frequently Asked Questions (FAQ)
Q: How often should I use this DIY sink cleaning method?
A: The frequency depends on how often you use your sink and how quickly it gets dirty. For most households, cleaning your sink with this method once or twice a week should be sufficient to maintain its shine and cleanliness. If you notice stains or buildup more frequently, you may need to clean it more often. Regular maintenance will prevent stubborn stains from setting in and make future cleanings easier.
Q: Can I use this method on all types of sinks?
A: This method is generally safe for most common sink materials, including stainless steel, porcelain, and composite sinks. However, it’s always a good idea to test a small, inconspicuous area first, especially if you have a more delicate or antique sink. Avoid using abrasive scrubbers on porcelain sinks, as they can scratch the finish. For stainless steel sinks, use a microfiber cloth for the final polish to prevent water spots and enhance the shine. If you have a copper sink, consult the manufacturer’s instructions for cleaning, as copper requires special care.
Q: What if I don’t have all the ingredients listed?
A: The core ingredients for this DIY cleaning method are baking soda and vinegar. These two ingredients work together to create a powerful cleaning action. If you don’t have lemon, you can substitute it with a few drops of lemon essential oil for a similar scent and antibacterial effect. If you don’t have dish soap, you can use a small amount of laundry detergent as a substitute. However, be sure to rinse thoroughly to remove any residue.
Q: My sink has stubborn stains that won’t come off. What should I do?
A: For stubborn stains, try creating a paste of baking soda and hydrogen peroxide. Apply the paste to the stained area and let it sit for 30 minutes to an hour before scrubbing. You can also try using a magic eraser for particularly tough stains. For hard water stains, soak a paper towel in vinegar and place it over the stain for a few hours or overnight. The vinegar will help dissolve the mineral deposits.
Q: Is this DIY cleaning method safe for septic systems?
A: Yes, this DIY cleaning method is generally safe for septic systems. Baking soda and vinegar are both natural ingredients that won’t harm the bacteria in your septic tank. However, avoid using excessive amounts of these ingredients, as they can disrupt the balance of your septic system.
Q: Can I use this method to clean my drain as well?
A: Yes, this method can help clean your drain and prevent clogs. After cleaning your sink, pour a cup of baking soda down the drain, followed by a cup of vinegar. Let it fizz for 30 minutes, then flush with hot water. This will help break down any buildup in your drain. For more severe clogs, you may need to use a drain snake or call a plumber.
Q: How can I prevent my sink from getting dirty so quickly?
A: To prevent your sink from getting dirty quickly, rinse it after each use to remove food particles and soap scum. Avoid leaving dirty dishes in the sink for extended periods. Wipe down the sink with a clean cloth after each use to prevent water spots and stains. You can also use a sink strainer to catch food particles and prevent them from going down the drain.
Q: What are some other natural cleaning alternatives I can use?
A: Besides baking soda and vinegar, there are many other natural cleaning alternatives you can use. Lemon juice is a great natural disinfectant and can be used to clean countertops and cutting boards. Tea tree oil has antibacterial and antifungal properties and can be used to clean bathrooms and kitchens. Castile soap is a versatile cleaner that can be used for a variety of purposes, from washing dishes to cleaning floors.
Q: Can I use this method on colored sinks?
A: While this method is generally safe, it’s always best to test a small, inconspicuous area first, especially on colored sinks. Some colored sinks may be more susceptible to staining or discoloration. If you notice any changes in the color of your sink, discontinue use immediately.
Q: What kind of scrubbing tool should I use?
A: The type of scrubbing tool you use depends on the material of your sink. For stainless steel sinks, use a non-abrasive sponge or a microfiber cloth. For porcelain sinks, use a soft-bristled brush or a non-abrasive sponge. Avoid using steel wool or abrasive scrubbers, as they can scratch the finish. For composite sinks, you can use a slightly more abrasive scrubber, but be careful not to damage the surface.


Leave a Comment