

Refrigerator Cleaning Guide: Keep Your Kitchen Sparkling Clean!
I love a sparkling clean kitchen, and nothing makes me happier than a refrigerator that’s not only organized but also hygienically spotless. That’s why I’m thrilled to share my Refrigerator Cleaning Guide with you today – a collection of simple yet effective DIY tricks and hacks to make this often-dreaded chore a breeze. For years, I’ve struggled with stubborn spills and lingering odors, but through trial and error, I’ve developed a system that works wonders.
The history of refrigeration is fascinating, evolving from simple iceboxes to the sophisticated appliances we have today. While the technology has advanced, the need for regular cleaning remains constant. A clean refrigerator isn’t just about aesthetics; it’s crucial for food safety and preventing the growth of harmful bacteria. Think about it: that forgotten container of leftovers lurking at the back could be a breeding ground for unwanted microorganisms!
Why You Need This Refrigerator Cleaning Guide
This Refrigerator Cleaning Guide isn’t just another cleaning article; it’s your passport to a healthier, more organized kitchen. You’ll learn how to tackle those tough-to-reach corners, banish lingering odors, and prevent future messes. We’ll cover everything from removing sticky spills to deodorizing your fridge naturally, all using readily available household items. By following these simple steps, you’ll save time, money, and ultimately, your sanity!
So, are you ready to transform your refrigerator from a cluttered mess into a sparkling clean haven? Let’s dive into my proven Refrigerator Cleaning Guide and unlock the secrets to a consistently clean and organized fridge!
My Deep Clean Refrigerator Hack: A Step-by-Step Guide
I’m a big believer in regular refrigerator cleaning, but let’s be honest, it’s a chore nobody loves. However, with a little planning and the right approach, you can transform this dreaded task into something manageable, even enjoyable! This guide will walk you through my foolproof method for a sparkling clean fridge.
Phase 1: The Great Purge
- Empty the fridge completely. Yes, everything. This might seem daunting, but it’s the most crucial step. It allows for a thorough clean and helps you assess what needs to be tossed.
- Check expiration dates. Be honest with yourself! That leftover takeout from three weeks ago? It’s gotta go. Discard anything expired or questionable.
- Organize as you go. As you remove items, decide what to keep, what to eat soon, and what to discard. This prevents you from putting everything back in a disorganized mess.
- Wipe down containers. Before putting anything back in, give jars, containers, and bottles a quick wipe down. This prevents transferring any lingering grime back into the fridge.
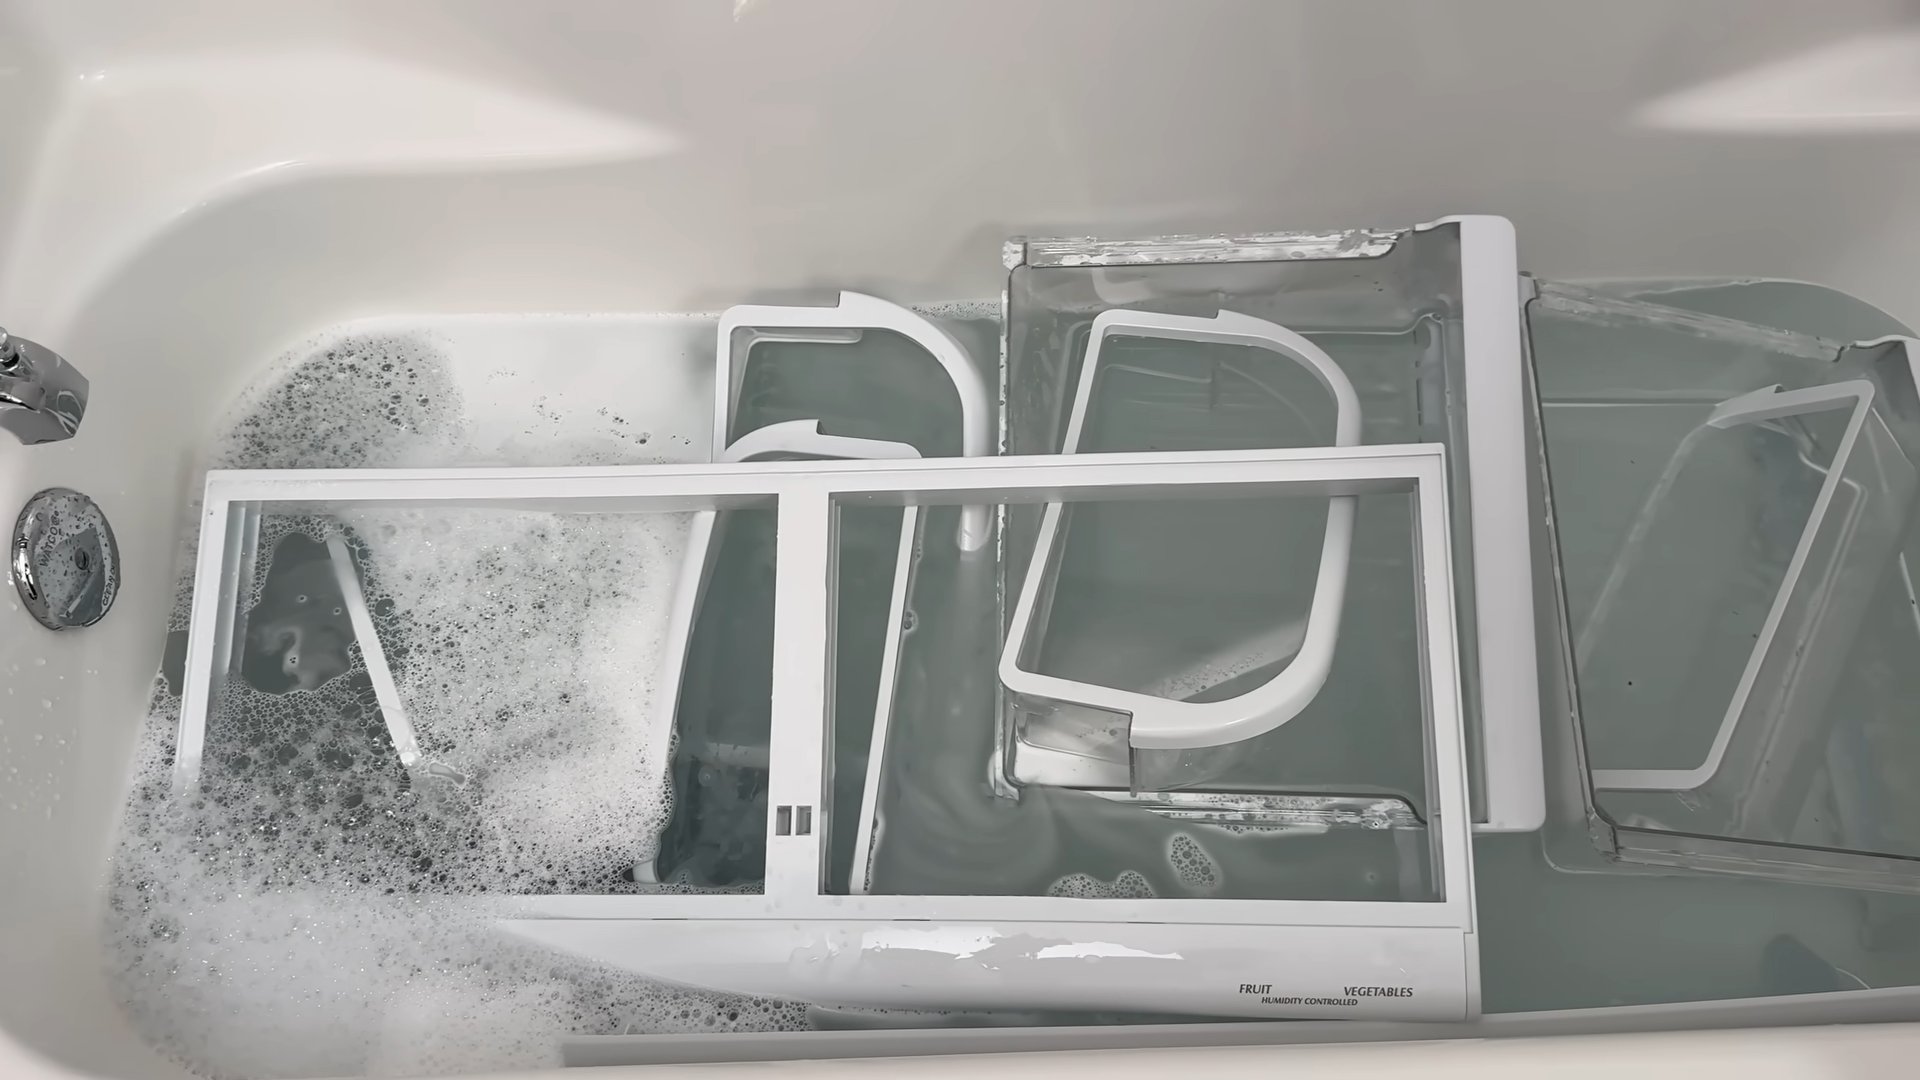
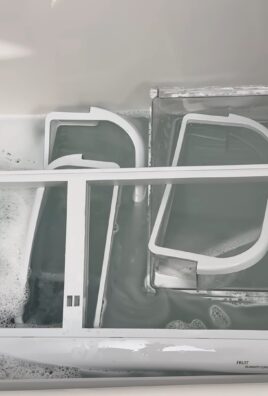
- Start by removing all shelves, drawers, and bins. This gives you access to every nook and cranny.
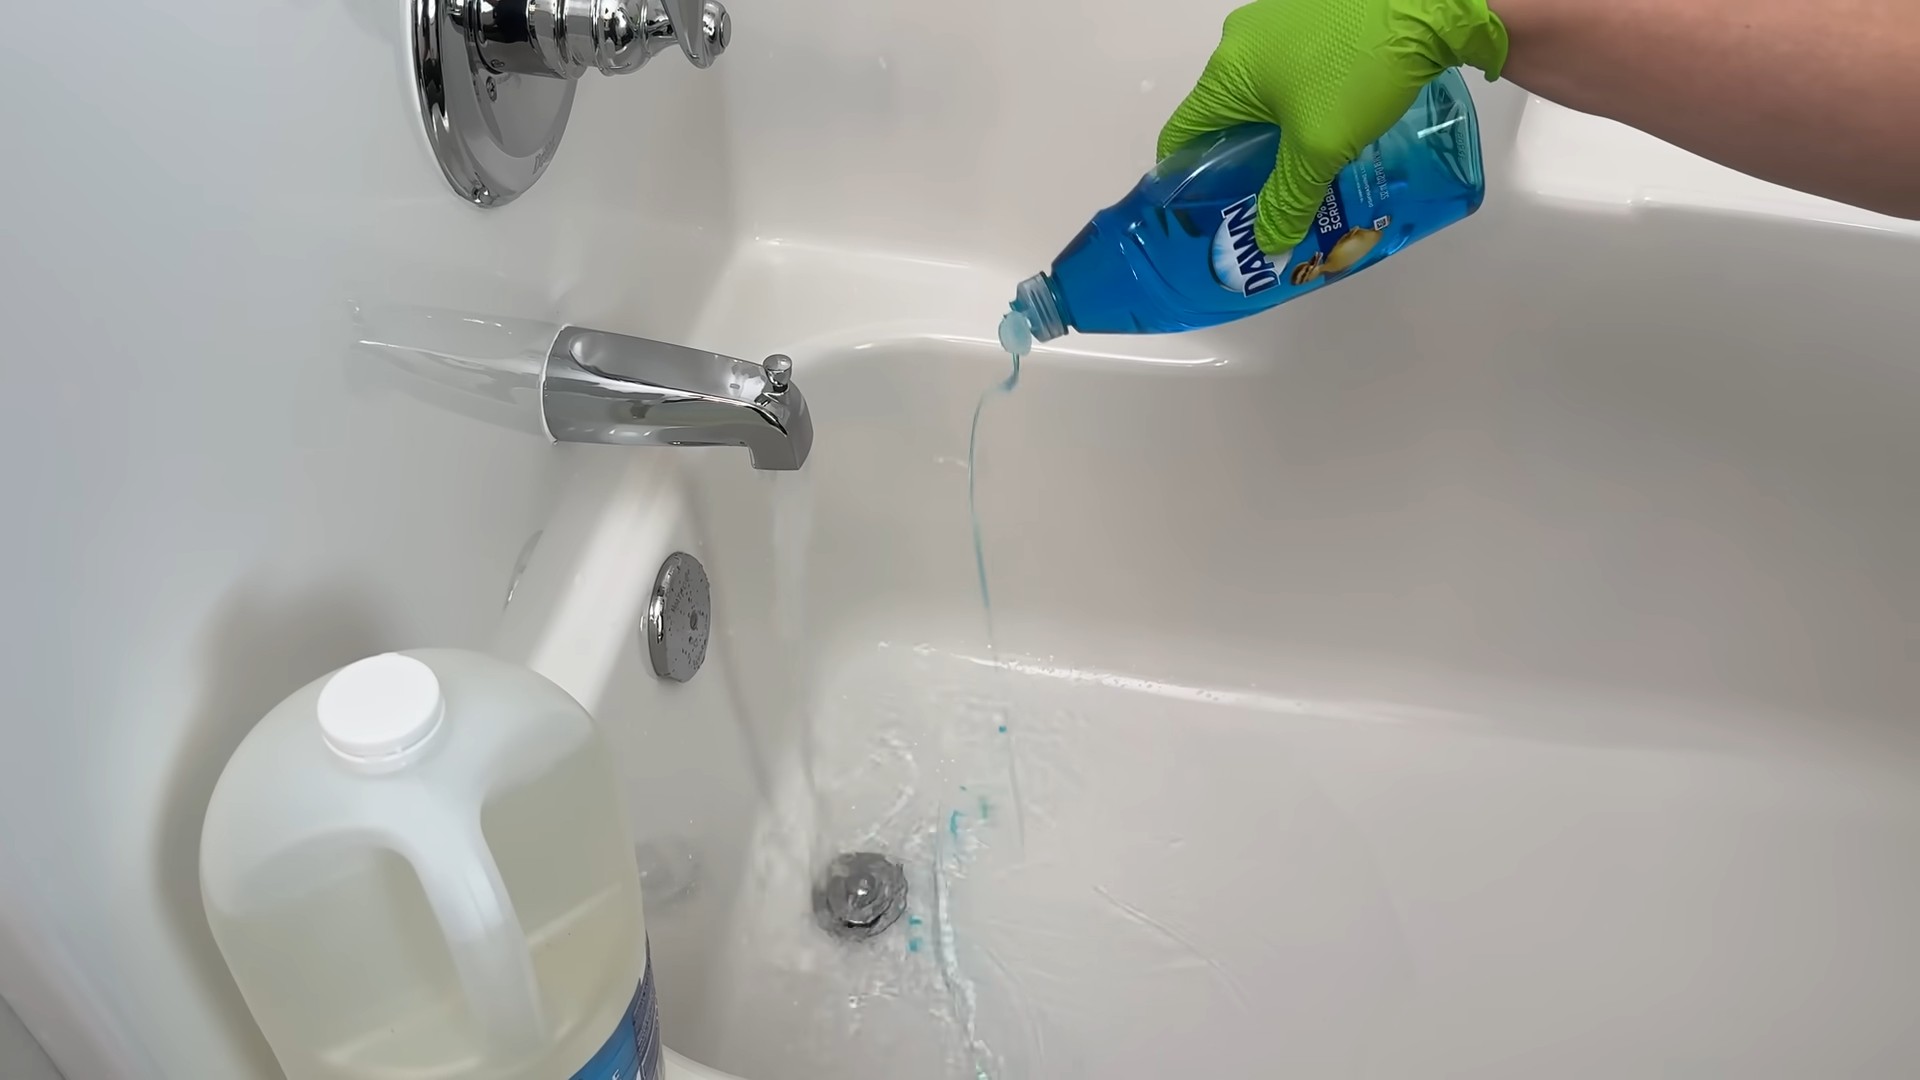
- Gather your cleaning supplies: a large bowl of warm, soapy water; a separate bowl of clean water for rinsing; a few clean cloths or sponges; a bottle of all-purpose cleaner (I prefer a natural one); and paper towels.
- Wash all removable parts. Use your soapy water and a sponge or cloth to scrub down each shelf, drawer, and bin. Pay special attention to any sticky spills or stubborn stains. Rinse thoroughly with clean water and let them air dry completely before putting them back.
- If you have any particularly stubborn stains, try a paste of baking soda and water. Apply it to the stain, let it sit for a few minutes, then scrub gently. This is a natural and effective cleaner.
Phase 2: Deep Cleaning the Interior
- Tackle the walls and floor. Use your all-purpose cleaner and a clean cloth or sponge to wipe down all interior surfaces. Work from top to bottom to avoid dripping cleaner onto already-cleaned areas.
- Pay attention to seals. The rubber seals around the door are often overlooked but can harbor a lot of grime. Use a damp cloth and a little cleaner to wipe them down thoroughly.
- Don’t forget the light. Wipe down the light fixture and cover to remove any dust or grime.
- Clean the drip pan. Locate the drip pan (usually at the bottom of the refrigerator) and remove it. Wash it thoroughly with warm, soapy water. Allow it to dry completely before replacing it.
- Once the walls and floor are clean, rinse them with a clean, damp cloth to remove any soap residue.
- Dry the interior thoroughly with clean paper towels or a dry cloth. This prevents mold and mildew growth.
- Consider using a refrigerator deodorizer or placing a small bowl of baking soda inside to absorb odors. Baking soda is a natural odor absorber and works wonders.
Phase 3: Strategic Reorganization
- Think about food placement. Arrange your food strategically. Place items that spoil quickly in the front and easily visible areas. This helps you use them before they expire.
- Use containers. Store leftovers and other items in airtight containers to maintain freshness and prevent spills.
- Label everything. Labeling containers with dates helps you track how long food has been stored.
- Utilize vertical space. Use shelves and drawers efficiently to maximize storage space.
- Regular maintenance. After this deep clean, aim for weekly quick wipes to prevent future build-up. This will make future deep cleans much easier.
- Replace all shelves, drawers, and bins. Make sure they are securely in place.
- Return your food items to the refrigerator, keeping in mind your new organization system.
- Take a moment to admire your sparkling clean refrigerator! You’ve earned it.
- Pro Tip: For really stubborn stains, try a paste of baking soda and water. Let it sit for a few minutes before scrubbing gently.
- Pro Tip: To prevent future messes, consider lining shelves with shelf liner. This makes cleaning up spills much easier.
- Pro Tip: Don’t forget to clean the exterior of your refrigerator as well. Wipe down the doors and sides with a damp cloth and all-purpose cleaner.
Phase 4: Preventative Measures
Maintaining a Clean Fridge
To keep your fridge clean and organized long-term, consider these tips:
- Wipe up spills immediately. Don’t let spills sit and harden.
- Check expiration dates regularly and discard expired items promptly.
- Use airtight containers to store leftovers and prevent odors.
- Clean up any spills or messes immediately.
- Consider using shelf liners to make cleaning easier.
Frequency
Aim for a quick wipe-down of the interior at least once a week. A deep clean like this should be done every 2-3 months, or more often if needed.
Conclusion
This Refrigerator Cleaning Guide has armed you with the knowledge and techniques to tackle even the most stubborn refrigerator grime. We’ve explored a simple yet effective DIY cleaning solution that avoids harsh chemicals, leaving your fridge sparkling clean and smelling fresh. This method is a must-try because it’s not only incredibly effective at eliminating odors and bacteria, but it’s also budget-friendly and environmentally conscious. By using readily available ingredients, you’re saving money and reducing your environmental impact, all while achieving professional-level cleaning results. This DIY approach is a game-changer for maintaining a hygienic and efficient refrigerator. Forget expensive commercial cleaners; this simple solution provides a superior clean without the harmful chemicals. The satisfaction of achieving a sparkling clean refrigerator using your own homemade solution is incredibly rewarding.
Beyond the basic recipe, there are several ways to customize this cleaning method to suit your needs and preferences. For particularly stubborn stains, you can let the baking soda paste sit for a longer period, even overnight, before scrubbing. For a more powerful deodorizing effect, add a few drops of essential oils like lemon or tea tree oil to your baking soda paste. These oils not only add a pleasant scent but also possess natural antibacterial properties. If you prefer a spray bottle application, simply mix the baking soda and water solution in a spray bottle and apply directly to the surfaces of your refrigerator. Remember to always test any new cleaning solution on a small, inconspicuous area first to ensure it doesn’t damage the surface of your refrigerator. Experiment with different ratios of baking soda and water to find the consistency that works best for you. Some people prefer a thicker paste for scrubbing, while others prefer a thinner solution for wiping. The beauty of this DIY approach is its flexibility; you can tailor it to your specific preferences and the condition of your refrigerator.
We strongly encourage you to try this DIY refrigerator cleaning method and experience the difference for yourself. Share your results with us! Let us know how this guide helped you achieve a sparkling clean refrigerator and any variations you experimented with. Your feedback will help other readers and inspire us to continue creating helpful and effective cleaning guides. Don’t forget to share your before-and-after photos on social media using the hashtag #DIYRefrigeratorClean. Let’s create a community of clean-refrigerator enthusiasts! This simple yet powerful cleaning technique is a valuable addition to your household cleaning arsenal, ensuring your refrigerator remains a clean and healthy space for storing your food. Remember, a clean refrigerator is a happy refrigerator, and a happy refrigerator contributes to a healthier lifestyle. So, grab your baking soda and water, and get ready to experience the joy of a sparkling clean refrigerator!
Frequently Asked Questions
What if I have stubborn stains or sticky residue?
For stubborn stains or sticky residue, you can increase the dwell time of the baking soda paste. Apply a thicker paste and let it sit for a longer period, even overnight, before scrubbing. You can also gently use a non-abrasive sponge or soft cloth to help loosen the residue. For particularly difficult areas, a plastic scraper (like a credit card) can be carefully used to lift stubborn residue. Remember to always be gentle to avoid scratching the surface of your refrigerator.
Can I use this method on all parts of my refrigerator?
While this method is generally safe for most refrigerator surfaces, it’s crucial to avoid using excessive water or moisture near electrical components. Always exercise caution when cleaning around the light bulb, control panel, and any other electrical parts. For these areas, a slightly damp cloth is recommended. Always refer to your refrigerator’s manual for specific cleaning instructions.
What if my refrigerator has a strong odor?
For strong odors, you can enhance the deodorizing power of the baking soda by adding a few drops of essential oils like lemon or tea tree oil to your baking soda paste. These oils not only add a pleasant scent but also possess natural antibacterial properties. Alternatively, you can place an open container of baking soda inside your refrigerator to absorb odors. Replace the baking soda every few weeks for optimal odor absorption. Ensure the refrigerator is well-ventilated after cleaning to help dissipate any lingering odors.
How often should I clean my refrigerator using this method?
The frequency of cleaning depends on your usage and the cleanliness of your refrigerator. However, a thorough cleaning using this method every 2-3 months is generally recommended. Regular wiping down of spills and removing expired items will help maintain cleanliness between deep cleans. A quick wipe-down with a damp cloth can be done weekly to prevent build-up.
Are there any safety precautions I should take?
Always unplug your refrigerator before starting the cleaning process to prevent electrical hazards. Avoid using abrasive cleaners or scouring pads, as these can scratch the surface of your refrigerator. Wear gloves to protect your hands from the baking soda paste, especially if you have sensitive skin. Ensure proper ventilation while cleaning to avoid inhaling excessive baking soda dust. Always test any new cleaning solution on a small, inconspicuous area first to ensure it doesn’t damage the surface. If you have any concerns, consult your refrigerator’s manual for specific cleaning instructions.
What if I don’t have baking soda?
While baking soda is the primary ingredient in this cleaning solution, you can explore alternative natural cleaning agents. White vinegar diluted with water can be used as a substitute, although it may not be as effective at deodorizing. However, it is still a good option for cleaning and disinfecting. Always test any alternative cleaning solution on a small, inconspicuous area first to ensure it doesn’t damage the surface. Remember to rinse thoroughly after using any alternative cleaning agent.

Leave a Comment