

Non Toxic Bathroom Cleaner DIY: Are you tired of holding your breath every time you clean your bathroom, battling harsh chemical fumes and wondering what those ingredients are really doing to your health and the environment? I know I was! For generations, cleaning products have been synonymous with strong, often unpleasant, odors and a long list of warnings. But it doesn’t have to be that way!
The desire for a clean and healthy home is as old as civilization itself. Historically, people relied on natural ingredients like vinegar, baking soda, and essential oils to keep their living spaces sparkling. These time-tested methods are making a huge comeback, and for good reason. We’re becoming increasingly aware of the potential dangers lurking in conventional cleaning products, from skin irritations to respiratory problems. Plus, let’s be honest, who wants to spend a fortune on something you’re literally going to flush down the drain?
That’s why I’m so excited to share these simple, effective, and budget-friendly non toxic bathroom cleaner DIY recipes with you. Imagine a bathroom that smells fresh and clean, without the worry of harmful chemicals lingering in the air. These DIY solutions are not only safer for you and your family, but they’re also kinder to the planet. Get ready to ditch the harsh chemicals and embrace a healthier, happier cleaning routine!
DIY Non-Toxic Bathroom Cleaner: Sparkling Clean, Naturally!
Hey there, fellow DIY enthusiasts! I’m so excited to share my go-to recipe for a non-toxic bathroom cleaner that’s not only incredibly effective but also safe for your family and the environment. Forget those harsh chemicals and overpowering fumes – we’re going natural! This cleaner tackles soap scum, mildew, and grime like a champ, leaving your bathroom sparkling and smelling fresh. Let’s get started!
Gathering Your Supplies
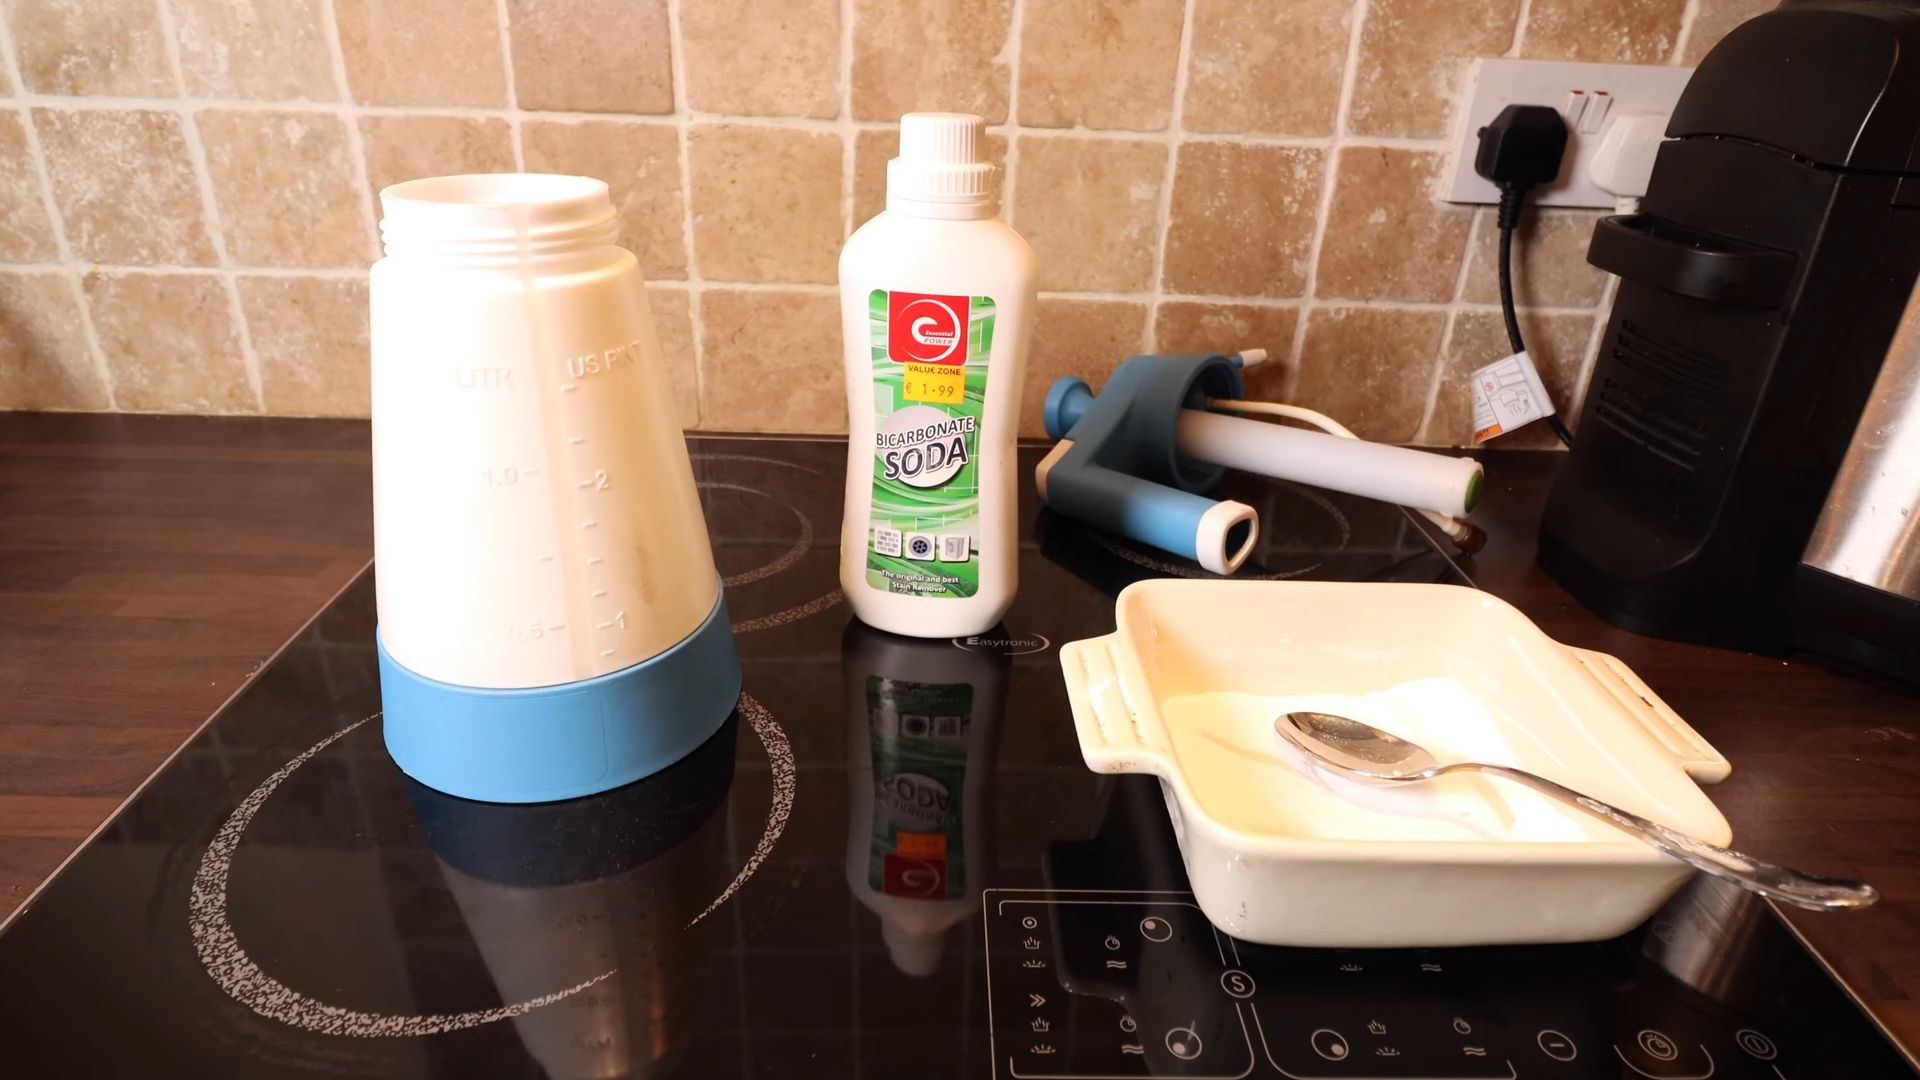
Before we dive into the mixing process, let’s make sure we have everything we need. This is a super simple recipe, so the ingredient list is short and sweet.
* **Spray Bottle:** An empty spray bottle is essential for easy application. I prefer using a dark-colored glass bottle to protect the essential oils from light degradation, but a plastic one will work just fine too. Just make sure it’s clean!
* **White Vinegar:** This is our powerhouse ingredient! Vinegar’s acidity helps to dissolve soap scum, hard water stains, and mildew.
* **Baking Soda:** A natural deodorizer and mild abrasive, baking soda helps to scrub away stubborn grime.
* **Tea Tree Essential Oil:** Tea tree oil is a natural antiseptic and antifungal agent, making it perfect for fighting mold and mildew in the bathroom. Plus, it adds a clean, refreshing scent.
* **Lemon Essential Oil (Optional):** Lemon essential oil adds a bright, citrusy scent and also has antibacterial properties. It’s a great addition, but not strictly necessary.
* **Water:** Distilled water is best to avoid mineral buildup in your spray bottle, but tap water will work in a pinch.
* **Measuring Cups and Spoons:** For accurate measurements.
* **Funnel (Optional):** A funnel can make pouring ingredients into the spray bottle much easier and less messy.
Mixing Your Non-Toxic Bathroom Cleaner
Alright, let’s get down to the nitty-gritty! This is where the magic happens. Follow these steps carefully, and you’ll have a fantastic bathroom cleaner in no time.
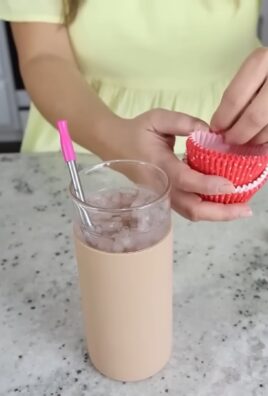
1. **Prepare Your Spray Bottle:** Make sure your spray bottle is clean and dry. If you’ve used it for other cleaning products, rinse it thoroughly with soap and water to remove any residue.
2. **Add White Vinegar:** Pour 1 ½ cups of white vinegar into your spray bottle. Vinegar is the star of the show here, so don’t skimp!
3. **Add Baking Soda:** Carefully add ¼ cup of baking soda to the spray bottle. Be prepared for a little fizzing action! Add it slowly to prevent overflow. The vinegar and baking soda will react, creating carbon dioxide gas. This is normal and helps to loosen grime.
4. **Add Essential Oils:** Add 10-15 drops of tea tree essential oil and, if using, 5-10 drops of lemon essential oil. Adjust the amount of essential oils to your preference, depending on how strong you want the scent to be. Remember, a little goes a long way!
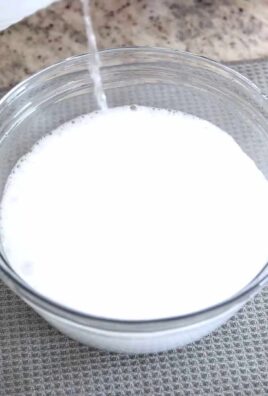
5. **Top Off with Water:** Fill the rest of the spray bottle with water, leaving a little space at the top.
6. **Shake Well:** Secure the spray nozzle and shake the bottle vigorously to combine all the ingredients.
Using Your Non-Toxic Bathroom Cleaner
Now that you have your homemade cleaner, let’s put it to work! Here’s how to use it effectively in your bathroom:
1. **Spray the Surface:** Spray the cleaner liberally onto the surfaces you want to clean, such as your shower walls, tub, sink, toilet, and countertops.
2. **Let it Sit:** Allow the cleaner to sit for a few minutes (5-10 minutes is ideal) to allow the vinegar and baking soda to work their magic on the grime and soap scum. For tougher stains, you can let it sit for longer.
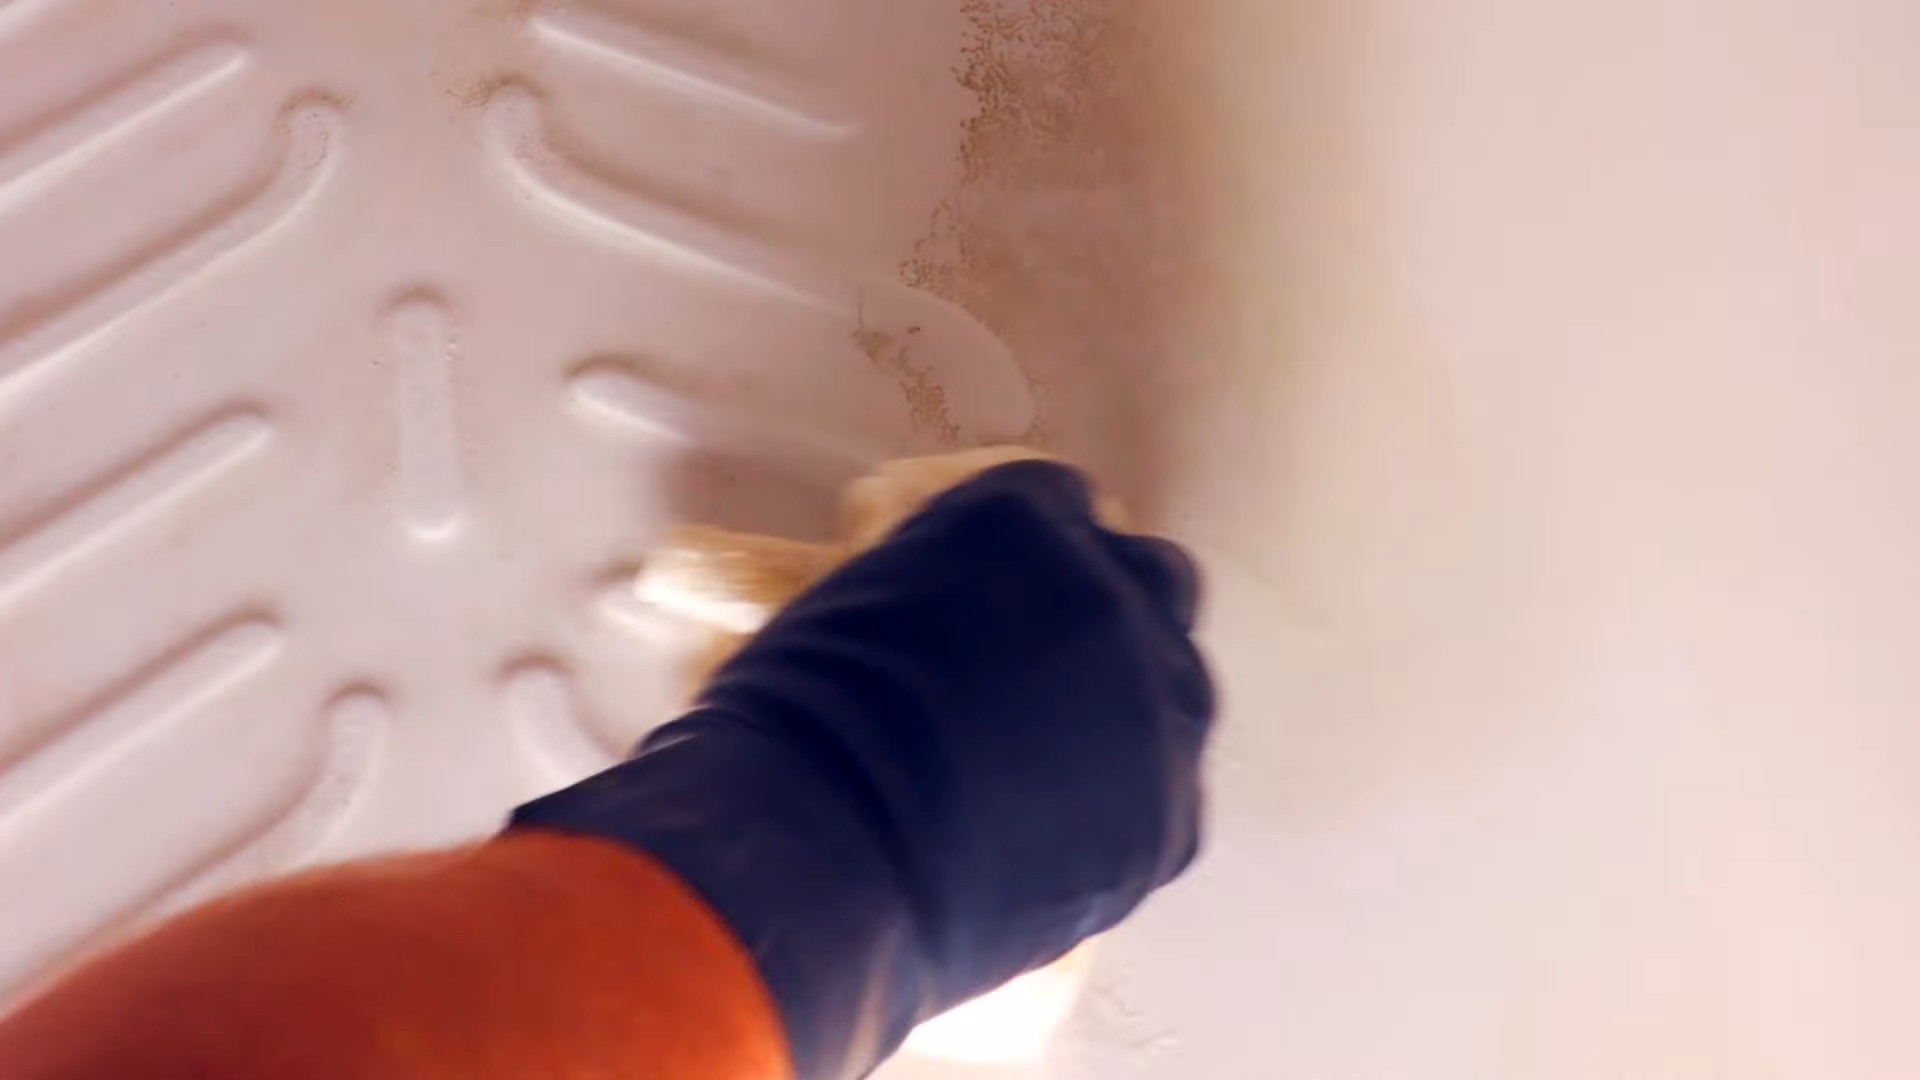
3. **Scrub (If Necessary):** For stubborn stains or buildup, use a scrub brush, sponge, or microfiber cloth to scrub the surface. I find that a good scrub brush works wonders on tile grout.
4. **Rinse Thoroughly:** Rinse the cleaned surfaces thoroughly with water. Make sure to remove all traces of the cleaner.
5. **Wipe Dry:** Wipe the surfaces dry with a clean microfiber cloth to prevent water spots and leave a sparkling finish.
Tackling Specific Bathroom Areas
Let’s break down how to use this cleaner in different areas of your bathroom for optimal results.
Shower and Tub
* **Soap Scum:** Spray the cleaner generously on soap scum buildup. Let it sit for 10-15 minutes, then scrub with a scrub brush or sponge. Rinse well.
* **Mildew:** For mildew, spray the cleaner directly onto the affected areas. The tea tree oil will help to kill the mildew. Let it sit for 15-20 minutes, then scrub and rinse.
* **Shower Doors:** Spray the cleaner on shower doors to remove water spots and soap scum. Wipe clean with a microfiber cloth for a streak-free shine.
Toilet
* **Toilet Bowl:** Spray the cleaner inside the toilet bowl and let it sit for a few minutes. Scrub with a toilet brush and flush.
* **Toilet Seat and Exterior:** Spray the cleaner on the toilet seat and exterior surfaces. Wipe clean with a microfiber cloth.
Sink and Countertops
* **Water Spots:** Spray the cleaner on water spots and wipe clean with a microfiber cloth.
* **Grime and Stains:** For tougher grime and stains, let the cleaner sit for a few minutes before wiping.
Grout
* **Discoloration:** Spray the cleaner directly onto the grout and let it sit for 10-15 minutes. Scrub with a grout brush and rinse well. You might need to repeat this process for heavily stained grout.
Tips and Tricks for a Sparkling Bathroom
Here are a few extra tips and tricks to help you achieve a sparkling clean bathroom with your homemade cleaner:
* **Ventilation:** Always ensure good ventilation when cleaning your bathroom. Open a window or turn on the exhaust fan to prevent the buildup of fumes.
* **Spot Test:** Before using the cleaner on delicate surfaces, such as marble or granite, test it in an inconspicuous area to ensure it doesn’t cause any damage.
* **Regular Cleaning:** Regular cleaning is key to preventing buildup and making your cleaning routine easier. Aim to clean your bathroom at least once a week.
* **Preventative Measures:** To prevent soap scum and mildew buildup, wipe down your shower walls and doors after each use.
* **Scent Customization:** Feel free to experiment with different essential oils to create your own custom scent. Lavender, eucalyptus, and peppermint are all great options for the bathroom.
* **Storage:** Store your homemade bathroom cleaner in a cool, dark place. It should last for several months.
* **Baking Soda Paste:** For really tough stains, make a paste of baking soda and water. Apply the paste to the stain, let it sit for a few minutes, and then scrub.
* **Vinegar Soak:** For showerheads clogged with mineral deposits, soak them in a bowl of vinegar overnight. This will help to dissolve the buildup.
* **Lemon Power:** Cut a lemon in half and use it to scrub your sink and faucets. The lemon juice will help to remove water spots and leave a fresh scent.
* **Old Toothbrush:** An old toothbrush is perfect for cleaning hard-to-reach areas, such as around faucets and in grout lines.
Why I Love This DIY Cleaner
I absolutely love this DIY bathroom cleaner because it’s:
* **Non-Toxic:** It’s safe for my family and pets, unlike many commercial cleaners that contain harsh chemicals.
* **Effective:** It cleans just as well, if not better, than store-bought cleaners.
* **Affordable:** The ingredients are inexpensive and readily available.
* **Environmentally Friendly:** It reduces my reliance on plastic bottles and harmful chemicals.
* **Customizable:** I can adjust the scent to my liking by using different essential oils.
So there you have it! My go-to recipe for a non-toxic bathroom cleaner that will leave your bathroom sparkling and smelling fresh. Give it a try, and I’m sure you’ll love it as much as I do! Happy cleaning!
Conclusion
So, there you have it! Ditching the harsh chemicals and embracing this Non Toxic Bathroom Cleaner DIY is more than just a trend; it’s a conscious choice for a healthier home and a happier planet. We’ve walked you through a simple, effective recipe that utilizes readily available ingredients, transforming your cleaning routine into an eco-friendly endeavor.
But why is this DIY approach a must-try? Beyond the obvious environmental benefits, this cleaner is gentle on your surfaces, preventing the damage that harsh chemicals can inflict over time. It’s also incredibly cost-effective. Think about it: a few inexpensive ingredients can create a cleaning solution that rivals, and often surpasses, the performance of expensive store-bought alternatives. Plus, you have complete control over what goes into your cleaner, eliminating any hidden nasties that might trigger allergies or sensitivities.
The beauty of this recipe lies in its adaptability. Feel free to experiment with different essential oils to create your signature scent. Lavender, tea tree, eucalyptus, and lemon are all excellent choices, each offering unique antibacterial and antifungal properties. For extra scrubbing power on stubborn stains, consider adding a tablespoon of baking soda directly to the surface before spraying with the cleaner. You can also infuse your vinegar with citrus peels for a more potent and fragrant cleaning experience. Simply soak citrus peels (lemon, orange, grapefruit) in vinegar for a week or two, then strain before using. This adds a natural degreasing boost and a delightful citrus aroma.
We understand that switching to a DIY cleaning routine might seem daunting at first, but we promise, the results are worth it. Not only will you be creating a cleaner, healthier environment for yourself and your family, but you’ll also be contributing to a more sustainable future.
We wholeheartedly encourage you to give this Non Toxic Bathroom Cleaner DIY a try. It’s a small change that can make a big difference. Once you’ve experienced the power of natural cleaning, you’ll never look back.
And most importantly, we want to hear about your experience! Did you try a variation of the recipe? Did you find it particularly effective on a specific type of stain? Share your tips, tricks, and feedback in the comments below. Let’s build a community of conscious cleaners, sharing our knowledge and inspiring others to embrace a more natural way of life. Your insights could be invaluable to someone just starting their DIY cleaning journey. Together, we can create a cleaner, healthier, and more sustainable world, one bathroom at a time.
Frequently Asked Questions (FAQ)
1. Is this Non Toxic Bathroom Cleaner DIY really as effective as store-bought cleaners?
Yes, absolutely! While it might seem counterintuitive, the combination of vinegar, baking soda (optional), and essential oils creates a powerful cleaning solution. Vinegar is a natural disinfectant and degreaser, effectively cutting through grime and soap scum. Baking soda adds a gentle abrasive action for scrubbing away stubborn stains. Essential oils not only provide a pleasant scent but also offer additional antibacterial and antifungal properties. Many users find that this DIY cleaner works just as well, if not better, than conventional cleaners, without the harsh chemicals. The key is to allow the cleaner to sit on the surface for a few minutes before wiping it away, giving it time to work its magic.
2. What surfaces can I safely use this Non Toxic Bathroom Cleaner DIY on?
This cleaner is generally safe for most bathroom surfaces, including tiles, porcelain, glass, stainless steel, and sealed countertops. However, it’s important to exercise caution on certain materials. Avoid using it on natural stone surfaces like marble or granite, as the acidity of the vinegar can etch and damage them over time. Also, be careful when using it on grout, as prolonged exposure to vinegar can weaken it. Always test the cleaner on a small, inconspicuous area first to ensure it doesn’t cause any discoloration or damage. For delicate surfaces, you can dilute the cleaner with more water.
3. Can I use this Non Toxic Bathroom Cleaner DIY on mold and mildew?
Yes, vinegar is a natural mold and mildew killer. For tackling mold and mildew, spray the affected area thoroughly with the cleaner and let it sit for at least 30 minutes, or even longer for stubborn cases. Then, scrub the area with a brush or sponge and rinse with water. You can also add tea tree oil to the cleaner, as it has potent antifungal properties. For severe mold infestations, it’s always best to consult a professional.
4. What essential oils are best to use in this Non Toxic Bathroom Cleaner DIY?
The best essential oils for this cleaner are those with antibacterial, antifungal, and antiviral properties, as well as a pleasant scent. Some popular choices include:
* **Tea Tree Oil:** A powerful antifungal and antibacterial agent, ideal for fighting mold and mildew.
* **Lavender Oil:** Offers a calming scent and has antiseptic properties.
* **Lemon Oil:** A natural degreaser and disinfectant with a refreshing citrus aroma.
* **Eucalyptus Oil:** Has antibacterial and antiviral properties and a invigorating scent.
* **Peppermint Oil:** Provides a refreshing scent and has antibacterial properties.
Feel free to experiment with different combinations to find your favorite scent. Just be sure to use pure essential oils and follow recommended dilution guidelines.
5. How long will this Non Toxic Bathroom Cleaner DIY last?
This cleaner can last for several months when stored properly. Keep it in a cool, dark place in a tightly sealed spray bottle. The vinegar acts as a natural preservative, preventing bacterial growth. However, it’s always a good idea to give the bottle a shake before each use to ensure the ingredients are well mixed. If you notice any changes in color, smell, or consistency, it’s best to discard the cleaner and make a fresh batch.
6. Can I use this Non Toxic Bathroom Cleaner DIY if I have allergies or sensitivities?
While this cleaner is generally considered safe for people with allergies and sensitivities, it’s always best to exercise caution. If you have known allergies to vinegar or any of the essential oils, avoid using them. You can also perform a patch test on a small area of skin before using the cleaner on a larger surface. If you experience any irritation, discontinue use immediately. You can also adjust the recipe to suit your specific needs, such as using a different type of vinegar or omitting essential oils altogether.
7. What if I don’t like the smell of vinegar?
The smell of vinegar can be off-putting to some people, but it dissipates quickly after cleaning. You can mask the vinegar smell by adding essential oils to the cleaner. Citrus oils like lemon, orange, and grapefruit are particularly effective at neutralizing the vinegar scent. You can also infuse your vinegar with citrus peels for a more fragrant cleaning experience. Another option is to use distilled white vinegar, which has a milder odor than other types of vinegar.
8. Can I use this Non Toxic Bathroom Cleaner DIY in my toilet?
Yes, this cleaner is safe and effective for cleaning toilets. Simply spray the cleaner inside the bowl and around the rim, let it sit for a few minutes, and then scrub with a toilet brush. You can also add a cup of baking soda to the bowl before spraying with the cleaner for extra cleaning power. For stubborn stains, you can let the cleaner sit overnight before scrubbing.
9. Is it safe to mix vinegar and bleach?
No! Never mix vinegar and bleach, as this creates toxic chlorine gas, which can be harmful and even deadly. Always use vinegar and bleach separately and never combine them in the same cleaning solution.
10. Where can I find the ingredients for this Non Toxic Bathroom Cleaner DIY?
The ingredients for this cleaner are readily available at most grocery stores and online retailers. White vinegar is a common household staple and can be found in the vinegar and oil aisle. Baking soda is also widely available in the baking aisle. Essential oils can be found at health food stores, natural product stores, and online retailers. Look for pure, therapeutic-grade essential oils for the best results.

Leave a Comment