Mint kitchen garden: Imagine stepping into your kitchen, not just to cook, but to snip fresh, fragrant mint leaves straight from your own little garden oasis. Sounds dreamy, right? Well, it’s more achievable than you think! For centuries, mint has been cherished not only for its refreshing flavor but also for its medicinal properties. From ancient Egyptians using it in religious ceremonies to Romans flavoring their sauces and wines, mint has a rich and vibrant history.
But beyond its historical significance, growing your own mint kitchen garden offers a practical and rewarding experience. In today’s fast-paced world, we often crave a connection to nature, and what better way to find that connection than by nurturing your own plants? Plus, let’s be honest, store-bought mint can be expensive and often wilts before you even get a chance to use it. With a few simple DIY tricks, you can have a constant supply of fresh mint right at your fingertips, ready to elevate your culinary creations and soothe your senses. I’m excited to share some easy and effective DIY hacks that will transform your kitchen into a thriving mint haven!

Grow Your Own Mint-tastic Kitchen Garden: A DIY Guide
Hey there, fellow plant enthusiasts! I’m so excited to share my secrets to creating a thriving mint kitchen garden right in your own home. Mint is incredibly versatile – perfect for teas, cocktails, desserts, and even savory dishes. Plus, it’s super easy to grow, making it a fantastic project for beginners. Let’s dive in!
Choosing Your Mint Varieties
Before we get our hands dirty, let’s talk mint! There are tons of different varieties, each with its unique flavor profile. Here are a few of my favorites:
* Peppermint: Classic, refreshing, and perfect for teas and desserts.
* Spearmint: Milder than peppermint, great for mojitos and savory dishes.
* Chocolate Mint: A fun twist with a hint of chocolate – delicious in desserts!
* Apple Mint: Fruity and fragrant, ideal for salads and teas.
* Orange Mint: Citrusy and bright, adds a zesty touch to drinks and dishes.
I recommend starting with one or two varieties you know you’ll use. You can always expand your collection later!
Materials You’ll Need
Okay, let’s gather our supplies. Here’s what you’ll need to get started:
* Mint cuttings or seedlings: You can find these at your local garden center or even propagate your own from a friend’s plant.
* Pots or containers: Choose pots that are at least 6 inches in diameter to give your mint room to grow. Make sure they have drainage holes!
* Potting mix: Use a well-draining potting mix specifically formulated for containers.
* Watering can or spray bottle: For keeping your mint hydrated.
* Scissors or pruning shears: For harvesting and trimming.
* Optional: Plant labels, fertilizer (organic is best!), and a small trowel.
Step-by-Step Planting Guide
Alright, let’s get planting! This is the fun part.
1. Prepare Your Pots: Fill your pots with potting mix, leaving about an inch of space at the top. Gently pat down the soil to remove any air pockets.
2. Plant Your Mint:
* From Cuttings: If you’re using cuttings, make sure they have developed roots (you can root them in water first). Dig a small hole in the potting mix and gently place the cutting in the hole. Cover the roots with soil and gently firm it around the base of the cutting.
* From Seedlings: Gently remove the seedling from its container. Loosen the roots slightly with your fingers. Dig a hole in the potting mix large enough to accommodate the root ball. Place the seedling in the hole and cover the roots with soil. Gently firm the soil around the base of the seedling.
3. Water Thoroughly: Water your newly planted mint thoroughly until water drains out of the drainage holes. This helps settle the soil and ensures the roots are well-hydrated.
4. Label Your Plants (Optional): If you’re planting multiple varieties, label each pot so you know which is which.
Choosing the Right Location
Mint loves sunlight, but it can also tolerate partial shade. Here’s what to consider when choosing a location for your mint garden:
* Sunlight: Aim for at least 4-6 hours of sunlight per day. A south-facing window is ideal.
* Temperature: Mint prefers temperatures between 60-70°F (15-21°C).
* Air Circulation: Good air circulation helps prevent fungal diseases.
I usually keep my mint garden on a sunny windowsill in my kitchen. It’s convenient and the plants get plenty of light.
Watering and Feeding Your Mint
Watering is crucial for healthy mint growth. Here’s my watering routine:
* Check the soil moisture: Stick your finger into the soil. If the top inch feels dry, it’s time to water.
* Water deeply: Water thoroughly until water drains out of the drainage holes.
* Avoid overwatering: Mint doesn’t like to sit in soggy soil, which can lead to root rot.
As for feeding, I like to use an organic fertilizer every few weeks during the growing season (spring and summer). This helps keep my mint plants healthy and productive.
Harvesting Your Mint
Harvesting mint is easy and rewarding! Here’s how I do it:
* When to harvest: You can start harvesting mint as soon as the plants are a few inches tall.
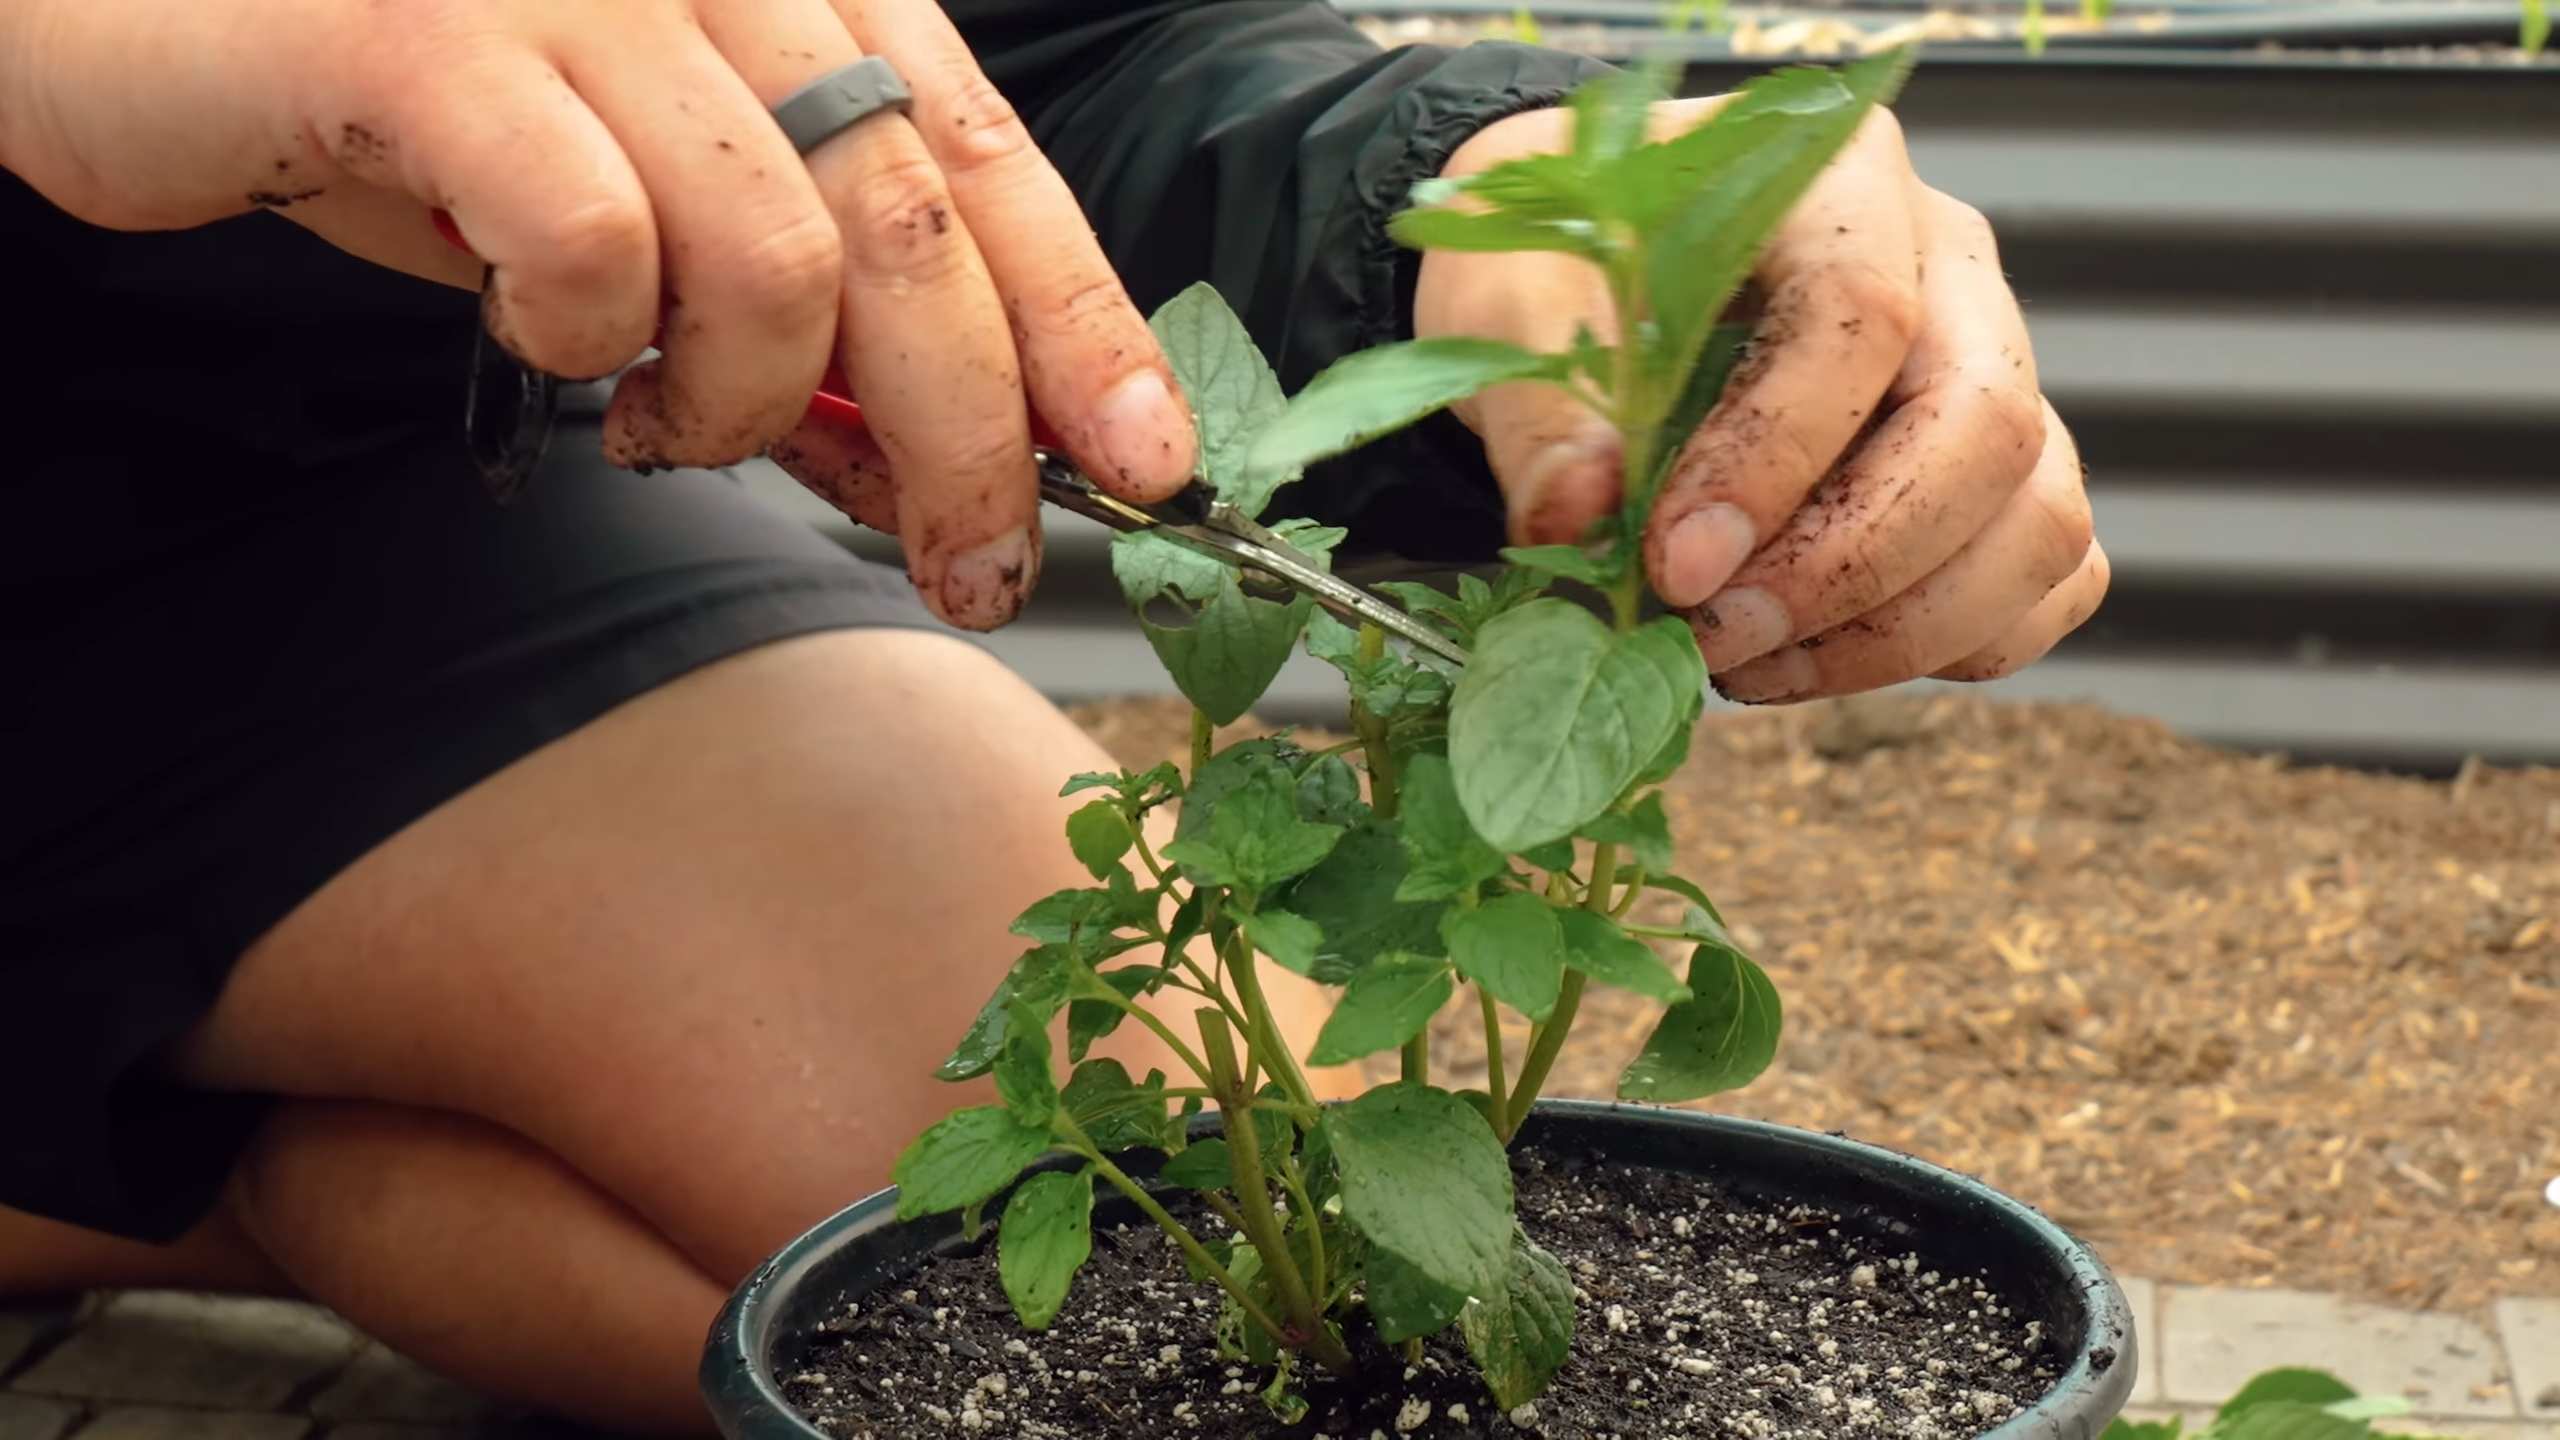
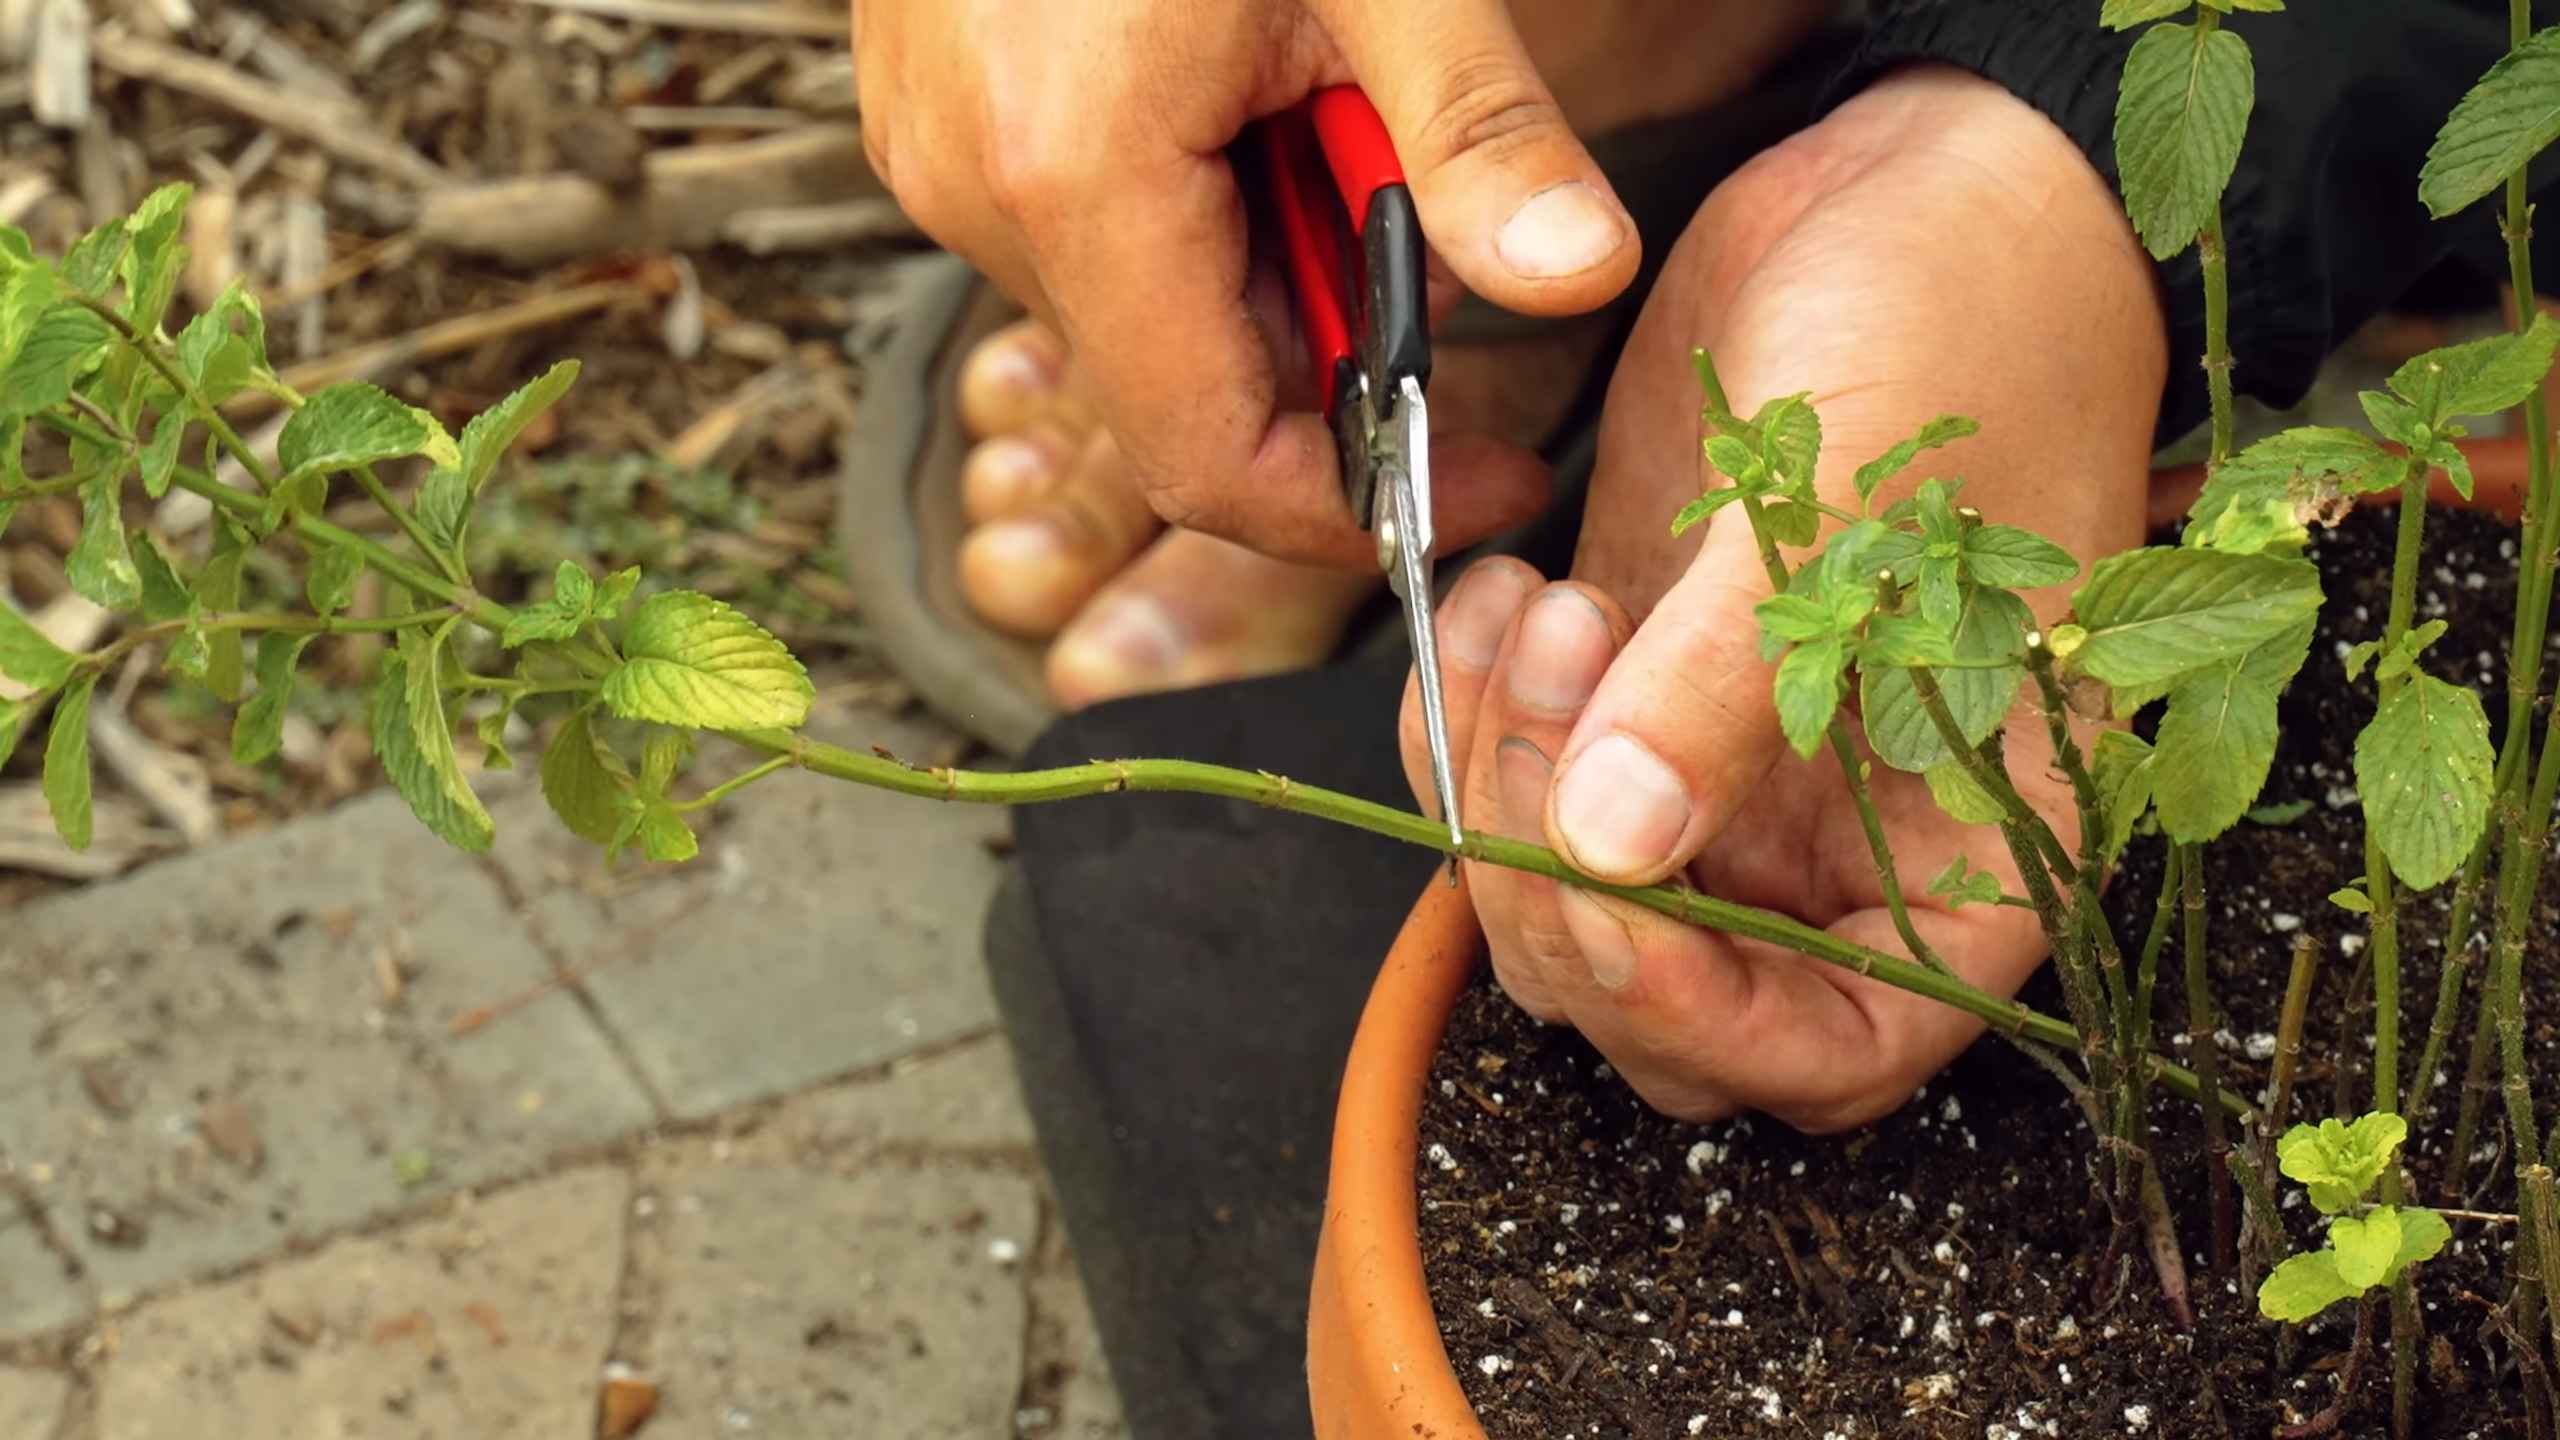
* How to harvest: Use scissors or pruning shears to cut stems just above a leaf node (the point where leaves grow from the stem). This encourages the plant to branch out and produce more leaves.
* Harvest regularly: The more you harvest, the bushier your mint plants will become.
I love to harvest my mint in the morning, when the essential oils are most concentrated. This gives it the best flavor!
Preventing Mint from Taking Over
Mint is notorious for being invasive. If you plant it directly in the ground, it can quickly spread and take over your garden. That’s why I always recommend growing mint in containers. This keeps it contained and prevents it from becoming a nuisance.
Troubleshooting Common Mint Problems
Even with the best care, you might encounter a few problems with your mint plants. Here are some common issues and how to address them:
* Yellowing leaves: This could be a sign of overwatering, underwatering, or nutrient deficiency. Adjust your watering schedule and consider fertilizing your plants.
* Brown spots on leaves: This could be a sign of fungal disease. Improve air circulation and avoid overhead watering. You can also use a fungicide if necessary.
* Pests: Mint can be susceptible to pests like aphids and spider mites. Inspect your plants regularly and treat any infestations with insecticidal soap or neem oil.
Propagating Mint
One of the best things about mint is how easy it is to propagate. You can easily create new plants from cuttings. Here’s how I do it:
1. Take a cutting: Cut a stem about 4-6 inches long, just below a leaf node.
2. Remove the lower leaves: Remove the leaves from the bottom half of the cutting.
3. Root in water: Place the cutting in a glass of water, making sure the bottom nodes are submerged.
4. Wait for roots to develop: Place the glass in a bright, indirect light location. Change the water every few days. Roots should start to develop in a week or two.
5. Plant in soil: Once the roots are about an inch long, plant the cutting in a pot filled with potting mix.
Using Your Fresh Mint
Now for the best part – enjoying your homegrown mint! Here are just a few ideas:
* Tea: Steep fresh mint leaves in hot water for a refreshing and soothing tea.
* Mojitos: Muddle mint leaves with lime juice, sugar, and rum for a classic mojito.
* Desserts: Add chopped mint to chocolate desserts, fruit salads, or ice cream.
* Savory dishes: Use mint to flavor lamb, salads, or sauces.
* Garnish: Use mint sprigs as a garnish for cocktails, desserts, and savory dishes.
Drying Mint for Later Use
If you have more mint than you can use fresh, you can easily dry it for later use. Here’s how I do it:
1. Harvest mint: Cut stems of mint in the morning.
2. Rinse and dry: Rinse the mint leaves and pat them dry with a paper towel.
3. Hang to dry: Tie the stems together in small bundles and hang them upside down in a cool, dark, and well-ventilated place.
4. Dry in a dehydrator: Alternatively, you can dry the leaves in a dehydrator at a low temperature.
5. Store: Once the leaves are completely dry, crumble them and store them in an airtight container.
Mint-Infused Water Recipe
Here’s a simple and refreshing recipe for mint-infused water:
Ingredients:
* 1 liter of water
* 1/2 cup fresh mint leaves
* 1/4 lemon, sliced
Instructions:
1. Combine the water, mint leaves, and lemon slices in a pitcher.
2. Refrigerate for at least 30 minutes to allow the flavors to infuse.
3. Serve chilled.
Mint Pesto Recipe
Here’s a twist on the classic pesto recipe, using fresh mint:
Ingredients:
* 2 cups fresh mint leaves
* 1/2 cup grated Parmesan cheese
* 1/4 cup pine nuts
* 2 cloves garlic
* 1/4 cup olive oil
* Salt and

Conclusion
So, there you have it! Transforming your kitchen into a fragrant oasis with your very own DIY mint kitchen garden is not just a project; it’s an investment in fresh flavors, aromatic bliss, and sustainable living. We’ve walked you through the simple steps, highlighting the ease and accessibility of growing mint indoors, regardless of your gardening experience.
Why is this a must-try? Because store-bought mint, while convenient, often lacks the vibrant flavor and freshness of homegrown herbs. Plus, think of the environmental impact! Reducing your reliance on commercially grown and transported mint contributes to a smaller carbon footprint. But beyond the practical benefits, cultivating your own mint is incredibly rewarding. There’s a unique satisfaction in snipping fresh leaves for your tea, cocktails, or culinary creations, knowing you nurtured them from tiny sprigs.
Consider the possibilities! While we focused on classic spearmint, don’t be afraid to experiment. Peppermint, chocolate mint, or even apple mint can all thrive indoors, adding exciting variations to your kitchen garden. You could even create a multi-mint planter, offering a diverse range of flavors at your fingertips. Think about the containers too! While terracotta pots are classic, repurposed mason jars, colorful ceramic planters, or even a vertical wall garden can add a touch of personality to your kitchen decor.
And the uses for your homegrown mint are endless. Beyond the obvious culinary applications, consider using it to create refreshing infused water, homemade mint syrup for cocktails, or even adding it to homemade beauty products like face masks or scrubs. The possibilities are truly limited only by your imagination.
This DIY mint kitchen garden is more than just a trend; it’s a lifestyle choice. It’s about embracing fresh, sustainable ingredients, connecting with nature, and adding a touch of green to your everyday life. It’s about having fresh, flavorful mint readily available whenever you need it, elevating your culinary creations and refreshing your senses.
We wholeheartedly encourage you to embark on this simple yet transformative project. Don’t be intimidated if you’ve never gardened before. Mint is incredibly forgiving and thrives with minimal care. Follow our guide, adapt it to your own space and preferences, and watch your mint kitchen garden flourish.
But most importantly, we want to hear about your experience! Share your photos, tips, and variations with us in the comments below. Let us know what challenges you faced, what successes you celebrated, and what delicious creations you’ve made with your homegrown mint. Together, we can inspire others to embrace the joy of growing their own herbs and transform their kitchens into vibrant, fragrant havens. So, grab your pots, soil, and mint sprigs, and let’s get growing! Your taste buds (and your kitchen) will thank you.
Frequently Asked Questions
What kind of mint is best for growing indoors?
While spearmint is a popular and readily available choice, many varieties of mint thrive indoors. Peppermint, with its stronger, more intense flavor, is another excellent option. Chocolate mint offers a unique, dessert-like aroma and flavor, while apple mint provides a milder, fruitier note. Consider your personal preferences and the types of dishes or beverages you plan to use the mint in when making your selection. Experimenting with different varieties can be a fun way to discover your favorites. Remember to research the specific needs of each variety, as some may require slightly different care.
How much sunlight does my indoor mint garden need?
Mint thrives in bright, indirect sunlight. Aim for at least 4-6 hours of sunlight per day. A south-facing window is ideal, but east or west-facing windows can also work well. If you don’t have access to sufficient natural light, consider supplementing with a grow light. Position the grow light a few inches above the plants and leave it on for 12-14 hours per day. Monitor your mint plants closely. If the leaves appear pale or leggy, they may not be getting enough light. Conversely, if the leaves are scorched or yellowing, they may be getting too much direct sunlight.
What kind of soil should I use for my mint plants?
Use a well-draining potting mix specifically formulated for herbs or vegetables. Avoid using garden soil, as it can be too heavy and may not drain properly, leading to root rot. A good potting mix will provide the necessary nutrients and aeration for healthy root growth. You can also amend your potting mix with perlite or vermiculite to improve drainage. Ensure that your pots have drainage holes to prevent water from accumulating at the bottom.
How often should I water my mint plants?
Water your mint plants regularly, keeping the soil consistently moist but not waterlogged. Check the soil moisture by sticking your finger about an inch into the soil. If it feels dry, it’s time to water. Water deeply, allowing the excess water to drain out of the drainage holes. Avoid overwatering, as this can lead to root rot. During the warmer months, you may need to water more frequently. In the winter, when growth slows down, you can reduce the watering frequency.
How do I harvest my mint leaves?
Harvesting mint leaves is easy! Simply snip off the stems just above a leaf node (the point where leaves grow from the stem). This will encourage the plant to branch out and produce more leaves. You can harvest leaves as needed, but avoid removing more than one-third of the plant at a time. Regular harvesting will also help to prevent the plant from becoming leggy. The best time to harvest mint is in the morning, after the dew has dried, as the leaves will be at their most flavorful.
How do I prevent my mint from taking over my garden?
Mint is known for its aggressive growth habit, so it’s important to contain it, even indoors. Growing mint in pots is the best way to prevent it from spreading uncontrollably. If you’re planting mint in a garden bed, consider using a barrier, such as a plastic or metal edging, to prevent the roots from spreading. Regularly prune your mint plants to keep them under control. You can also propagate new plants from cuttings, allowing you to expand your mint collection without letting it take over your space.
My mint plant is looking leggy. What should I do?
Leggy growth in mint plants is often caused by insufficient light. Move your plant to a brighter location or supplement with a grow light. Prune back the leggy stems to encourage bushier growth. Pinch off the tips of the stems to promote branching. Ensure that your plant is getting adequate nutrients by fertilizing it regularly with a balanced liquid fertilizer.
Can I propagate mint from cuttings?
Yes, mint is very easy to propagate from cuttings. Simply take a 4-6 inch cutting from a healthy stem, removing the lower leaves. Place the cutting in a glass of water, ensuring that the lower nodes are submerged. Roots should begin to form within a week or two. Once the roots are about an inch long, you can transplant the cutting into a pot filled with potting mix. Keep the soil moist and the cutting in a bright, indirect location until it establishes itself.
How do I fertilize my mint plants?
Fertilize your mint plants every 2-4 weeks with a balanced liquid fertilizer. Follow the instructions on the fertilizer packaging. Avoid over-fertilizing, as this can lead to leggy growth and a decrease in flavor. You can also use organic fertilizers, such as compost tea or worm castings, to provide your mint plants with essential nutrients.
What pests and diseases affect mint plants?
Mint plants are generally resistant to pests and diseases, but they can be susceptible to spider mites, aphids, and powdery mildew. Inspect your plants regularly for signs of infestation or disease. If you notice any pests, you can try washing them off with a strong stream of water or using insecticidal soap. Powdery mildew can be treated with a fungicide. Ensure that your plants have good air circulation to prevent fungal diseases.


Leave a Comment