

Melon Carving Secret: Unlock your inner artist and transform ordinary melons into stunning edible masterpieces! Have you ever looked at a beautifully carved melon and thought, “Wow, I wish I could do that?” Well, guess what? You absolutely can! This isn’t just about making your fruit platter look fancy; it’s about adding a touch of creativity and fun to your kitchen, and impressing your friends and family with your newfound skills.
Melon carving isn’t a new fad. In fact, the art of fruit and vegetable carving has been practiced for centuries, particularly in Asian countries like Thailand, where it’s known as “kae sa luk.” Traditionally, these intricate carvings were used to adorn royal tables and celebrate special occasions. While we might not be serving royalty, we can certainly bring that same level of artistry to our own homes.
But why should you learn this melon carving secret? Because it’s more than just a pretty garnish! It’s a fantastic way to encourage healthy eating, especially for picky eaters. Imagine presenting a carved watermelon basket filled with colorful fruit salad – suddenly, those healthy snacks become irresistible! Plus, it’s a wonderful activity to do with kids, fostering their creativity and teaching them about food in a fun and engaging way. I’m here to guide you through some easy-to-learn techniques and share my favorite tips and tricks, so you can start creating your own edible works of art today. Let’s get carving!
Melon Carving Magic: Turn Ordinary Fruit into Extraordinary Art!
Hey there, fellow DIY enthusiasts! Ever wanted to impress your friends and family with a stunning centerpiece that’s both beautiful and delicious? Well, get ready to unleash your inner artist because today, I’m going to walk you through the wonderful world of melon carving! It might seem intimidating at first, but trust me, with a little patience and these step-by-step instructions, you’ll be creating edible masterpieces in no time.
What You’ll Need: Your Melon Carving Toolkit
Before we dive in, let’s gather our supplies. Having everything ready will make the process much smoother and more enjoyable. Here’s what I recommend:
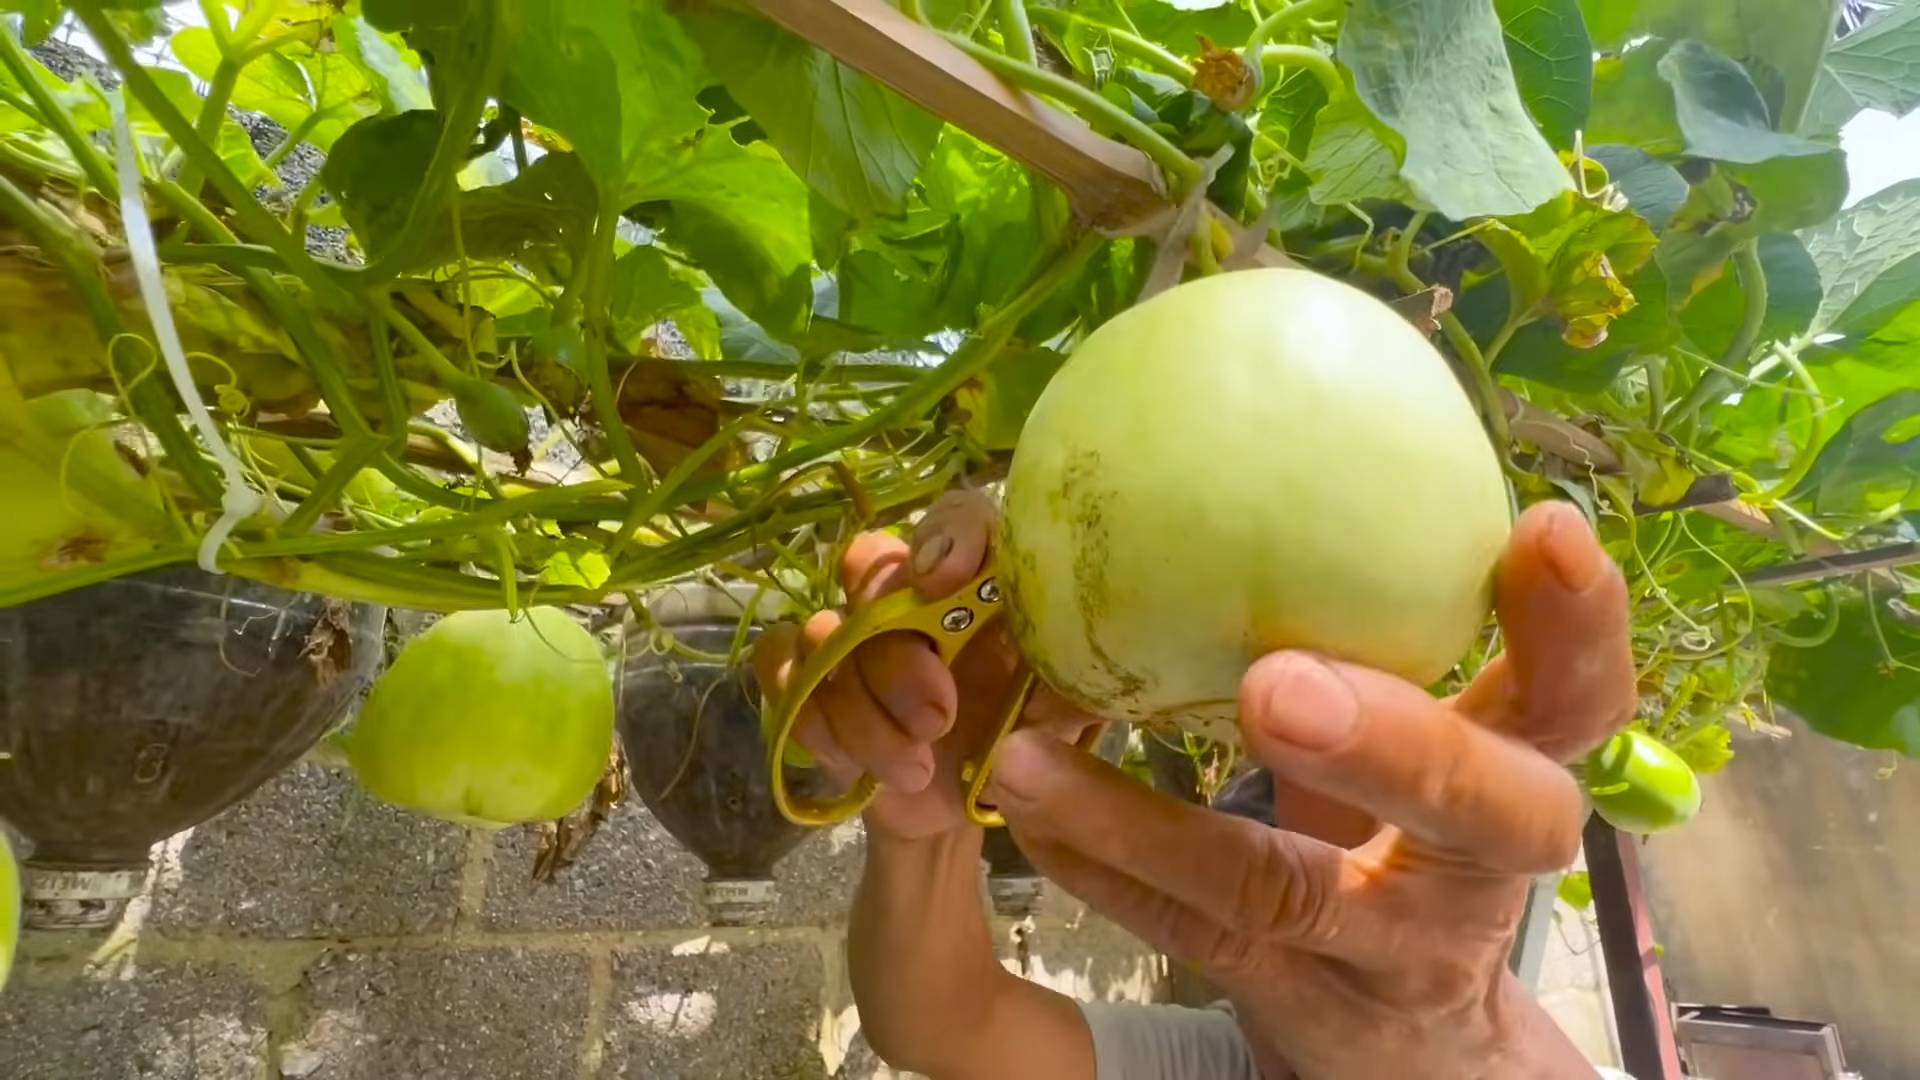
* Your Melon of Choice: Watermelons are classic, but cantaloupes, honeydews, and even smaller melons like Galia melons work great too! Consider the shape and size when choosing. A round watermelon is perfect for a floral design, while an oblong one might lend itself to a more linear pattern.
* Sharp Knives: A variety is key!
* A large, sturdy knife for cutting the melon in half and removing the seeds.
* A smaller paring knife with a sharp point for detailed carving.
* A melon baller for creating perfectly round scoops (optional, but fun!).
* Vegetable Peeler: For creating smooth surfaces and decorative strips.
* Cutting Board: A large, stable cutting board is essential for safety.
* Bowls: To hold the melon flesh you scoop out.
* Paper Towels: For wiping your knife and keeping your workspace clean.
* Pencils or Markers: For sketching your design onto the melon.
* Cookie Cutters (Optional): For creating fun shapes.
* Toothpicks: For attaching smaller pieces or reinforcing delicate areas.
* Ice Water: To keep your melon fresh and crisp while you’re working.
* A Good Light Source: Proper lighting is crucial for seeing the details of your carving.
* Patience and a Positive Attitude: Remember, it’s all about having fun! Don’t be afraid to experiment and make mistakes.
Choosing Your Melon: A Few Tips
Selecting the right melon is the first step to success. Here are a few things I look for:
* Firmness: The melon should feel firm and heavy for its size. Avoid melons that feel soft or mushy.
* Sound: Give the melon a tap. A ripe watermelon should sound hollow. Cantaloupes and honeydews should have a slightly softer, deeper sound.
* Appearance: Look for a melon with a smooth, unblemished rind. Avoid melons with bruises, cracks, or soft spots.
* Stem: For cantaloupes and honeydews, the stem end should be slightly soft and fragrant.
Getting Started: Preparing Your Melon
Okay, let’s get our hands dirty!
1. Wash the Melon: Thoroughly wash the outside of the melon with soap and water to remove any dirt or bacteria. This is important because you’ll be cutting into the melon, and you don’t want to introduce any contaminants.
2. Cut the Melon in Half: Place the melon on your cutting board and, using your large, sturdy knife, carefully cut it in half lengthwise. Be sure to keep your fingers out of the path of the blade!
3. Remove the Seeds: Use a spoon to scoop out all the seeds from both halves of the melon. You can discard the seeds or save them for roasting (they’re surprisingly delicious!).
4. Drain Excess Juice: Tilt the melon halves over a bowl to drain any excess juice. This will make it easier to carve.
Designing Your Masterpiece: From Simple to Spectacular
Now comes the fun part: deciding what to carve! If you’re a beginner, I recommend starting with a simple design. Here are a few ideas:
* Flowers: Roses, sunflowers, and daisies are all popular choices.
* Geometric Patterns: Stripes, zigzags, and spirals can be surprisingly effective.
* Simple Shapes: Stars, hearts, and moons are easy to carve and look great.
* Letters or Numbers: Perfect for birthdays or special occasions.
Once you’re more comfortable, you can try more complex designs, such as:
* Animals: Birds, fish, and dolphins are all popular choices.
* Landscapes: Sunsets, mountains, and forests can be stunning.
* Portraits: Carving a likeness of someone is a real challenge, but the results can be amazing.
1. Sketch Your Design: Use a pencil or marker to sketch your design onto the melon rind. Don’t worry if it’s not perfect; you can always erase it and try again. If you’re using a complex design, you might want to print out a template and trace it onto the melon.
2. Consider Depth: Think about how deep you want to carve in certain areas. Some areas might be just surface cuts, while others might be deeper to reveal the lighter flesh underneath.
Carving Techniques: The Art of the Cut
Now for the main event: the carving! Remember to take your time and be patient. It’s better to make small, precise cuts than to try to rush things.
1. Outline Your Design: Using your paring knife, carefully trace the outline of your design. Make sure your cuts are clean and precise.
2. Remove the Rind: Use your paring knife or vegetable peeler to remove the rind from the areas you want to expose. Be careful not to cut too deep, or you’ll remove too much of the flesh.
3. Create Details: Use your paring knife to add details to your design. This might involve carving petals, leaves, or other intricate shapes.
4. Use Different Tools: Don’t be afraid to experiment with different tools to create different effects. A melon baller can be used to create perfectly round scoops, while a vegetable peeler can be used to create smooth surfaces and decorative strips.
5. Work in Sections: If you’re working on a large or complex design, it’s helpful to break it down into smaller sections. This will make the process less overwhelming and allow you to focus on the details of each section.
Adding the Finishing Touches: Making Your Carving Shine
Once you’ve finished carving your design, it’s time to add the finishing touches.
1. Clean Up: Use a damp paper towel to wipe away any melon juice or debris from your carving.
2. Highlight Details: You can use a toothpick to add small details or to reinforce delicate areas.
3. Add Color (Optional): You can use food coloring or edible glitter to add color to your carving. Be careful not to overdo it, as too much color can make your carving look artificial.
4. Fill with Fruit: Fill the inside of your carved melon with a variety of fresh fruits, such as strawberries, blueberries, grapes, and kiwi. This will make your carving even more appealing and delicious.
5. Keep it Fresh: To keep your carving fresh, store it in the refrigerator in a covered container. You can also spray it with a light mist of water to prevent it from drying out.
Tips and Tricks: Secrets to Success
Here are a few extra tips and tricks that I’ve learned over the years:
* Practice Makes Perfect: Don’t be discouraged if your first carving isn’t perfect. The more you practice, the better you’ll become.
* Use Sharp Tools: Sharp knives are essential for clean, precise cuts. Make sure your knives are properly sharpened before you start carving.
* Take Breaks: Carving can be tiring, so take breaks as needed. This will help you stay focused and avoid making mistakes.
* Don’t Be Afraid to Experiment: The best way to learn is to experiment. Try different designs, techniques, and tools to find what works best for you.
* Have Fun! Carving should be a fun and relaxing activity. Don’t put too much pressure on yourself to create a perfect masterpiece. Just enjoy the process and let your creativity flow.
* Use Stencils: If you’re struggling to draw your design freehand, use stencils. You can find stencils online or create your own.
* Photograph Your Work: Take photos of your carvings to document your progress and share your creations with others.
* Consider the Occasion: Tailor your design to the occasion. A floral design might be perfect for a wedding, while a spooky design might be more appropriate for Halloween.
* Use a Melon Stand: If you’re displaying your carving on a table, consider using a melon stand to elevate it and make it more visible.
* Don’t Overcarve: It’s
Conclusion
So, there you have it! Mastering the art of melon carving doesn’t require years of culinary school or expensive tools. This simple, yet incredibly effective DIY trick unlocks a world of creative possibilities, transforming ordinary melons into stunning centerpieces and edible works of art. Forget struggling with flimsy knives and uneven cuts; this method provides the precision and control you need to achieve professional-looking results, every single time.
Why is this DIY trick a must-try? Because it’s a game-changer. It empowers you to elevate your summer gatherings, impress your guests, and add a touch of whimsy to your everyday meals. Imagine serving a beautifully carved watermelon at your next barbecue, or presenting a melon basket overflowing with fresh fruit at a potluck. The possibilities are truly endless.
But the beauty of this technique lies not only in its simplicity but also in its versatility. Feel free to experiment with different melon varieties – cantaloupe, honeydew, even smaller melons like Galia or Charentais. Each melon offers a unique canvas for your creativity. Consider using cookie cutters to create fun shapes for children’s parties, or try carving intricate floral patterns for a more sophisticated presentation. You can even use food coloring to add vibrant hues to your melon creations.
Don’t be afraid to get creative and personalize your melon carvings! Think about incorporating other fruits and vegetables into your designs. Use blueberries for eyes, grapes for accents, or cucumber slices for leaves. The only limit is your imagination.
Beyond aesthetics, this DIY trick also promotes food waste reduction. By carving your melons with precision, you minimize the amount of edible fruit that gets discarded. This is a win-win situation: you create beautiful presentations while also being mindful of the environment.
We are confident that once you try this DIY trick, you’ll be amazed at how easy and rewarding it is. It’s a skill that will impress your friends and family, and it’s a fun and creative way to express yourself. So, grab a melon, gather your tools, and get carving!
We encourage you to try this melon carving secret and share your creations with us! Post your photos on social media using [Your Hashtag] and let us see your artistic flair. We can’t wait to see what you come up with! Your experiences and feedback are invaluable, helping us refine and improve this technique for everyone. Happy carving!
Frequently Asked Questions (FAQ)
What type of melon works best with this DIY carving trick?
While this trick works well with most melons, watermelons and cantaloupes are generally the easiest to carve due to their size and texture. Honeydew melons can also be used, but their firmer flesh may require a bit more pressure. Smaller melons like Galia or Charentais are great for individual servings or smaller decorative elements. Experiment with different varieties to find your personal favorite! The key is to choose a melon that is ripe but still firm enough to hold its shape during carving. Overripe melons will be too soft and difficult to work with.
What tools do I need for this DIY melon carving trick?
The beauty of this trick is that it requires minimal tools. A sharp paring knife or a small carving knife is essential for making precise cuts. A melon baller can be helpful for creating decorative scoops. Cookie cutters can be used to create fun shapes, especially for children’s parties. A vegetable peeler can be used to create thin strips or ribbons for decorative accents. And finally, a large spoon is useful for removing seeds and pulp. While specialized melon carving tools are available, they are not necessary for achieving impressive results with this DIY trick.
How do I prevent my melon carving from browning?
Melons, especially cut watermelons, can brown relatively quickly due to oxidation. To prevent this, you can lightly brush the exposed surfaces of your carving with lemon juice or lime juice. The citric acid in these juices acts as a natural preservative and helps to slow down the browning process. Another option is to store your melon carving in the refrigerator, covered with plastic wrap or in an airtight container. This will help to keep it fresh and prevent it from drying out. Avoid storing your melon carving at room temperature for extended periods, as this will accelerate the browning process.
How long will my melon carving last?
The lifespan of your melon carving depends on several factors, including the type of melon, the storage conditions, and the ambient temperature. In general, a properly stored melon carving can last for 2-3 days in the refrigerator. However, it’s important to inspect your carving regularly for signs of spoilage, such as a slimy texture, an unpleasant odor, or discoloration. If you notice any of these signs, it’s best to discard the carving. To maximize the lifespan of your melon carving, store it in an airtight container or wrapped tightly in plastic wrap to prevent it from drying out.
Can I use this DIY trick to carve other fruits and vegetables?
Absolutely! While this trick is specifically designed for melons, the principles can be applied to other fruits and vegetables as well. For example, you can use it to carve pumpkins, squashes, pineapples, or even avocados. The key is to adjust your technique based on the texture and shape of the fruit or vegetable you are working with. Softer fruits and vegetables may require a lighter touch, while firmer ones may require more pressure. Experiment and have fun!
What are some creative ideas for using my melon carvings?
The possibilities are endless! You can use your melon carvings as centerpieces for parties, buffets, or even everyday meals. They make a stunning addition to fruit platters and can be used to create edible baskets filled with fresh fruit. You can also use them to decorate cakes, cupcakes, or other desserts. For children’s parties, consider carving melons into fun shapes like animals, stars, or hearts. You can even use melon carvings as part of a themed party, such as a tropical luau or a pirate adventure. Get creative and let your imagination run wild!
Is this DIY trick safe for children to try?
While this trick is relatively simple, it does involve the use of sharp knives. Therefore, it’s important to supervise children closely when they are participating in melon carving. Younger children can help with tasks such as scooping out the seeds or using cookie cutters, while older children can assist with the carving process under adult supervision. Always emphasize the importance of using knives safely and responsibly. Consider using plastic knives or other child-safe tools for younger children.
How do I clean up after melon carving?
Melon carving can be a bit messy, so it’s important to have a plan for cleaning up. Start by placing a large cutting board or mat underneath your work area to catch any drips or spills. Have a trash can nearby for disposing of melon rinds and seeds. Use a damp cloth or sponge to wipe down your work surface regularly. After you’re finished carving, wash your knives and other tools thoroughly with soap and water. And finally, don’t forget to compost any leftover melon scraps!
Where can I find more inspiration for melon carving designs?
The internet is a treasure trove of inspiration for melon carving designs. Search for “melon carving ideas” on Google, Pinterest, or YouTube to find a wide variety of tutorials, photos, and videos. You can also find inspiration in books, magazines, and even nature. Pay attention to the shapes and patterns you see around you and try to incorporate them into your melon carvings. Don’t be afraid to experiment and develop your own unique style!

Leave a Comment