

Growing Potatoes in Containers: Unlock the secrets to a bountiful harvest, even without a sprawling garden! Have you ever dreamed of digging up your own fresh, earthy potatoes, but thought you needed acres of land? Well, dream no more! This DIY guide is your passport to potato paradise, right on your patio, balcony, or even a sunny windowsill.
Potatoes have a rich history, dating back thousands of years to the Andes Mountains of South America, where they were a staple food for the Inca civilization. From their humble beginnings, potatoes have journeyed across the globe, becoming a beloved and versatile ingredient in countless cuisines. Now, you can connect with this history by cultivating your own spuds at home!
But why should you bother growing potatoes in containers? In today’s world, many of us are living in smaller spaces, making traditional gardening a challenge. Container gardening offers a fantastic solution, allowing you to enjoy the satisfaction of growing your own food, regardless of your living situation. Plus, growing potatoes in containers gives you greater control over the soil and growing conditions, leading to healthier plants and a bigger yield. I’m excited to share my favorite tips and tricks to make your container potato growing experience a success. Let’s get started!
Growing Potatoes in Containers: A Bountiful Harvest on Your Patio!
Hey there, fellow gardening enthusiasts! I’m so excited to share one of my favorite DIY gardening hacks with you: growing potatoes in containers. It’s surprisingly easy, incredibly rewarding, and perfect for those of us with limited garden space. Forget sprawling fields – you can have a potato harvest right on your balcony or patio!
Why Grow Potatoes in Containers?
Before we dive in, let’s talk about why container gardening is such a fantastic option for potatoes:
* Space-Saving: This is the biggest advantage! You don’t need a huge garden plot. A few containers are all you need.
* Control: You have complete control over the soil quality, watering, and sunlight exposure. This leads to healthier plants and bigger yields.
* Pest and Disease Management: Container gardening can help minimize pest and disease problems, as you’re isolating your plants from potential soil-borne issues.
* Easy Harvesting: No more digging around in the dirt! Simply tip the container over and collect your potatoes. It’s like a treasure hunt!
* Mobility: You can move your containers around to follow the sun or protect them from harsh weather.
What You’ll Need
Okay, let’s gather our supplies. Here’s what you’ll need to get started:
* Containers: Choose large containers, at least 15-20 gallons in size. Think large buckets, plastic tubs, grow bags, or even old trash cans (with drainage holes, of course!). The bigger, the better, as potatoes need room to grow.
* Seed Potatoes: These are potatoes specifically grown for planting. You can find them at your local garden center or online. Make sure they are certified disease-free.
* Potting Mix: Use a high-quality, well-draining potting mix. Avoid garden soil, as it can compact and hinder drainage. I like to use a mix of compost, peat moss (or coco coir), and perlite.
* Fertilizer: A balanced, slow-release fertilizer is ideal. Look for one with an NPK ratio of around 10-10-10 or 14-14-14.
* Watering Can or Hose: For regular watering.
* Optional: A trowel or small shovel, gloves, and a sunny spot!
Choosing Your Seed Potatoes
This is a crucial step! Not all potatoes are created equal when it comes to growing.
* Variety: Consider what kind of potatoes you like to eat. There are early-season varieties (like Yukon Gold or Irish Cobbler) that mature quickly, and late-season varieties (like Russet Burbank or Kennebec) that take longer but often produce larger potatoes.
* Certification: Always buy certified disease-free seed potatoes. This will help prevent the spread of diseases to your plants.
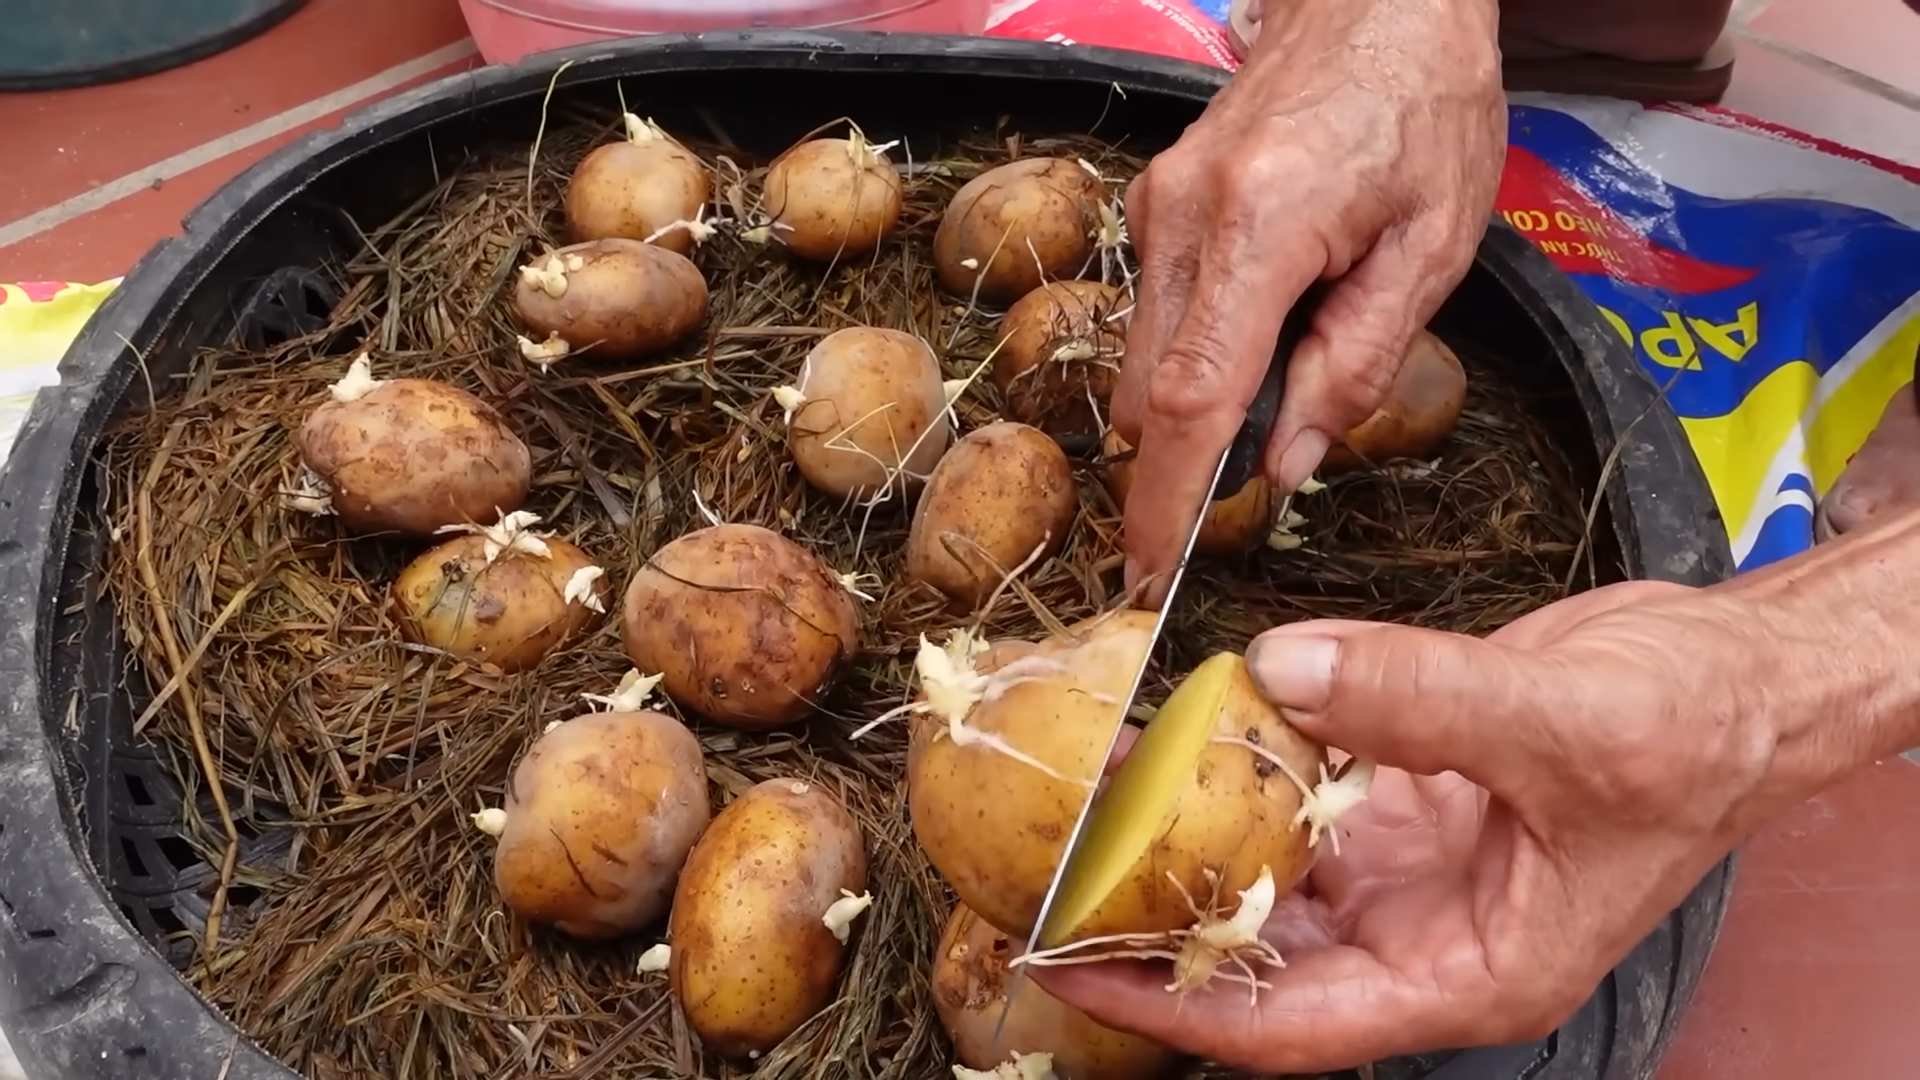
* Size: Choose seed potatoes that are about the size of a chicken egg. If you have larger potatoes, you can cut them into pieces, making sure each piece has at least one or two “eyes” (those little buds that sprout).
* Chitting (Optional): Chitting is the process of encouraging your seed potatoes to sprout before planting. This can give them a head start. To chit your potatoes, place them in a cool, bright location for a few weeks until they develop short, green sprouts.
Step-by-Step Planting Guide
Alright, let’s get our hands dirty! Here’s how to plant your potatoes in containers:
1. Prepare Your Containers: Make sure your containers have adequate drainage holes. If not, drill some! Then, add a layer of potting mix to the bottom of the container, about 4-6 inches deep.
2. Plant Your Seed Potatoes: Place your seed potatoes on top of the soil, with the eyes facing up. If you cut your potatoes into pieces, allow the cut surfaces to dry for a day or two before planting to prevent rot. Space the seed potatoes about 8-10 inches apart if you’re planting multiple potatoes in one container.
3. Cover with Soil: Cover the seed potatoes with another 4-6 inches of potting mix. Gently water the soil until it’s moist but not soggy.
4. Place in a Sunny Location: Potatoes need at least 6-8 hours of sunlight per day. Choose a sunny spot on your patio or balcony where your containers will receive plenty of light.
The “Hilling” Process: Maximizing Your Harvest
This is where the magic happens! Hilling is the process of gradually adding more soil to the container as the potato plants grow. This encourages the plants to produce more potatoes along the stems.
1. Wait for Sprouts: After a week or two, you should see sprouts emerging from the soil.
2. Add More Soil: Once the sprouts are about 6-8 inches tall, add more potting mix to the container, covering the stems up to the bottom set of leaves. Leave the top leaves exposed.
3. Repeat: Continue this process every few weeks as the plants grow, until the container is almost full. This encourages the plant to produce potatoes all along the buried stem.
Caring for Your Potato Plants
Now that your potatoes are planted, it’s time to provide them with the care they need to thrive.
1. Watering: Potatoes need consistent moisture, especially when they’re actively growing. Water deeply whenever the top inch of soil feels dry to the touch. Avoid overwatering, as this can lead to rot.
2. Fertilizing: Feed your potato plants with a balanced fertilizer every few weeks. Follow the instructions on the fertilizer package.
3. Sunlight: Make sure your plants are getting at least 6-8 hours of sunlight per day. If they’re not getting enough sun, the stems will become leggy and the yield will be reduced.
4. Pest and Disease Control: Keep an eye out for pests like aphids, potato beetles, and flea beetles. You can control these pests with insecticidal soap or neem oil. Also, watch for diseases like early blight and late blight. Proper watering and good air circulation can help prevent these diseases. If you spot any diseased leaves, remove them immediately.
Harvesting Your Potatoes: The Grand Finale!
This is the moment we’ve all been waiting for! Harvesting your potatoes is the most rewarding part of the process.
1. Timing: Early-season potatoes can be harvested when the plants start to flower. Late-season potatoes should be harvested after the foliage has died back.
2. Test Dig: To check if your potatoes are ready, gently dig around the base of one plant and see if the potatoes are the size you want.
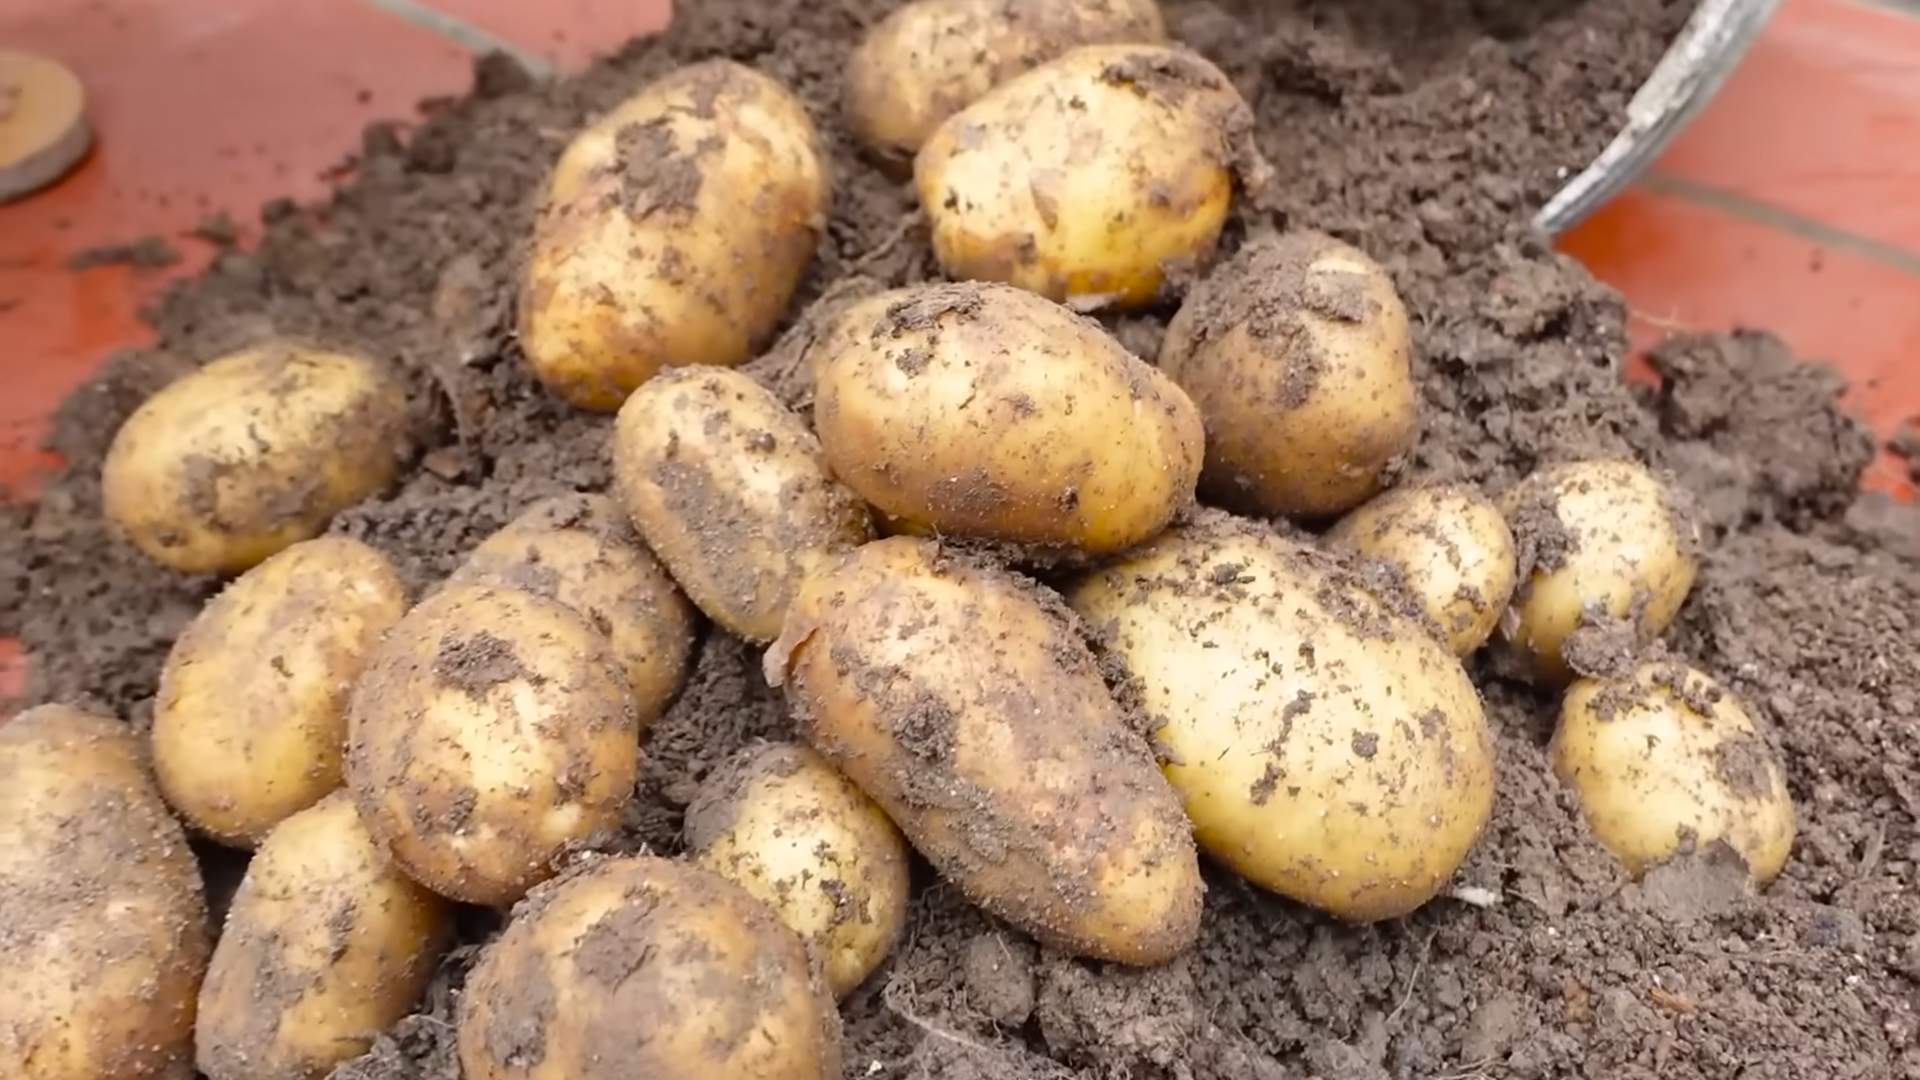
3. Harvesting: Once you’re ready to harvest, simply tip the container over and carefully collect your potatoes. You can also use a trowel to gently dig them out.
4. Curing (Optional): Curing your potatoes can help them last longer in storage. To cure them, spread them out in a cool, dark, and well-ventilated place for a week or two.
Troubleshooting Tips
Even with the best planning, things can sometimes go wrong. Here are a few common problems and how to fix them:
* Yellowing Leaves: This could be a sign of overwatering, underwatering, or nutrient deficiency. Check the soil moisture and adjust your watering accordingly. Also, make sure you’re fertilizing regularly.
* Leggy Stems: This is usually a sign of insufficient sunlight. Move your containers to a sunnier location.
* Small Potatoes: This could be due to insufficient watering, poor soil quality, or overcrowding. Make sure you’re watering deeply and fertilizing regularly. Also, make sure you’re using large enough containers and not planting too many potatoes in one container.
* Pests: Regularly inspect your plants for pests and take action immediately if you spot any.
Enjoy Your Homegrown Potatoes!
Congratulations! You’ve successfully grown potatoes in containers. Now it’s time to enjoy the fruits (or rather, vegetables) of your labor. Use your homegrown potatoes in your favorite recipes, share them with friends and family, or simply savor the satisfaction of knowing you grew them yourself. I love roasting them with herbs and garlic, making creamy mashed potatoes, or even just boiling them and topping them with butter and salt. The possibilities are endless!
Growing potatoes in containers is a fun, rewarding, and surprisingly easy way to enjoy fresh, homegrown potatoes, even if you don’t have a traditional garden. So, grab some containers, seed potatoes, and potting mix, and get ready to experience the joy of harvesting your own potatoes right on your patio! Happy gardening!
Conclusion
So, there you have it! Growing potatoes in containers isn’t just a gardening trend; it’s a game-changer for anyone with limited space, a desire for fresh, homegrown produce, or simply a yearning to connect with nature. We’ve walked you through the entire process, from selecting the right container and seed potatoes to nurturing your plants and harvesting your bounty. But why is this DIY trick a must-try?
Firstly, the sheer convenience is undeniable. No sprawling garden is required. A sunny balcony, a patio, or even a well-lit deck can become your personal potato patch. This accessibility makes fresh, organic potatoes available to apartment dwellers and urban gardeners alike.
Secondly, the control you have over the growing environment is unparalleled. You can tailor the soil composition, watering schedule, and sun exposure to perfectly suit your potato plants’ needs. This leads to healthier plants and a more abundant harvest compared to traditional in-ground gardening, where you’re at the mercy of the existing soil conditions.
Thirdly, the harvesting process is incredibly satisfying. Imagine the joy of tipping over your container and unearthing a treasure trove of freshly grown potatoes, ready to be transformed into delicious meals. It’s a truly rewarding experience that connects you to the food you eat.
But the fun doesn’t stop there! Feel free to experiment with different potato varieties. Try growing colorful potatoes like purple or red varieties for a visually stunning and nutritious addition to your meals. You can also explore different container sizes and materials to find what works best for your space and climate. Consider adding companion plants like marigolds or basil to deter pests and attract beneficial insects.
Ready to embark on your potato-growing adventure? We wholeheartedly encourage you to give this DIY trick a try. It’s a simple, rewarding, and sustainable way to enjoy fresh, homegrown potatoes. Don’t be afraid to get your hands dirty and learn along the way.
And most importantly, we want to hear about your experience! Share your photos, tips, and challenges in the comments below. Let’s create a community of container potato growers and learn from each other. Your success story could inspire others to discover the joys of growing their own food. So, grab your containers, seed potatoes, and potting mix, and get ready to experience the magic of growing potatoes in containers. Happy gardening!
Frequently Asked Questions (FAQ)
What is the best type of container for growing potatoes?
The ideal container for growing potatoes should be large enough to accommodate the growing root system and allow for the “hilling” process. A container that is at least 20 inches in diameter and 20 inches deep is generally recommended. Good options include large plastic pots, grow bags, wooden crates, or even repurposed containers like old trash cans (with drainage holes, of course!). Grow bags are particularly popular because they are lightweight, breathable, and allow for good drainage. The material of the container isn’t as crucial as the size and drainage capabilities. Just ensure that whatever you choose is sturdy enough to hold the weight of the soil and plants.
How many seed potatoes can I plant in one container?
The number of seed potatoes you can plant in a single container depends on the size of the container and the size of the seed potatoes. As a general rule, you can plant 2-3 seed potatoes in a container that is 20 inches in diameter. If you are using smaller seed potatoes, you can plant slightly more. However, avoid overcrowding the container, as this can lead to smaller potatoes and reduced yields. Ensure that each seed potato has enough space to develop its root system and produce tubers.
What type of soil is best for growing potatoes in containers?
Potatoes thrive in well-draining, slightly acidic soil. A good potting mix for container potatoes should be loose, airy, and rich in organic matter. Avoid using garden soil, as it can be too heavy and compact, hindering drainage and root development. A mix of equal parts compost, peat moss (or coconut coir), and perlite or vermiculite is a good starting point. You can also add a slow-release fertilizer to provide essential nutrients throughout the growing season. The key is to create a soil environment that allows for good drainage and aeration, which are crucial for healthy potato growth.
How often should I water my container potatoes?
Watering frequency depends on several factors, including the weather, the size of the container, and the type of soil. Generally, you should water your container potatoes when the top inch of soil feels dry to the touch. During hot, dry weather, you may need to water daily. Avoid overwatering, as this can lead to root rot. Ensure that the container has good drainage to prevent water from pooling at the bottom. A good way to check if your potatoes need watering is to stick your finger into the soil. If it feels dry, it’s time to water.
How do I “hill” potatoes in containers?
“Hilling” is the process of adding more soil to the container as the potato plants grow. This encourages the plants to produce more potatoes along the stems. When the potato plants are about 6 inches tall, add a few inches of soil to the container, covering the lower part of the stems. Repeat this process every few weeks as the plants continue to grow, until the container is almost full. Hilling provides more space for the potatoes to develop and protects them from sunlight, which can cause them to turn green and produce solanine, a toxic compound.
When is the best time to harvest my container potatoes?
You can start harvesting “new potatoes” (small, immature potatoes) about 7-8 weeks after planting. These potatoes have thin skins and a delicate flavor. For mature potatoes, wait until the foliage starts to turn yellow and die back, typically about 12-14 weeks after planting. At this point, the potatoes have reached their full size and the skins have thickened. To harvest, simply tip over the container and carefully remove the potatoes from the soil.
What are some common pests and diseases that affect container potatoes?
Common pests that can affect container potatoes include aphids, potato beetles, and flea beetles. You can control these pests by handpicking them off the plants, using insecticidal soap, or introducing beneficial insects like ladybugs. Common diseases include early blight and late blight. To prevent these diseases, ensure good air circulation around the plants, avoid overhead watering, and use disease-resistant potato varieties. If you notice any signs of disease, remove the affected foliage immediately.
Can I reuse the soil from my potato containers?
Yes, you can reuse the soil from your potato containers, but it’s important to amend it with fresh compost and fertilizer before planting again. Potatoes are heavy feeders, so the soil will likely be depleted of nutrients after a growing season. Adding compost will replenish the nutrients and improve the soil structure. You should also consider sterilizing the soil to kill any potential pests or diseases. This can be done by baking the soil in the oven or solarizing it in the sun.
What are some good potato varieties to grow in containers?
Several potato varieties are well-suited for container growing. Some popular choices include:
* **Yukon Gold:** A versatile variety with a buttery flavor.
* **Red Pontiac:** A red-skinned variety that is great for boiling and roasting.
* **Fingerling Potatoes:** Small, elongated potatoes with a unique flavor and texture.
* **Irish Cobbler:** An early-maturing variety with a creamy texture.
* **Russian Banana:** A fingerling potato with a nutty flavor.
Experiment with different varieties to find your favorites!
How much sunlight do container potatoes need?
Potatoes need at least 6-8 hours of direct sunlight per day to thrive. Choose a location for your container potatoes that receives plenty of sunlight. If you live in a hot climate, you may need to provide some afternoon shade to prevent the plants from overheating. Insufficient sunlight can lead to weak growth and reduced yields.
Leave a Comment