

Hot vinegar bathroom tile cleaning – sounds a little unconventional, right? But trust me, this isn’t your grandma’s old wives’ tale (though, maybe it is! Grandmas often know best!). We’re diving deep into a surprisingly effective and eco-friendly way to banish grime and restore the sparkle to your bathroom tiles.
For centuries, vinegar has been a staple cleaner, valued for its natural acidity and ability to dissolve stubborn messes. Think back to ancient civilizations using vinegar to preserve food and disinfect surfaces – it’s a cleaning powerhouse with a rich history! But beyond its historical uses, why should you care about hot vinegar bathroom tile cleaning?
Well, let’s face it: bathroom tiles are magnets for soap scum, hard water stains, and mildew. Commercial cleaners can be harsh, expensive, and filled with chemicals you might not want lingering in your home. That’s where this DIY trick comes in. I’m going to show you how to harness the power of hot vinegar to achieve a sparkling clean bathroom without breaking the bank or exposing yourself to harsh chemicals. Get ready to say goodbye to grimy tiles and hello to a fresh, clean bathroom, the natural way!
DIY Hot Vinegar Bathroom Tile Cleaning: My Secret Weapon for Sparkling Tiles!
Okay, friends, let me tell you about my absolute favorite, go-to cleaning hack for bathroom tiles: hot vinegar! I know, I know, vinegar doesn’t sound glamorous, but trust me, this stuff is magic. It’s cheap, it’s natural, and it cuts through soap scum, hard water stains, and grime like nobody’s business. Plus, it’s way less harsh than those chemical-laden cleaners you find in the store. So, ditch the fumes and let’s get cleaning!
What You’ll Need: The Arsenal of Clean
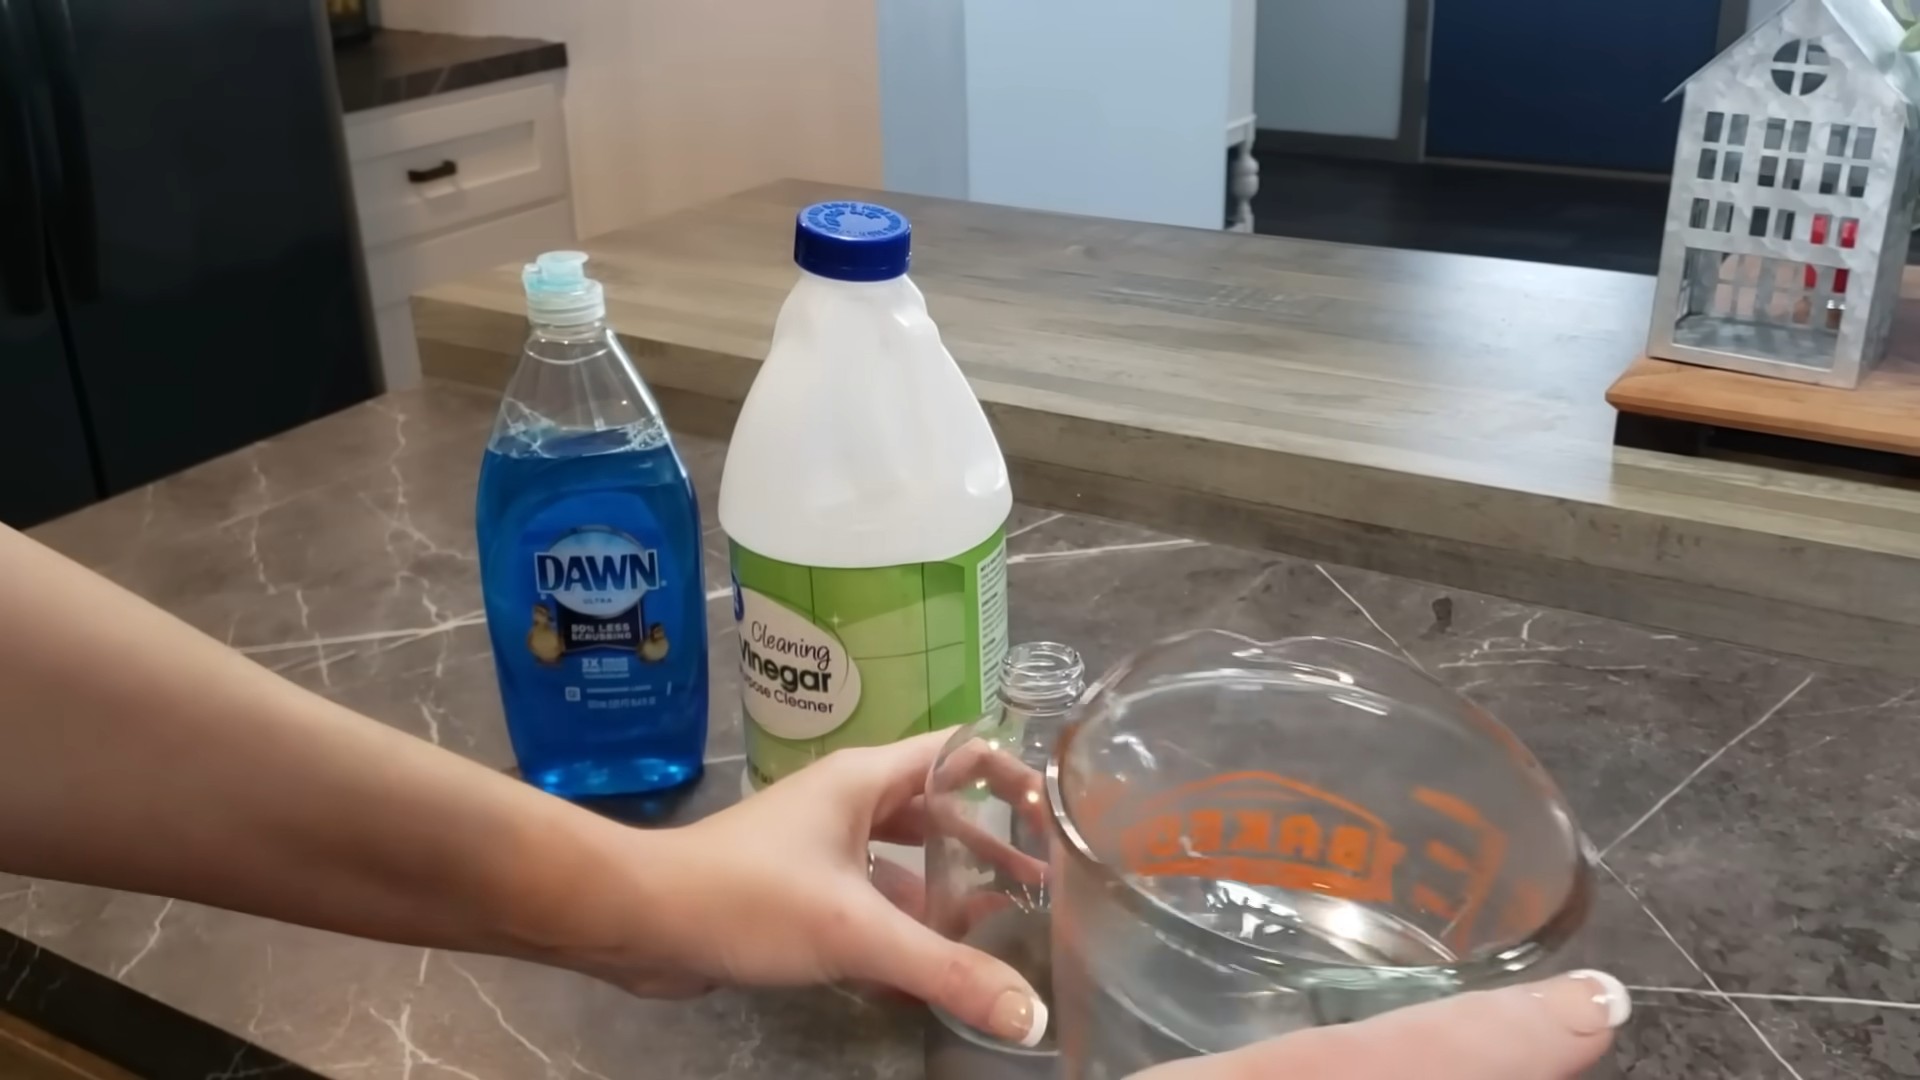
Before we dive in, let’s gather our supplies. This is a pretty simple setup, which is another reason why I love this method so much.
* White Vinegar: This is the star of the show! I usually buy a big jug of it because I use it for everything.
* Water: Just plain old tap water will do.
* Spray Bottle: A sturdy spray bottle is essential for even application.
* Microwave-Safe Bowl or Measuring Cup: For heating the vinegar.
* Gloves: Protect those precious hands! Vinegar can be a bit drying.
* Sponge or Scrub Brush: Choose your weapon! I prefer a non-scratch scrub brush for tougher stains.
* Old Toothbrush: Perfect for getting into those grout lines.
* Clean Cloth or Towel: For wiping everything down.
* Optional: Essential Oils: If you’re not a fan of the vinegar smell, a few drops of your favorite essential oil can help mask it. Lavender, lemon, or tea tree oil work great.
The Hot Vinegar Cleaning Process: Step-by-Step
Alright, let’s get down to the nitty-gritty. Here’s how I tackle my bathroom tiles with hot vinegar.
1. Prepare the Hot Vinegar Solution: This is the most important step! I pour about 1 cup of white vinegar into a microwave-safe bowl or measuring cup. Then, I microwave it for about 2-3 minutes, or until it’s hot but not boiling. Be careful when handling hot vinegar, as it can cause burns. I always use oven mitts when taking it out of the microwave.
2. Dilute the Vinegar (Optional): If you have delicate tiles or are worried about the strength of the vinegar, you can dilute it with equal parts water. I usually skip this step for my bathroom tiles, but it’s a good idea to test it on an inconspicuous area first, just to be safe.
3. Add Essential Oils (Optional): If you’re using essential oils, now’s the time to add them. I usually add about 5-10 drops to the hot vinegar solution. Give it a good stir to combine.
4. Pour the Solution into the Spray Bottle: Carefully pour the hot vinegar solution into your spray bottle. Be extra cautious to avoid spills, as hot vinegar can be dangerous.
5. Spray the Tiles: Now, the fun begins! I spray the hot vinegar solution liberally onto the bathroom tiles, focusing on areas with soap scum, hard water stains, or mildew. I make sure to get into all the nooks and crannies.
6. Let it Sit: This is where the magic happens. I let the hot vinegar solution sit on the tiles for about 10-15 minutes. This gives it time to break down the grime and loosen the stains. The longer you let it sit, the easier it will be to scrub.
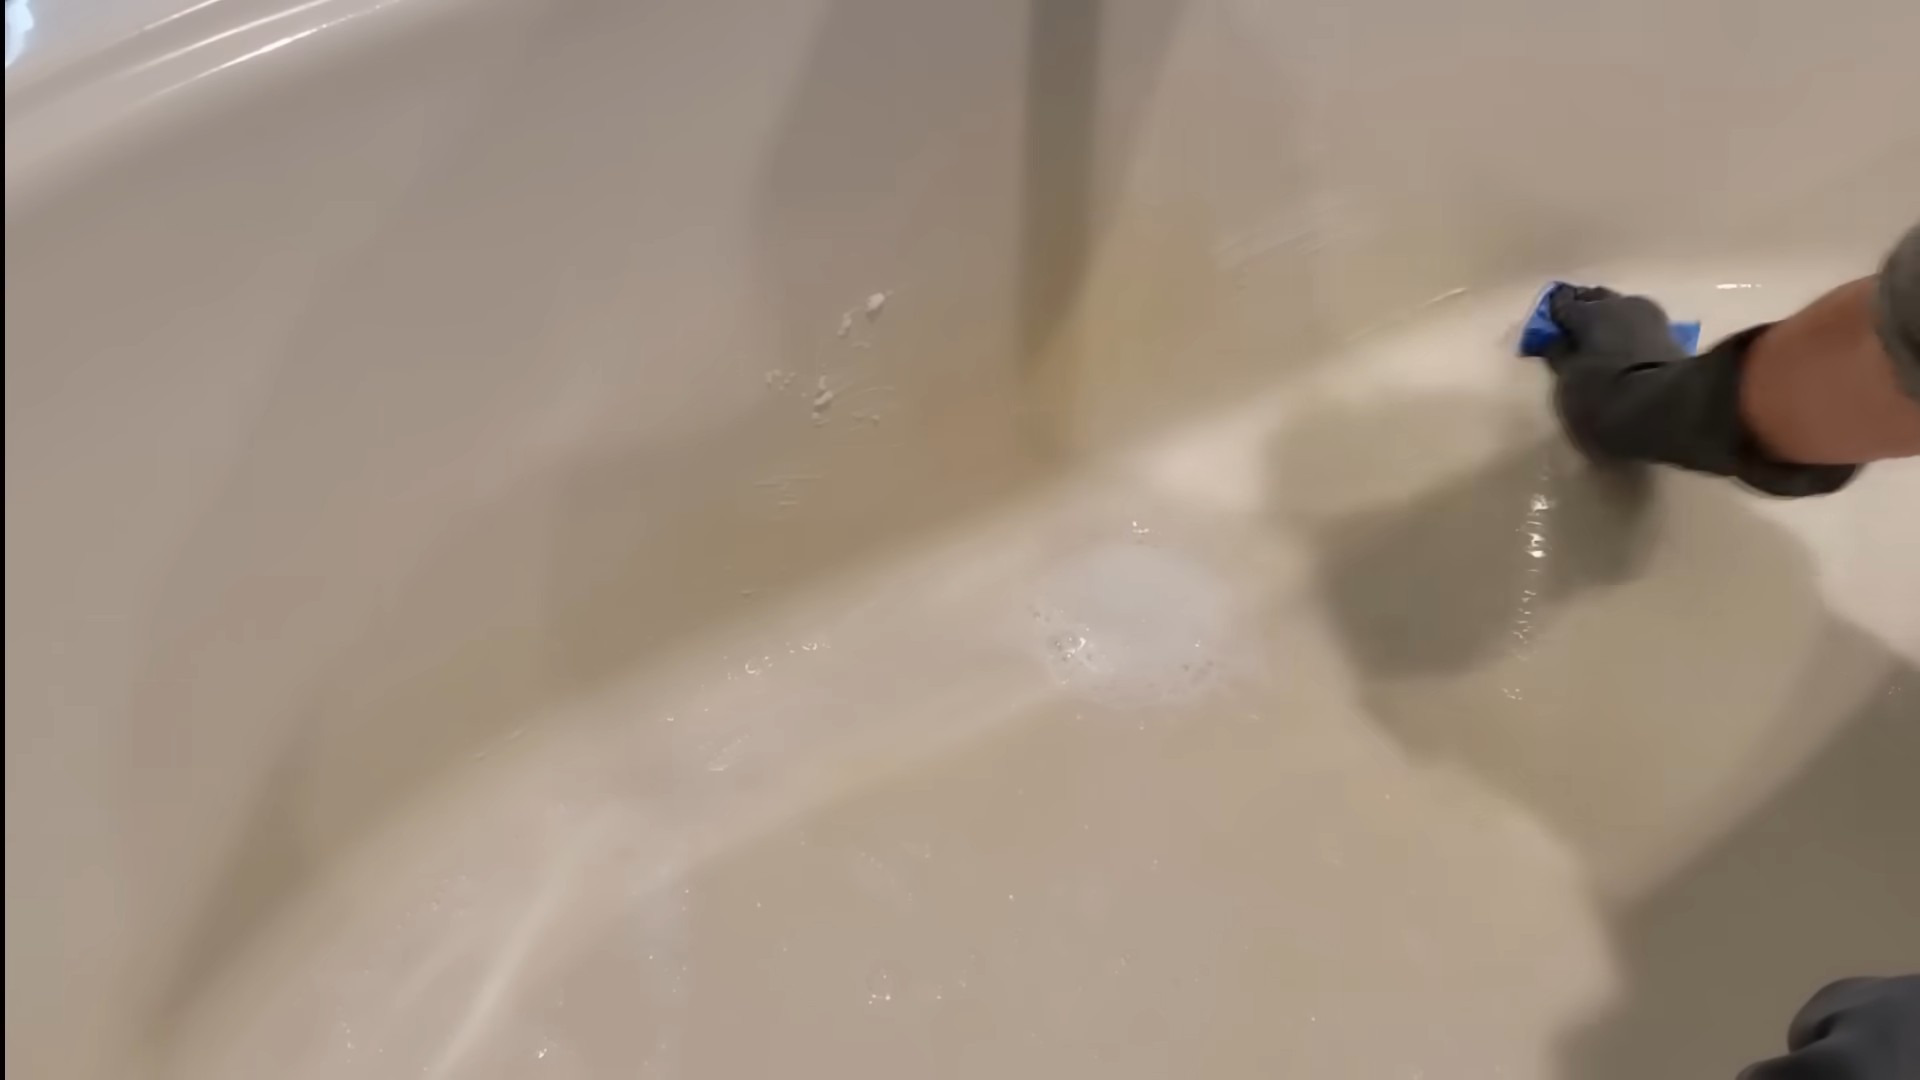
7. Scrub the Tiles: After the vinegar has had a chance to work its magic, it’s time to scrub. I use a non-scratch scrub brush for the tiles themselves and an old toothbrush for the grout lines. I scrub in a circular motion, applying a bit of pressure to remove stubborn stains. Don’t be afraid to put some elbow grease into it!
8. Focus on the Grout: Grout can be a real pain to clean, but the hot vinegar solution makes it much easier. I use the old toothbrush to scrub the grout lines thoroughly, paying special attention to areas with mildew or discoloration.
9. Rinse with Water: Once you’ve scrubbed all the tiles and grout, it’s time to rinse. I use a clean cloth or towel dampened with water to wipe away the vinegar solution and any remaining grime. You can also use a spray bottle filled with water to rinse the tiles.
10. Dry the Tiles: Finally, I dry the tiles with a clean, dry cloth or towel. This helps to prevent water spots and leaves the tiles sparkling clean.
Tackling Stubborn Stains: My Pro Tips
Sometimes, you’ll encounter stains that are a bit more stubborn. Here are a few of my go-to tricks for dealing with them:
* Baking Soda Paste: For really tough stains, I make a paste of baking soda and water. I apply the paste to the stain, let it sit for a few minutes, and then scrub it with a scrub brush or toothbrush.
* Lemon Juice: Lemon juice is another great natural cleaner that can help to remove stains and brighten tiles. I apply lemon juice directly to the stain, let it sit for a few minutes, and then scrub it with a scrub brush or toothbrush.
* Magic Eraser: For scuff marks and other surface stains, a magic eraser can work wonders. Just be careful not to scrub too hard, as it can damage the tile.
* Repeat the Process: If the stain is still there after the first try, don’t give up! Sometimes, it takes a few applications of the hot vinegar solution to completely remove stubborn stains.
Maintaining Your Sparkling Tiles: Prevention is Key!
Once you’ve got your bathroom tiles sparkling clean, you’ll want to keep them that way. Here are a few tips for maintaining your clean tiles:
* Wipe Down After Showers: After each shower, I wipe down the tiles with a squeegee or a clean cloth to remove excess water and prevent soap scum buildup.
* Ventilate the Bathroom: Make sure your bathroom is well-ventilated to prevent mildew growth. Open a window or turn on the exhaust fan during and after showers.
* Regular Cleaning: I try to clean my bathroom tiles with the hot vinegar solution at least once a month to prevent grime from building up.
* Seal the Grout: Sealing the grout can help to prevent stains and mildew growth. You can purchase grout sealant at most hardware stores.
Safety First: Important Precautions
While hot vinegar is a relatively safe cleaning solution, it’s important to take a few precautions:
* Wear Gloves: Vinegar can be drying to the skin, so it’s always a good idea to wear gloves when cleaning with it.
* Ventilate the Area: Make sure the area you’re cleaning is well-ventilated to avoid inhaling the vinegar fumes.
* Avoid Contact with Eyes: If vinegar gets in your eyes, rinse them immediately with plenty of water.
* Test on an Inconspicuous Area: Before cleaning your entire bathroom, test the hot vinegar solution on an inconspicuous area to make sure it doesn’t damage the tile.
* Keep Out of Reach of Children and Pets: Store vinegar and cleaning solutions out of reach of children and pets.
Why I Love This Method: The Benefits of Hot Vinegar
I’ve tried countless bathroom tile cleaners over the years, but I always come back to hot vinegar. Here’s why:
* It’s Effective: It really works! It cuts through soap scum, hard water stains, and mildew like a champ.
* It’s Affordable: Vinegar is super cheap, especially compared to those fancy cleaning products.
* It’s Natural: I love that it’s a natural cleaning solution that doesn’t contain harsh chemicals.
* It’s Versatile: I use vinegar for all sorts of cleaning tasks around the house, not just bathroom tiles.
* It’s Easy: The process is simple and straightforward, and it doesn’t require any special equipment.
So there you have it! My secret weapon for sparkling bathroom tiles. Give it a try, and I promise you won’t be disappointed. Happy cleaning!
Conclusion
So, there you have it! This simple yet incredibly effective hot vinegar bathroom tile cleaning trick is a game-changer for anyone battling stubborn grime, soap scum, and hard water stains in their bathroom. Forget spending a fortune on harsh chemical cleaners that often leave behind unpleasant odors and potentially harmful residues. This DIY method harnesses the natural power of vinegar, a readily available and eco-friendly solution, to deliver sparkling clean tiles without the hefty price tag or environmental concerns.
Why is this a must-try? Because it’s efficient, economical, and environmentally conscious. The heat amplifies the cleaning power of the vinegar, allowing it to penetrate and dissolve even the most persistent buildup. You’ll be amazed at how easily grime wipes away, leaving your tiles looking fresh and revitalized. Plus, you’re avoiding the harsh chemicals found in many commercial cleaners, making it a safer option for your family and pets.
But the benefits don’t stop there!
Consider these variations to tailor the cleaning solution to your specific needs:
* **For Extra Grime-Fighting Power:** Add a tablespoon of baking soda to the hot vinegar solution. The fizzing action will help loosen stubborn dirt and grime. Be cautious, as this will create a bubbly reaction, so use a larger container.
* **For a Pleasant Scent:** Infuse your vinegar with citrus peels (lemon, orange, or grapefruit) for a few days before heating. This will add a subtle, refreshing scent to your cleaning solution. Alternatively, add a few drops of your favorite essential oil (tea tree, lavender, or eucalyptus are great choices) to the spray bottle after the vinegar has cooled slightly.
* **For Grout Cleaning:** Create a paste of baking soda and water and apply it to the grout lines. Let it sit for a few minutes, then spray with the hot vinegar solution and scrub with a grout brush. The combination of baking soda and vinegar will effectively lift dirt and mildew from the grout.
* **For Sensitive Surfaces:** While vinegar is generally safe for most tile surfaces, it’s always a good idea to test it in an inconspicuous area first, especially on natural stone tiles. If you’re concerned about acidity, dilute the vinegar with more water.
We are confident that this hot vinegar bathroom tile cleaning method will become your go-to solution for maintaining a sparkling clean bathroom. It’s a simple, effective, and affordable way to achieve professional-looking results without the use of harsh chemicals.
Now, it’s your turn! We encourage you to try this DIY trick and experience the difference for yourself. Don’t be shy – share your results and any variations you discover in the comments below. We’d love to hear about your experience and learn from your insights. Let’s create a community of clean bathroom enthusiasts, all armed with the power of hot vinegar!
Frequently Asked Questions (FAQ)
Is hot vinegar safe to use on all types of bathroom tiles?
While hot vinegar is generally safe for most types of bathroom tiles, including ceramic, porcelain, and glass, it’s crucial to exercise caution when using it on natural stone tiles like marble, granite, and limestone. These materials are porous and can be damaged by the acidity of vinegar. Always test the hot vinegar solution in an inconspicuous area first to ensure it doesn’t etch or discolor the tile. If you’re unsure about the type of tile you have, consult with a tile professional before using vinegar. For natural stone, consider using a pH-neutral cleaner specifically designed for those surfaces.
How hot should the vinegar be?
The vinegar should be heated to a warm temperature, but not boiling. Overheating the vinegar can create strong fumes and potentially damage your microwave or stovetop. Aim for a temperature that is warm to the touch but not scalding. A good way to gauge the temperature is to heat it until it steams slightly. If you’re using a microwave, heat it in short intervals (30-60 seconds) and check the temperature frequently. If you’re using a stovetop, heat it over low heat and monitor it closely.
Can I use any type of vinegar for bathroom tile cleaning?
White distilled vinegar is the most effective and recommended type of vinegar for cleaning bathroom tiles. It has a higher acidity level than other types of vinegar, making it more effective at dissolving grime and soap scum. Avoid using flavored vinegars, such as apple cider vinegar or balsamic vinegar, as they may contain sugars or other additives that can leave a sticky residue on your tiles.
How often should I clean my bathroom tiles with hot vinegar?
The frequency of cleaning your bathroom tiles with hot vinegar depends on how often you use your bathroom and how prone it is to grime and soap scum buildup. As a general guideline, cleaning your tiles with hot vinegar once a week is a good starting point. If you notice that your tiles are getting dirty more quickly, you may need to clean them more frequently. Conversely, if your bathroom stays relatively clean, you can clean them less often.
What kind of equipment do I need for hot vinegar bathroom tile cleaning?
You’ll need a few basic supplies:
* White distilled vinegar
* A microwave-safe or stovetop-safe container
* A spray bottle
* A sponge, microfiber cloth, or scrub brush
* Rubber gloves (optional, but recommended)
* A grout brush (optional, for cleaning grout lines)
What precautions should I take when using hot vinegar?
Always wear rubber gloves to protect your hands from the acidity of the vinegar. Ensure adequate ventilation in the bathroom by opening a window or turning on the exhaust fan. Avoid getting hot vinegar in your eyes. If contact occurs, rinse immediately with plenty of water. Keep hot vinegar out of reach of children and pets. Never mix vinegar with bleach, as this can create toxic fumes.
The vinegar smell is strong. How can I get rid of it?
The vinegar smell will dissipate quickly after cleaning. To speed up the process, open a window or turn on the exhaust fan. You can also place a bowl of baking soda in the bathroom to absorb odors. As mentioned earlier, infusing the vinegar with citrus peels or adding essential oils can also help to mask the vinegar smell.
Can I use this method on shower doors and glass surfaces?
Yes, hot vinegar is excellent for cleaning shower doors and glass surfaces. It effectively removes water spots and soap scum, leaving them sparkling clean. Simply spray the hot vinegar solution onto the surface, let it sit for a few minutes, and then wipe clean with a microfiber cloth.
What if the grime is really stubborn?
For extremely stubborn grime, you may need to repeat the cleaning process or let the hot vinegar solution sit on the affected area for a longer period of time (up to 30 minutes). You can also try using a scrub brush with stiffer bristles to help loosen the grime. As mentioned earlier, adding baking soda to the hot vinegar solution can also provide extra cleaning power.
How do I clean the grout lines effectively with hot vinegar?
Grout lines are notorious for trapping dirt and mildew. To clean them effectively with hot vinegar, create a paste of baking soda and water and apply it to the grout lines. Let it sit for a few minutes, then spray with the hot vinegar solution and scrub with a grout brush. The combination of baking soda and vinegar will effectively lift dirt and mildew from the grout. Rinse thoroughly with water after scrubbing. You can also use a steam cleaner for grout cleaning after applying the hot vinegar solution for even better results.


Leave a Comment