

Harvesting Malabar Spinach can feel like unlocking a secret level in your home gardening journey! Have you ever nurtured a plant, watched it thrive, and then felt a pang of uncertainty when it came time to actually *use* what you’d grown? I know I have! That’s why I’m so excited to share these simple, effective DIY tricks for maximizing your Malabar spinach harvest.
Malabar spinach, also known as Ceylon spinach or vine spinach, isn’t actually a true spinach, but a climbing vine with succulent leaves that have been enjoyed in Asian and African cuisines for centuries. Its vibrant green leaves and slightly peppery flavor make it a fantastic addition to stir-fries, soups, and salads. But knowing *when* and *how* to harvest it properly is key to ensuring a continuous supply of this delicious and nutritious leafy green.
Many gardeners struggle with knowing the best time to harvest, often leading to tough, less flavorful leaves, or even damaging the plant. This DIY guide will empower you to confidently and efficiently harvest your Malabar spinach, encouraging vigorous growth and a bountiful yield. We’ll cover everything from identifying the perfect leaves to the best harvesting techniques, ensuring you get the most out of your home garden. So, let’s dive in and learn the art of harvesting Malabar Spinach like a pro!
Malabar Spinat Ernten: Dein DIY-Leitfaden für eine reiche Ernte
Hallo Gartenfreunde! Ich liebe es, frisches Gemüse aus meinem eigenen Garten zu ernten, und Malabar Spinat ist da keine Ausnahme. Dieser Kletterspinat ist nicht nur super lecker, sondern auch unglaublich einfach anzubauen und zu ernten. In diesem Artikel zeige ich dir, wie du Malabar Spinat richtig erntest, um eine kontinuierliche und reiche Ernte zu gewährleisten. Los geht’s!
Was du über Malabar Spinat wissen solltest
Bevor wir mit der Ernte beginnen, hier ein paar wichtige Fakten über Malabar Spinat:
* Wachstumsverhalten: Malabar Spinat ist ein schnell wachsender Kletterer. Er kann bis zu 3 Meter hoch werden, wenn er die richtige Unterstützung hat.
* Blätter und Stängel: Du kannst sowohl die Blätter als auch die jungen Stängel ernten. Beide sind essbar und haben einen leicht zitronigen Geschmack.
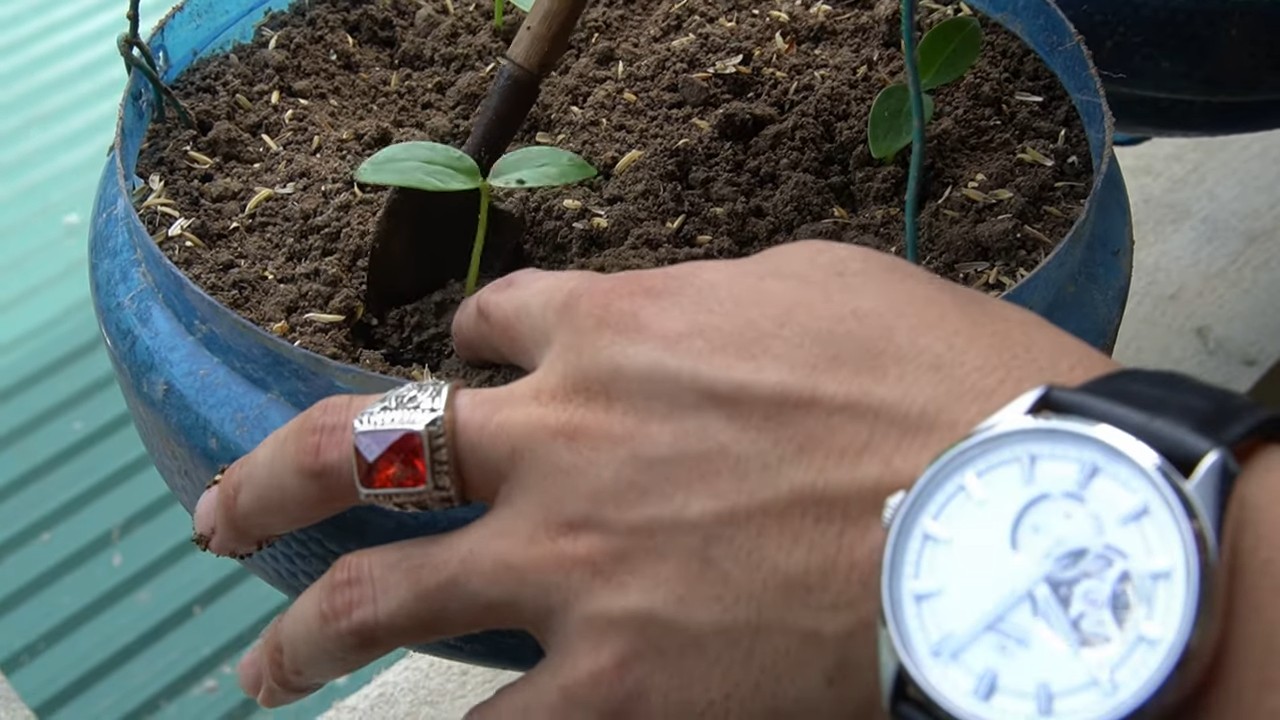
* Erntezeitpunkt: Du kannst mit der Ernte beginnen, sobald die Pflanze eine ausreichende Größe erreicht hat, normalerweise etwa 6-8 Wochen nach dem Pflanzen.
* Regelmäßige Ernte: Regelmäßiges Ernten fördert das Wachstum neuer Blätter und Stängel. Je mehr du erntest, desto mehr wächst die Pflanze!
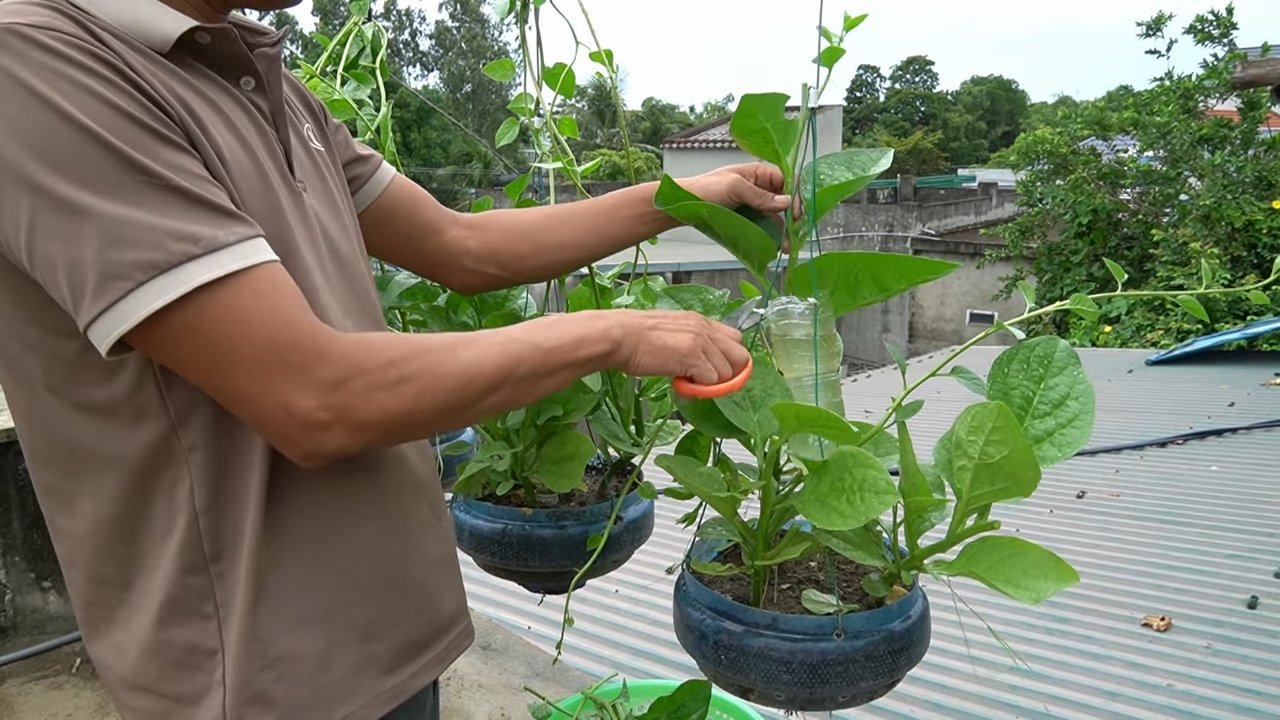
* Standort: Malabar Spinat liebt die Sonne und Wärme. Ein sonniger Standort ist ideal für ein üppiges Wachstum.
Benötigte Materialien
Für die Ernte von Malabar Spinat benötigst du nicht viel:
* Eine scharfe Schere oder Gartenschere
* Einen Korb oder eine Schüssel für die Ernte
* Eventuell Gartenhandschuhe (optional, aber empfehlenswert)
Schritt-für-Schritt-Anleitung zur Ernte von Malabar Spinat
Hier ist eine detaillierte Anleitung, wie du Malabar Spinat richtig erntest:
1. Vorbereitung
1. Wähle den richtigen Zeitpunkt: Der beste Zeitpunkt für die Ernte ist am Morgen, nachdem der Tau getrocknet ist. Die Blätter sind dann knackiger und frischer.
2. Sammle deine Materialien: Stelle sicher, dass du deine Schere, deinen Korb und eventuell deine Handschuhe bereit hast.
3. Inspiziere die Pflanze: Überprüfe die Pflanze auf Schädlinge oder Krankheiten. Entferne beschädigte oder verfärbte Blätter.
2. Die Ernte
1. Wähle die Blätter aus: Suche nach den größten und reifsten Blättern. Diese sind in der Regel die älteren Blätter an der Basis der Pflanze.
2. Schneide die Blätter ab: Verwende deine scharfe Schere oder Gartenschere, um die Blätter direkt am Stielansatz abzuschneiden. Achte darauf, den Hauptstamm der Pflanze nicht zu beschädigen.
3. Ernte die jungen Stängel: Du kannst auch die jungen, zarten Stängel ernten. Schneide sie etwa 5-10 cm vom Ende ab. Dies fördert das Wachstum neuer Triebe.
4. Sei selektiv: Ernte nicht mehr als ein Drittel der Blätter auf einmal. Dies gibt der Pflanze genügend Zeit, sich zu erholen und neue Blätter zu produzieren.
5. Drehe und ernte: Arbeite dich um die Pflanze herum und ernte die reifen Blätter und Stängel gleichmäßig.
3. Nach der Ernte
1. Reinige die Ernte: Spüle die geernteten Blätter und Stängel unter kaltem Wasser ab, um Schmutz und Insekten zu entfernen.
2. Trockne die Ernte: Schüttle das überschüssige Wasser ab und tupfe die Blätter und Stängel mit einem sauberen Küchentuch trocken.
3. Lagere die Ernte: Malabar Spinat ist am besten, wenn er sofort verwendet wird. Wenn du ihn lagern musst, bewahre ihn in einem luftdichten Behälter im Kühlschrank auf. Er hält sich dort etwa 3-5 Tage.
4. Dünge die Pflanze: Nach der Ernte kannst du die Pflanze mit einem organischen Dünger versorgen, um das Wachstum zu fördern.
Zusätzliche Tipps für eine erfolgreiche Ernte
* Regelmäßigkeit ist der Schlüssel: Ernte deinen Malabar Spinat regelmäßig, um das Wachstum neuer Blätter und Stängel anzuregen.
* Beobachte die Pflanze: Achte auf Anzeichen von Schädlingen oder Krankheiten und behandle sie frühzeitig.
* Gieße regelmäßig: Malabar Spinat benötigt ausreichend Wasser, besonders während der heißen Sommermonate.
* Unterstütze das Wachstum: Gib der Pflanze eine Rankhilfe, damit sie klettern kann. Dies fördert ein gesundes Wachstum und erleichtert die Ernte.
* Vermeide Überernte: Ernte nicht zu viele Blätter auf einmal, da dies die Pflanze schwächen kann.
Verwendung von Malabar Spinat in der Küche
Malabar Spinat ist vielseitig einsetzbar in der Küche. Hier sind ein paar Ideen:
* Salate: Verwende die jungen, zarten Blätter in Salaten. Sie verleihen einen leicht zitronigen Geschmack.
* Suppen und Eintöpfe: Füge die Blätter und Stängel Suppen und Eintöpfen hinzu. Sie verdicken die Flüssigkeit leicht und geben einen nahrhaften Schub.
* Pfannengerichte: Brate die Blätter und Stängel in Pfannengerichten mit Knoblauch, Ingwer und Sojasauce.
* Smoothies: Mixe die Blätter in Smoothies für einen gesunden und grünen Kick.
* Gekocht wie Spinat: Koche den Malabar Spinat wie normalen Spinat und serviere ihn als Beilage.
Häufige Fehler vermeiden
* Zu spätes Ernten: Warte nicht zu lange mit der Ernte. Ältere Blätter können zäh und bitter werden.
* Überernte: Ernte nicht zu viele Blätter auf einmal. Dies kann die Pflanze schwächen und das Wachstum verlangsamen.
* Falsche Schnitttechnik: Schneide die Blätter und Stängel richtig ab, um die Pflanze nicht zu beschädigen.
* Vernachlässigung der Pflege: Gieße und dünge die Pflanze regelmäßig, um ein gesundes Wachstum zu gewährleisten.
Malabar Spinat vermehren
Wenn du deinen Malabar Spinat liebst, kannst du ihn ganz einfach vermehren:
* Samen: Sammle die Samen von reifen Beeren und säe sie im Frühjahr aus.
* Stecklinge: Schneide Stecklinge von gesunden Trieben und wurzele sie in Wasser oder Erde.
Fazit
Ich hoffe, dieser Leitfaden hat dir geholfen, Malabar Spinat erfolgreich zu ernten. Mit ein wenig Pflege und Aufmerksamkeit kannst du eine reiche Ernte genießen und deine Küche mit frischen, gesunden Blättern und Stängeln bereichern. Viel Spaß beim Gärtnern und Kochen! Und denk daran: Regelmäßiges Ernten ist der Schlüssel zu einer üppigen Ernte! Also, ran an die Schere und los geht’s!
Conclusion
So, there you have it! Mastering the art of harvesting Malabar spinach isn’t just about gathering leaves; it’s about unlocking a continuous supply of fresh, nutritious greens right from your own garden. This simple DIY trick transforms your Malabar spinach plant from a one-time harvest into a veritable leafy green factory, providing you with a steady stream of deliciousness for weeks, even months, to come.
Why is this a must-try? Because it’s efficient, sustainable, and ultimately, more rewarding. Instead of letting your plant bolt and go to seed prematurely, strategic harvesting encourages bushier growth and prolonged productivity. You’re essentially training your plant to keep producing those tender, flavorful leaves that are perfect for salads, stir-fries, soups, and so much more.
But don’t stop there! Experiment with different harvesting techniques. Try pinching off just the tips of the vines for a more delicate flavor and texture. Or, if you’re feeling adventurous, let a few vines grow longer and then harvest them entirely, using the stems in your cooking as well. They have a slightly different, more earthy flavor that can add a unique dimension to your dishes.
Consider the timing of your harvests too. Harvesting in the cooler parts of the day, like early morning or late evening, can help preserve the leaves’ freshness and prevent them from wilting too quickly. And remember to water your plant regularly, especially after a heavy harvest, to help it recover and continue producing.
Beyond the basic harvesting technique, think about companion planting to further enhance your Malabar spinach’s growth and flavor. Planting basil or marigolds nearby can help deter pests and attract beneficial insects. You can also amend your soil with compost or other organic matter to provide your plant with the nutrients it needs to thrive.
The possibilities are endless! The key is to get out there, experiment, and find what works best for you and your garden.
We wholeheartedly encourage you to try this DIY trick for harvesting Malabar spinach. It’s a game-changer for any gardener looking to maximize their yield and enjoy a continuous supply of fresh, homegrown greens.
Once you’ve given it a try, we’d love to hear about your experience! Share your tips, tricks, and favorite Malabar spinach recipes in the comments below. Let’s create a community of Malabar spinach enthusiasts and learn from each other. Happy harvesting!
Frequently Asked Questions (FAQ)
What is the best time of day to harvest Malabar spinach?
The best time to harvest Malabar spinach is in the early morning or late evening. During these cooler parts of the day, the leaves are less likely to wilt and will retain their freshness for longer. The heat of the midday sun can cause the leaves to lose moisture and become limp, so avoiding harvesting during this time will help ensure you get the best quality greens.
How often should I harvest my Malabar spinach plant?
You can harvest Malabar spinach as often as once or twice a week, depending on how quickly it’s growing. The key is to harvest regularly to encourage continued growth and prevent the plant from bolting (going to seed). Look for vines that are at least 6-8 inches long and have plenty of mature leaves. Regular harvesting will also help keep the plant compact and manageable.
What’s the best way to store harvested Malabar spinach?
To store harvested Malabar spinach, gently wash the leaves and pat them dry with a clean towel or salad spinner. Then, wrap them loosely in a damp paper towel and place them in a plastic bag or container in the refrigerator. This will help keep them fresh and crisp for up to a week. Avoid storing them near fruits that produce ethylene gas, such as apples or bananas, as this can cause them to spoil more quickly.
Can I eat the stems of Malabar spinach?
Yes, you can eat the stems of Malabar spinach! While the leaves are the most commonly consumed part of the plant, the stems are also edible and have a slightly different, more earthy flavor. They can be used in stir-fries, soups, and other dishes. Just be sure to wash them thoroughly before cooking. Some people prefer to peel the outer layer of the stems, especially if they are thicker, as it can be a bit tough.
How do I know when my Malabar spinach plant is ready to harvest?
Your Malabar spinach plant is ready to harvest when the vines are at least 6-8 inches long and have plenty of mature leaves. The leaves should be a deep green color and feel firm to the touch. Avoid harvesting leaves that are yellowing or damaged. Regular harvesting will encourage the plant to produce more leaves, so don’t be afraid to start harvesting early and often.
What if my Malabar spinach plant starts to flower?
If your Malabar spinach plant starts to flower, it’s a sign that it’s starting to bolt (go to seed). While you can still eat the leaves at this stage, they may become slightly bitter. To prevent bolting, make sure to harvest regularly and provide your plant with plenty of water and nutrients. You can also try pinching off the flower buds as soon as you see them to encourage the plant to focus its energy on producing more leaves.
My Malabar spinach leaves are turning yellow. What’s wrong?
Yellowing leaves on Malabar spinach can be caused by several factors, including overwatering, underwatering, nutrient deficiencies, or pests. Check the soil moisture to make sure it’s not too wet or too dry. If the soil is consistently wet, you may be overwatering. If it’s dry, you need to water more frequently. You can also try fertilizing your plant with a balanced fertilizer to provide it with the nutrients it needs. Inspect the leaves for any signs of pests, such as aphids or spider mites, and treat accordingly.
Can I grow Malabar spinach in a container?
Yes, you can absolutely grow Malabar spinach in a container! Choose a large container that is at least 12 inches in diameter and has good drainage. Use a well-draining potting mix and provide your plant with plenty of sunlight and water. You may also need to provide it with a trellis or other support structure to climb on. Container-grown Malabar spinach may require more frequent watering and fertilizing than plants grown in the ground.
Is Malabar spinach the same as regular spinach?
No, Malabar spinach is not the same as regular spinach. While they share a similar name and are both leafy green vegetables, they are actually from different plant families. Malabar spinach (Basella alba) is a tropical vine, while regular spinach (Spinacia oleracea) is a cool-season leafy green. Malabar spinach has a thicker, more succulent leaf and a slightly different flavor than regular spinach. It’s also more heat-tolerant and can be grown in warmer climates where regular spinach struggles.
How can I encourage my Malabar spinach to grow more vigorously?
To encourage your Malabar spinach to grow more vigorously, provide it with the right growing conditions. This includes plenty of sunlight (at least 6 hours per day), well-draining soil, and regular watering. Fertilize your plant with a balanced fertilizer every few weeks to provide it with the nutrients it needs. You can also try adding compost or other organic matter to the soil to improve its fertility. Regular harvesting will also encourage the plant to produce more leaves and grow more vigorously.
Leave a Comment