

Growing spinach in pots might sound like a challenge, but trust me, it’s easier than you think! Imagine fresh, vibrant spinach leaves just steps from your kitchen, ready to be tossed into a salad, blended into a smoothie, or sautéed for a quick and healthy side dish. No more last-minute grocery store runs when you crave that earthy, nutritious goodness.
For centuries, spinach has been a culinary staple, revered not only for its taste but also for its impressive nutritional profile. From ancient Persia, where it originated, to its widespread cultivation across the globe, spinach has nourished generations. But let’s be honest, not everyone has the space for a sprawling garden. That’s where the magic of container gardening comes in!
In this DIY guide, I’m going to share my favorite tips and tricks for successfully growing spinach in pots, even if you have limited space or a less-than-green thumb. We’ll cover everything from choosing the right pot and soil to watering techniques and pest control. You’ll be amazed at how rewarding it is to nurture your own spinach plants and harvest fresh, delicious leaves right from your patio or balcony. So, grab your gardening gloves, and let’s get started!
Growing Spinach in Pots: A Beginner’s Guide
Hey there, fellow gardening enthusiasts! I’m so excited to share my experience with growing spinach in pots. It’s surprisingly easy, even if you don’t have a huge garden. Fresh, homegrown spinach is so much tastier than the store-bought stuff, and it’s packed with nutrients. Let’s get started!
Choosing the Right Pot and Soil
Before we even think about seeds, we need to set the stage for success. The right pot and soil are crucial for happy spinach plants.
* **Pot Size:** Spinach needs room to grow, but not as much as, say, tomatoes. I’ve found that a pot that’s at least 6-8 inches deep and 6-8 inches in diameter works well for a single plant. You can also use larger containers to grow multiple plants, just make sure to space them out a bit. A rectangular planter box is a great option for this!
* **Drainage:** This is non-negotiable! Spinach hates sitting in soggy soil. Make sure your pot has drainage holes at the bottom. If it doesn’t, you can drill some yourself (carefully, of course!).
* **Pot Material:** Plastic, terracotta, ceramic – it’s really up to you! Terracotta pots dry out faster, which can be good in humid climates, but you’ll need to water more often. Plastic pots retain moisture better, which can be helpful in drier areas.
* **Soil:** Forget garden soil! It’s usually too heavy and doesn’t drain well enough for container gardening. I always use a good quality potting mix. Look for one that’s specifically formulated for vegetables, or a general-purpose mix that’s light and airy. You can also amend your potting mix with compost for added nutrients. I like to add about 25% compost to my mix.
Planting Your Spinach Seeds
Now for the fun part! Getting those little seeds into the soil.
1. **Prepare the Pot:** Fill your pot with the potting mix, leaving about an inch of space at the top. Gently pat the soil down to remove any large air pockets.
2. **Sow the Seeds:** Spinach seeds are small, so don’t plant them too deep. I usually sow them about ½ inch deep and about 1-2 inches apart. If you’re using a larger container, you can sow the seeds in rows, spacing the rows about 4-6 inches apart.
3. **Cover the Seeds:** Gently cover the seeds with a thin layer of potting mix.
4. **Water Thoroughly:** Water the pot gently but thoroughly until the soil is moist but not soggy. I like to use a watering can with a gentle shower setting to avoid disturbing the seeds.
5. **Find the Right Spot:** Spinach prefers partial shade, especially in warmer climates. If you live in a hot area, find a spot that gets morning sun and afternoon shade. In cooler climates, you can give your spinach more sun.
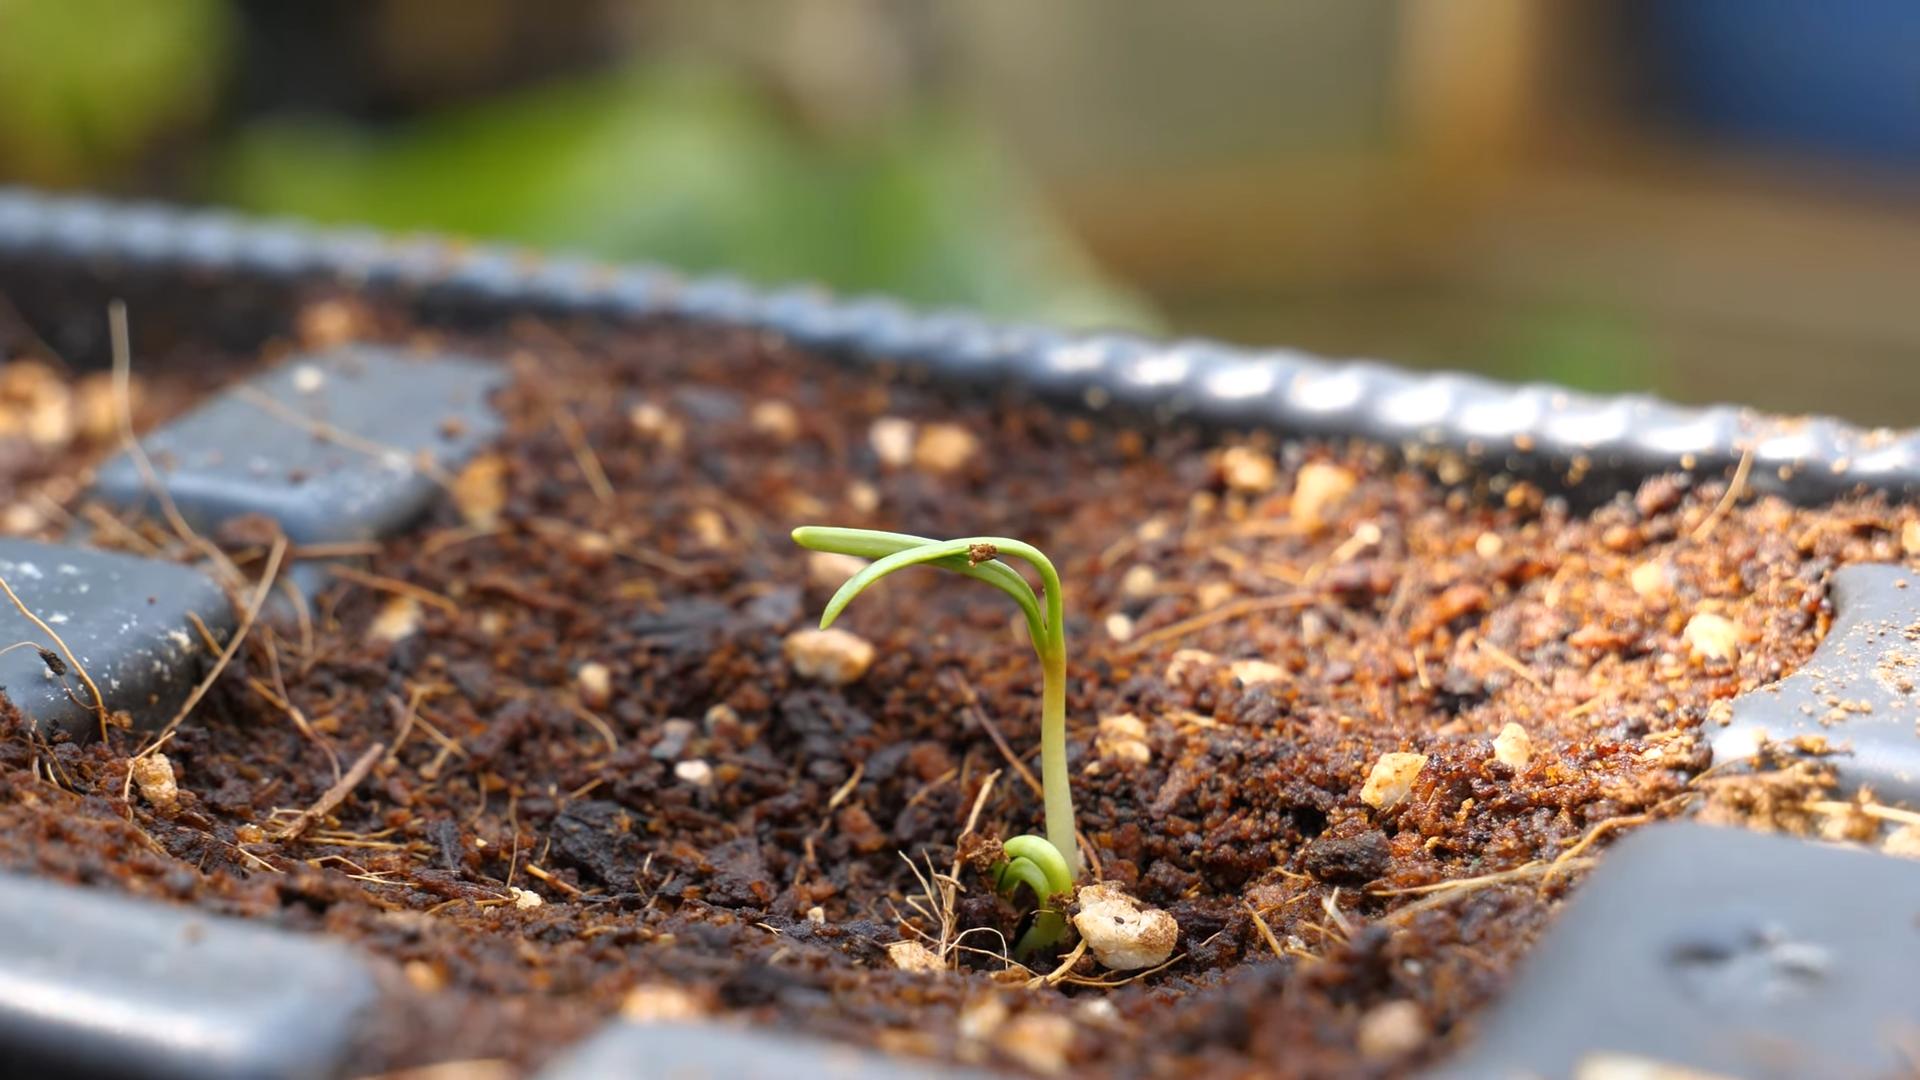
6. **Keep the Soil Moist:** Keep the soil consistently moist until the seeds germinate. This usually takes about 5-10 days. You can cover the pot with plastic wrap to help retain moisture, but be sure to remove it once the seedlings emerge.
Caring for Your Spinach Plants
Once your spinach seedlings have sprouted, it’s time to give them some TLC.
* **Watering:** Spinach needs consistent moisture, but it doesn’t like to be waterlogged. Water when the top inch of soil feels dry to the touch. I usually water every 2-3 days, but this will depend on the weather and the type of pot you’re using.
* **Fertilizing:** Spinach is a heavy feeder, so it needs regular fertilization. I like to use a liquid fertilizer that’s specifically formulated for leafy greens. Follow the instructions on the fertilizer label. I usually fertilize every 2-3 weeks. You can also use a slow-release fertilizer when you plant the seeds.
* **Thinning:** If you planted your seeds close together, you’ll need to thin the seedlings once they’re a few inches tall. This will give the remaining plants more room to grow. Simply snip off the weaker seedlings at the soil line. Don’t pull them out, as this can disturb the roots of the other plants.
* **Weeding:** Keep your pot free of weeds. Weeds compete with your spinach plants for nutrients and water.
* **Pest Control:** Spinach can be susceptible to pests like aphids, slugs, and snails. Check your plants regularly for signs of infestation. If you find any pests, you can try spraying them with insecticidal soap or neem oil. I prefer to use organic pest control methods whenever possible. You can also handpick the pests off the plants.
* **Sunlight:** As mentioned before, spinach prefers partial shade, especially in warmer climates. If your spinach plants are getting too much sun, the leaves may turn yellow or brown. If this happens, move the pot to a shadier location.
* **Bolting:** Bolting is when spinach plants start to produce flowers and seeds. This usually happens when the weather gets too hot. Once spinach bolts, the leaves become bitter and unpalatable. To prevent bolting, try to keep your spinach plants cool and well-watered. You can also choose bolt-resistant varieties of spinach.
Harvesting Your Spinach
The best part! Harvesting your delicious, homegrown spinach.
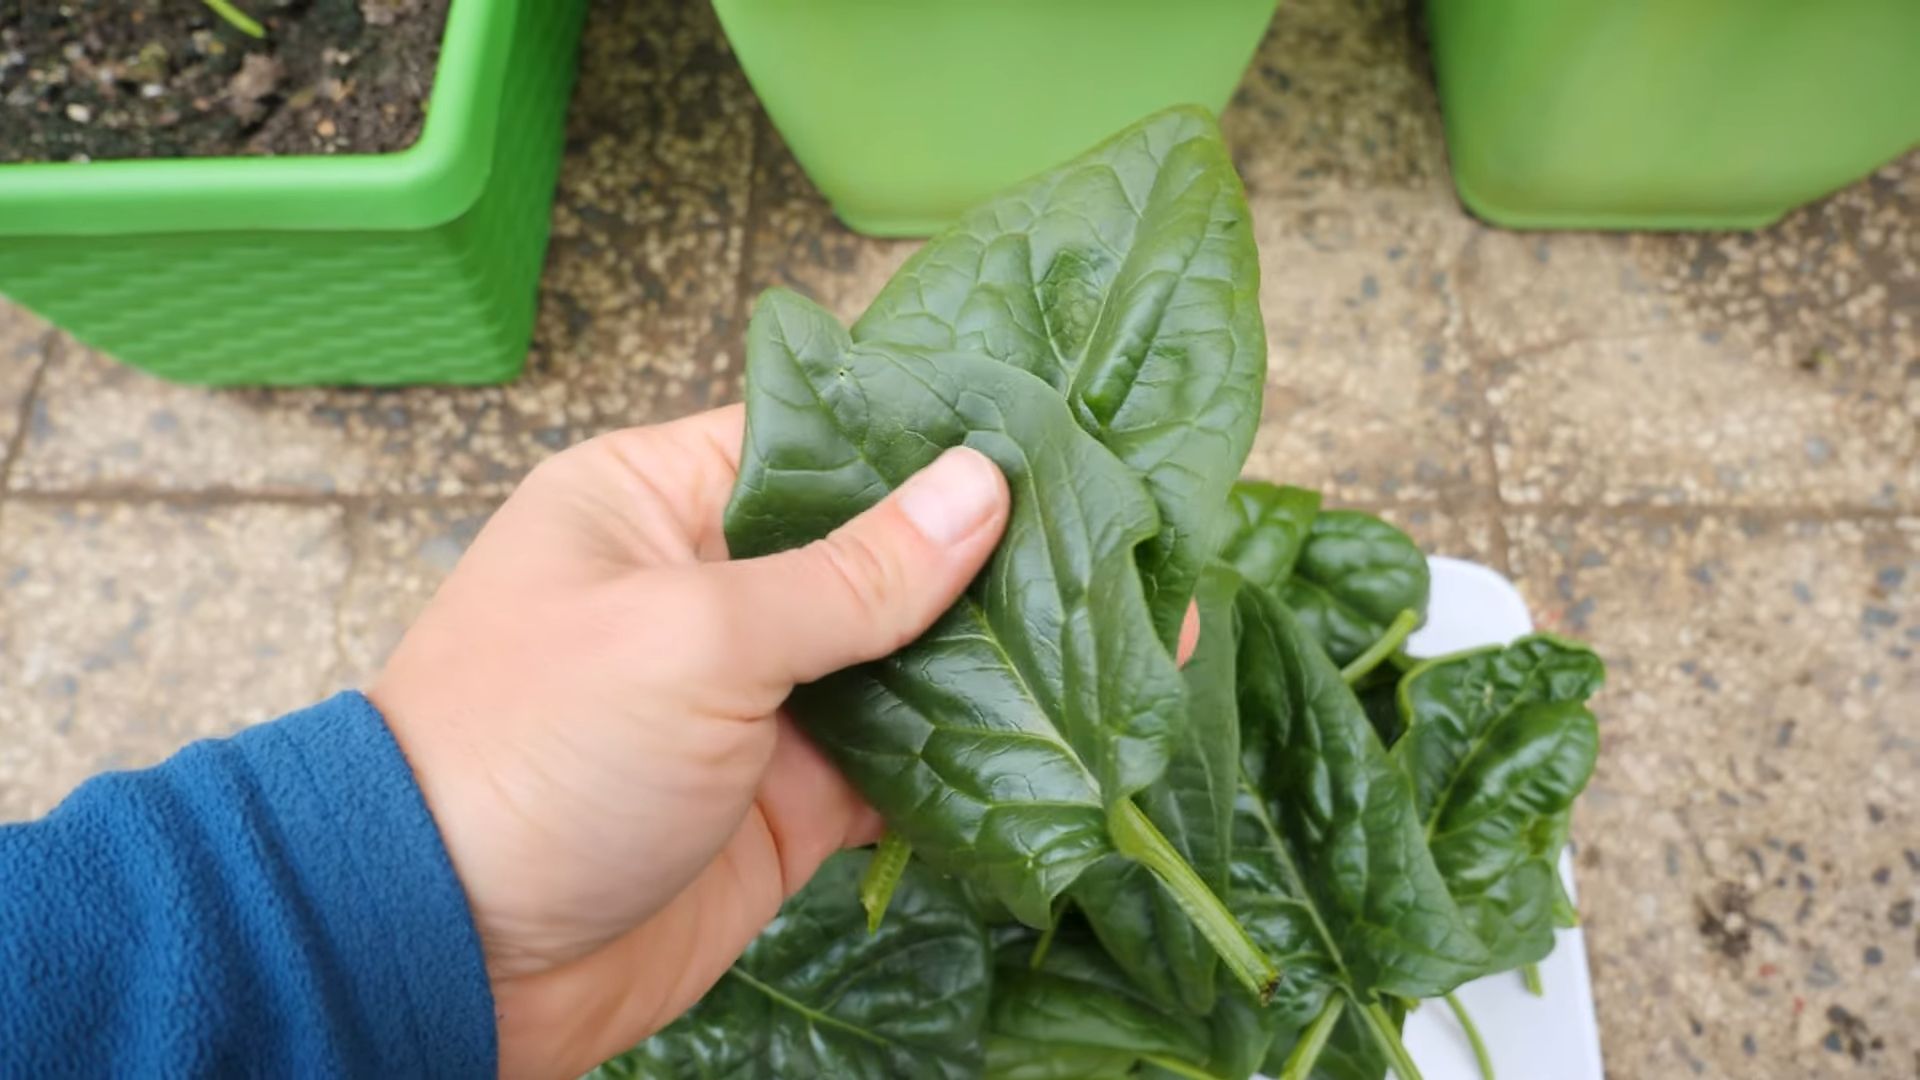
1. **When to Harvest:** You can start harvesting spinach leaves when they’re about 4-6 inches long. I usually harvest the outer leaves first, leaving the inner leaves to continue growing.
2. **How to Harvest:** Use scissors or a sharp knife to cut the leaves off at the base of the plant. Be careful not to damage the other leaves.
3. **Harvest Regularly:** Harvesting regularly will encourage your spinach plants to produce more leaves.
4. **Enjoy Your Harvest:** Wash your spinach leaves thoroughly before eating them. You can eat them raw in salads, or cook them in soups, stews, or stir-fries. Spinach is also a great addition to smoothies.
Troubleshooting
Even with the best care, sometimes things can go wrong. Here are a few common problems and how to fix them:
* **Yellow Leaves:** This can be caused by a number of factors, including overwatering, underwatering, nutrient deficiencies, or too much sun. Check the soil moisture and adjust your watering accordingly. Fertilize your plants with a balanced fertilizer. If the leaves are getting too much sun, move the pot to a shadier location.
* **Leggy Plants:** Leggy plants are tall and spindly with few leaves. This is usually caused by not enough sunlight. Move the pot to a sunnier location.
* **Pests:** As mentioned before, spinach can be susceptible to pests. Check your plants regularly for signs of infestation and treat them accordingly.
* **Bolting:** If your spinach plants start to bolt, harvest the remaining leaves as soon as possible. You can also try planting bolt-resistant varieties of spinach.
Choosing Spinach Varieties
There are many different varieties of spinach to choose from. Here are a few of my favorites:
* **Bloomsdale Long Standing:** This is a classic variety that’s known for its large, crinkled leaves. It’s also relatively bolt-resistant.
* **Tyee:** This is another popular variety that’s known for its smooth leaves and good flavor. It’s also very productive.
* **Space:** This is a hybrid variety that’s known for its disease resistance and bolt resistance. It’s a good choice for beginners.
* **Red Cardinal:** This variety has beautiful red stems and leaves. It’s a great addition to salads.
Extending Your Spinach Season
Spinach is a cool-season crop, so it grows best in the spring and fall. However, you can extend your spinach season by using a few simple techniques:
* **Succession Planting:** Sow seeds every 2-3 weeks to ensure a continuous harvest.
* **Cold Frames:** Use a cold frame to protect your spinach plants from frost and cold weather.
* **Row Covers:** Use row covers to protect your spinach plants from pests and cold weather.
* **Shade Cloth:** Use shade cloth to protect your spinach plants from the hot sun in the summer.
Final Thoughts
Growing spinach in pots is a rewarding experience. It’s a great way to enjoy fresh, homegrown spinach, even if you don’t have a lot of space. With a little bit of care, you can have a bountiful harvest of delicious spinach leaves. Happy gardening!
Conclusion
So, there you have it! Growing spinach in pots is not only achievable, but it’s also a remarkably rewarding experience. We’ve walked through the simple steps, from selecting the right pot and soil to nurturing your leafy greens to a bountiful harvest. Why is this DIY trick a must-try? Because it puts fresh, nutritious spinach right at your fingertips, regardless of your garden size or experience level. Imagine stepping outside your door and snipping off exactly the amount of spinach you need for a salad, smoothie, or side dish – no more wilted bags from the grocery store!
Beyond the convenience, growing your own spinach allows you to control the growing environment. You can ensure your spinach is free from harmful pesticides and herbicides, providing you and your family with the healthiest possible greens. Plus, there’s an undeniable satisfaction that comes from nurturing a plant from seed to table. It’s a connection to nature that can be incredibly grounding and fulfilling.
But the fun doesn’t stop there! Feel free to experiment with different varieties of spinach. Try ‘Baby’s Leaf’ for tender, mild leaves, or ‘Bloomsdale Long Standing’ for a more robust flavor and heat tolerance. You can also explore companion planting. Consider interplanting your spinach with radishes or carrots, which can help deter pests and improve soil health. Another variation is to use vertical planters or hanging baskets to maximize space and create a visually stunning display of edible greenery. If you live in a particularly hot climate, try providing some afternoon shade to your spinach plants to prevent bolting (premature flowering).
Don’t be intimidated if you’re a beginner. Spinach is a relatively forgiving plant, and even if you make a few mistakes along the way, you’re likely to still end up with a delicious harvest. The key is to provide consistent moisture, adequate sunlight, and well-draining soil.
We wholeheartedly encourage you to give this DIY trick a try. Growing spinach in pots is an easy, affordable, and incredibly satisfying way to enjoy fresh, healthy greens. Once you taste the difference between homegrown spinach and store-bought, you’ll never look back.
And most importantly, we want to hear about your experience! Share your photos, tips, and challenges in the comments below. Let’s create a community of spinach-growing enthusiasts and learn from each other. What varieties did you try? What challenges did you face, and how did you overcome them? Your insights could be invaluable to other aspiring gardeners. So, grab a pot, some soil, and some spinach seeds, and get ready to embark on a delicious and rewarding gardening adventure. Happy growing! Let us know how your spinach growing journey goes!
Frequently Asked Questions (FAQ)
What is the best type of pot to use for growing spinach?
The ideal pot for growing spinach should be at least 6-8 inches deep and wide. This provides enough space for the roots to develop properly. You can use plastic, terracotta, or ceramic pots, but ensure they have drainage holes to prevent waterlogging. Fabric pots are also a great option as they allow for excellent drainage and aeration. Avoid using pots that are too small, as this can restrict root growth and lead to stunted plants.
How much sunlight does spinach need when grown in pots?
Spinach thrives in partial to full sunlight, requiring at least 4-6 hours of direct sunlight per day. However, in hotter climates, providing some afternoon shade can prevent the leaves from wilting or bolting. If you’re growing spinach indoors, place the pot near a sunny window or use grow lights to supplement natural light. Rotate the pot regularly to ensure even light exposure on all sides of the plant.
What type of soil is best for growing spinach in pots?
Spinach prefers well-draining, fertile soil with a pH between 6.0 and 7.0. A good potting mix specifically formulated for vegetables is an excellent choice. You can also create your own mix by combining equal parts of compost, peat moss (or coconut coir), and perlite or vermiculite. Compost provides essential nutrients, while peat moss or coconut coir helps retain moisture, and perlite or vermiculite improves drainage. Avoid using garden soil in pots, as it can become compacted and hinder root growth.
How often should I water my spinach plants in pots?
Spinach needs consistent moisture to thrive. Water your plants whenever the top inch of soil feels dry to the touch. Avoid overwatering, as this can lead to root rot. Water deeply, ensuring the water drains out of the drainage holes. During hot weather, you may need to water more frequently. Check the soil moisture daily and adjust your watering schedule accordingly. Mulching around the base of the plants can help retain moisture and reduce the need for frequent watering.
How do I fertilize spinach plants in pots?
Spinach is a heavy feeder and benefits from regular fertilization. Use a balanced, water-soluble fertilizer diluted to half strength every 2-3 weeks. You can also amend the soil with compost or aged manure before planting. Avoid using fertilizers that are high in nitrogen, as this can promote excessive leaf growth at the expense of root development. Look for fertilizers specifically formulated for leafy greens.
How do I prevent pests and diseases from affecting my spinach plants?
Regularly inspect your spinach plants for signs of pests and diseases. Common pests include aphids, spider mites, and slugs. You can control aphids and spider mites with insecticidal soap or neem oil. Slugs can be handpicked or trapped using beer traps. To prevent fungal diseases, ensure good air circulation around the plants and avoid overwatering. Remove any infected leaves promptly to prevent the spread of disease. Companion planting with herbs like basil or mint can also help deter pests.
When is the best time to harvest spinach grown in pots?
You can start harvesting spinach leaves when they are about 4-6 inches long. Harvest the outer leaves first, leaving the inner leaves to continue growing. This cut-and-come-again method allows you to harvest spinach continuously for several weeks. Avoid harvesting during the hottest part of the day, as the leaves will be more prone to wilting. Wash the harvested leaves thoroughly before using them.
What causes spinach to bolt (flower prematurely)?
Bolting is often triggered by hot weather or long days. Once spinach bolts, the leaves become bitter and less palatable. To prevent bolting, choose heat-tolerant varieties, provide afternoon shade, and ensure consistent watering. You can also try succession planting, sowing new seeds every few weeks to ensure a continuous supply of fresh spinach. If your spinach starts to bolt, harvest the remaining leaves as soon as possible.
Can I grow spinach indoors in pots?
Yes, you can grow spinach indoors in pots, provided you can provide adequate light. Place the pot near a sunny window that receives at least 4-6 hours of direct sunlight per day. If natural light is insufficient, use grow lights to supplement. Maintain a consistent temperature between 60-70°F (15-21°C). Ensure good air circulation to prevent fungal diseases.
How do I store harvested spinach?
To store harvested spinach, wash the leaves thoroughly and pat them dry with a paper towel. Store the spinach in a plastic bag or container in the refrigerator. It’s best to use the spinach within a few days for optimal freshness. You can also freeze spinach for longer storage. Blanch the leaves in boiling water for 2 minutes, then plunge them into ice water to stop the cooking process. Drain the spinach thoroughly and freeze it in freezer bags or containers.


Leave a Comment