

Growing Sage at Home doesn’t have to be a daunting task! Imagine stepping outside your door and snipping fresh, fragrant sage leaves to add a burst of flavor to your favorite dishes. Sounds dreamy, right? Well, it’s totally achievable, even if you don’t have a sprawling garden. For centuries, sage has been revered not only for its culinary uses but also for its medicinal properties. Ancient Romans considered it a sacred herb, believing it could grant immortality!
But let’s be honest, sometimes gardening feels more like a chore than a joy. That’s where these simple DIY tricks and hacks come in. I’m here to share my secrets to successfully growing sage at home, whether you have a sunny windowsill, a small balcony, or a dedicated garden bed. We’ll cover everything from choosing the right variety to troubleshooting common problems, ensuring you have a thriving sage plant that provides you with fresh herbs for years to come. Forget expensive store-bought herbs that wilt in a day – let’s get our hands dirty and create our own little sage haven!

Growing Sage at Home: A Beginner’s Guide
Hey there, fellow plant enthusiasts! I’m so excited to share my experience with growing sage at home. It’s easier than you might think, and having fresh sage on hand for cooking is a total game-changer. Plus, the aroma is just divine! This guide will walk you through everything you need to know, from choosing the right variety to harvesting your fragrant leaves.
Choosing Your Sage Variety
Before we dive in, let’s talk about sage varieties. While common sage (Salvia officinalis) is the most popular for culinary use, there are tons of other options, each with its own unique flavor and appearance.
* Common Sage (Salvia officinalis): This is your go-to for classic sage flavor. It has grayish-green leaves and beautiful purple flowers.
* Purple Sage (Salvia officinalis ‘Purpurascens’): As the name suggests, this variety boasts stunning purple foliage. It’s just as flavorful as common sage and adds a pop of color to your garden.
* Golden Sage (Salvia officinalis ‘Aurea’): This variety features golden-yellow leaves, adding a bright and cheerful touch to your herb garden. The flavor is slightly milder than common sage.
* Tricolor Sage (Salvia officinalis ‘Tricolor’): This variety is a real showstopper with its variegated leaves of green, white, and pink. It’s a bit more delicate than other varieties, but the visual appeal is worth the extra care.
* Pineapple Sage (Salvia elegans): While technically a different species, pineapple sage is often grown alongside other sage varieties. It has bright green leaves and vibrant red flowers, and the leaves have a distinct pineapple aroma and flavor.
I personally love having a mix of common sage and purple sage in my garden. The purple foliage adds a beautiful contrast, and I enjoy the classic sage flavor for most of my recipes.
Getting Started: Seeds vs. Cuttings
You have two main options for starting your sage plants: seeds or cuttings.
* Seeds: Starting from seed is a budget-friendly option, but it takes a bit longer to get established plants.
* Cuttings: Taking cuttings from an existing sage plant is a faster way to get a new plant that is identical to the parent.
I’ve had success with both methods, but I usually prefer starting from cuttings because it’s quicker and easier. If you have a friend with a sage plant, ask if you can take a cutting!
Growing Sage from Seeds: Step-by-Step
If you’re going the seed route, here’s what you need to do:
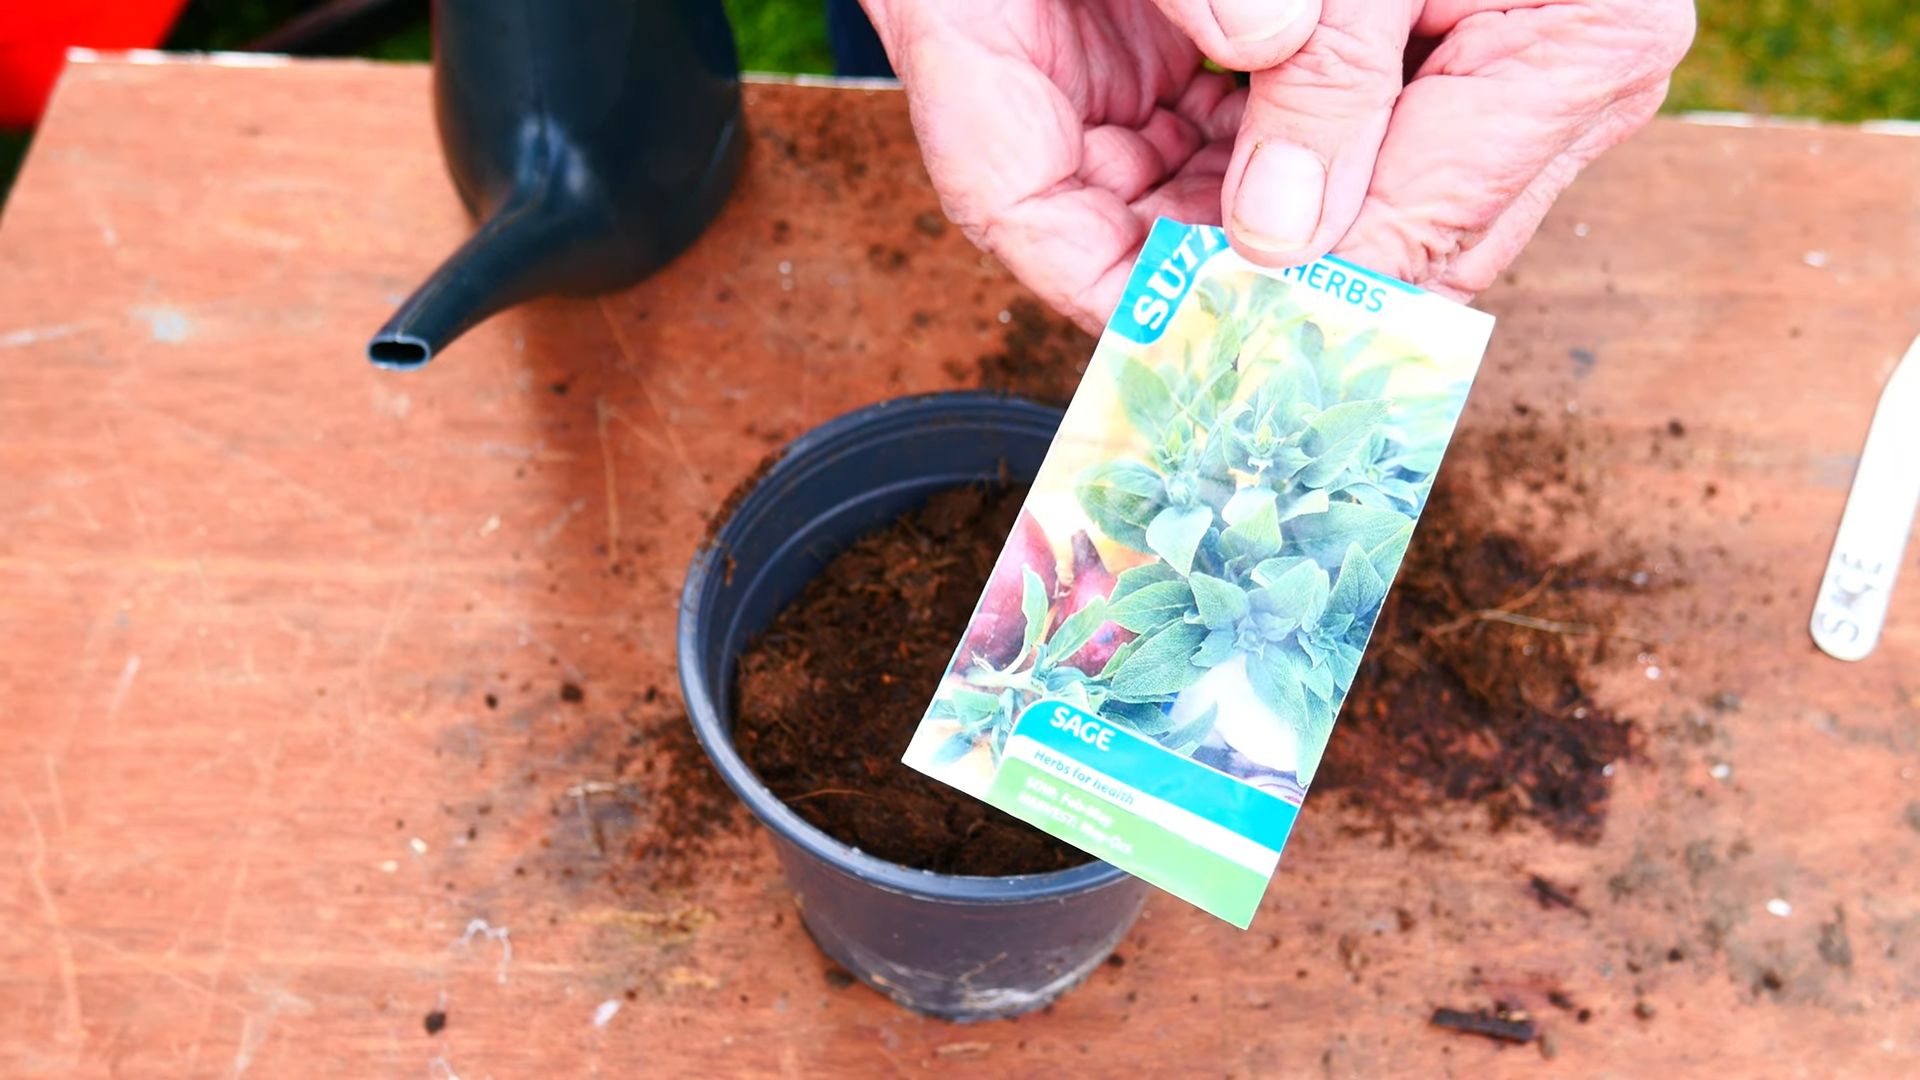
1. Start Seeds Indoors (Optional): Sage seeds can be started indoors 6-8 weeks before the last expected frost. This gives them a head start. Fill seed trays or small pots with a seed-starting mix.
2. Sow the Seeds: Sprinkle the sage seeds lightly over the surface of the soil. Gently press them down, but don’t bury them too deeply. They need light to germinate.
3. Water Gently: Mist the soil with water to moisten it. Avoid overwatering, as this can cause the seeds to rot.
4. Provide Light and Warmth: Place the seed trays or pots in a warm, sunny location or under grow lights. The ideal temperature for germination is around 70-75°F (21-24°C).
5. Keep the Soil Moist: Keep the soil consistently moist, but not soggy. Mist the soil regularly to prevent it from drying out.
6. Germination: Sage seeds typically germinate in 10-21 days.
7. Transplant Seedlings: Once the seedlings have developed a few sets of true leaves (the leaves that look like miniature sage leaves), they can be transplanted into larger pots or directly into the garden after the last frost.
Growing Sage from Cuttings: Step-by-Step
This is my preferred method!
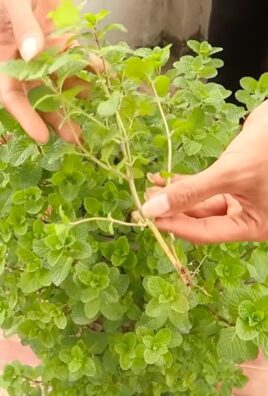
1. Take a Cutting: In spring or early summer, take a 4-6 inch cutting from a healthy sage plant. Choose a stem that is new growth and hasn’t flowered yet.
2. Prepare the Cutting: Remove the leaves from the bottom 2 inches of the cutting. This will expose the nodes where roots will form.
3. Rooting Hormone (Optional): Dip the cut end of the stem in rooting hormone powder. This will help to stimulate root growth. I find it helps, but it’s not strictly necessary.
4. Plant the Cutting: Insert the cutting into a small pot filled with well-draining potting mix.
5. Water Gently: Water the cutting gently to moisten the soil.
6. Create a Humid Environment: Cover the pot with a plastic bag or place it in a humidity dome to create a humid environment. This will help to prevent the cutting from drying out.
7. Provide Light and Warmth: Place the pot in a warm, sunny location, but avoid direct sunlight.
8. Check for Roots: After a few weeks, gently tug on the cutting to see if it has rooted. If you feel resistance, it means that roots have formed.
9. Transplant the Cutting: Once the cutting has developed a good root system, it can be transplanted into a larger pot or directly into the garden.
Planting Your Sage: Location, Location, Location!
Sage thrives in sunny locations with well-draining soil.
* Sunlight: Sage needs at least 6-8 hours of sunlight per day.
* Soil: Sage prefers well-draining soil with a slightly alkaline pH. Amend heavy clay soil with compost or other organic matter to improve drainage.
* Spacing: Space sage plants 18-24 inches apart to allow for good air circulation.
I’ve found that raised beds or containers are ideal for growing sage, as they provide excellent drainage.
Caring for Your Sage Plants
Once your sage plants are established, they’re relatively low-maintenance.
* Watering: Water sage plants deeply but infrequently, allowing the soil to dry out slightly between waterings. Overwatering can lead to root rot.
* Fertilizing: Sage doesn’t need a lot of fertilizer. A light feeding with a balanced fertilizer in the spring is usually sufficient.
* Pruning: Prune sage plants regularly to encourage bushier growth and prevent them from becoming leggy. In the spring, cut back the stems by about one-third. You can also pinch off the tips of the stems throughout the growing season to promote branching.
* Deadheading: Remove spent flowers to encourage more leaf production.
* Winter Care: Sage is a perennial in most climates, but it may need some protection during the winter. In colder climates, mulch around the base of the plants to insulate the roots. You can also move container-grown sage plants indoors to a sunny location.
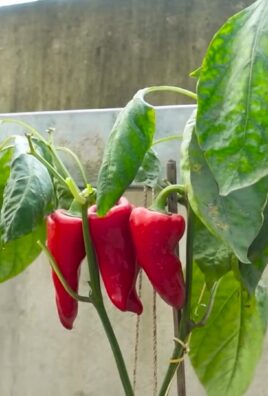
Harvesting Your Sage
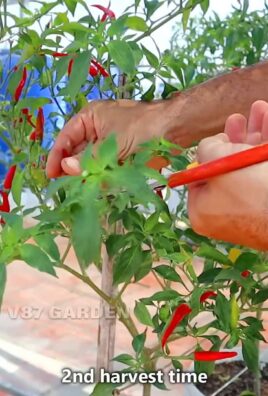
You can start harvesting sage leaves as soon as the plants are established.
* Harvesting Technique: Snip off individual leaves or small stems with scissors or pruning shears.
* Best Time to Harvest: The best time to harvest sage is in the morning, after the dew has dried.
* Drying Sage: To dry sage, tie the stems together and hang them upside down in a cool, dry, and well-ventilated place. Once the leaves are completely dry, crumble them and store them in an airtight container.
I love to dry my sage and use it throughout the winter. The flavor is much more intense than store-bought dried sage.
Dealing with Pests and Diseases
Sage is generally pest and disease-resistant, but it can be susceptible to a few problems.
* Aphids: Aphids are small, sap-sucking insects that can infest sage plants. They can be controlled with insecticidal soap or by spraying the plants with a strong stream of water.
* Spider Mites: Spider mites are tiny pests that can cause the leaves of sage plants to become mottled and discolored. They can be controlled with insecticidal soap or by increasing humidity around the plants.
* Root Rot: Root rot is a fungal disease that can occur in sage plants that are grown in poorly draining soil. To prevent root rot, make sure to plant sage in well-draining soil and avoid overwatering.
I’ve only had minor issues with aphids on my sage plants, and a quick spray with insecticidal soap usually takes care of them.
Using Your Homegrown Sage
Now for the fun part: using your homegrown sage! Sage is a versatile herb that can be used in a variety of dishes.
* Culinary Uses: Sage is commonly used to flavor meats, poultry, stuffing, and sauces. It pairs well with pork, sausage, and butternut squash. I love adding fresh sage to my Thanksgiving stuffing!
* Medicinal Uses: Sage has been used for centuries for its medicinal properties. It is said to have anti
Conclusion
So, there you have it! Growing sage at home, whether you’re a seasoned gardener or a complete beginner, is not only achievable but also incredibly rewarding. This simple DIY trick transforms your kitchen windowsill or garden patch into a fragrant, flavorful, and readily available source of fresh sage. Forget those expensive, often wilted, bunches from the grocery store. Imagine the satisfaction of snipping off exactly what you need, knowing it’s bursting with flavor and free from any unwanted chemicals.
But why is this a must-try? Beyond the convenience and cost savings, growing your own sage connects you to the natural world in a small but meaningful way. It’s a mindful activity that encourages patience and observation. Plus, the aroma of fresh sage is simply divine, filling your home with a warm, inviting scent.
Variations and Suggestions:
Don’t be afraid to experiment! Once you’ve mastered the basics, consider trying different varieties of sage. Purple sage adds a beautiful visual element to your garden, while golden sage offers a slightly different flavor profile. You can also propagate sage from cuttings, expanding your sage empire with minimal effort.
Think about companion planting. Sage is known to deter certain pests, making it a great addition to your vegetable garden. Plant it near rosemary, cabbage, or carrots to help protect them from unwanted visitors.
And of course, let’s not forget the culinary possibilities! Fresh sage elevates countless dishes. Use it to flavor roasted meats, add depth to soups and stews, or create a delicious sage butter for pasta. The possibilities are endless.
We truly believe that growing sage at home is a game-changer for anyone who loves to cook or simply appreciates the beauty of nature. It’s a simple, sustainable, and satisfying project that yields delicious results.
So, what are you waiting for? Grab a pot, some soil, and a sage plant (or seeds!), and get started today. We’re confident that you’ll be amazed at how easy and rewarding it is.
We’d love to hear about your experiences! Share your tips, tricks, and photos of your homegrown sage on our social media channels. Let’s build a community of sage-loving gardeners and cooks! Tell us what you are using your home grown sage for. What dishes are you making? What problems did you encounter? What worked well? We are excited to hear from you.
Frequently Asked Questions (FAQ)
What is the best time of year to plant sage?
The best time to plant sage depends on your climate. In warmer climates, you can plant sage in the spring or fall. In colder climates, it’s best to plant sage in the spring after the last frost. This gives the plant ample time to establish itself before the winter months. If you are starting from seeds, it is best to start them indoors 6-8 weeks before the last expected frost. This will give them a head start and increase your chances of success.
What kind of soil does sage need?
Sage thrives in well-draining soil that is slightly alkaline. A mix of potting soil, perlite, and compost works well for container gardening. If planting in the ground, amend heavy clay soil with compost and sand to improve drainage. Avoid soils that retain too much moisture, as this can lead to root rot. The ideal pH for sage is between 6.0 and 7.5. You can test your soil’s pH with a simple soil testing kit available at most garden centers.
How much sunlight does sage need?
Sage needs at least 6-8 hours of sunlight per day to thrive. Choose a sunny location in your garden or place your potted sage on a sunny windowsill. If you live in a particularly hot climate, some afternoon shade can be beneficial to prevent the leaves from scorching. Insufficient sunlight can lead to leggy growth and reduced flavor.
How often should I water my sage plant?
Water sage deeply but infrequently, allowing the soil to dry out slightly between waterings. Overwatering is a common mistake that can lead to root rot. Check the soil moisture by sticking your finger about an inch into the soil. If it feels dry, it’s time to water. During hot, dry weather, you may need to water more frequently. Reduce watering during the winter months when the plant is dormant.
How do I harvest sage?
You can harvest sage leaves as needed throughout the growing season. Simply snip off the leaves with scissors or pruning shears. Avoid removing more than one-third of the plant at a time, as this can stress the plant. The flavor of sage is most intense before the plant flowers. To dry sage, hang the stems upside down in a cool, dry, and well-ventilated place. Once the leaves are completely dry, crumble them and store them in an airtight container.
How do I propagate sage?
Sage can be easily propagated from cuttings. Take a 4-6 inch cutting from a healthy stem, removing the lower leaves. Dip the cut end in rooting hormone and plant it in a pot filled with well-draining potting mix. Keep the soil moist and place the pot in a warm, bright location. Roots should develop within a few weeks. You can also propagate sage by layering. Bend a stem to the ground and bury a portion of it in the soil. Once roots have formed, you can cut the stem from the parent plant.
What are some common problems with growing sage?
Common problems with growing sage include root rot, powdery mildew, and spider mites. Root rot is caused by overwatering and poor drainage. Powdery mildew is a fungal disease that can occur in humid conditions. Spider mites are tiny pests that can suck the sap from the leaves. To prevent these problems, ensure that your sage plant has well-draining soil, adequate sunlight, and good air circulation. Inspect your plant regularly for signs of pests or diseases and take appropriate action if necessary.
Can I grow sage indoors?
Yes, you can absolutely grow sage indoors! Choose a pot with drainage holes and fill it with well-draining potting mix. Place the pot in a sunny windowsill that receives at least 6-8 hours of sunlight per day. Water regularly, allowing the soil to dry out slightly between waterings. You may need to supplement with artificial light if you don’t have enough natural light. Rotate the pot regularly to ensure even growth.
How do I encourage my sage plant to bush out?
Pinching back the tips of the stems will encourage your sage plant to bush out. This involves snipping off the top inch or two of the stems. This will stimulate the plant to produce more side shoots, resulting in a fuller, more compact plant. You can also prune your sage plant in the spring to remove any dead or woody growth.
Is sage a perennial?
Yes, sage is a perennial herb, meaning it will come back year after year. However, in colder climates, it may need some protection during the winter months. You can mulch around the base of the plant to insulate the roots. In very cold areas, you may need to bring your potted sage indoors for the winter.
Leave a Comment