

Growing Plums in your kitchen garden might seem like a far-fetched dream, especially if you’re short on space or new to gardening. But trust me, with a few clever tricks and a little DIY spirit, you can absolutely enjoy the sweet, juicy reward of homegrown plums! Forget those bland, store-bought plums – imagine biting into a sun-ripened plum, bursting with flavor, right from your own backyard (or balcony!).
Plum cultivation has a rich history, dating back thousands of years. Evidence suggests plums were enjoyed in ancient China and later spread throughout Europe via the Silk Road. For centuries, they’ve been a symbol of prosperity and good fortune in many cultures. Now, you can bring that same sense of abundance to your own home!
Why should you bother with this DIY project? Well, for starters, you’ll have access to incredibly fresh, organic fruit. Plus, growing plums in your kitchen garden is a fantastic way to connect with nature, reduce your carbon footprint, and impress your friends and family with your green thumb. This article is packed with easy-to-follow tips and tricks to help you succeed, even if you’re a complete beginner. Let’s get started and transform your space into a plum paradise!
Growing Plums in Your Own Kitchen Garden: How to Succeed!
I love using fresh ingredients directly from my garden, and plums are definitely one of my favorites. The sweet, juicy taste of a homegrown plum is simply unbeatable! If you also dream of harvesting your own plums, you’ve come to the right place. I’ll show you how to successfully grow plums in your kitchen garden. Don’t worry, it’s easier than you think!
Choosing the Right Plum Variety
Before we get started, it’s important to choose the right plum variety for your garden. Consider your climate, the available space, and your personal taste.
- Climate: Some plum varieties are more frost-hardy than others. Find out which varieties thrive in your region.
- Space: Plum trees can get quite large. If you have limited space, choose a dwarf variety or an espalier plum.
- Taste: There are many different plum varieties with various flavors. Try different types to find your favorite. Popular varieties include ‘Hauszwetsche’, ‘Mirabelle de Nancy’, and ‘Reineclaude d’Oullins’.
The Perfect Location for Your Plum Tree
Plum trees love the sun! Choose a location that receives at least 6-8 hours of sunlight per day. The soil should be well-draining and rich in nutrients. Avoid waterlogging, as this can lead to root rot.
- Sun: Plums need plenty of sun to grow well and produce fruit.
- Soil: The soil should be loose, humus-rich, and well-draining.
- Wind Protection: A location sheltered from the wind is ideal to protect the blossoms from frost.
Planting Plums: Step by Step
Now let’s get down to it! Here is a detailed guide on how to plant your plum tree correctly:
- Prepare the planting hole: Dig a hole that is twice as wide and deep as the plum tree’s root ball. Loosen the soil at the bottom of the hole.
- Improve the soil: Mix the excavated soil with compost or other organic material to improve it.
- Position the plum tree: Carefully place the plum tree in the hole. Make sure the graft union (the thickened area on the trunk) is about 5-10 cm (2-4 inches) above the ground.
- Fill the planting hole: Fill the hole with the prepared soil mixture. Lightly press the soil down.
- Water thoroughly: Water the plum tree well.
- Add a support stake: Place a support stake next to the plum tree and loosely tie the tree to it to provide support.
Caring for Your Plum Tree: How to Keep it Healthy and Productive
A plum tree needs regular care to stay healthy and bear a lot of fruit.
- Watering: Water the plum tree regularly, especially during dry periods. Avoid waterlogging.
- Fertilizing: Fertilize the plum tree in the spring with an organic fertilizer or a special fruit tree fertilizer.
- Pruning: Prune the plum tree regularly to keep it in shape and promote fruit production. The best time for pruning is in late winter or early spring.
- Protecting against pests and diseases: Regularly check the plum tree for pests and diseases. If necessary, you can use organic plant protection products.
Pruning a Plum Tree: A Detailed Guide
Pruning is an important part of plum tree care. It helps keep the tree healthy, encourages fruit production, and makes harvesting easier.
Why is pruning important?
- Shaping: Pruning helps to shape the tree into a desired form.
- Fruit Production: Pruning encourages new shoots where the fruits will grow.
- Ventilation: A well-pruned tree has better air circulation, which reduces the risk of disease.
- Light Penetration: Pruning ensures that enough light reaches the interior of the tree, which promotes fruit development.
When to prune?
The best time to prune is in late winter or early spring, before the tree starts to bud.
What tools do you need?
- Sharp pruning shears: For thin branches and twigs.
- Loppers: For thicker branches.
- Pruning saw: For very thick branches.
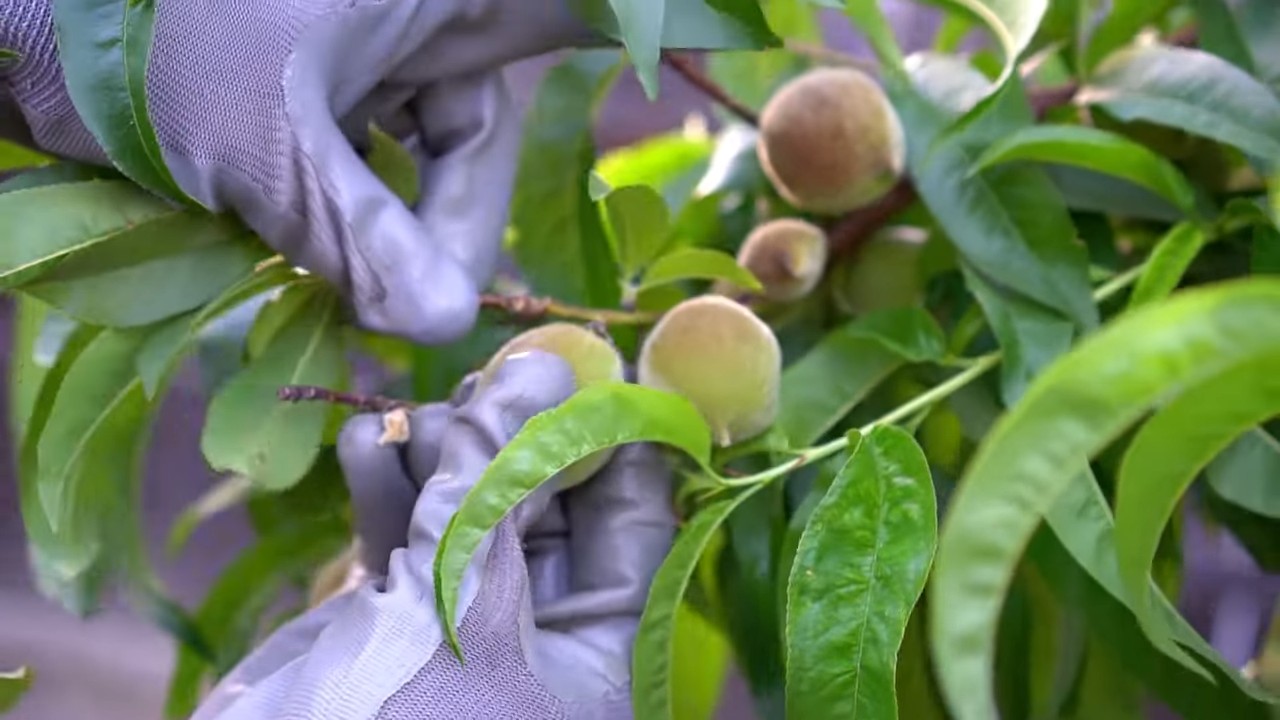
- Gloves: To protect your hands.
How to prune a plum tree?
- Remove dead, diseased, or damaged branches: Start by removing all branches that are dead, diseased, or damaged. Cut them back to healthy wood.
- Remove crossing branches: Branches that cross or rub against each other should be removed, as they can damage one another.
- Thin out the crown: Remove some of the inner branches to thin out the crown. This provides better ventilation and light penetration.
- Shorten long shoots: Shorten long shoots by about one-third to encourage fruit production. Make the cut just above an outward-facing bud.
- Shape the tree: Make sure the tree has a balanced shape. Remove any branches that are growing out of form.
Special Pruning Techniques
- Leader Branch Pruning: With this technique, a few strong branches are selected as leaders, which form the basic structure of the tree. All other branches are removed or cut back significantly.
- Spindle Pruning: This technique is particularly suitable for dwarf plum trees. The tree is reduced to a single main stem, from which short fruiting spurs grow.
Pests and Diseases: What to Do?
Even plum trees are not immune to pests and diseases. Here are some of the most common problems and how you can combat them:
- Plum Moth: The larvae of the plum moth burrow into the fruit, causing wormy plums. You can use pheromone traps to attract and catch the males.
- Aphids: Aphids suck plant sap and can impair the tree’s growth. You can spray them off with a jet of water or treat them with a biological insecticide.
- Brown Rot (Monilia): Monilia is a fungal disease that can lead to fruit rot and twig dieback. Remove and dispose of infected fruits and shoots immediately.
- Plum Pox Virus (Sharka): The Sharka virus is a viral disease that causes spots on the leaves and fruits. There is no cure for the Sharka virus. Infected trees must be removed.
Harvest Time: The Reward for Your Effort
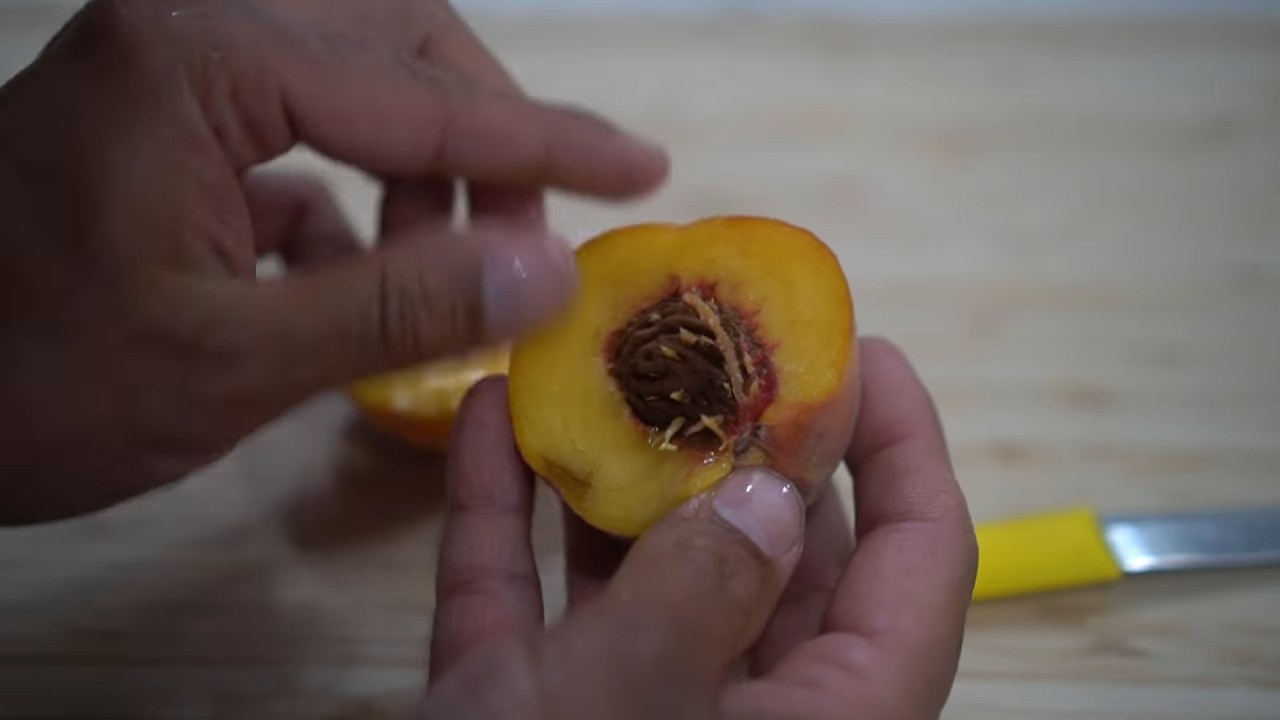
The time has finally come: the plums are ripe and can be harvested! The harvest time depends on the variety. Plums are ripe when they fall easily from the tree with a light touch. They should have an intense color and be soft, but not mushy.
Storage: Plums can be stored in the refrigerator for a few days.
When to harvest: Plums are ripe when they fall easily from the tree.
How to harvest: Gently pick the plums from the tree to avoid damaging them.
Conclusion
So, there you have it! Growing plums in your kitchen garden isn’t just a whimsical dream; it’s an achievable reality with a little planning and the right approach. We’ve explored the key elements, from selecting the perfect plum variety for your climate and space to nurturing your tree through its various stages of growth. The satisfaction of harvesting your own juicy, sun-ripened plums is an experience that store-bought fruit simply can’t replicate.
But why is this DIY approach a must-try? Beyond the sheer joy of gardening, growing your own plums offers a multitude of benefits. You have complete control over the growing process, ensuring that your plums are free from harmful pesticides and chemicals. You’re also contributing to a more sustainable lifestyle by reducing your reliance on commercially grown produce. And let’s not forget the economic advantages – over time, your plum tree will provide you with a bountiful harvest, saving you money on grocery bills.
Consider these variations to personalize your plum-growing journey. Experiment with different plum varieties to discover your favorite flavors and textures. Try espalier training to grow your plum tree against a wall or fence, maximizing space in smaller gardens. Explore companion planting to attract beneficial insects and deter pests naturally. You can even try your hand at grafting to combine the best traits of different plum varieties.
The possibilities are endless!
We wholeheartedly encourage you to embark on this rewarding adventure of growing plums in your kitchen garden. Don’t be intimidated by the initial learning curve. Start small, be patient, and learn from your experiences. The rewards – both tangible and intangible – are well worth the effort.
And most importantly, we want to hear about your journey! Share your successes, your challenges, and your tips with us in the comments below. Let’s create a community of plum-growing enthusiasts who can learn from each other and inspire others to embrace the joys of homegrown fruit. Your experiences, whether you’re a seasoned gardener or a complete beginner, are valuable and can help others succeed in their own plum-growing endeavors. So, get your hands dirty, nurture your plum tree, and savor the sweet taste of success! Let us know how your **growing plums** experience is going.
Frequently Asked Questions (FAQ)
Q: What is the best time of year to plant a plum tree?
A: The best time to plant a plum tree is typically in late winter or early spring, while the tree is still dormant. This allows the tree to establish its roots before the heat of summer arrives. In warmer climates, fall planting may also be successful. Avoid planting during periods of extreme heat or cold.
Q: What kind of soil is best for plum trees?
A: Plum trees thrive in well-drained, fertile soil with a slightly acidic to neutral pH (around 6.0 to 7.0). Amend heavy clay soils with organic matter, such as compost or well-rotted manure, to improve drainage. Sandy soils may need amendments to improve water retention. A soil test can help determine the specific needs of your soil.
Q: How much sunlight do plum trees need?
A: Plum trees require at least 6-8 hours of direct sunlight per day to produce a good crop of fruit. Choose a planting location that receives ample sunlight throughout the day.
Q: How often should I water my plum tree?
A: Water newly planted plum trees regularly, especially during the first year, to help them establish their roots. Once established, plum trees need regular watering, especially during dry periods. Water deeply and less frequently, rather than shallowly and often. Avoid overwatering, which can lead to root rot. A good rule of thumb is to water when the top inch of soil feels dry to the touch.
Q: Do plum trees need fertilizer?
A: Yes, plum trees benefit from regular fertilization. Apply a balanced fertilizer in early spring, before the tree begins to leaf out. Follow the instructions on the fertilizer package for application rates. Avoid over-fertilizing, which can harm the tree. You can also amend the soil with compost or other organic matter to provide nutrients.
Q: How do I prune a plum tree?
A: Pruning is essential for maintaining the health and productivity of your plum tree. Prune in late winter or early spring, before the tree begins to grow. Remove any dead, damaged, or diseased branches. Thin out crowded branches to improve air circulation and sunlight penetration. Prune to shape the tree and encourage fruit production. Consult a pruning guide or video for specific instructions.
Q: What are some common pests and diseases that affect plum trees?
A: Plum trees can be susceptible to various pests and diseases, including aphids, plum curculio, brown rot, and black knot. Monitor your tree regularly for signs of infestation or disease. Use organic pest control methods, such as insecticidal soap or neem oil, to control pests. Prune away any diseased branches and dispose of them properly. Consult a local nursery or extension office for advice on managing specific pests and diseases in your area.
Q: How long does it take for a plum tree to produce fruit?
A: Most plum trees will begin to produce fruit within 3-5 years of planting. However, some varieties may take longer. Proper care, including adequate sunlight, water, and fertilization, can help to speed up the fruiting process.
Q: Do I need to plant more than one plum tree for pollination?
A: Some plum varieties are self-pollinating, meaning they can produce fruit without another plum tree nearby. However, many plum varieties require cross-pollination from another plum tree of a different variety. Check the pollination requirements of your chosen plum variety before planting. If cross-pollination is required, plant two different plum varieties that are compatible pollinators.
Q: How do I know when my plums are ripe?
A: Plums are typically ripe when they are fully colored, slightly soft to the touch, and easily detach from the tree. The taste should be sweet and juicy. The exact ripening time will vary depending on the plum variety and the climate.
Q: Can I grow a plum tree in a container?
A: Yes, you can grow a plum tree in a container, but you will need to choose a dwarf or semi-dwarf variety that is suitable for container growing. Use a large container with good drainage and a high-quality potting mix. Water and fertilize regularly. Container-grown plum trees may need to be protected from extreme temperatures.
Q: How do I protect my plum tree from frost?
A: Late spring frosts can damage plum blossoms and reduce fruit production. If a frost is predicted, cover your plum tree with a blanket or tarp to protect the blossoms. You can also use a sprinkler to water the tree before the frost, as the water will freeze and release heat, protecting the blossoms.
Q: What can I do with my harvested plums?
A: The possibilities are endless! Enjoy them fresh, make plum jam or jelly, bake them into pies or crumbles, or dry them for a healthy snack. You can also freeze plums for later use.
Q: Where can I find more information about growing plums?
A: Your local nursery or extension office is a great resource for information about growing plums in your area. You can also find helpful information online from reputable gardening websites and organizations.


Leave a Comment