

Growing Mint at Home can be incredibly rewarding, filling your garden and kitchen with its refreshing aroma and flavor. But let’s be honest, sometimes it feels like mint has a mind of its own, doesn’t it? It either takes over everything or mysteriously withers away! That’s where these DIY tricks and hacks come in. I’m going to share some simple, effective methods to help you cultivate a thriving mint patch, whether you’re a seasoned gardener or just starting out.
Mint has a rich history, dating back to ancient times. The Romans used it for everything from flavoring sauces to freshening breath, and it was even believed to have medicinal properties. Today, mint is a staple in cuisines around the world, from Moroccan tea to mojitos. But beyond its culinary uses, growing mint at home connects us to this long tradition of using plants for both pleasure and practical purposes.
Why do you need these DIY tricks? Because mint, while vigorous, can be a bit of a diva! It spreads like wildfire if left unchecked, potentially crowding out other plants in your garden. On the other hand, it can be susceptible to pests and diseases if not properly cared for. These simple hacks will help you control its growth, protect it from harm, and ensure you have a constant supply of fresh, fragrant mint all season long. So, let’s dive in and unlock the secrets to successfully growing mint at home!
Growing Mint at Home: A Comprehensive DIY Guide
Hello, dear garden friends! I love the fresh scent and taste of mint, and there’s nothing better than having it right in your own garden or even on your balcony. That’s why today I’m showing you how you can easily grow mint at home. Whether you’re a beginner or already have some experience, this guide will help you achieve a lush mint harvest.
Why Grow Mint Yourself?
- Freshness and Flavor: Homegrown mint is incomparably fresh and aromatic.
- Cost-Effective: Once planted, mint will provide you with fresh leaves for years.
- Versatile: Whether in tea, cocktails, salads, or as a garnish—mint is an all-rounder.
- Easy Propagation: Mint is incredibly easy to propagate, so you’ll quickly have a large supply.
- Pest Control: Mint can deter pests and protect other plants.
What You’ll Need for Growing Mint
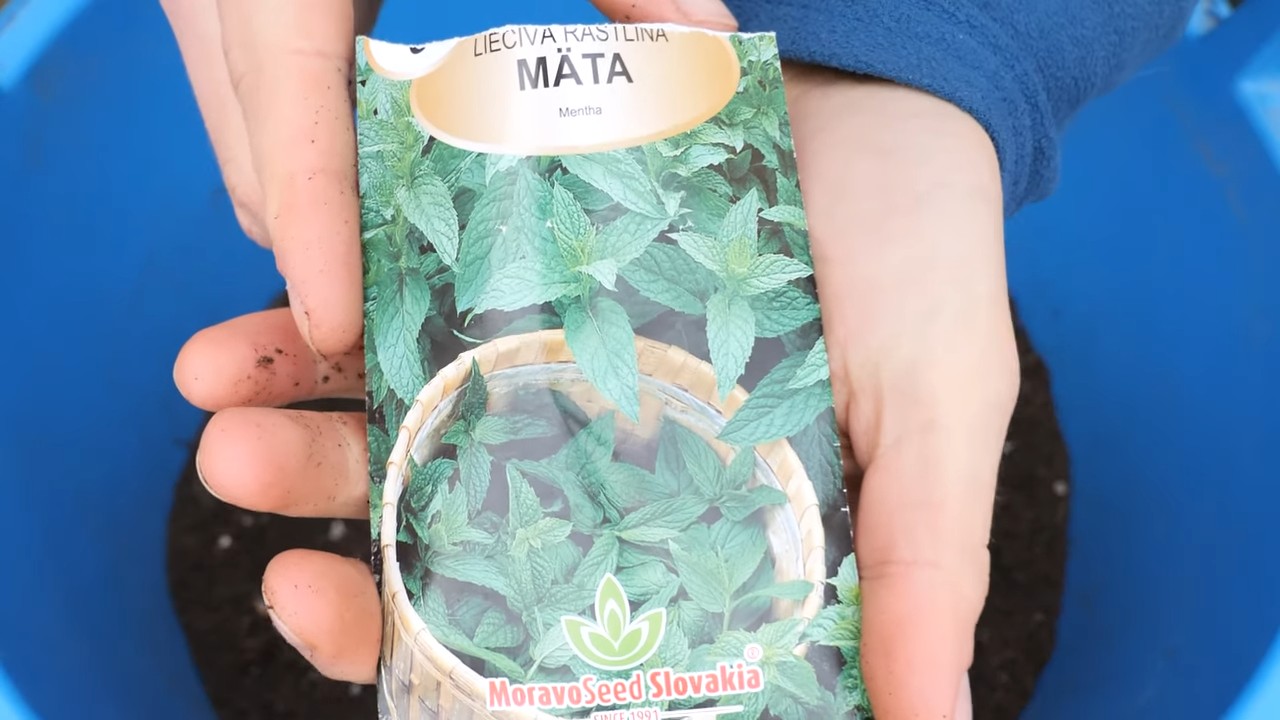
- A mint plant or mint cutting: You can buy a ready-made plant at a garden center or get a cutting from a friend.
- A pot or container: Choose a pot with sufficient drainage holes. Mint likes to spread, so a larger pot is advantageous.
- Soil: Use a high-quality potting soil or a special herb soil.
- Water: Regular watering is important, especially in the summer months.
- Sun: Mint prefers a sunny to partially shaded location.
- Optional: Fertilizer (organic or mineral) for an even more abundant harvest.
Step-by-Step Guide: Planting Mint
- Choosing the right pot: Mint is invasive! This means it spreads quickly. If you don’t keep it in a pot, it can take over your entire garden. So, choose a pot with a diameter of at least 20 cm (8 inches). Make sure the pot has drainage holes so that excess water can run off.
- Preparing the soil: Fill the pot with high-quality potting soil or herb soil. I like to mix in some compost to improve the nutrient supply. Leave about 2-3 cm (1 inch) of space at the top.
- Planting the mint:
- If you have a ready-made plant: Carefully remove the plant from its nursery pot. Loosen the roots a bit before placing it in the new pot. Make sure the root ball is completely covered with soil.
- If you have a cutting: Place the cutting in a glass of water until it forms roots. This usually takes a few days to a week. Once the roots are about 2-3 cm (1 inch) long, you can plant the cutting in the pot. Make a small hole in the soil and gently place the cutting inside. Press the soil down lightly.
- Watering: Water the mint thoroughly after planting. The soil should be moist, but not wet.
- Choosing the right location: Mint prefers a sunny to partially shaded spot. A few hours of direct sun a day is ideal. However, avoid scorching midday sun, as this can burn the leaves.
Caring for Mint
- Watering: Mint needs regular watering. The soil should always be slightly moist. It’s best to water in the morning or evening to avoid evaporation. Make sure no water is left standing in the saucer, as this can lead to root rot.
- Fertilizing: To achieve a lush harvest, you can fertilize the mint regularly. Use an organic or mineral fertilizer for herbs. I fertilize my mint every 2-3 weeks during the growing season (spring and summer).
- Pruning: Regular pruning promotes growth and prevents the mint from flowering. Flowering mint loses its aroma. Simply cut the shoots with scissors. You can use the cut leaves immediately or dry them for later use.
- Overwintering: Mint is hardy, but in a pot, it is somewhat more susceptible to frost. In winter, move the pot to a sheltered location, such as a cool basement or a garage. Water the mint only sparingly so the soil does not dry out. In the spring, you can move the mint back outdoors.
Propagating Mint
Mint is incredibly easy to propagate. Here are two methods:
- Cuttings: Cut a healthy shoot from the plant. Remove the lower leaves and place the cutting in a glass of water. Roots will form after a few days. Once the roots are about 2-3 cm (1 inch) long, you can plant the cutting in a pot with soil.
- Division: In the spring or fall, you can divide the mint. Remove the plant from the pot and carefully divide the root ball into several parts. Plant the individual parts in separate pots.
Common Problems and Solutions
- Yellow leaves: Yellow leaves can be a sign of overwatering or a nutrient deficiency. Check your watering habits and fertilize the plant if necessary.
- Brown leaves: Brown leaves can be caused by too much sun or drought. Move the plant to a shadier spot and water it regularly.
- Pests: Mint is relatively resistant to pests, but occasionally aphids or spider mites may appear. Combat the pests with a natural insecticide or a soap solution.
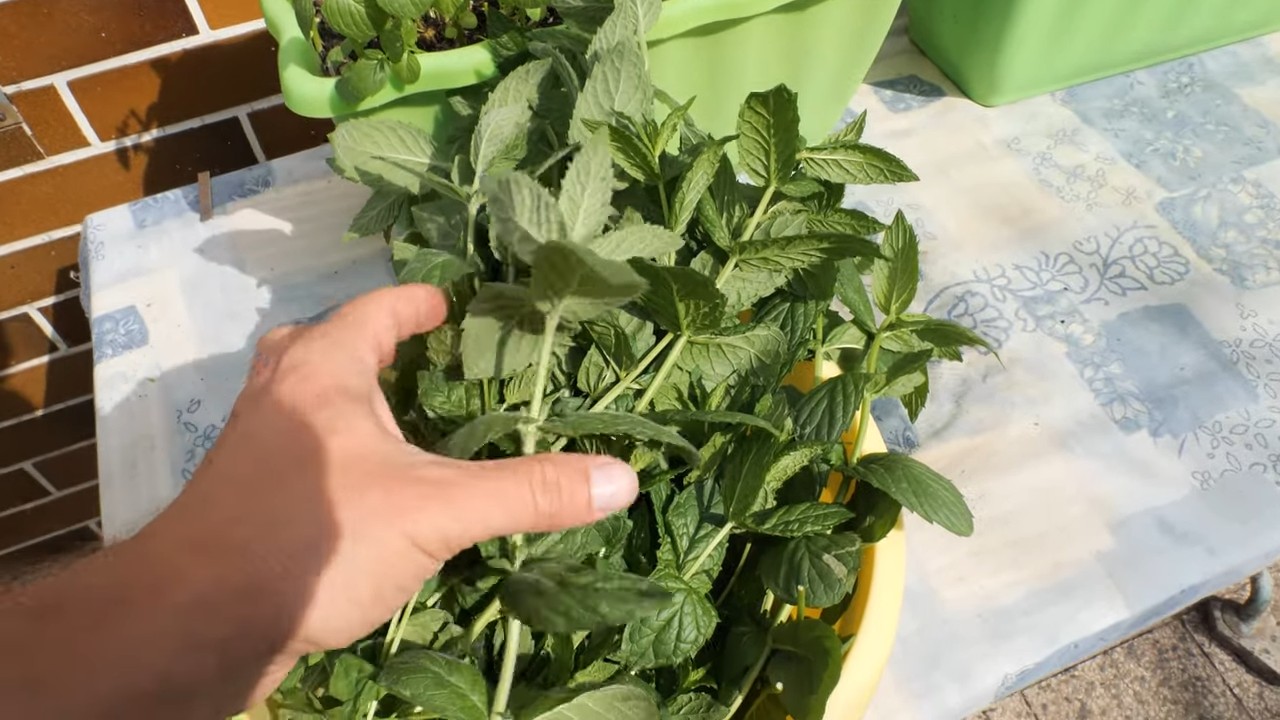
Harvesting and Using Mint
You can harvest the mint anytime, as soon as the plant has enough leaves. Simply cut the shoots with scissors. The leaves are most aromatic when harvested just before flowering.
Here are a few ideas on how to use your fresh mint:
- Tea: Pour hot water over fresh mint leaves and let the tea steep for a few minutes.
- Cocktails: Mint is an important ingredient in many cocktails, such as the Mojito or Mint Julep.
- Salads: Add fresh mint to your salads to give them a fresh note.
- Desserts: Mint pairs wonderfully with chocolate or fruits.
- Garnish: Use mint as a garnish for your dishes or drinks.
Different Mint Varieties
There are many different mint varieties, each with its own unique taste and aroma. Here are a few popular types:
- Peppermint: Has a strong, refreshing taste.
- Spearmint: Has a milder, sweeter taste.
- Chocolate Mint: Has a chocolatey taste and scent.
- Orange Mint: Has a fruity taste and scent.
- Lemon Mint: Has a lemony taste and scent.
Try different varieties to find your favorite mint!
Additional Tips for Successful Mint Cultivation
Choose the right location: A sunny to partially shaded spot is ideal.
Use high-quality soil: Good soil is the foundation for healthy growth.
Ensure good drainage: Waterlogging can lead to root rot.
Prune the mint regularly: This promotes growth and prevents flowering.
Water the mint regularly: The soil should always be slightly moist.
Fertilize the mint regularly: This ensures a lush harvest.
Conclusion
So, there you have it! Growing mint at home isn’t just a gardening project; it’s an investment in fresh flavor, aromatic bliss, and a touch of green therapy. We’ve walked through the simple steps, debunked common myths, and armed you with the knowledge to cultivate your own thriving mint patch, whether you have a sprawling garden or just a sunny windowsill.
Why is this DIY trick a must-try? Because store-bought mint, while convenient, simply can’t compare to the vibrant, untamed flavor of freshly picked leaves. Imagine the difference in your mojitos, your teas, your salads, and even your desserts! Plus, you’ll be saving money in the long run and reducing your reliance on plastic packaging. It’s a win-win for your taste buds and the planet.
But the benefits extend beyond the culinary. Mint is incredibly versatile. Consider these variations and suggestions to truly personalize your mint-growing experience:
* Experiment with different varieties: From peppermint and spearmint to chocolate mint and orange mint, the possibilities are endless. Each variety offers a unique flavor profile that can elevate your dishes and beverages.
* Create a mint tea blend: Combine your homegrown mint with other herbs like lemon balm or chamomile for a soothing and flavorful tea blend.
* Infuse your water: Add a few sprigs of mint to your water pitcher for a refreshing and hydrating drink.
* Make mint-infused oil or vinegar: These infusions can add a burst of flavor to salads, marinades, and dressings.
* Use mint as a natural pest repellent: Plant mint around your garden to deter unwanted insects.
* Dry your mint for later use: Preserve the flavor of your harvest by drying the leaves for use in teas, seasonings, and potpourri.
Growing mint at home is a rewarding experience that connects you to nature and provides a constant supply of fresh, flavorful herbs. It’s a simple project with a big impact, and we encourage you to give it a try. Don’t be intimidated by the “invasive” reputation; with the right container and a little bit of care, you can easily control its growth.
Now, it’s your turn! Grab a pot, some soil, and a mint seedling or cutting, and get started on your own mint-growing adventure. We’re confident that you’ll be amazed by the results. And most importantly, we want to hear about your experience! Share your tips, tricks, and photos with us in the comments below. Let’s create a community of mint enthusiasts and inspire others to discover the joy of growing their own herbs. Happy growing!
Frequently Asked Questions (FAQ)
Why is my mint plant not thriving?
Several factors can contribute to a struggling mint plant. First, consider the amount of sunlight it’s receiving. Mint thrives in partial shade to full sun, but too much direct sunlight can scorch the leaves, especially in hotter climates. Ensure your plant is getting at least 4-6 hours of sunlight per day, but protect it from the harshest afternoon rays.
Watering is another crucial aspect. Mint prefers consistently moist soil, but avoid overwatering, which can lead to root rot. Check the soil moisture regularly by sticking your finger about an inch deep. If it feels dry, it’s time to water. Ensure your pot has adequate drainage to prevent waterlogging.
Nutrient deficiencies can also cause problems. Mint benefits from regular feeding with a balanced liquid fertilizer, especially during the growing season (spring and summer). Follow the instructions on the fertilizer label to avoid over-fertilizing, which can burn the roots.
Finally, inspect your plant for pests or diseases. Aphids, spider mites, and powdery mildew are common issues that can affect mint. Treat infestations promptly with insecticidal soap or neem oil. Ensure good air circulation around the plant to prevent fungal diseases.
How do I prevent mint from taking over my garden?
Mint is notorious for its invasive nature, but it’s easy to control with a few simple strategies. The most effective method is to grow mint in containers. This prevents the roots from spreading and allows you to easily move the plant to different locations as needed.
If you prefer to plant mint directly in the ground, consider using a root barrier. This involves burying a physical barrier, such as plastic edging or metal sheeting, around the planting area to prevent the roots from spreading. The barrier should extend at least 12 inches deep into the soil.
Regular pruning is also essential for controlling mint’s growth. Trim back the stems regularly to prevent them from flowering and setting seed, which can contribute to its spread. You can also dig up and divide the plant every few years to prevent it from becoming overcrowded.
What’s the best way to harvest mint?
Harvesting mint is a simple process that can be done regularly throughout the growing season. The best time to harvest is in the morning, after the dew has dried but before the sun gets too hot. This is when the leaves are at their most flavorful.
To harvest, simply pinch or cut off the stems just above a leaf node. This will encourage the plant to produce new growth. Avoid removing more than one-third of the plant at a time, as this can stress it.
You can use the harvested mint fresh or dry it for later use. To dry mint, hang the stems upside down in a cool, dark, and well-ventilated place. Once the leaves are dry and brittle, crumble them and store them in an airtight container.
Can I grow mint indoors?
Yes, you can absolutely grow mint indoors! In fact, growing mint at home indoors is a great way to have fresh herbs year-round. To grow mint indoors, choose a sunny location, such as a windowsill that receives at least 4-6 hours of sunlight per day. If you don’t have enough natural light, you can supplement with a grow light.
Use a well-draining potting mix and a pot with drainage holes. Water regularly, keeping the soil consistently moist but not waterlogged. Fertilize every few weeks with a balanced liquid fertilizer.
Pinch back the stems regularly to encourage bushier growth and prevent the plant from becoming leggy. Also, be sure to monitor for pests and diseases, as indoor plants can be more susceptible to these problems.
What are the different varieties of mint, and which one should I choose?
There are many different varieties of mint, each with its own unique flavor and aroma. Some of the most popular varieties include:
* Peppermint: A classic mint with a strong, refreshing flavor. It’s great for teas, desserts, and candies.
* Spearmint: A milder, sweeter mint that’s often used in chewing gum, toothpaste, and mojitos.
* Chocolate Mint: A unique mint with a hint of chocolate flavor. It’s delicious in desserts, teas, and cocktails.
* Orange Mint: A citrusy mint with a refreshing orange flavor. It’s great for teas, salads, and desserts.
* Apple Mint: A mild, fruity mint with a hint of apple flavor. It’s delicious in salads, teas, and desserts.
The best variety of mint for you will depend on your personal preferences and how you plan to use it. If you’re looking for a strong, refreshing mint, peppermint is a good choice. If you prefer a milder, sweeter mint, spearmint is a better option. And if you’re looking for something unique and flavorful, consider chocolate mint or orange mint. Experiment with different varieties to find your favorite!

Leave a Comment