

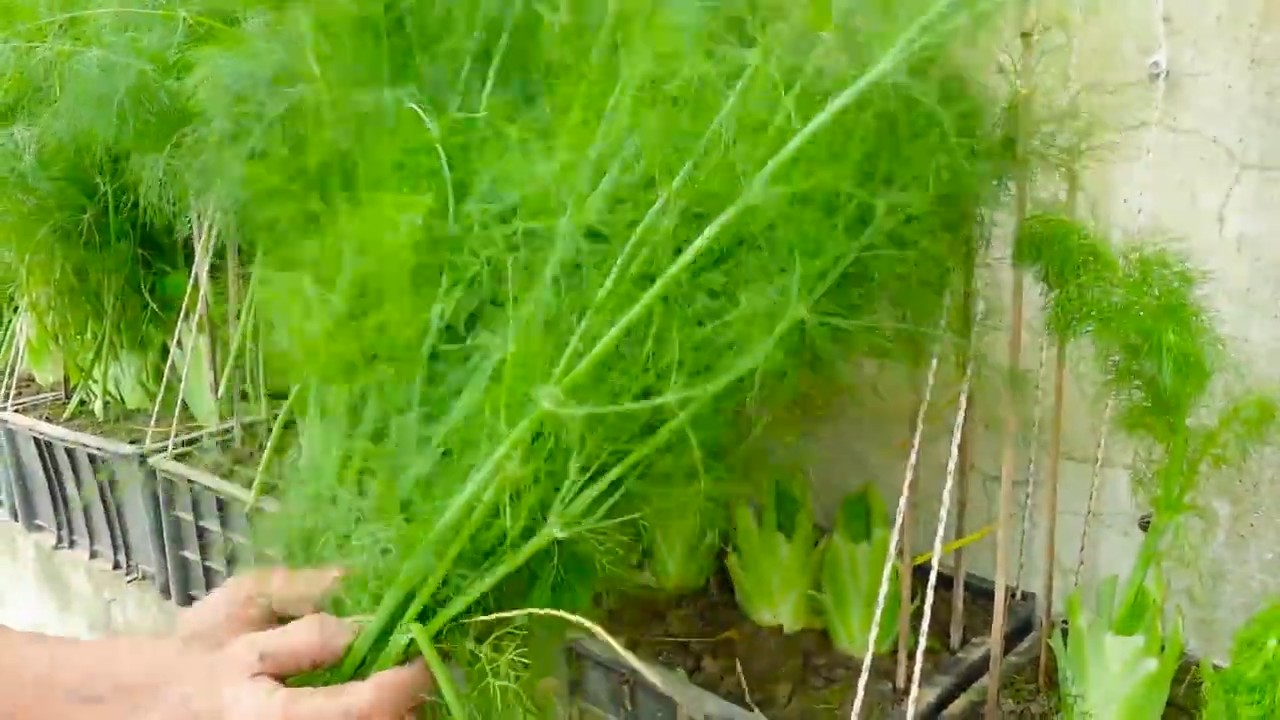
Growing Dill in your kitchen garden is easier than you might think, and I’m here to show you how! Imagine stepping into your kitchen and snipping fresh, fragrant dill to elevate your favorite dishes. No more sad, wilted herbs from the grocery store – just vibrant, homegrown flavor at your fingertips.
For centuries, dill has been cherished not only for its culinary uses but also for its medicinal properties. Originating in the Mediterranean and Eastern Europe, dill was even used by the ancient Egyptians and Romans. They believed in its soothing qualities and used it to aid digestion. Today, we still appreciate dill for its unique taste and health benefits, and bringing it into our homes is a way to connect with that rich history.
In today’s busy world, finding moments of peace and connection with nature can be a challenge. That’s where the magic of a kitchen garden comes in! Growing dill in your kitchen garden offers a simple, rewarding way to bring a touch of nature indoors. Plus, let’s be honest, who wouldn’t want to save money on herbs while enjoying the freshest possible ingredients? This DIY guide will provide you with simple tricks and hacks to successfully cultivate dill, even if you have limited space or gardening experience. Get ready to transform your kitchen into a fragrant, flavorful oasis!
Your Own Dill Kitchen Garden: It’s This Easy!
I love fresh dill! It perks up every dish, from cucumber salad to fish. And the best part: dill is super easy to grow at home, even if you don’t have a huge garden. In this article, I’ll show you how to create your own little dill kitchen garden—step by step. Don’t worry, it’s really easy!
What You’ll Need for Your Dill Kitchen Garden
Before we get started, let’s first make sure we have everything we need. Here is a list of the things you’ll need:
- Dill seeds: You can get them at any garden center or online. Make sure they are fresh so they germinate well.
- A pot or planter box: The size depends on how much dill you want to grow. A pot with a diameter of at least 20 cm (8 inches) and a depth of 20 cm (8 inches) is a good start.
- High-quality potting soil: Dill likes loose, well-draining soil. You can buy special herb soil or mix potting soil with some sand.
- Drainage material: This can be gravel, expanded clay, or clay shards. It ensures that water can drain well and the roots don’t rot.
- A watering can or spray bottle: For watering the seeds and plants.
- A sunny spot: Dill needs at least 6 hours of sun per day. A south-facing windowsill or balcony is ideal.
- Optional: A small trowel or shovel to fill the pot with soil.
Sowing Dill: A Step-by-Step Guide
Now let’s get down to business! Here is a detailed guide on how to successfully sow your dill seeds:
- Prepare the pot: First, we place a layer of drainage material at the bottom of the pot. This prevents waterlogging. Then we fill the pot with potting soil, but not all the way to the top. Leave about 2-3 cm (1 inch) of space.
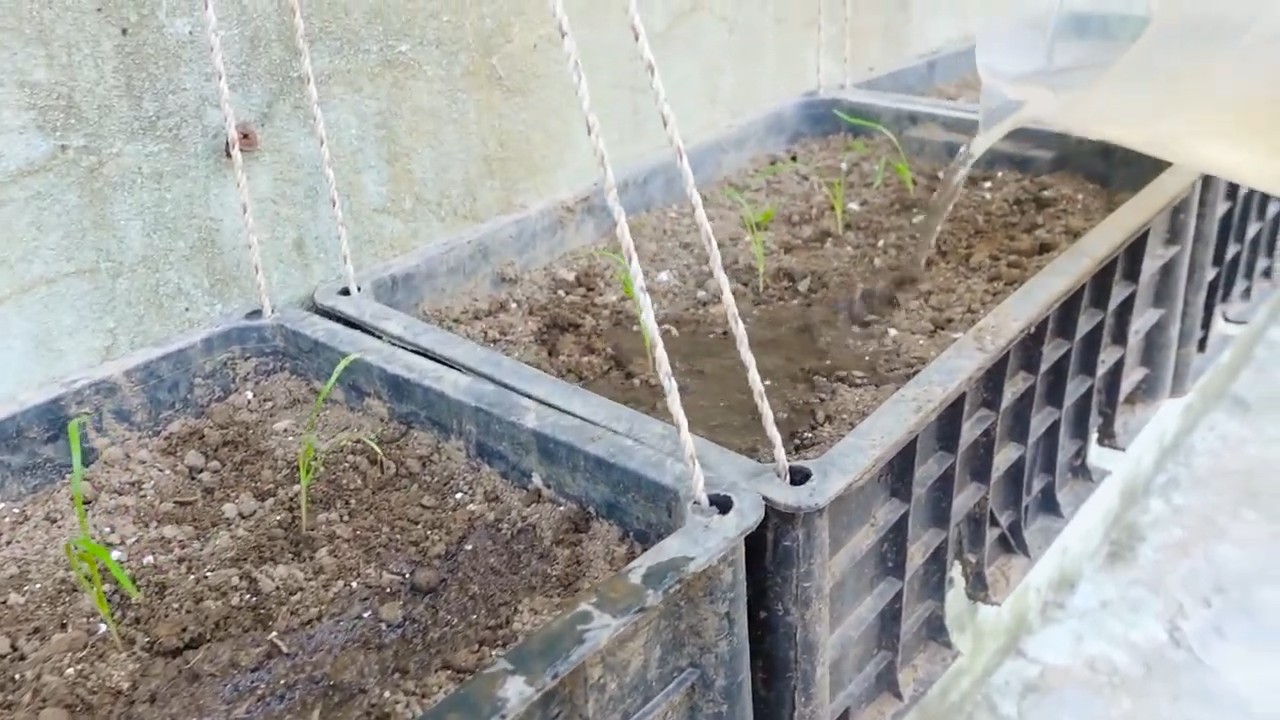
- Moisten the soil: Before we sow the seeds, we lightly moisten the soil with a spray bottle or watering can. It should be damp, but not wet.
- Sow the seeds: Dill is a light germinator, which means the seeds need light to germinate. Therefore, we don’t sow them too deep. Simply sprinkle the seeds loosely on the soil. You can press them down a bit, but don’t cover them with soil.
- Moisten again: Gently moisten the seeds with a spray bottle. Be careful not to wash them away.
- The right location: Place the pot in a warm, sunny spot. A south-facing windowsill is perfect.
- Maintain moisture: The soil should always be slightly moist, but not wet. Check it regularly and water when needed. It’s best to use a spray bottle so as not to damage the seeds.
- Be patient: Dill takes about 10-14 days to germinate. Be patient and don’t give up!
Caring for Dill: How to Keep it Healthy and Strong
Once your dill seeds have germinated, it’s important to care for them properly so they grow healthy and strong. Here are a few tips:
- Watering: Water the dill regularly, but not too much. The soil should always be slightly moist, but not wet. Avoid waterlogging, as this can lead to root rot.
- Fertilizing: Dill doesn’t need much fertilizer. However, you can feed it every few weeks with an organic liquid fertilizer for herbs. Be sure to follow the dosage instructions on the package.
- Thinning: If the dill plants are too close together, you should thin them out. This means removing some of the weaker plants so the stronger ones have more space to grow.
- Pests: Dill is relatively resistant to pests. Occasionally, aphids may appear. You can spray them off with a jet of water or use a biological insecticide.
- Preventing flowering: When dill flowers, it loses its aroma. To prevent flowering, you can regularly snip off the shoot tips. This also encourages the growth of new leaves.
Harvesting Dill: When and How?
You can harvest dill as soon as the plants are about 15-20 cm (6-8 inches) tall. Here are a few tips for harvesting:
- The right time: It’s best to harvest dill in the morning when the essential oils are most concentrated.
- The right method: Cut the stems with scissors or a knife. You can harvest either individual leaves or whole stems.
- Harvest regularly: The more often you harvest, the more new leaves will grow back.
- Preserving dill: Fresh dill only keeps in the refrigerator for a few days. However, you can also freeze or dry it. To freeze, chop the dill finely and fill it into ice cube trays with water. To dry, hang the stems in an airy, dry place.
Common Problems and Solutions
Problems can also arise when growing dill. Here are a few common problems and how you can solve them:
- Dill isn’t germinating: This can have various causes. Perhaps the seeds are too old, the soil is too dry or too wet, or the location is too dark. Make sure to use fresh seeds, keep the soil moist, and place the pot in a sunny location.
- Dill is turning yellow: This can be a sign of a nutrient deficiency. Fertilize the dill with an organic liquid fertilizer.
- Dill is infested with pests: Check the plants regularly for pests. If infested, you can spray them off with a jet of water or use a biological insecticide.
- Dill is flowering too early: This can happen if the dill gets too little water or nutrients. Be sure to water and fertilize it regularly. You can also regularly snip off the shoot tips to prevent flowering.
Additional Tips for Your Dill Kitchen Garden
Here are a few more tips that can help you make your dill kitchen garden even more successful:
- Try different varieties: There are different dill varieties with different aromas and growth habits. Try different types to find your favorite.
- Grow dill as a companion plant: Dill gets along well with other herbs and vegetables. For example, you can grow it next to cucumbers, tomatoes, or lettuce.
- Dill as an insect hotel: Dill flowers attract many beneficial insects, such as hoverflies and ladybugs. These insects help to control pests.
- Dill for the kitchen: Use fresh dill for salads, soups, sauces, fish dishes, and much more. It’s a real all-rounder in the kitchen!
I hope this guide has helped you create your own dill kitchen garden. With a little patience and care, you will soon be able to harvest fresh dill that will enhance your dishes. Happy gardening
Conclusion
So, there you have it! Transforming your kitchen into a haven for fresh dill is not only achievable but also incredibly rewarding. This simple DIY trick for growing dill indoors offers a continuous supply of this fragrant herb, elevating your culinary creations to new heights. Forget those wilted, overpriced bunches from the grocery store; with a little effort, you can enjoy the vibrant flavor of homegrown dill whenever you desire.
Why is this a must-try? Because it’s more than just growing a plant; it’s about connecting with your food, reducing waste, and adding a touch of green to your living space. Imagine the satisfaction of snipping fresh dill to garnish your salmon, flavor your creamy dips, or add a zesty kick to your potato salad. The possibilities are endless!
But don’t stop there! Experiment with different varieties of dill. ‘Bouquet’ dill is known for its abundant foliage, while ‘Long Island Mammoth’ produces impressive seed heads perfect for pickling. You can also try companion planting your dill with tomatoes or cucumbers, as it’s believed to deter pests and improve their growth. Consider using different types of containers, from repurposed mason jars to stylish ceramic pots, to match your kitchen décor.
We encourage you to embrace this DIY project and experience the joy of growing your own dill. It’s a fantastic way to introduce children to gardening, learn about plant life cycles, and appreciate the flavors of nature. Don’t be afraid to get your hands dirty and experiment!
Once you’ve embarked on your dill-growing journey, we’d love to hear about your experiences. Share your tips, tricks, and photos on social media using #HomegrownDill or tag us in your posts. Let’s create a community of dill enthusiasts and inspire others to cultivate their own kitchen gardens. We are confident that you will find that growing dill is easier than you think. Happy gardening!
Frequently Asked Questions (FAQ)
Q: What is the best time of year to start growing dill indoors?
A: While you can technically start growing dill indoors any time of year, the best time is typically in early spring or late winter. This allows the seedlings to get a head start before the outdoor growing season begins. However, with proper lighting and care, you can successfully grow dill indoors year-round. The key is to provide consistent conditions that mimic its natural environment.
Q: What type of soil is best for growing dill in containers?
A: Dill thrives in well-draining soil that is rich in organic matter. A good potting mix specifically formulated for herbs or vegetables is ideal. You can also create your own mix by combining equal parts of potting soil, compost, and perlite or vermiculite. This will ensure proper drainage and aeration, preventing root rot and promoting healthy growth. Avoid using garden soil, as it can be too heavy and compact for container gardening.
Q: How much sunlight does dill need when grown indoors?
A: Dill requires at least 6 hours of direct sunlight per day to thrive. If you don’t have a sunny windowsill, you can supplement with grow lights. Place the lights about 6-12 inches above the plants and keep them on for 12-16 hours per day. Rotate the plants regularly to ensure even light exposure on all sides. Insufficient light can result in leggy, weak growth and reduced flavor.
Q: How often should I water my dill plants?
A: Water dill plants when the top inch of soil feels dry to the touch. Avoid overwatering, as this can lead to root rot. Water deeply, allowing excess water to drain out of the bottom of the pot. During the warmer months, you may need to water more frequently. Check the soil moisture regularly and adjust your watering schedule accordingly.
Q: How do I harvest dill?
A: You can start harvesting dill leaves as soon as the plants are about 6 inches tall. Simply snip off the leaves with scissors or your fingers. For the best flavor, harvest dill in the morning after the dew has dried. You can also harvest the seed heads once they turn brown and dry. Dill seeds can be used as a spice or saved for planting next season. Regular harvesting encourages bushier growth and prevents the plants from bolting (going to seed prematurely).
Q: What are some common problems when growing dill indoors?
A: Some common problems when growing dill indoors include aphids, spider mites, and powdery mildew. Aphids and spider mites can be controlled with insecticidal soap or neem oil. Powdery mildew can be prevented by providing good air circulation and avoiding overhead watering. Overwatering can also lead to root rot, so be sure to allow the soil to dry out slightly between waterings.
Q: Can I grow dill from seed indoors?
A: Yes, you can easily grow dill from seed indoors. Sow the seeds about ¼ inch deep in moist potting mix. Keep the soil consistently moist and warm (around 70-75°F). The seeds should germinate in about 7-14 days. Once the seedlings have developed a few sets of true leaves, thin them out to one plant per pot.
Q: How do I encourage my dill plant to produce more leaves?
A: To encourage your dill plant to produce more leaves, pinch off the flower buds as soon as they appear. This will prevent the plant from focusing its energy on seed production and instead direct it towards leaf growth. Regular harvesting also encourages bushier growth. Fertilize your dill plants every few weeks with a balanced liquid fertilizer to provide them with the nutrients they need to thrive.
Q: Can I transplant my indoor-grown dill plant outdoors?
A: Yes, you can transplant your indoor-grown dill plant outdoors once the weather has warmed up and the risk of frost has passed. Harden off the plants by gradually exposing them to outdoor conditions for a week or two before transplanting. Choose a sunny location with well-draining soil. Water the plants thoroughly after transplanting and protect them from strong winds and direct sunlight for the first few days.
Q: How long will my dill plant last?
A: Dill is an annual plant, meaning it completes its life cycle in one growing season. However, with proper care, you can extend its lifespan and enjoy fresh dill for several months. Once the plant starts to bolt (go to seed), the leaves will become less flavorful. You can prolong the harvest by pinching off the flower buds and providing adequate water and nutrients. You can also succession plant dill seeds every few weeks to ensure a continuous supply of fresh dill throughout the growing season.
Leave a Comment