

Growing Dill at Home is easier than you might think, and I’m here to show you how! Have you ever dreamt of snipping fresh, fragrant dill right from your own garden to sprinkle over your salmon or add to your creamy potato salad? It’s a culinary delight that’s surprisingly simple to achieve, even if you don’t have a sprawling backyard.
Dill has a rich history, dating back to ancient Egypt and Rome, where it was valued for its medicinal properties and culinary uses. The Romans even believed it brought good fortune! Today, dill remains a staple in many cuisines, particularly in Scandinavian and Eastern European dishes. But why rely on store-bought dill when you can cultivate your own vibrant supply?
Let’s face it, fresh herbs from the grocery store can be expensive and often wilt before you even get a chance to use them. That’s where the magic of growing dill at home comes in. This DIY guide will provide you with simple, effective tricks and hacks to successfully grow dill, regardless of your gardening experience or space limitations. Imagine the satisfaction of harvesting your own flavorful dill, knowing exactly where it came from and how it was grown. Plus, it’s a fantastic way to add a touch of green to your home and enjoy the therapeutic benefits of gardening. So, let’s get started and unlock the secrets to a bountiful dill harvest!
Growing Dill at Home: A Beginner’s Guide
Hey there, fellow gardening enthusiasts! I’m so excited to share my experience with growing dill at home. It’s surprisingly easy, and having fresh dill on hand for cooking is a total game-changer. Plus, the feathery foliage is just beautiful! Let’s dive in and get your dill patch started.
Choosing Your Dill Variety
Before we get our hands dirty, let’s talk about dill varieties. While most dill is pretty similar, knowing the differences can help you choose the best one for your needs.
* ‘Bouquet’ Dill: This is a popular choice because it’s slow to bolt (meaning it takes longer to go to seed), giving you a longer harvest of leaves. It’s also great for pickling.
* ‘Dukat’ Dill: Known for its strong flavor and aroma, ‘Dukat’ is a good option if you want a really potent dill.
* ‘Fernleaf’ Dill: This variety is more compact, making it ideal for container gardening. It also tends to bolt later than some other varieties.
* ‘Long Island Mammoth’ Dill: As the name suggests, this one grows tall and produces large seed heads, perfect if you’re after dill seeds for pickling or other uses.
I personally prefer ‘Bouquet’ dill because of its longer harvest period, but feel free to experiment and see which one you like best!
Getting Started: Seeds vs. Seedlings
You have two main options for starting your dill: seeds or seedlings.
* Seeds: Starting from seed is the most common and cost-effective method. Dill seeds germinate easily, and you’ll have more control over the entire growing process.
* Seedlings: If you’re short on time or want a head start, you can purchase dill seedlings from a local nursery. Just make sure the seedlings look healthy and aren’t root-bound.
I usually start from seed because I enjoy the process of watching them sprout and grow. Plus, it’s much cheaper!
Preparing the Soil and Planting
Dill isn’t too picky about soil, but it does prefer well-drained soil with a slightly acidic to neutral pH (around 6.0-7.0).
1. Choose a Sunny Location: Dill needs at least 6 hours of sunlight per day to thrive. Pick a spot in your garden that gets plenty of sunshine.
2. Prepare the Soil: Loosen the soil with a garden fork or tiller to a depth of about 12 inches. Remove any rocks, weeds, or debris.
3. Amend the Soil: If your soil is heavy clay or sandy, amend it with compost or other organic matter to improve drainage and fertility. I like to add a generous amount of compost to my garden beds before planting anything.
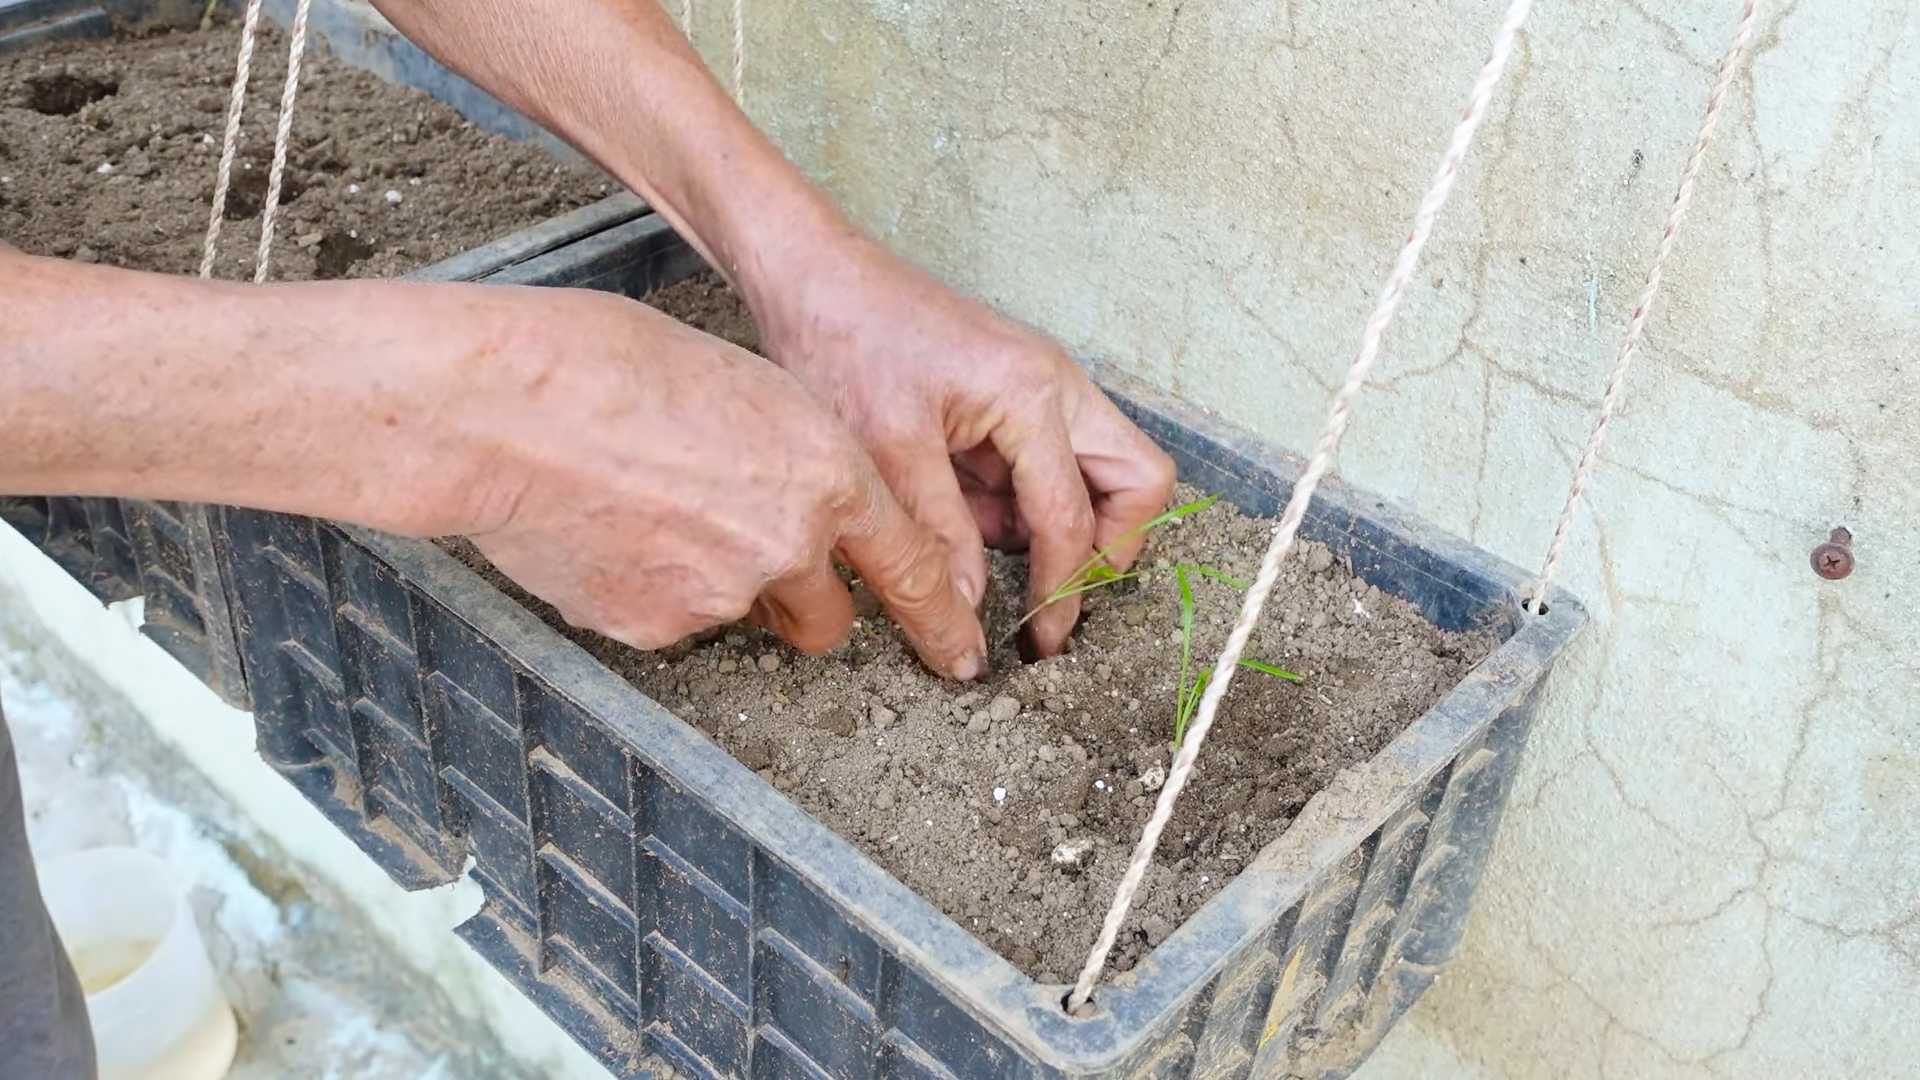
4. Sow the Seeds: Dill seeds are small, so you don’t need to plant them too deep. Sow the seeds about 1/4 inch deep and 1 inch apart. You can sow them in rows or broadcast them over a wider area.
5. Water Gently: After sowing the seeds, water the soil gently to avoid washing them away. Keep the soil consistently moist until the seeds germinate, which usually takes about 7-14 days.
6. Thin the Seedlings: Once the seedlings are a few inches tall, thin them to about 6-12 inches apart. This will give them enough room to grow and prevent overcrowding. I know it’s hard to thin out plants you’ve nurtured, but it’s essential for healthy growth!
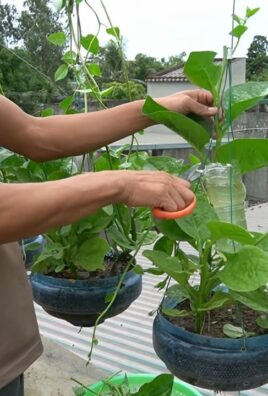
Growing Dill in Containers
If you don’t have a garden, you can easily grow dill in containers.
1. Choose a Container: Select a container that is at least 12 inches in diameter and 12 inches deep. Make sure it has drainage holes to prevent waterlogging.
2. Use a Good Potting Mix: Fill the container with a high-quality potting mix that drains well. Avoid using garden soil, as it can become compacted in containers.
3. Plant the Seeds or Seedlings: Follow the same planting instructions as for garden planting. Sow the seeds about 1/4 inch deep and 1 inch apart, or transplant seedlings to the container.
4. Water Regularly: Container plants tend to dry out more quickly than plants in the ground, so water regularly, especially during hot weather. Check the soil moisture by sticking your finger into the soil. If the top inch feels dry, it’s time to water.
5. Fertilize Occasionally: Dill doesn’t need a lot of fertilizer, but you can give it a boost with a diluted liquid fertilizer every few weeks. I like to use a balanced fertilizer or a fish emulsion.
6. Place in a Sunny Location: Place the container in a sunny location that gets at least 6 hours of sunlight per day.
Caring for Your Dill Plants
Once your dill plants are established, they’re relatively low-maintenance.
* Watering: Water regularly, especially during dry spells. Dill prefers consistently moist soil, but avoid overwatering, which can lead to root rot.
* Weeding: Keep the area around your dill plants free of weeds. Weeds compete with dill for nutrients and water.
* Fertilizing: As mentioned earlier, dill doesn’t need a lot of fertilizer. However, you can give it a boost with a diluted liquid fertilizer every few weeks.
* Pest Control: Dill is generally pest-resistant, but it can occasionally be bothered by aphids or spider mites. If you notice any pests, you can try spraying them with insecticidal soap or neem oil. I prefer to use organic pest control methods whenever possible.
* Bolting: Dill tends to bolt (go to seed) in hot weather. Bolting can make the leaves taste bitter. To prevent bolting, you can try planting dill in a partially shaded location or choosing a bolt-resistant variety like ‘Bouquet’. If your dill does bolt, you can still harvest the seeds for pickling or other uses.
Harvesting Dill
You can start harvesting dill leaves as soon as the plants are about 6-8 inches tall.
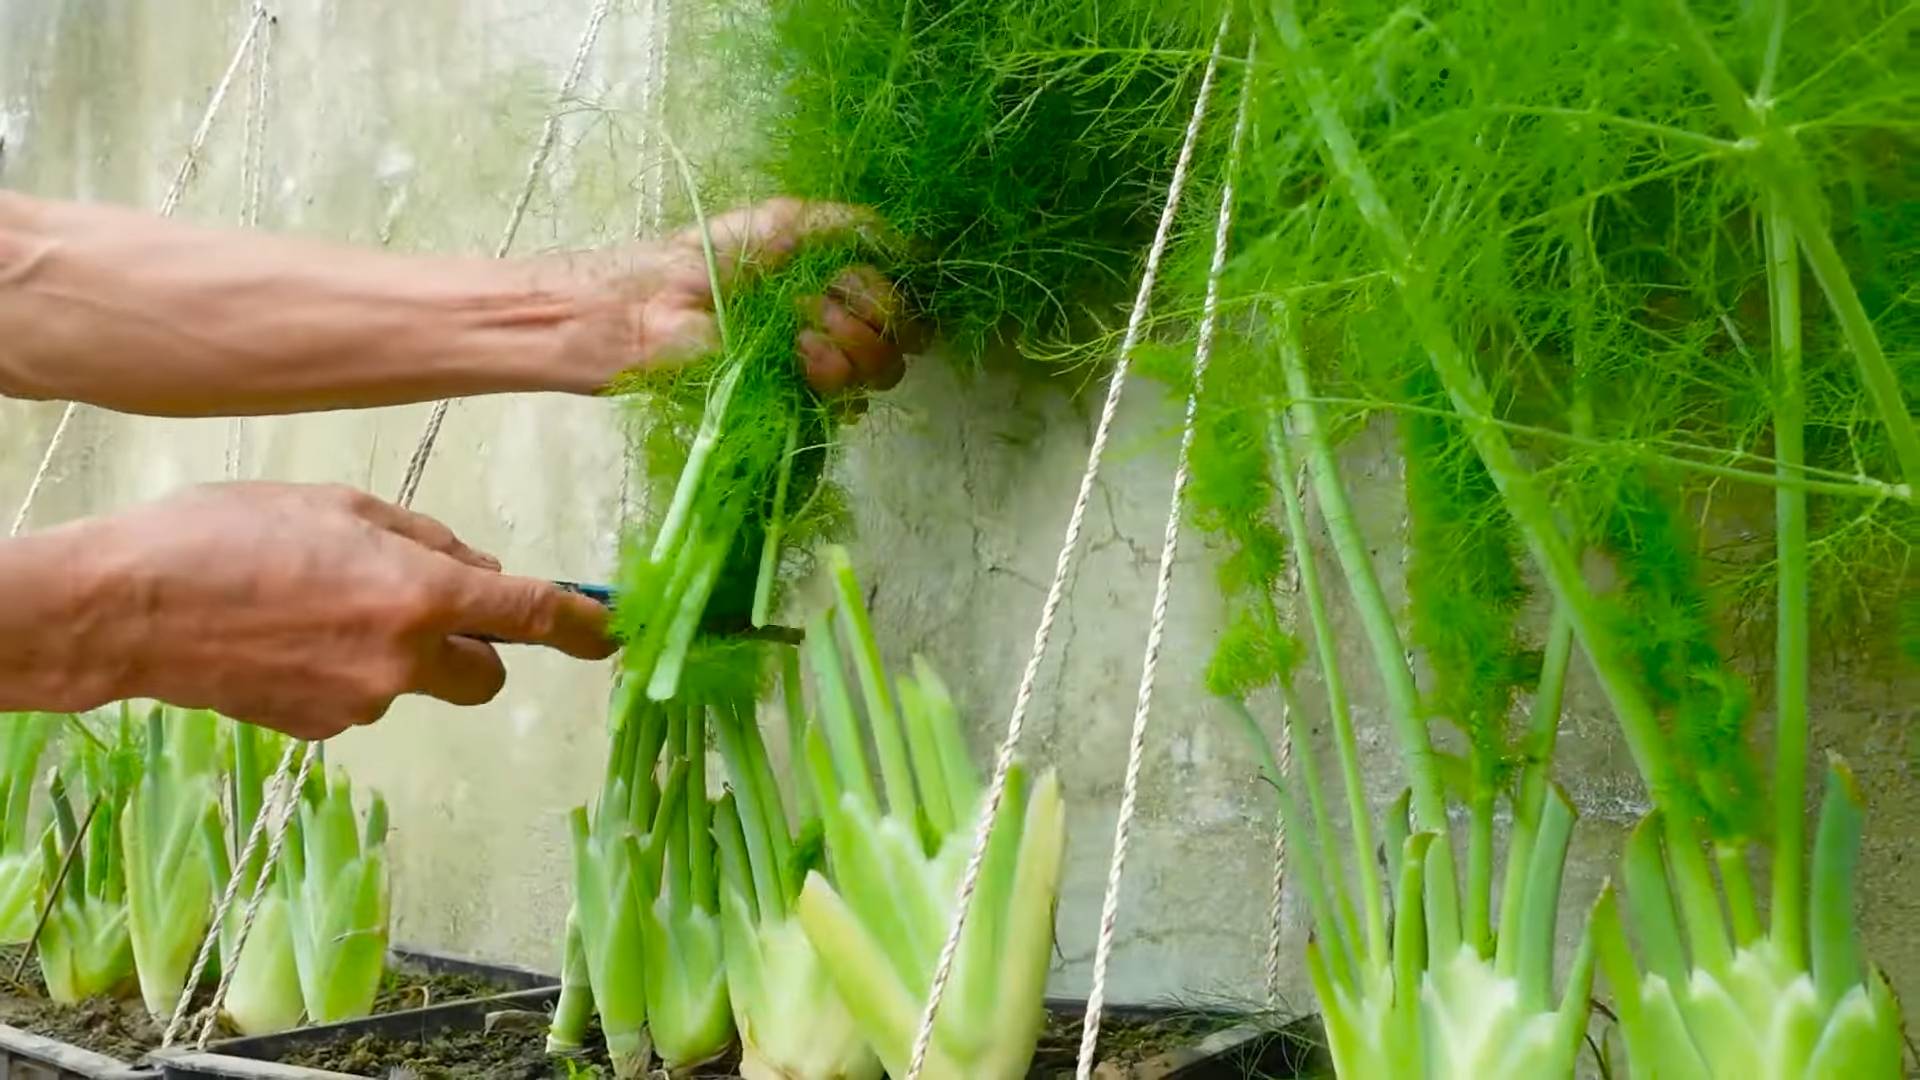
1. Harvest Leaves: Snip off the leaves with scissors or your fingers. You can harvest individual leaves or entire stems.
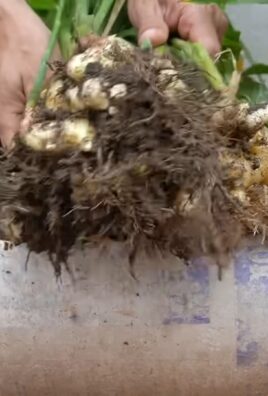
2. Harvest Seeds: If you want to harvest dill seeds, wait until the seed heads turn brown and dry. Cut off the seed heads and hang them upside down in a paper bag to dry completely. Once the seeds are dry, you can shake them out of the seed heads and store them in an airtight container.
3. Succession Planting: To ensure a continuous supply of fresh dill, sow new seeds every few weeks. This is called succession planting.
Using Your Fresh Dill
Now for the best part: using your fresh dill! Dill is a versatile herb that can be used in a variety of dishes.
* Salads: Add chopped dill to salads for a fresh, herbaceous flavor.
* Dips: Dill is a classic ingredient in creamy dips, such as tzatziki and dill dip.
* Fish: Dill pairs perfectly with fish, especially salmon and trout.
* Pickles: Dill is essential for making dill pickles.
* Soups: Add dill to soups for a bright, fresh flavor.
* Eggs: Dill is a delicious addition to scrambled eggs, omelets, and frittatas.
* Potatoes: Dill and potatoes are a match made in heaven. Try adding dill to mashed potatoes, potato salad, or roasted potatoes.
I love adding fresh dill to almost everything I cook! It just adds such a bright and refreshing flavor.
Troubleshooting
Even with the best care, you might encounter some problems while growing dill. Here are a few common issues and how to address them:
* Yellowing Leaves: This could be a sign of overwatering, underwatering, or nutrient deficiency. Check the soil moisture and adjust your watering accordingly. You can also try fertilizing with a balanced fertilizer.
* Bolting: As mentioned earlier, bolting can be caused by hot weather. Try planting dill in a partially shaded location or choosing a bolt-resistant variety.
* Pests: Keep an eye out for aphids and spider mites. Spray them with insecticidal soap or neem oil if you see any.
* Fungal Diseases: Dill can be susceptible to fungal diseases, especially in humid conditions. Make sure your plants have good air circulation and avoid overwatering.
Saving Dill Seeds
Saving dill seeds is a great way to ensure you have a supply of seeds for next year’s garden.
1. Allow Seed Heads to Dry: Let the seed heads dry completely on the plant. They should turn brown and brittle.
2. Cut Off Seed Heads: Cut off the seed heads with scissors or pruning shears.
3. Dry Seed Heads Further: Place the seed heads in a paper bag and let them dry for a few more
Conclusion
So, there you have it! Growing dill at home isn’t just a whimsical garden project; it’s a practical, cost-effective, and incredibly rewarding way to elevate your culinary creations. Forget those wilted, overpriced bunches from the grocery store. Imagine stepping outside your door and snipping fresh, fragrant dill whenever you need it. The difference in flavor is truly remarkable.
This DIY trick is a must-try for several reasons. First, the freshness factor is unparalleled. Dill loses its potency quickly after being cut, so having it readily available in your garden ensures you’re always using the most flavorful herb possible. Second, it’s incredibly economical. A single packet of dill seeds costs a fraction of what you’d spend on store-bought dill throughout the growing season. Third, it’s surprisingly easy! Even if you don’t have a green thumb, dill is a forgiving herb that thrives with minimal effort.
But the benefits extend beyond the practical. Growing your own dill connects you to the natural world, providing a sense of accomplishment and satisfaction. It’s a small act of self-sufficiency that can bring joy to your daily life. Plus, dill attracts beneficial insects to your garden, contributing to a healthier ecosystem.
Consider these variations to personalize your dill-growing experience. Try planting different varieties of dill, such as ‘Bouquet’ for its abundant foliage or ‘Long Island Mammoth’ for its impressive size. Experiment with companion planting. Dill is known to deter certain pests and attract pollinators, making it a great addition to vegetable gardens. Plant it near tomatoes, cucumbers, or cabbage to reap the benefits. You can also grow dill in containers on your balcony or patio if you lack garden space. Just ensure the pot is large enough to accommodate the plant’s root system.
Don’t be afraid to get creative with your harvest! Beyond using fresh dill in salads, dips, and sauces, try preserving it for later use. You can dry it, freeze it, or even make dill-infused vinegar or oil. These homemade products make wonderful gifts for friends and family.
We wholeheartedly encourage you to try growing dill at home. It’s a simple yet transformative experience that will enhance your cooking and connect you with nature. Once you taste the difference between homegrown dill and store-bought dill, you’ll never go back.
We’re eager to hear about your experiences! Share your tips, tricks, and photos in the comments below. Let us know what varieties you’re growing, what dishes you’re using your dill in, and any challenges you’ve encountered along the way. Together, we can create a community of dill-loving gardeners and cooks. So, grab some seeds, get your hands dirty, and discover the joy of growing your own dill!
Frequently Asked Questions (FAQ)
Q: What is the best time of year to plant dill?
A: Dill is an annual herb, meaning it completes its life cycle in one growing season. The best time to plant dill is in the spring, after the last frost. You can also plant it in the late summer for a fall harvest. For continuous harvest, consider succession planting, sowing new seeds every few weeks. This ensures a steady supply of fresh dill throughout the growing season. In warmer climates, you can often grow dill year-round.
Q: How much sunlight does dill need?
A: Dill thrives in full sun, requiring at least 6 hours of direct sunlight per day. If you’re growing dill indoors, place it near a sunny window or use a grow light. Insufficient sunlight can result in leggy, weak plants with less flavorful foliage.
Q: What kind of soil is best for growing dill?
A: Dill prefers well-drained soil that is rich in organic matter. Amend your soil with compost or aged manure before planting to improve its fertility and drainage. Dill can tolerate slightly acidic to neutral soil pH (around 6.0 to 7.0). Avoid heavy clay soils, as they can become waterlogged and hinder dill growth.
Q: How often should I water dill?
A: Water dill regularly, especially during dry periods. Keep the soil consistently moist but not waterlogged. Overwatering can lead to root rot. Check the soil moisture by sticking your finger about an inch deep. If the soil feels dry, it’s time to water. Reduce watering frequency during cooler weather.
Q: Does dill need fertilizer?
A: Dill is not a heavy feeder and generally doesn’t require much fertilizer. However, a light feeding of a balanced organic fertilizer can promote healthy growth. Apply the fertilizer according to the package instructions. Avoid over-fertilizing, as this can result in excessive foliage growth at the expense of flavor.
Q: How do I harvest dill?
A: You can start harvesting dill leaves as soon as the plant is about 6 inches tall. Simply snip off the leaves with scissors or pruning shears. For a larger harvest, you can cut entire stems. Dill seeds can be harvested when the seed heads turn brown and dry. Cut the seed heads and hang them upside down in a paper bag to dry completely. Once dry, shake the seeds out of the seed heads.
Q: How do I prevent dill from bolting (going to seed)?
A: Bolting is a natural process that occurs when dill is exposed to hot weather or stress. To prevent bolting, provide adequate water, shade during the hottest part of the day, and harvest regularly. Succession planting can also help ensure a continuous supply of fresh dill before the plants bolt.
Q: What are some common pests and diseases that affect dill?
A: Dill is generally resistant to pests and diseases, but it can be susceptible to aphids, spider mites, and powdery mildew. Inspect your plants regularly for signs of infestation or disease. Treat any problems promptly with organic pest control methods or fungicides. Good air circulation and proper watering can help prevent many common dill problems.
Q: Can I grow dill in containers?
A: Yes, dill grows well in containers. Choose a pot that is at least 12 inches in diameter to accommodate the plant’s root system. Use a well-draining potting mix and place the container in a sunny location. Water regularly and fertilize lightly as needed.
Q: How can I preserve dill for later use?
A: There are several ways to preserve dill for later use. You can dry it by hanging stems upside down in a cool, dry place or using a dehydrator. You can also freeze dill by chopping it and placing it in ice cube trays with water or olive oil. Once frozen, transfer the cubes to a freezer bag. Another option is to make dill-infused vinegar or oil.
Leave a Comment