

Grow Sweet Potatoes, and unlock a world of homegrown goodness right in your backyard! Imagine biting into a perfectly roasted sweet potato, knowing you nurtured it from sprout to deliciousness. Sounds amazing, right? Well, it’s easier than you think, and this DIY guide is your ticket to sweet potato success.
For centuries, sweet potatoes have been a staple in diets across the globe, from their origins in Central and South America to becoming a beloved comfort food in countless cultures. They’re not just tasty; they’re packed with vitamins and nutrients, making them a healthy and rewarding addition to your garden.
But let’s be honest, sometimes gardening feels overwhelming. That’s where these DIY tricks and hacks come in! Maybe you’re short on space, or perhaps you’re struggling with pests. Whatever your challenge, I’m here to show you simple, effective ways to grow sweet potatoes, even if you’re a complete beginner. We’ll cover everything from choosing the right variety to harvesting your bountiful crop. So, ditch the store-bought spuds and get ready to experience the joy of growing your own sweet potatoes – you won’t regret it!
Growing Sweet Potatoes: A DIY Guide from Sprout to Supper!
Okay, sweet potato lovers, gather ’round! I’m going to walk you through the entire process of growing your own sweet potatoes, from sprouting slips (those little leafy shoots that grow from the potato) to harvesting a delicious bounty. It’s easier than you might think, and the satisfaction of eating a sweet potato you grew yourself is unmatched!
Getting Started: Sprouting Your Sweet Potato Slips
This is arguably the most crucial part. You can’t just plant a sweet potato and expect more sweet potatoes to magically appear. You need slips! Here’s how I do it:
Choosing Your Sweet Potato
* Opt for Organic: I always recommend using organic sweet potatoes for sprouting. Non-organic ones might be treated with sprout inhibitors, which will, well, inhibit sprouting!
* Healthy and Firm: Pick a sweet potato that’s firm, free from blemishes, and looks generally healthy. Any signs of rot or soft spots are a no-go.
* Variety Matters: Consider the variety of sweet potato you want to grow. Different varieties have different flavors, textures, and growing times. Beauregard is a popular choice, but do some research and see what thrives in your area.
Sprouting Methods: Water vs. Soil
There are two main ways to sprout sweet potato slips: in water or in soil. I’ve tried both, and honestly, I prefer the water method because it’s easier to monitor the progress.
Water Method:
1. Prep the Potato: Give your sweet potato a good wash to remove any dirt.
2. Partial Submersion: You don’t want the whole potato submerged, or it might rot. Insert toothpicks around the middle of the potato, evenly spaced. These will act as supports to suspend the potato in a jar or glass.
3. Water Level: Fill your jar or glass with enough water so that the bottom half of the sweet potato is submerged.
4. Sunny Spot: Place the jar in a warm, sunny location. A windowsill is perfect!
5. Water Changes: Change the water every few days to keep it fresh and prevent mold growth.
6. Patience is Key: This process takes time! It can take several weeks for slips to start appearing. Be patient and keep an eye on it. You’ll start to see roots growing from the bottom and sprouts emerging from the top.
Soil Method:
1. Choose a Container: Select a container that’s large enough to hold the sweet potato and some potting mix.
2. Potting Mix: Fill the container with a good quality potting mix.
3. Bury the Potato: Bury the sweet potato horizontally in the potting mix, leaving the top third exposed.
4. Watering: Water the potting mix thoroughly, making sure it’s evenly moist.
5. Warmth and Light: Place the container in a warm, sunny location.
6. Keep it Moist: Keep the potting mix consistently moist, but not soggy.
7. Wait and Watch: Similar to the water method, it will take several weeks for slips to emerge.
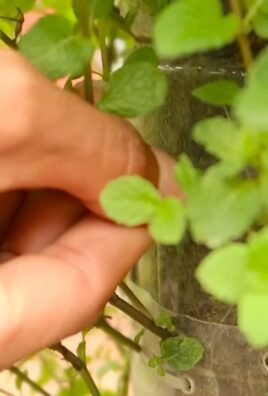
Harvesting Your Slips
Once your slips are about 6-8 inches long, they’re ready to be harvested.
1. Gently Remove: Carefully twist or cut the slips off the sweet potato. I prefer to twist them off gently, as this seems to cause less stress to the potato.
2. Rooting the Slips: Place the slips in a jar of water, making sure the bottom inch or two is submerged. This will encourage them to develop roots.
3. Root Development: Change the water every day or two. Within a week or so, you should see roots starting to grow.
4. Ready to Plant: Once the slips have a good root system (about an inch or two long), they’re ready to be planted in the garden!
Preparing Your Garden Bed
Sweet potatoes are sun-loving, heat-loving plants. They need well-drained soil and plenty of space to spread out.
1. Sunlight: Choose a location that receives at least 6-8 hours of direct sunlight per day.
2. Soil Preparation: Sweet potatoes prefer loose, sandy loam soil. If your soil is heavy clay, amend it with plenty of compost and other organic matter to improve drainage.
3. Soil Testing: It’s always a good idea to test your soil to determine its pH and nutrient levels. Sweet potatoes prefer a slightly acidic soil pH of around 6.0-6.5.
4. Mounding: Sweet potatoes grow best in raised mounds or ridges. This helps with drainage and allows the tubers to develop easily. Create mounds that are about 8-12 inches high and 12-18 inches wide.
5. Spacing: Space the mounds about 3 feet apart to give the plants plenty of room to spread.
Planting Your Sweet Potato Slips
Now for the fun part – getting those slips in the ground!
1. Timing is Key: Wait until the danger of frost has passed and the soil has warmed up to at least 60°F (15°C). Sweet potatoes are very sensitive to cold temperatures.
2. Water the Slips: Before planting, give your slips a good watering.
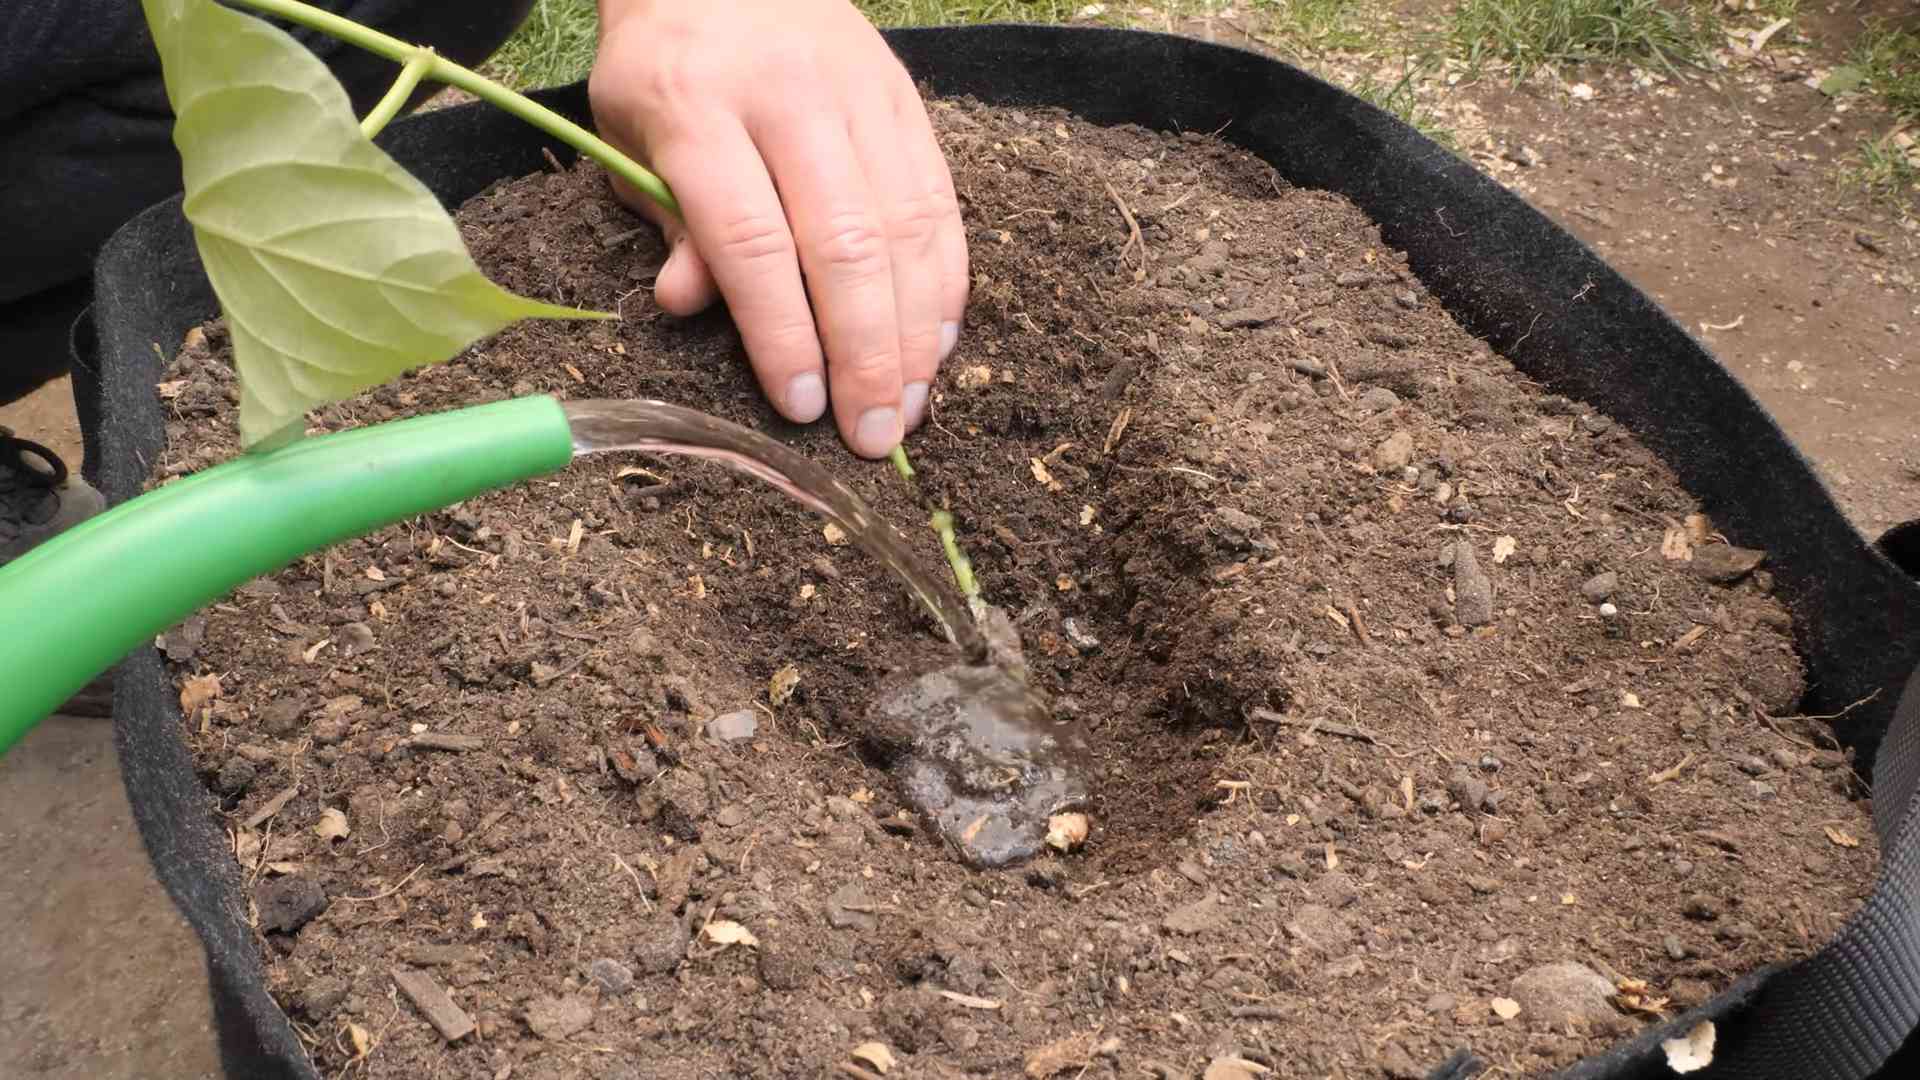
3. Planting Depth: Plant the slips about 3-4 inches deep in the mounds, burying the roots and the bottom part of the stem.
4. Firm the Soil: Gently firm the soil around the base of the slips to ensure good contact with the soil.
5. Water Thoroughly: Water the newly planted slips thoroughly to help them establish.
Caring for Your Sweet Potato Plants
Okay, sweet potato lovers, gather ’round! I’m going to walk you through the entire process of growing your own sweet potatoes, from sprouting slips (those little leafy shoots that grow from the potato) to harvesting a delicious bounty. It’s easier than you might think, and the satisfaction of eating a sweet potato you grew yourself is unmatched!
Getting Started: Sprouting Your Sweet Potato Slips
This is arguably the most crucial part. You can’t just plant a sweet potato and expect more sweet potatoes to magically appear. You need slips! Here’s how I do it:
Choosing Your Sweet Potato
* Opt for Organic: I always recommend using organic sweet potatoes for sprouting. Non-organic ones might be treated with sprout inhibitors, which will, well, inhibit sprouting!
* Healthy and Firm: Pick a sweet potato that’s firm, free from blemishes, and looks generally healthy. Any signs of rot or soft spots are a no-go.
* Variety Matters: Consider the variety of sweet potato you want to grow. Different varieties have different flavors, textures, and growing times. Beauregard is a popular choice, but do some research and see what thrives in your area.
Sprouting Methods: Water vs. Soil
There are two main ways to sprout sweet potato slips: in water or in soil. I’ve tried both, and honestly, I prefer the water method because it’s easier to monitor the progress.
Water Method:
1. Prep the Potato: Give your sweet potato a good wash to remove any dirt.
2. Partial Submersion: You don’t want the whole potato submerged, or it might rot. Insert toothpicks around the middle of the potato, evenly spaced. These will act as supports to suspend the potato in a jar or glass.
3. Water Level: Fill your jar or glass with enough water so that the bottom half of the sweet potato is submerged.
4. Sunny Spot: Place the jar in a warm, sunny location. A windowsill is perfect!
5. Water Changes: Change the water every few days to keep it fresh and prevent mold growth.
6. Patience is Key: This process takes time! It can take several weeks for slips to start appearing. Be patient and keep an eye on it. You’ll start to see roots growing from the bottom and sprouts emerging from the top.
Soil Method:
1. Choose a Container: Select a container that’s large enough to hold the sweet potato and some potting mix.
2. Potting Mix: Fill the container with a good quality potting mix.
3. Bury the Potato: Bury the sweet potato horizontally in the potting mix, leaving the top third exposed.
4. Watering: Water the potting mix thoroughly, making sure it’s evenly moist.
5. Warmth and Light: Place the container in a warm, sunny location.
6. Keep it Moist: Keep the potting mix consistently moist, but not soggy.
7. Wait and Watch: Similar to the water method, it will take several weeks for slips to emerge.
Harvesting Your Slips
Once your slips are about 6-8 inches long, they’re ready to be harvested.
1. Gently Remove: Carefully twist or cut the slips off the sweet potato. I prefer to twist them off gently, as this seems to cause less stress to the potato.
2. Rooting the Slips: Place the slips in a jar of water, making sure the bottom inch or two is submerged. This will encourage them to develop roots.
3. Root Development: Change the water every day or two. Within a week or so, you should see roots starting to grow.
4. Ready to Plant: Once the slips have a good root system (about an inch or two long), they’re ready to be planted in the garden!
Preparing Your Garden Bed
Sweet potatoes are sun-loving, heat-loving plants. They need well-drained soil and plenty of space to spread out.
1. Sunlight: Choose a location that receives at least 6-8 hours of direct sunlight per day.
2. Soil Preparation: Sweet potatoes prefer loose, sandy loam soil. If your soil is heavy clay, amend it with plenty of compost and other organic matter to improve drainage.
3. Soil Testing: It’s always a good idea to test your soil to determine its pH and nutrient levels. Sweet potatoes prefer a slightly acidic soil pH of around 6.0-6.5.
4. Mounding: Sweet potatoes grow best in raised mounds or ridges. This helps with drainage and allows the tubers to develop easily. Create mounds that are about 8-12 inches high and 12-18 inches wide.
5. Spacing: Space the mounds about 3 feet apart to give the plants plenty of room to spread.
Planting Your Sweet Potato Slips
Now for the fun part – getting those slips in the ground!
1. Timing is Key: Wait until the danger of frost has passed and the soil has warmed up to at least 60°F (15°C). Sweet potatoes are very sensitive to cold temperatures.
2. Water the Slips: Before planting, give your slips a good watering.
3. Planting Depth: Plant the slips about 3-4 inches deep in the mounds, burying the roots and the bottom part of the stem.
4. Firm the Soil: Gently firm the soil around the base of the slips to ensure good contact with the soil.
5. Water Thoroughly: Water the newly planted slips thoroughly to help them establish.
Caring for Your Sweet Potato Plants
Once your sweet potato plants are in the ground, they’ll need regular care to thrive.
1. Watering: Water regularly, especially during dry periods. Sweet potatoes need consistent moisture, but avoid overwatering, which can lead to root rot.
2. Weeding: Keep the area around your sweet potato plants free of weeds. Weeds compete with the plants for nutrients and water.
3. Fertilizing: Sweet potatoes don’t need a lot of fertilizer. In fact, too much nitrogen can lead to excessive vine growth and fewer tubers. If your soil is poor, you can side-dress with a balanced fertilizer a few weeks after planting.
4. Vine Management: Sweet potato vines can spread quite a bit. You can prune them back if they’re getting out of control, but be careful not to damage the tubers. Some people even lift the vines occasionally to prevent them from rooting at the nodes, which can divert energy away from tuber development.
5. Pest Control: Sweet potatoes are relatively pest-resistant, but they can be susceptible to certain pests, such as sweet potato weevils and flea beetles. Monitor your plants regularly and take action if you see any signs of infestation. Organic pest control methods, such as insecticidal soap or neem oil, can be effective.
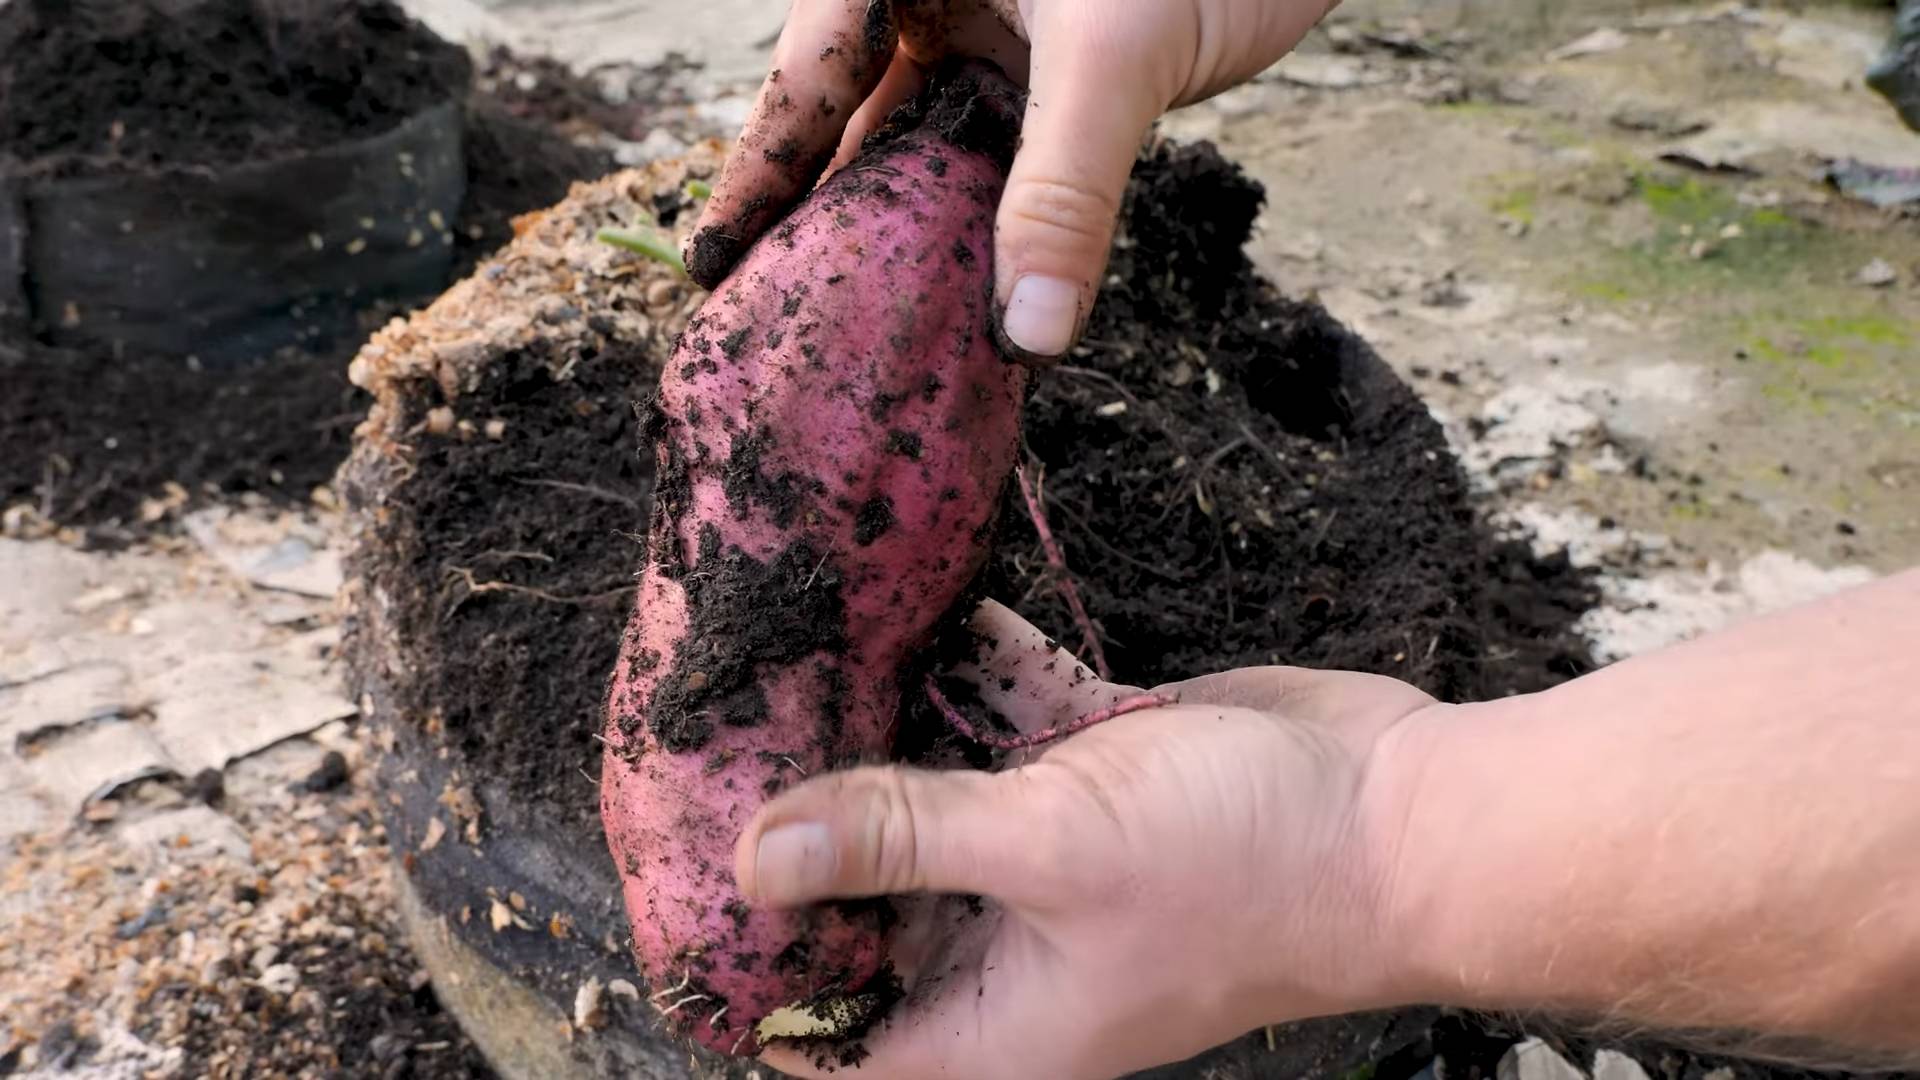
Harvesting Your Sweet Potatoes
This is the moment you’ve been waiting for! Harvesting your own sweet potatoes is incredibly rewarding.
1. Timing: Sweet potatoes typically take 90-120 days to mature. The best time to harvest is before the first frost.
2. Signs of Maturity: The leaves of the plant will start to turn yellow and die back when the sweet potatoes are ready to be harvested.
3. Gentle Digging: Use a garden fork or shovel to carefully dig around the plants, being careful not to damage the tubers.
4. Lifting the Tubers: Gently lift the tubers from the soil.
5. Curing: Curing is an essential step in the sweet potato harvesting process. It helps to heal any wounds on the tubers and improves their flavor and storage life.
* Cleaning: Gently brush off any excess soil from the sweet potatoes. Avoid washing them, as this can promote rot.
* Warm and Humid: Place the sweet potatoes in a warm, humid location (80-85°F or 27-29°C) for about 7-10 days. A greenhouse or a warm, sunny room is ideal. You can also use a humidifier to increase the humidity.
* Proper Air Circulation: Make sure there’s good air circulation around the sweet potatoes to prevent mold growth.
6. Storage: After curing, store the sweet potatoes in a cool, dry, and well-ventilated location (55-60°F or 13-16°C). Avoid storing them in the refrigerator, as this can cause them to develop a hard core. Properly cured and stored sweet potatoes can last for several months.
Troubleshooting
Even with the best planning, things can sometimes go wrong. Here are a few common problems and how to address
Conclusion
So, there you have it! Growing sweet potatoes at home, whether you have a sprawling garden or just a sunny balcony, is not only achievable but incredibly rewarding. This DIY trick, starting from a simple sweet potato purchased at the grocery store, unlocks a world of fresh, flavorful possibilities. Forget relying solely on store-bought produce; imagine the satisfaction of harvesting your own vibrant, nutrient-packed sweet potatoes, knowing exactly where they came from and how they were grown.
This method is a must-try for several reasons. First, it’s incredibly cost-effective. Instead of buying slips (sweet potato sprouts) from a nursery, you’re essentially creating your own from a single potato. Second, it’s a fantastic way to connect with nature and learn about the life cycle of plants. Watching those first roots emerge and the vines begin to unfurl is a truly magical experience. Third, you have complete control over the growing process, ensuring your sweet potatoes are grown organically and free from harmful pesticides. Finally, the taste of homegrown sweet potatoes is simply unparalleled – sweeter, richer, and more flavorful than anything you’ll find on supermarket shelves.
But the fun doesn’t stop there! Once you’ve mastered the basic technique, you can experiment with different varieties of sweet potatoes. Try growing Beauregard for its classic orange flesh and sweet flavor, or perhaps venture into the world of purple sweet potatoes for a unique and visually stunning addition to your meals. You can also adjust your growing methods to suit your specific environment. If you live in a cooler climate, consider starting your slips indoors earlier in the season to give them a head start. If you have limited space, try growing your sweet potatoes in large containers or grow bags.
Don’t be afraid to get creative with your harvest, too. Sweet potatoes are incredibly versatile and can be used in a wide range of dishes, from savory stews and roasted vegetables to sweet pies and even sweet potato fries. The possibilities are endless!
We wholeheartedly encourage you to give this DIY trick a try. It’s a simple, affordable, and incredibly rewarding way to grow your own delicious sweet potatoes. And once you’ve experienced the joy of harvesting your own homegrown bounty, we’re confident you’ll be hooked.
We’d love to hear about your experiences! Share your photos, tips, and tricks in the comments below. Let’s build a community of sweet potato enthusiasts and learn from each other. What variety did you try? What challenges did you face, and how did you overcome them? What are your favorite ways to cook with your homegrown sweet potatoes? Your insights will be invaluable to other readers who are just starting their sweet potato growing journey. So, grab a sweet potato, get your hands dirty, and let’s grow some deliciousness together! Remember, growing sweet potatoes is easier than you think!
Frequently Asked Questions (FAQ)
What kind of sweet potato should I use to start slips?
You can use any sweet potato from the grocery store, but organic sweet potatoes are generally recommended. Non-organic sweet potatoes may be treated with chemicals to prevent sprouting, which could hinder the slip-growing process. Look for firm, unblemished sweet potatoes. Avoid those that are soft, wrinkled, or have signs of rot. Different varieties will produce different colored and flavored sweet potatoes, so experiment to find your favorites!
How long does it take to grow sweet potato slips?
It typically takes 4-8 weeks for sweet potato slips to grow large enough to transplant. The exact time will depend on factors such as temperature, humidity, and the variety of sweet potato. Keep the sweet potato in a warm, sunny location and change the water regularly to encourage growth. Be patient; sometimes it takes a little longer for the first sprouts to appear.
How do I know when the slips are ready to transplant?
The slips are ready to transplant when they are about 6-8 inches long and have several leaves. Gently twist or cut the slips off the sweet potato, being careful not to damage the roots. You can root the slips in water for a few days before planting to give them a stronger start.
What kind of soil do sweet potatoes need?
Sweet potatoes prefer well-drained, sandy loam soil. They don’t thrive in heavy clay soil, which can become waterlogged and lead to root rot. Amend your soil with compost or other organic matter to improve drainage and fertility. A slightly acidic soil pH (around 6.0-6.5) is ideal.
How much sun do sweet potatoes need?
Sweet potatoes need at least 6-8 hours of direct sunlight per day to thrive. Choose a sunny location in your garden or on your balcony. If you’re growing them in containers, make sure to place them in a spot that receives plenty of sunlight.
How often should I water sweet potatoes?
Water sweet potatoes regularly, especially during dry periods. Keep the soil consistently moist, but avoid overwatering, which can lead to root rot. Water deeply and less frequently, rather than shallowly and more often. A good rule of thumb is to water when the top inch of soil feels dry to the touch.
Do I need to fertilize sweet potatoes?
Sweet potatoes are relatively low-maintenance when it comes to fertilization. However, a light application of a balanced fertilizer (such as 10-10-10) at planting time can help promote healthy growth. Avoid over-fertilizing, especially with nitrogen, as this can lead to excessive vine growth at the expense of tuber development.
How do I control pests and diseases?
Sweet potatoes are generally resistant to pests and diseases, but they can be susceptible to certain problems, such as sweet potato weevils, flea beetles, and fungal diseases. Inspect your plants regularly for signs of infestation or disease. Use organic pest control methods, such as insecticidal soap or neem oil, to control pests. Ensure good air circulation to prevent fungal diseases. Crop rotation can also help to reduce the risk of soilborne diseases.
When is the best time to harvest sweet potatoes?
Sweet potatoes are typically ready to harvest in the fall, about 90-120 days after planting. The leaves will start to turn yellow and the vines will begin to die back. Dig up the sweet potatoes carefully, being careful not to damage the tubers. Cure the sweet potatoes for 10-14 days in a warm, humid place to allow the skins to harden and the sugars to develop.
How do I store sweet potatoes?
Store cured sweet potatoes in a cool, dry, and well-ventilated place, such as a basement or pantry. The ideal storage temperature is around 55-60°F (13-16°C). Avoid storing sweet potatoes in the refrigerator, as this can cause them to develop a hard core and lose their flavor. Properly stored sweet potatoes can last for several months.
Can I grow sweet potatoes in containers?
Yes, you can absolutely grow sweet potatoes in containers! Choose a large container (at least 20 gallons) with good drainage. Fill the container with well-draining potting mix and plant the slips as you would in the ground. Water regularly and provide plenty of sunlight. Container-grown sweet potatoes may not produce as many tubers as those grown in the ground, but you can still harvest a decent crop.
What are some common problems when growing sweet potatoes?
Some common problems include:
* **Root rot:** Caused by overwatering or poorly drained soil.
* **Sweet potato weevils:** Small beetles that can damage the tubers.
* **Flea beetles:** Small jumping insects that can damage the leaves.
* **Wireworms:** Soil-dwelling larvae that can bore into the tubers.
* **Nutrient deficiencies:** Can cause stunted growth or yellowing leaves.
By addressing these issues promptly, you can ensure a healthy and productive sweet potato harvest.


Leave a Comment