

Grow Sweet Melons at Home – imagine biting into a juicy, sun-ripened melon you nurtured from seed to fruit, right in your own backyard! Forget those bland, store-bought melons; we’re diving into the wonderful world of homegrown sweetness. For centuries, cultivating melons has been a cherished tradition, dating back to ancient civilizations who prized them for their refreshing taste and nutritional benefits. From royal gardens to humble homesteads, the joy of harvesting your own melons is a timeless pleasure.
But let’s be honest, growing melons can seem a little intimidating. That’s where these DIY tricks and hacks come in! I’m going to share my secrets to help you grow sweet melons at home, even if you have limited space or a less-than-green thumb. We’ll cover everything from choosing the right varieties and preparing your soil to protecting your precious melons from pests and diseases. Why spend a fortune on mediocre melons when you can enjoy the unparalleled flavor of homegrown goodness? Get ready to transform your garden into a melon paradise!

Growing Sweet Melons at Home: A DIY Guide to Juicy Success
Hey there, fellow gardening enthusiasts! Ever dreamt of biting into a perfectly ripe, incredibly sweet melon grown right in your own backyard? Well, dream no more! Growing melons at home might seem daunting, but with a little know-how and some TLC, you can absolutely achieve melon-growing mastery. I’m going to walk you through everything you need to know, from seed to sweet, juicy reward.
Choosing Your Melon Variety
First things first, let’s talk melons! There are so many delicious varieties to choose from, and the best one for you will depend on your climate, space, and personal preferences. Here are a few popular options:
* Cantaloupe: A classic choice, known for its orange flesh and netted rind. They need a long growing season and plenty of sunshine.
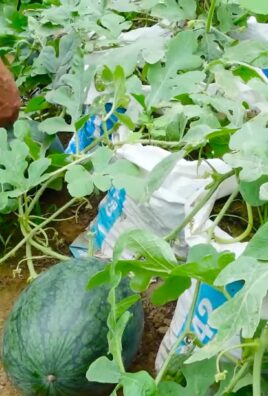
* Watermelon: The quintessential summer fruit! Watermelons come in various sizes and colors, from the traditional red to yellow and even seedless varieties. They require a lot of space and water.
* Honeydew: With its smooth, pale green rind and sweet, light green flesh, honeydew melons are a refreshing treat. They also need a long growing season.
* Galia: A hybrid melon with a netted rind and pale green flesh. It has a unique, aromatic flavor and is relatively easy to grow.
* Personal-sized Melons: If you’re short on space, look for varieties specifically bred to be smaller, like Sugar Baby watermelons or Jenny Lind cantaloupes.
Important Tip: Check your local climate and growing season before selecting your melon variety. Some varieties are better suited to warmer climates than others.
Preparing Your Melon Patch
Melons are sun-loving, hungry plants, so proper soil preparation is crucial for success.
* Sunlight: Melons need at least 6-8 hours of direct sunlight per day. Choose a location in your garden that gets plenty of sunshine.
* Soil: Melons thrive in well-drained, fertile soil. Amend your soil with plenty of compost or well-rotted manure to improve drainage and add nutrients.
* pH: The ideal soil pH for melons is between 6.0 and 6.8. You can test your soil pH with a home testing kit or send a sample to your local agricultural extension office.
* Space: Melons need plenty of space to spread out. Watermelons, in particular, can take up a lot of room. Allow at least 3-4 feet between plants, and even more for larger varieties.
* Raised Beds (Optional): If you have heavy clay soil, consider growing your melons in raised beds. This will improve drainage and warm the soil more quickly in the spring.
Starting Your Melon Seeds
You can either direct sow your melon seeds in the garden or start them indoors. Starting indoors gives you a head start on the growing season, especially in cooler climates.
Starting Seeds Indoors:
1. Timing: Start your seeds indoors about 4-6 weeks before the last expected frost.
2. Containers: Use peat pots or biodegradable pots to avoid disturbing the roots when transplanting.
3. Soil: Use a seed-starting mix.
4. Planting: Plant 2-3 seeds per pot, about 1 inch deep.
5. Watering: Keep the soil moist but not soggy.
6. Warmth: Provide bottom heat with a heat mat to speed up germination.
7. Light: Once the seedlings emerge, provide them with plenty of light. A sunny windowsill or grow lights will work.
8. Thinning: Once the seedlings have their first true leaves, thin them to one plant per pot. Choose the strongest, healthiest seedling.
Direct Sowing Seeds:
1. Timing: Direct sow your seeds after the last expected frost, when the soil has warmed to at least 70°F (21°C).
2. Planting: Plant seeds about 1 inch deep, spacing them according to the variety’s recommendations.
3. Watering: Keep the soil moist until the seedlings emerge.
4. Protection: Protect young seedlings from pests and cold weather with row covers or cloches.
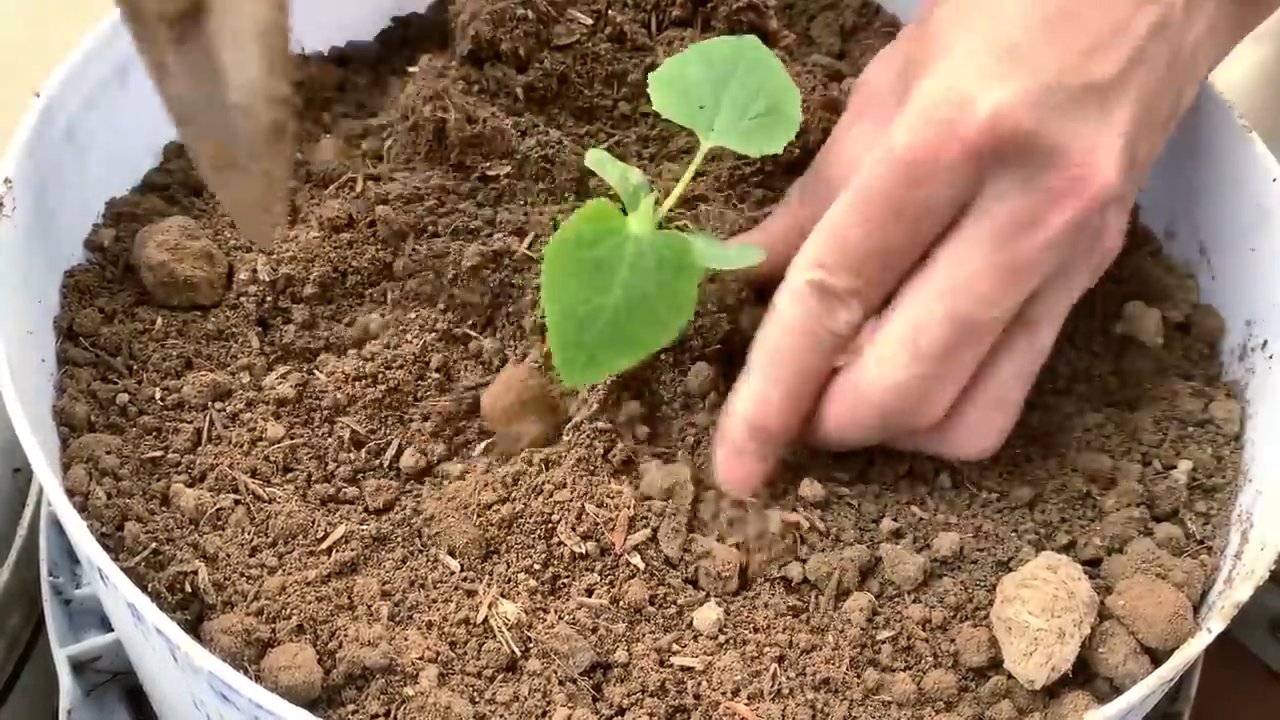
Transplanting Your Melon Seedlings
Once the danger of frost has passed and the soil has warmed up, it’s time to transplant your melon seedlings into the garden.
1. Harden Off: Before transplanting, gradually acclimate your seedlings to outdoor conditions by hardening them off. This involves exposing them to increasing amounts of sunlight and wind over a period of 7-10 days.
2. Planting: Dig a hole that is slightly larger than the root ball of the seedling.
3. Amend the Soil: Add a handful of compost or well-rotted manure to the planting hole.
4. Carefully Remove Seedling: Gently remove the seedling from its pot, being careful not to damage the roots. If you used peat pots, you can plant the entire pot.
5. Planting Depth: Plant the seedling at the same depth it was growing in the pot.
6. Watering: Water thoroughly after planting.
7. Mulching: Mulch around the plants with straw or hay to help retain moisture and suppress weeds.
Caring for Your Melon Plants
Melons need consistent care to thrive and produce sweet, juicy fruits.
* Watering: Water deeply and regularly, especially during hot, dry weather. Melons need about 1-2 inches of water per week. Avoid overhead watering, as this can promote fungal diseases. Drip irrigation is a great option.
* Fertilizing: Feed your melon plants with a balanced fertilizer every 2-3 weeks. Look for a fertilizer that is high in phosphorus and potassium, which are essential for fruit development.
* Weeding: Keep the area around your melon plants free of weeds. Weeds compete with melons for water and nutrients.
* Pest Control: Keep an eye out for common melon pests, such as aphids, squash bugs, and cucumber beetles. Use organic pest control methods, such as insecticidal soap or neem oil, to control these pests.
* Disease Control: Melons are susceptible to fungal diseases, such as powdery mildew and downy mildew. Prevent these diseases by providing good air circulation, avoiding overhead watering, and applying a fungicide if necessary.
* Pollination: Melons need to be pollinated in order to produce fruit. If you’re not seeing any fruit set, you may need to hand-pollinate the flowers. To hand-pollinate, use a small paintbrush to transfer pollen from the male flowers to the female flowers. Female flowers have a small fruit at the base of the flower.
Training Your Melon Vines
Melon vines can get quite long and unruly. Training them can help to keep them organized and improve air circulation.
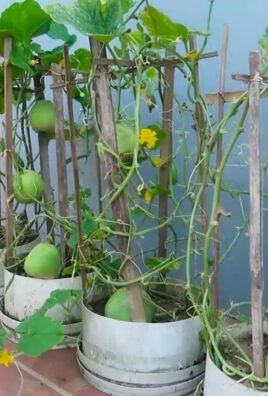
* Trellising: For smaller melon varieties, you can train the vines to grow up a trellis. This will save space and improve air circulation.
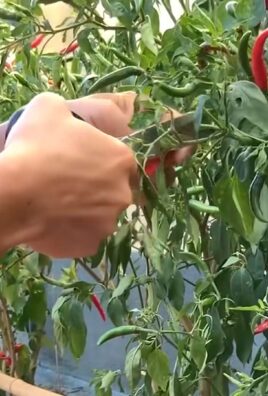
* Pruning: Prune the vines to remove any dead or diseased leaves. You can also prune the vines to encourage more fruit production.
* Fruit Support: For larger melon varieties, you may need to provide support for the fruits. You can use slings made of fabric or netting to support the fruits and prevent them from breaking off the vine.
Harvesting Your Melons
Knowing when to harvest your melons is key to enjoying their peak sweetness and flavor.
* Cantaloupe: Cantaloupes are ripe when the stem slips easily from the fruit. The rind will also turn from green to tan, and the melon will have a sweet aroma.
* Watermelon: Watermelons are ripe when the tendril closest to the fruit turns brown and dry. The bottom of the melon (where it rests on the ground) will also turn from white to yellow. You can also thump the melon; a ripe watermelon will sound hollow.
* Honeydew: Honeydew melons are ripe when the rind turns from green to creamy yellow. The melon will also have a sweet aroma.
* Galia: Galia melons are ripe when the rind turns from green to yellow and the melon has a strong, aromatic fragrance.
Important Tip: Don’t be afraid to taste-test your melons! A small slice will tell you if it’s ready to be harvested.
Enjoying Your Homegrown Melons
Congratulations! You’ve successfully grown your own sweet melons at home. Now it’s time to enjoy the fruits (or rather, melons) of your labor.
* Storage: Store ripe melons in the refrigerator for up to a week.
* Serving: Serve your melons chilled. They’re delicious on their own, in fruit salads, or as a refreshing snack.
* Recipes: Get creative with your homegrown melons! Use
Conclusion
So, there you have it! Growing sweet melons at home isn’t just a pipe dream; it’s an achievable reality with a little planning, patience, and the right techniques. We’ve walked you through the essential steps, from selecting the perfect melon variety for your climate to nurturing your seedlings and providing them with the optimal growing conditions. But the real magic lies in the DIY trick we’ve shared – a simple yet incredibly effective method for boosting your melon yield and ensuring those fruits are bursting with sweetness.
Why is this DIY trick a must-try? Because it addresses a fundamental challenge in melon cultivation: providing consistent warmth and protection to the developing fruit. By creating a mini-greenhouse environment around each melon, you’re not only shielding it from harsh weather conditions but also trapping heat, which accelerates ripening and intensifies the flavor. Think of it as giving your melons a personal spa treatment, ensuring they reach their full potential.
But don’t stop there! Feel free to experiment with variations on this DIY trick. Instead of plastic bottles, you could use repurposed glass jars or even create small cloches from wire mesh and clear plastic sheeting. Consider adding a layer of mulch around the base of the melon to further insulate it and retain moisture. You can also try different types of reflective materials inside the bottle or cloche to maximize sunlight exposure. Remember, gardening is all about experimentation and finding what works best for your specific environment.
Ultimately, the joy of growing your own sweet melons at home lies in the satisfaction of harvesting a fruit that you’ve nurtured from seed to table. There’s nothing quite like the taste of a homegrown melon, bursting with juicy sweetness and the knowledge that you played a part in its creation. It’s a rewarding experience that connects you to nature and provides you with a delicious and healthy treat.
We wholeheartedly encourage you to give this DIY trick a try. Don’t be intimidated by the process; it’s simpler than you might think. Start with a few melon plants and see how they respond to the extra care and attention. We’re confident that you’ll be amazed by the results.
And most importantly, we want to hear about your experiences! Share your photos, tips, and stories with us in the comments section below. Let us know what worked for you, what challenges you faced, and any variations you tried. Together, we can create a community of melon-growing enthusiasts and learn from each other’s successes and failures. So, get out there, get your hands dirty, and start growing your own sweet melons at home today! You’ll be amazed at the difference this simple DIY trick can make.
Frequently Asked Questions (FAQ)
What type of melon is best to grow at home?
The best type of melon to grow at home depends largely on your climate and growing season. Shorter-season varieties like ‘Sugar Baby’ watermelon, ‘Minnesota Midget’ cantaloupe, and ‘Honey Girl’ honeydew are ideal for cooler climates with shorter summers. If you live in a warmer region with a longer growing season, you have more options, including larger varieties like ‘Charleston Gray’ watermelon and ‘Hales Best’ cantaloupe. Consider your local climate and the amount of space you have available when making your selection. Also, check with your local nursery for recommendations on varieties that thrive in your specific area.
How much sunlight do melons need?
Melons are sun-loving plants and require at least 6-8 hours of direct sunlight per day to thrive. Insufficient sunlight can lead to stunted growth, poor fruit development, and less sweet melons. Choose a planting location that receives full sun throughout the day. If you live in a particularly hot climate, providing some afternoon shade can help prevent sunburn on the developing fruits.
What kind of soil is best for growing melons?
Melons prefer well-drained, fertile soil that is rich in organic matter. Amend your soil with compost or well-rotted manure before planting to improve drainage and fertility. The ideal soil pH for melons is between 6.0 and 6.8. You can test your soil pH using a home testing kit or by sending a sample to your local agricultural extension office. If your soil is too acidic, you can add lime to raise the pH.
How often should I water my melon plants?
Melon plants need consistent moisture, especially during fruit development. Water deeply and regularly, aiming to keep the soil consistently moist but not waterlogged. Avoid overhead watering, as this can promote fungal diseases. Drip irrigation or soaker hoses are excellent options for delivering water directly to the roots. As the melons ripen, you can reduce watering slightly to concentrate the sugars and enhance sweetness.
When should I harvest my melons?
Determining when to harvest your melons can be tricky, as it varies depending on the variety. For cantaloupes, look for a change in color from green to tan or yellow, a fragrant aroma, and a stem that slips easily from the vine. Watermelons are ready to harvest when the tendril closest to the fruit turns brown and dry, the underside of the melon turns yellow, and the melon sounds hollow when thumped. Honeydew melons are ripe when the skin turns creamy yellow and the blossom end is slightly soft.
How does the DIY trick help grow sweeter melons?
The DIY trick, using a plastic bottle or similar cloche, helps grow sweeter melons by creating a warmer microclimate around the developing fruit. This increased warmth accelerates ripening and allows the melon to accumulate more sugars, resulting in a sweeter taste. The enclosure also protects the melon from pests, diseases, and harsh weather conditions, ensuring optimal growth and development.
Can I use different materials for the DIY trick?
Yes, you can definitely experiment with different materials for the DIY trick. Clear plastic containers, glass jars, or even wire mesh cloches covered with plastic sheeting can be used as alternatives to plastic bottles. The key is to choose a material that allows sunlight to penetrate while providing insulation and protection. Consider the size of your melons and the availability of materials when making your selection.
What if I don’t have enough space for the DIY trick?
If you don’t have enough space for individual enclosures around each melon, you can try a modified version of the DIY trick. Instead of covering each melon individually, you can create a larger mini-greenhouse over a group of melons using row covers or plastic sheeting supported by hoops or stakes. This will provide a similar warming effect while requiring less space.
Are there any downsides to using the DIY trick?
While the DIY trick is generally beneficial, there are a few potential downsides to be aware of. Overheating can be a concern in very hot climates, so it’s important to monitor the temperature inside the enclosure and provide ventilation if necessary. Also, the enclosure can create a humid environment that may promote fungal diseases, so ensure good air circulation and avoid overwatering. Regularly inspect your melons for signs of pests or diseases and take appropriate action if needed.
How can I prevent pests and diseases from affecting my melon plants?
Preventing pests and diseases is crucial for successful melon cultivation. Start by choosing disease-resistant varieties and planting in well-drained soil. Practice crop rotation to avoid the buildup of soilborne pathogens. Regularly inspect your plants for signs of pests or diseases and take action promptly. Use organic pest control methods, such as insecticidal soap or neem oil, to control common pests like aphids and squash bugs. Prevent fungal diseases by avoiding overhead watering and ensuring good air circulation.
Leave a Comment