

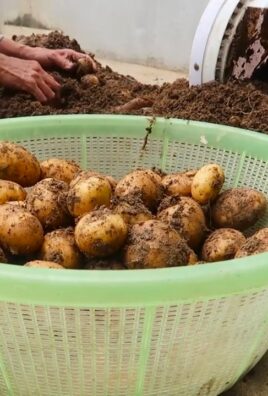
Grow food without land? Absolutely! Imagine harvesting fresh, juicy tomatoes or crisp lettuce right from your balcony, even if you don’t have a sprawling backyard. For centuries, humans have found ingenious ways to cultivate food in limited spaces. From the hanging gardens of Babylon to the modern-day vertical farms, the desire to nurture life and enjoy fresh produce has driven innovation.
But let’s be honest, not everyone has the luxury of acres of land to dedicate to a garden. That’s where these amazing DIY tricks and hacks come in! I’m here to show you how to maximize your space and grow food without land, turning even the smallest apartment into a thriving edible oasis.
In today’s world, where access to fresh, healthy food can be a challenge, and grocery bills are constantly rising, learning to grow your own food is more important than ever. Plus, there’s something incredibly satisfying about nurturing a plant from seed to harvest. So, get ready to roll up your sleeves and discover some simple, yet effective, DIY methods that will transform your living space into a productive and beautiful garden, no matter how small it may be!
DIY Guide: Creating a Thriving Vertical Garden for Small Spaces
Hey there, fellow gardening enthusiasts! Ever dreamed of having a lush garden bursting with fresh herbs, vibrant flowers, or even delicious veggies, but you’re short on space? Well, I’ve got just the solution for you: a DIY vertical garden! It’s a fantastic way to maximize your growing potential, even if you only have a tiny balcony, patio, or even just a sunny wall. Plus, it’s a super fun and rewarding project. Let’s dive in!
Choosing Your Vertical Garden Style
Before we get our hands dirty, let’s talk about the different types of vertical gardens you can create. This will help you decide which one best suits your space, budget, and aesthetic.
* Pallet Garden: This is a super popular and budget-friendly option. You repurpose an old wooden pallet into a series of planting pockets.
* Hanging Planters: Simple and versatile, hanging planters can be hung from walls, fences, or even ceilings.
* Stacked Planters: These are pre-made or DIY structures that allow you to stack multiple planters on top of each other, creating a tiered effect.
* Pocket Planters: Fabric or plastic pockets are attached to a backing, creating individual planting spaces.
* Trellis Garden: Use a trellis to support climbing plants like tomatoes, cucumbers, or beans.
* Gutter Garden: Repurpose old gutters into long, narrow planters.
For this guide, I’m going to focus on creating a Pallet Garden. It’s relatively easy to build, uses readily available materials, and offers a rustic, charming look.
Materials You’ll Need
Okay, let’s gather our supplies. Here’s what you’ll need to build your own pallet garden:
* A Wooden Pallet: Look for one that’s heat-treated (HT) rather than chemically treated (MB). You can usually find these for free at local businesses, construction sites, or online marketplaces. Make sure it’s in good condition, without any broken or rotten boards.
* Heavy-Duty Landscape Fabric: This will line the planting pockets and prevent soil from falling out.
* Staple Gun and Staples: To secure the landscape fabric to the pallet.
* Scissors or Utility Knife: For cutting the landscape fabric.
* Gloves: To protect your hands.
* Measuring Tape: To ensure accurate cuts.
* Potting Soil: Choose a high-quality potting mix that’s well-draining.
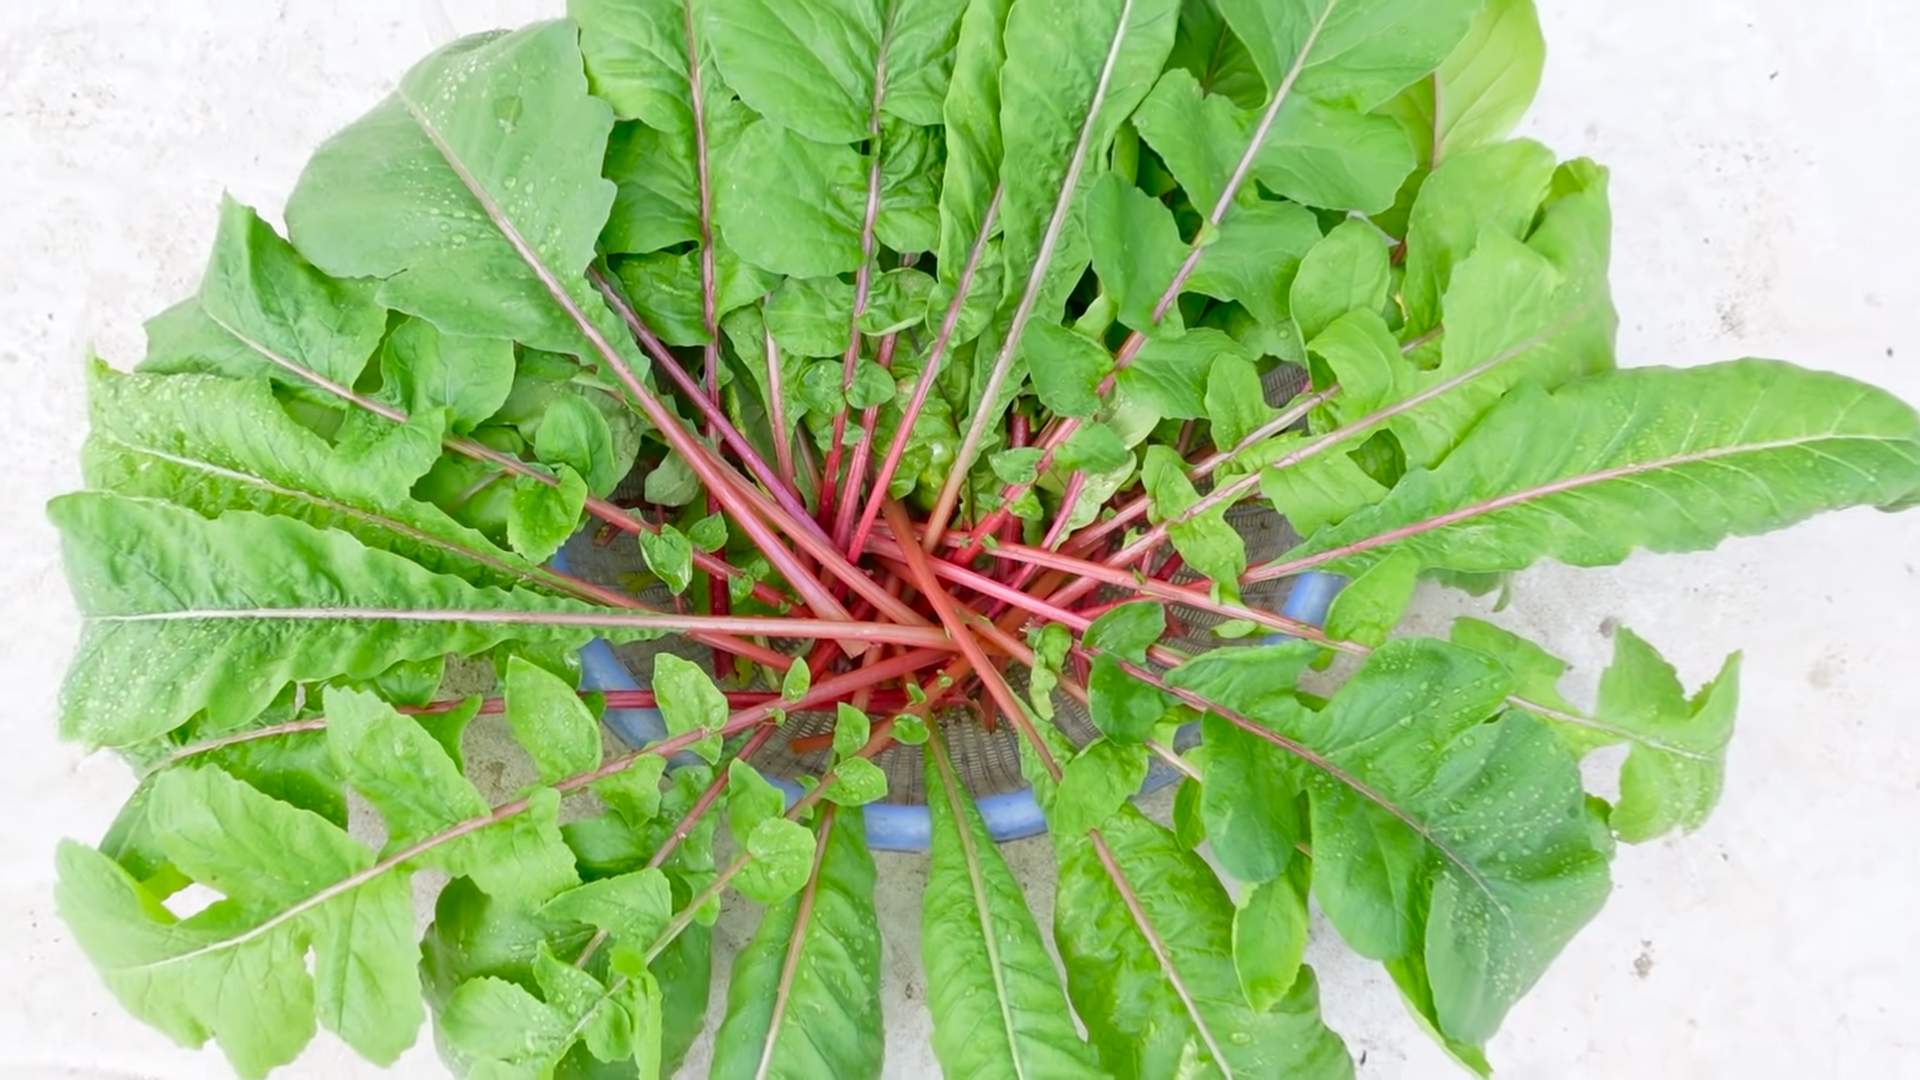
* Plants: Select plants that are suitable for your climate and the amount of sunlight your vertical garden will receive. Herbs, strawberries, lettuce, and succulents are all great options.
* Optional: Sandpaper: To smooth out any rough edges on the pallet.
* Optional: Wood Stain or Paint: To customize the look of your pallet.
* Optional: Plastic Sheeting: To protect the wall behind the pallet from moisture.
Step-by-Step Instructions: Building Your Pallet Garden
Alright, let’s get building! Follow these steps to create your own amazing pallet garden:
1. Prepare the Pallet:
* First, inspect the pallet carefully for any loose nails, staples, or splinters. Remove them with pliers or a hammer.
* If the pallet is rough, use sandpaper to smooth out any sharp edges. This will make it safer to handle and prevent snags in the landscape fabric.
* If you want to customize the look of your pallet, now’s the time to stain or paint it. Let it dry completely before moving on to the next step. I personally love the natural look of wood, so I usually skip this step.
* Consider adding a layer of plastic sheeting to the wall where you plan to hang the pallet. This will protect the wall from moisture and prevent any potential damage.
2. Cut the Landscape Fabric:
* Measure the width and depth of each section of the pallet where you want to create a planting pocket.
* Cut pieces of landscape fabric that are large enough to line each section, with plenty of overlap to secure them with staples. I usually add about 6-8 inches extra on each side.
* You’ll need enough fabric to create a “pocket” that will hold the soil.
3. Create the Planting Pockets:
* Starting with the bottom row of the pallet, carefully line each section with the landscape fabric.
* Fold the fabric over the edges of the wood and secure it with staples using your staple gun. Make sure the staples are firmly embedded in the wood.
* Overlap the fabric generously to create a strong and durable pocket. You want to make sure the soil won’t leak out.
* Repeat this process for each section of the pallet, working your way up from the bottom.
* Pay close attention to the corners of each pocket, ensuring they are securely sealed.
4. Reinforce the Pockets (Optional):
* For extra durability, you can add a second layer of landscape fabric to each pocket. This is especially helpful if you plan to grow heavier plants or if your pallet is made of softer wood.
* Simply repeat the process of cutting and stapling the fabric, layering it over the first layer.
5. Add the Potting Soil:
* Once all the pockets are lined, it’s time to add the potting soil.
* Carefully fill each pocket with potting soil, leaving about an inch or two of space at the top.
* Gently pat down the soil to remove any air pockets.
* Water the soil lightly to help it settle.
6. Plant Your Plants:
* Now for the fun part: planting!
* Carefully remove your plants from their containers and gently loosen the roots.
* Dig a small hole in the soil in each pocket and place the plant inside.
* Fill in the hole with potting soil and gently pat it down.
* Water the plants thoroughly after planting.
* Consider the mature size of your plants when deciding how many to plant in each pocket. You don’t want to overcrowd them.
7. Hang Your Pallet Garden:
* Choose a location for your vertical garden that receives adequate sunlight.
* Use heavy-duty hooks or brackets to hang the pallet securely on the wall or fence. Make sure the hooks are strong enough to support the weight of the pallet, soil, and plants.
* You may need to use a level to ensure the pallet is hanging straight.
8. Watering and Maintenance:
* Water your plants regularly, especially during hot weather. Check the soil moisture by sticking your finger into the soil. If it feels dry, it’s time to water.
* Fertilize your plants regularly with a balanced fertilizer.
* Remove any dead or dying leaves to keep your garden looking its best.
* Check the pallet regularly for any signs of damage or wear and tear. Repair any issues promptly to prevent further damage.
Choosing the Right Plants
Selecting the right plants is crucial for the success of your vertical garden. Here are some factors to consider:
* Sunlight: How much sunlight does your vertical garden receive? Choose plants that are suited to the amount of sunlight available.
* Watering Needs: Some plants require more water than others. Group plants with similar watering needs together to make watering easier.
* Size: Consider the mature size of your plants. You don’t want to overcrowd your vertical garden.
* Climate: Choose plants that are suitable for your climate.
* Personal Preference: Ultimately, choose plants that you enjoy and that will thrive in your vertical garden.
Here are some plant suggestions:
* Herbs: Basil, mint, oregano, thyme, rosemary, parsley
* Lettuce and Salad Greens: Spinach, arugula, romaine lettuce
* Strawberries: Alpine strawberries are a great choice for vertical gardens.
* Succulents: Echeveria, sedum, sempervivum
* Flowers: Petunias, impatiens, pansies, violas
Troubleshooting Tips
Even with the best planning, you might encounter some challenges along the way. Here are a few troubleshooting tips:
* Soil Drying Out Too Quickly: If your soil is drying out too quickly, try adding some water-retaining crystals to the potting mix. You can also try mulching the soil with straw or wood chips to help retain moisture.
* Plants Not Growing Well: If your plants aren’t growing well, it could be due to a number of factors, such as lack of sunlight, poor soil, or insufficient watering. Make sure your plants are getting enough sunlight, water, and nutrients.
* Pests and Diseases: Keep an eye out
Conclusion
So, there you have it! Growing food without land isn’t just a whimsical dream; it’s an achievable reality thanks to the power of innovative DIY solutions. We’ve explored how to transform limited spaces, even the smallest apartment balcony, into thriving edible gardens. From repurposing everyday items into planters to mastering vertical gardening techniques, the possibilities are truly endless.
But why is this DIY approach a must-try? Beyond the sheer satisfaction of nurturing your own food, it offers a multitude of benefits. You gain control over the quality and source of your produce, ensuring it’s free from harmful pesticides and chemicals. You reduce your carbon footprint by minimizing transportation needs. And perhaps most importantly, you connect with nature in a meaningful way, fostering a sense of well-being and accomplishment.
This isn’t just about saving money on groceries; it’s about reclaiming your food sovereignty and embracing a more sustainable lifestyle. Imagine the joy of harvesting fresh herbs for your favorite pasta dish, plucking ripe tomatoes for a summer salad, or enjoying the vibrant colors of edible flowers adorning your meals. All of this, grown with your own hands, in your own space, regardless of whether you have a traditional garden.
Don’t be afraid to experiment and personalize your landless garden. Try different container sizes and materials. Explore various soil mixes and nutrient solutions. Consider incorporating companion planting techniques to maximize yields and deter pests. And most importantly, have fun!
Here are a few suggestions and variations to get you started:
* Vertical Strawberry Tower: Use a PVC pipe with holes drilled along its length to create a vertical strawberry tower. Fill the pipe with soil and plant strawberry seedlings in each hole. This is a great way to maximize space and enjoy fresh strawberries all season long.
* Herb Spiral Garden: Build a spiral-shaped garden bed using bricks, stones, or recycled materials. Plant different herbs at varying heights, taking into account their sunlight and water requirements. This creates a visually appealing and functional herb garden.
* Aquaponic System: Combine aquaculture (raising fish) with hydroponics (growing plants without soil) in an aquaponic system. The fish waste provides nutrients for the plants, and the plants filter the water for the fish. This is a highly efficient and sustainable way to grow food.
* Pallet Garden: Repurpose a wooden pallet into a vertical garden by attaching fabric or plastic liners to the slats and filling them with soil. Plant herbs, vegetables, or flowers in each section. This is a budget-friendly and eco-friendly option.
* Hydroponic Buckets: Create a simple hydroponic system using buckets, net pots, and an air pump. Suspend the net pots in the buckets, fill them with growing media, and provide nutrient-rich water. This is a great way to grow leafy greens and herbs indoors.
The key to success with growing food without land is to start small, learn as you go, and adapt your techniques to your specific environment and resources. Don’t be discouraged by initial setbacks; every gardener, regardless of experience, faces challenges along the way. The important thing is to persevere, learn from your mistakes, and celebrate your successes.
We encourage you to embark on this exciting journey of creating your own landless garden. Share your experiences, successes, and challenges with us in the comments below. Let’s build a community of urban gardeners who are passionate about growing their own food and creating a more sustainable future. We are eager to see your DIY creations and learn from your unique perspectives. Let’s cultivate a greener, healthier world, one container garden at a time! Remember, the possibilities are as boundless as your imagination when you embrace the art of **growing food without land**.
Frequently Asked Questions (FAQ)
What are the best vegetables to grow in containers?
Many vegetables thrive in containers, but some are particularly well-suited for this method. Leafy greens like lettuce, spinach, and kale are excellent choices, as they have shallow root systems and can tolerate partial shade. Herbs such as basil, mint, and parsley are also easy to grow in containers and can be harvested frequently. Tomatoes, peppers, and eggplants can be grown in larger containers, but they require plenty of sunlight and regular watering. Root vegetables like radishes and carrots can be grown in shorter containers, while bush beans and peas are also good options for container gardening. Consider the size of the mature plant when choosing a container, and ensure that the container has adequate drainage.
How often should I water my container garden?
The frequency of watering depends on several factors, including the type of plants, the size of the container, the weather conditions, and the type of soil. In general, container gardens need to be watered more frequently than in-ground gardens, as the soil in containers tends to dry out more quickly. Check the soil moisture level daily by sticking your finger about an inch into the soil. If the soil feels dry, it’s time to water. Water deeply until water drains out of the bottom of the container. Avoid overwatering, as this can lead to root rot. During hot, dry weather, you may need to water your container garden twice a day.
What type of soil should I use for container gardening?
It’s crucial to use a high-quality potting mix specifically designed for container gardening. Garden soil is too heavy and dense for containers, as it can compact and restrict drainage. A good potting mix should be lightweight, well-draining, and contain a blend of ingredients such as peat moss, perlite, vermiculite, and compost. You can also add slow-release fertilizer to the potting mix to provide nutrients to your plants over time. Avoid using soil from your garden in containers, as it may contain pests, diseases, and weed seeds.
How much sunlight do my container plants need?
The amount of sunlight required depends on the type of plants you are growing. Most vegetables and herbs need at least six hours of direct sunlight per day to thrive. Leafy greens and some herbs can tolerate partial shade, but they will still need at least four hours of sunlight. If you don’t have enough sunlight in your outdoor space, you can supplement with grow lights. Place your container plants in a location that receives the appropriate amount of sunlight for their specific needs. Observe your plants closely and adjust their location if they are not getting enough sunlight.
How do I fertilize my container garden?
Container plants need regular fertilization to provide them with the nutrients they need to grow and produce. You can use a variety of fertilizers, including slow-release fertilizers, liquid fertilizers, and organic fertilizers. Slow-release fertilizers are incorporated into the potting mix and release nutrients gradually over time. Liquid fertilizers are diluted with water and applied to the soil every few weeks. Organic fertilizers, such as compost tea and fish emulsion, are a natural way to provide nutrients to your plants. Follow the instructions on the fertilizer label carefully, and avoid over-fertilizing, as this can damage your plants.
How do I protect my container garden from pests and diseases?
Regularly inspect your container plants for signs of pests and diseases. Common pests that affect container gardens include aphids, spider mites, and whiteflies. You can control these pests with insecticidal soap, neem oil, or by handpicking them off the plants. Diseases such as powdery mildew and blight can also affect container plants. Prevent these diseases by providing good air circulation, avoiding overwatering, and using disease-resistant varieties. If you notice any signs of pests or diseases, take action immediately to prevent them from spreading.
Can I grow food without land indoors?
Yes, absolutely! Growing food indoors without land is entirely possible and becoming increasingly popular. You can utilize methods like hydroponics, aeroponics, and deep water culture to cultivate various plants indoors. These methods don’t require soil and can be set up in small spaces. Additionally, you can use grow lights to provide the necessary light for plant growth, even in areas with limited natural sunlight. Indoor gardening allows you to control the environment, protecting your plants from pests and harsh weather conditions, and enabling year-round food production.
What are some creative container ideas for growing food without land?
The possibilities are endless when it comes to creative container ideas! Consider repurposing items like old tires, plastic bottles, buckets, and even shoes into planters. Vertical gardening systems, such as pallet gardens and hanging baskets, are excellent for maximizing space. You can also build your own raised beds using reclaimed wood or concrete blocks. Get creative and think outside the box! The key is to ensure that your containers have adequate drainage and are made from materials that are safe for growing food.
How do I deal with drainage issues in container gardens?
Proper drainage is essential for healthy container gardens. Ensure that your containers have drainage holes at the bottom to allow excess water to escape. You can also add a layer of gravel or pebbles to the bottom of the container to improve drainage. Avoid using saucers under your containers, as this can trap water and lead to root rot. If you notice that your soil is constantly waterlogged, consider repotting your plants into a lighter, well-draining potting mix.
What are the benefits of growing food without land?
Growing food without land offers numerous benefits. It allows you to grow your own fresh, healthy produce, even if you don’t have a traditional garden. It reduces your reliance on store-bought food, which can be expensive and may contain pesticides and other harmful chemicals. It’s a sustainable way to reduce your carbon
Leave a Comment