

Grow Epazote Herb Kitchen: Ever dreamt of stepping into your kitchen and snipping fresh, flavorful herbs straight from your own little garden? I know I have! And trust me, it’s easier than you think, especially when it comes to cultivating unique and rewarding herbs like Epazote. This often-overlooked herb, with its distinctive citrusy and slightly medicinal aroma, is a staple in Mexican cuisine and boasts a rich history dating back to the Aztecs, who used it for both culinary and medicinal purposes.
But why should you learn to grow Epazote herb in your kitchen? Well, for starters, imagine the burst of authentic flavor you can add to your black beans, quesadillas, and soups. Store-bought dried herbs simply can’t compare to the vibrant taste of freshly harvested Epazote. Beyond the culinary benefits, growing your own herbs is incredibly satisfying and connects you to the natural world, even in the heart of your home. Plus, let’s be honest, who doesn’t love a little DIY project that adds a touch of green to their living space?
In this article, I’m going to share my favorite home gardening tricks and DIY tips for successfully growing Epazote right in your kitchen. From choosing the right container to mastering the art of watering, I’ll guide you through every step of the process, ensuring you have a thriving Epazote plant that will elevate your cooking and bring a touch of the exotic to your home. Get ready to unleash your inner gardener and discover the joy of growing your own herbs!
Growing Epazote in Your Kitchen: A Beginner’s Guide
Hey there, fellow herb enthusiasts! Ever heard of epazote? It’s a fantastic herb with a unique flavor, often used in Mexican cuisine, especially with beans. And guess what? You can totally grow it right in your kitchen! I’m going to walk you through everything you need to know to cultivate your own little epazote patch.
What is Epazote?
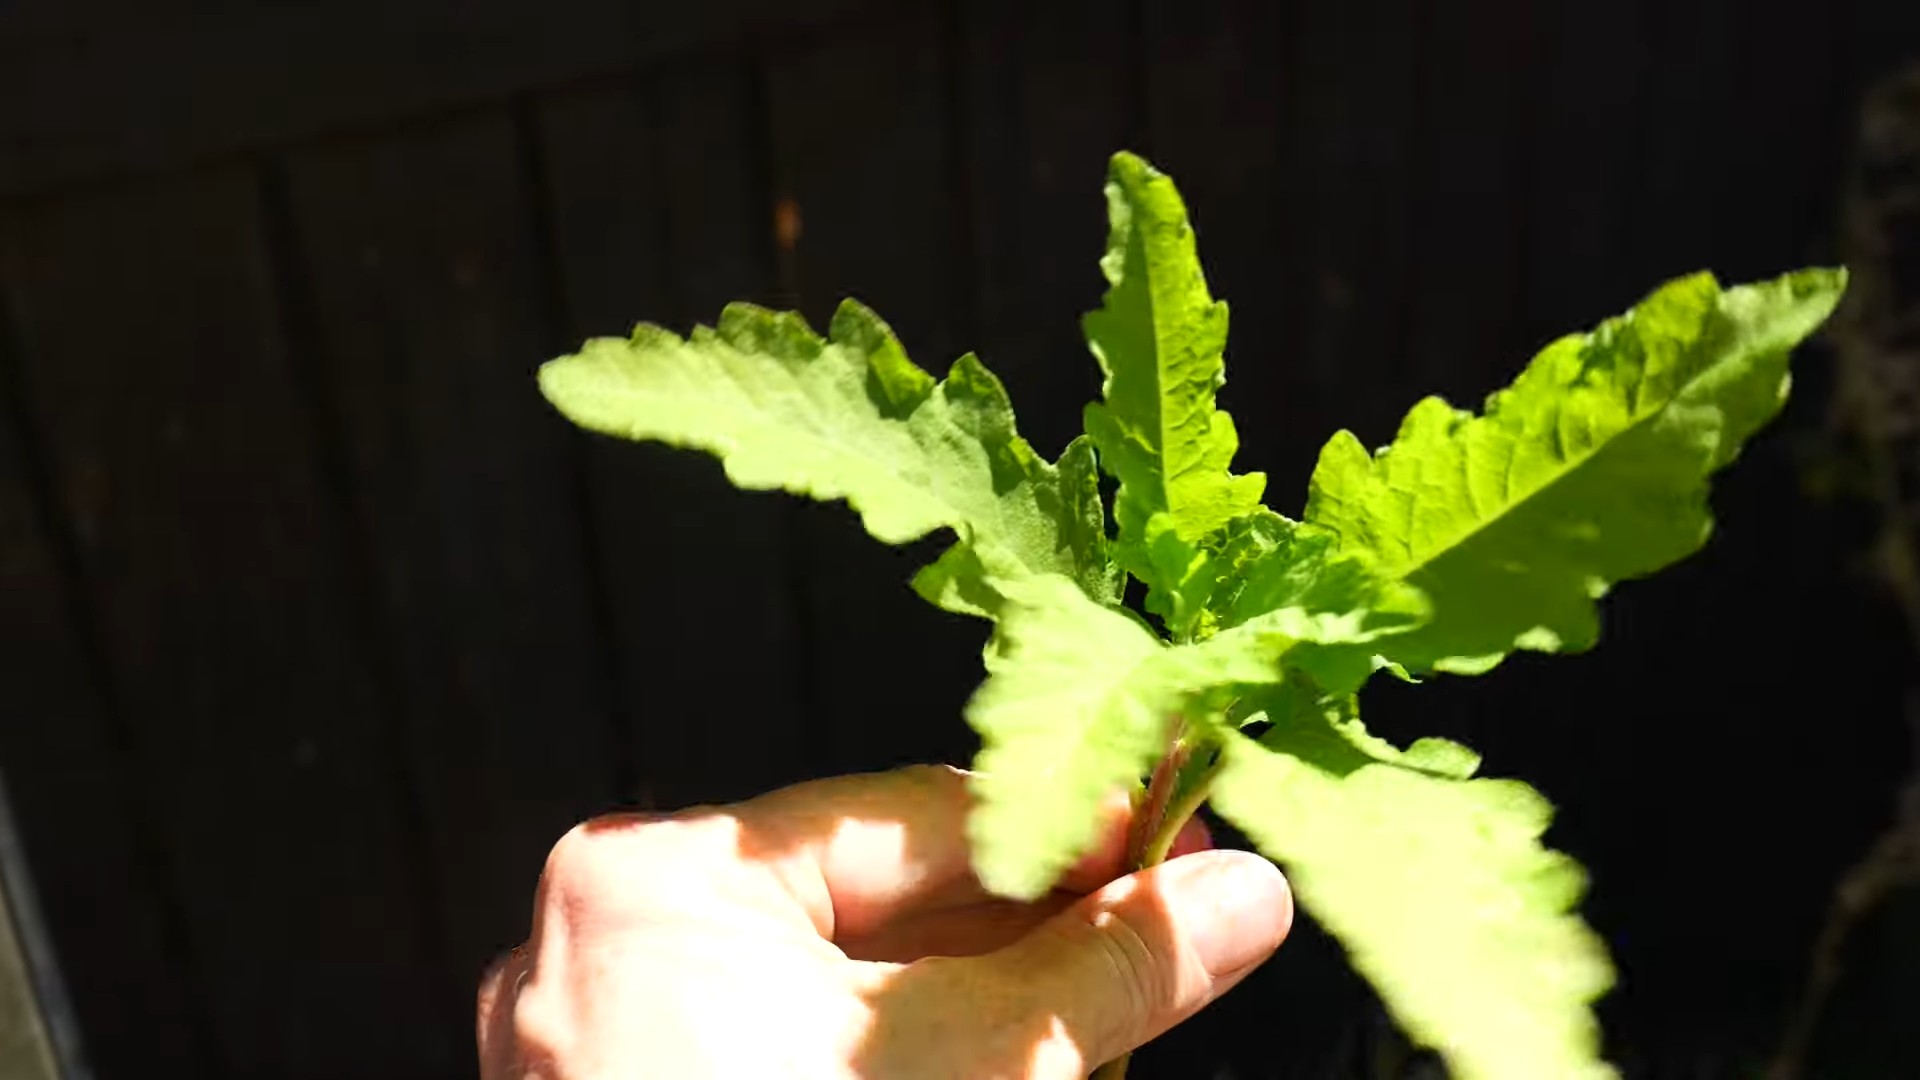
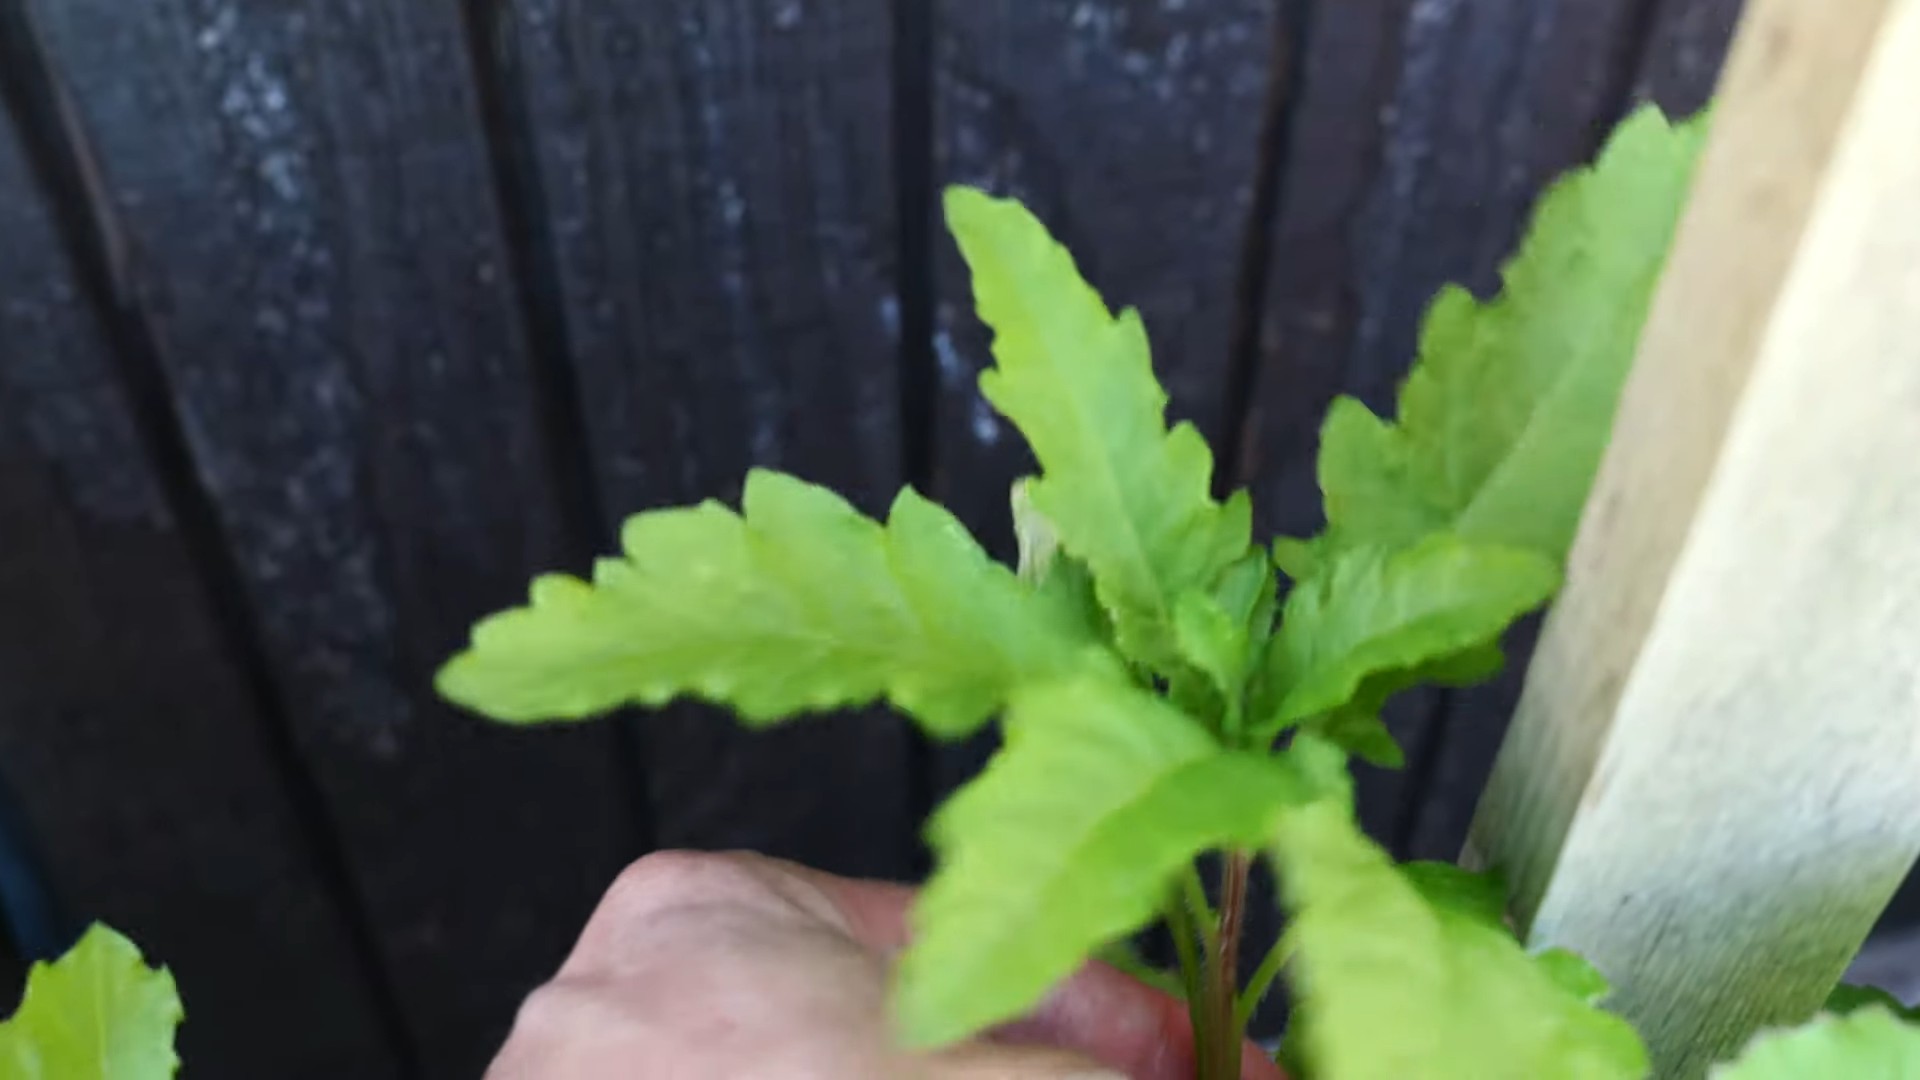
Before we dive in, let’s talk about what epazote actually is. Epazote (Dysphania ambrosioides) is a leafy herb native to Central and South America. It has a strong, somewhat pungent aroma and flavor that some describe as a mix of anise, citrus, and mint. It’s traditionally used to flavor beans, as it’s believed to help reduce gas (a definite plus!). It’s also used in soups, stews, and other savory dishes.
Why Grow Epazote Indoors?
You might be wondering, “Why bother growing it indoors?” Well, there are a few good reasons:
* Year-Round Harvest: You can enjoy fresh epazote all year long, regardless of the weather outside.
* Control: You have more control over the growing environment, protecting your plant from pests and diseases.
* Convenience: Fresh herbs are always at your fingertips when you need them.
* Space-Saving: If you don’t have a garden, growing indoors is a great way to enjoy fresh herbs.
What You’ll Need
Okay, let’s gather our supplies. Here’s what you’ll need to get started:
* Epazote Seeds: You can find these online or at some nurseries specializing in herbs.
* Small Pots or Seed Trays: For starting the seeds.
* Potting Mix: A well-draining potting mix is essential.
* Larger Pot (6-8 inches): For transplanting the seedlings.
* Grow Lights (Optional but Recommended): Especially if you don’t have a sunny windowsill.
* Watering Can or Spray Bottle: For watering your plants.
* Well-Draining Soil: A mix of potting soil, perlite, and vermiculite works well.
* Fertilizer (Optional): A balanced liquid fertilizer.
Starting from Seed: The Germination Phase
This is where the magic begins! We’re going to coax those tiny seeds into sprouting.
1. Prepare Your Seed Trays or Small Pots: Fill your seed trays or small pots with the potting mix. Gently pat it down to remove any air pockets.
2. Sow the Seeds: Epazote seeds are tiny, so sprinkle them lightly over the surface of the soil. You don’t need to bury them too deep; just a light dusting of soil is enough.
3. Water Gently: Use a spray bottle to mist the soil. You want to keep it moist but not soggy.
4. Create a Humid Environment: Cover the seed trays or pots with a plastic wrap or a humidity dome. This will help retain moisture and create a warm, humid environment that’s ideal for germination.
5. Provide Light: Place the seed trays or pots in a warm location with bright, indirect light. If you’re using grow lights, position them a few inches above the soil surface.
6. Monitor and Water: Check the soil moisture daily. If it feels dry, mist it with water.
7. Wait for Germination: Epazote seeds typically germinate in 7-14 days. Once you see seedlings emerge, remove the plastic wrap or humidity dome.
Transplanting Your Seedlings
Once your seedlings have developed a few sets of true leaves (those are the leaves that look like miniature versions of the adult leaves), it’s time to transplant them into larger pots.
1. Prepare Your Larger Pot: Fill your larger pot (6-8 inches) with well-draining soil.
2. Gently Remove the Seedlings: Carefully loosen the soil around the seedlings and gently lift them out of the seed trays or small pots. Be careful not to damage the roots.
3. Plant the Seedlings: Make a small hole in the soil in the larger pot and place the seedling in the hole. Gently pat the soil around the base of the seedling.
4. Water Thoroughly: Water the transplanted seedlings thoroughly.
5. Provide Light: Place the pot in a location with bright, indirect light or under grow lights.
Caring for Your Epazote Plant
Now that your epazote plant is happily settled in its new home, it’s time to provide it with the care it needs to thrive.
* Light: Epazote needs at least 6 hours of sunlight per day. If you don’t have a sunny windowsill, use grow lights.
* Watering: Water your epazote plant when the top inch of soil feels dry to the touch. Avoid overwatering, as this can lead to root rot.
* Fertilizing: You can fertilize your epazote plant every 2-3 weeks with a balanced liquid fertilizer. Follow the instructions on the fertilizer label.
* Pruning: Prune your epazote plant regularly to encourage bushier growth. Simply pinch off the tips of the stems.
* Temperature: Epazote prefers temperatures between 60-75°F (15-24°C).
* Humidity: Epazote doesn’t need high humidity, but it will appreciate a little extra moisture in the air. You can increase humidity by placing a tray of water near the plant or using a humidifier.
Harvesting Your Epazote
The best part! You can start harvesting epazote leaves once the plant is about 6-8 inches tall.
1. Harvesting Leaves: Simply snip off the leaves with scissors or your fingers.
2. Harvesting Tips: Harvest the leaves in the morning, when they’re at their most flavorful.
3. Using Epazote: Use fresh epazote leaves in your favorite recipes. You can also dry the leaves for later use.
Troubleshooting
Even with the best care, you might encounter a few problems along the way. Here are some common issues and how to deal with them:
* Yellowing Leaves: This could be a sign of overwatering or underwatering. Check the soil moisture and adjust your watering accordingly.
* Leggy Growth: This means your plant isn’t getting enough light. Move it to a brighter location or use grow lights.
* Pests: Epazote is relatively pest-resistant, but you might encounter aphids or spider mites. Treat infestations with insecticidal soap or neem oil.
* Root Rot: This is caused by overwatering. Make sure your pot has good drainage and avoid letting the soil stay soggy.
Propagating Epazote
Want more epazote plants? You can easily propagate them from cuttings.
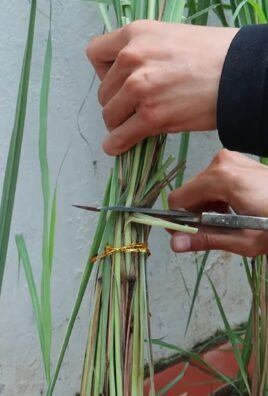
1. Take a Cutting: Cut a 4-6 inch stem from a healthy epazote plant.
2. Remove Lower Leaves: Remove the leaves from the bottom half of the cutting.
3. Rooting Hormone (Optional): Dip the cut end of the stem in rooting hormone.
4. Plant the Cutting: Plant the cutting in a pot filled with well-draining soil.
5. Water and Cover: Water the cutting and cover it with a plastic bag or humidity dome to create a humid environment.
6. Wait for Roots: In a few weeks, the cutting should develop roots. You’ll know it’s rooted when you see new growth.
7. Transplant: Once the cutting is rooted, you can transplant it into a larger pot.
Epazote in the Kitchen: Recipe Ideas
Now that you have a thriving epazote plant, it’s time to put those leaves to good use! Here are a few ideas:
* Beans: Add a few sprigs of epazote to your beans while they’re cooking. It will add a unique flavor and help reduce gas.
* Soups and Stews: Chop up some epazote and add it to your favorite soups and stews.
* Salsas: Add a pinch of epazote to your salsas for a unique twist.
* Quesadillas: Sprinkle some chopped epazote into your quesadillas for a flavorful filling.
* Tacos: Use epazote as a garnish for your tacos.
Enjoy Your Homegrown Epazote!
Growing epazote in your kitchen is a rewarding experience. You’ll have fresh, flavorful herbs at your fingertips, and you’ll be able to enjoy the unique taste of epazote in your favorite dishes. So, get started today and enjoy the fruits (or rather, leaves) of your labor! Happy growing!
Conclusion
So, there you have it! Growing your own epazote herb in your kitchen is not just a fun project; it’s a gateway to fresher, more flavorful Mexican cuisine and a deeper connection to the food you eat. Forget relying on wilted, overpriced bunches from the grocery store. With a little effort, you can have a thriving epazote plant right at your fingertips, ready to enhance your next pot of beans, quesadilla, or mole.
This DIY trick is a must-try for several reasons. First and foremost, the taste difference is undeniable. Freshly harvested epazote boasts a vibrant, slightly citrusy, and almost medicinal flavor that dried epazote simply can’t match. It adds a unique depth and complexity to dishes that will impress your family and friends. Secondly, it’s incredibly cost-effective. Once you have a plant established, you’ll have a continuous supply of epazote for months, if not years, to come. Think of all the money you’ll save!
But beyond the taste and cost benefits, growing your own epazote is also incredibly rewarding. There’s something deeply satisfying about nurturing a plant from seed or cutting and watching it flourish. It’s a tangible connection to nature, even within the confines of your kitchen. Plus, it’s a great conversation starter!
Ready to take your epazote growing to the next level? Consider these variations:
* Hydroponic Epazote: For those with limited space or a penchant for modern gardening techniques, epazote can thrive in a hydroponic system. This method allows for faster growth and greater control over nutrient levels.
* Container Gardening with Companion Plants: Plant your epazote in a larger container alongside other herbs like cilantro or oregano. These companion plants can help deter pests and create a more balanced ecosystem.
* Seed Starting vs. Cuttings: Experiment with both starting epazote from seed and propagating it from cuttings. Seed starting can be a fun challenge, while cuttings offer a quicker route to a mature plant.
* Different Soil Mixes: Try different soil mixes to see what works best for your epazote plant. A well-draining mix is crucial, but you can experiment with adding compost or other amendments to boost growth.
Don’t be afraid to experiment and adapt the techniques to suit your own environment and preferences. The beauty of DIY gardening is that it’s all about learning and discovering what works best for you.
We wholeheartedly encourage you to try this DIY trick and experience the joy of growing your own epazote. It’s easier than you think, and the rewards are well worth the effort. Once you’ve harvested your first batch of homegrown epazote, we’d love to hear about your experience! Share your photos, tips, and recipes in the comments below. Let’s build a community of epazote enthusiasts and inspire others to embrace the joys of kitchen gardening. Happy growing!
Frequently Asked Questions (FAQ)
What exactly is epazote and what does it taste like?
Epazote (Dysphania ambrosioides) is a leafy herb native to Central and South America, commonly used in Mexican cuisine. Its flavor is quite unique and often described as a combination of citrus, anise, mint, and a hint of gasoline or camphor. While that might sound unappetizing, it adds a distinctive depth and complexity to dishes, especially bean-based recipes. It’s also believed to have carminative properties, which means it can help reduce gas and bloating associated with eating beans.
Is epazote difficult to grow indoors?
No, epazote is relatively easy to grow indoors, making it a perfect candidate for a kitchen herb garden. It’s a resilient plant that can tolerate a range of conditions, although it thrives best in bright, indirect sunlight and well-draining soil. With a little attention to watering and occasional fertilization, you can enjoy a steady supply of fresh epazote throughout the growing season.
How much sunlight does epazote need when grown indoors?
Epazote needs at least 6 hours of bright, indirect sunlight per day. If you don’t have a sunny windowsill, you can supplement with a grow light. Place the light a few inches above the plant and keep it on for 12-14 hours a day. Rotate the plant regularly to ensure even growth on all sides.
What kind of soil is best for growing epazote in containers?
A well-draining potting mix is essential for growing epazote in containers. You can use a standard potting mix amended with perlite or vermiculite to improve drainage. Avoid using garden soil, as it can become compacted and waterlogged in containers. A slightly acidic to neutral pH (around 6.0 to 7.0) is ideal.
How often should I water my epazote plant?
Water your epazote plant when the top inch of soil feels dry to the touch. Avoid overwatering, as this can lead to root rot. Ensure that the pot has drainage holes to allow excess water to escape. During the warmer months, you may need to water more frequently than in the cooler months.
Does epazote need fertilizer?
Yes, epazote benefits from occasional fertilization. Feed your plant with a balanced liquid fertilizer diluted to half strength every 2-3 weeks during the growing season (spring and summer). Avoid fertilizing during the winter months when the plant’s growth slows down.
How do I harvest epazote?
You can start harvesting epazote leaves once the plant is about 6 inches tall. Simply snip off the leaves as needed, using scissors or your fingers. Avoid removing more than one-third of the plant at a time, as this can stress it. Regular harvesting encourages bushier growth.
Can I grow epazote from seed or cuttings?
Yes, you can grow epazote from both seed and cuttings. Starting from seed is a bit more challenging, as the seeds can be slow to germinate. Cuttings, on the other hand, are a quicker and easier way to propagate epazote. Simply take a 4-6 inch cutting from a healthy stem, remove the lower leaves, and place it in water or moist potting mix. Roots should develop within a few weeks.
Are there any pests or diseases that affect epazote?
Epazote is generally resistant to pests and diseases, but it can occasionally be affected by aphids, spider mites, or whiteflies. If you notice any of these pests, you can try spraying the plant with insecticidal soap or neem oil. Overwatering can also lead to root rot, so be sure to provide good drainage.
Is epazote safe to consume?
Yes, epazote is generally safe to consume in moderation. However, it contains a compound called ascaridole, which can be toxic in large doses. Pregnant women and individuals with liver or kidney problems should avoid consuming epazote. It’s always best to use epazote sparingly and to consult with a healthcare professional if you have any concerns.
Can I dry epazote for later use?
Yes, you can dry epazote for later use. To dry epazote, simply hang the stems upside down in a cool, dry, and well-ventilated place. Alternatively, you can spread the leaves on a baking sheet and dry them in a low oven (around 170°F) for a few hours. Once the leaves are completely dry, store them in an airtight container in a cool, dark place. Dried epazote will have a less intense flavor than fresh epazote.
What are some common culinary uses for epazote?
Epazote is commonly used in Mexican cuisine to flavor beans, soups, stews, quesadillas, and mole sauces. It’s also used to make herbal teas and medicinal remedies. When cooking with epazote, add it towards the end of the cooking process to preserve its flavor. A little goes a long way, so start with a small amount and add more to taste.
How can I encourage my epazote plant to grow bushier?
Regularly pruning your epazote plant will encourage it to grow bushier. Simply pinch off the tips of the stems to promote branching. You can also harvest the leaves frequently, which will also stimulate new growth.
My epazote plant is getting leggy. What should I do?
If your epazote plant is getting leggy, it means it’s not getting enough light. Move it to a sunnier location or supplement with a grow light. You can also prune the plant back to encourage bushier growth.
Where can I find epazote seeds or plants?
You can find epazote seeds or plants at many nurseries, garden centers, and online retailers. Be sure to choose a reputable source to ensure that you’re getting a healthy plant or viable seeds. You can also ask your local Mexican grocery store if they carry fresh epazote, as they may be able to point you in the right direction for finding seeds or plants.

Leave a Comment