

Grow Celery at Home: A Beginner’s Guide to Crunchy, Homegrown Goodness
Have you ever dreamt of biting into a crisp, juicy stalk of celery, knowing you grew it yourself, right there in your backyard? Well, that dream is closer than you think! This article is your passport to the satisfying world of growing celery at home. Forget those limp, tasteless supermarket stalks; we’re diving into the simple yet rewarding process of cultivating your own vibrant, flavorful celery.
Growing your own food has a rich history, connecting us to ancient agricultural practices and fostering a deeper appreciation for the food we consume. From the earliest civilizations cultivating crops to the modern-day resurgence of home gardening, there’s a timeless satisfaction in nurturing plants from seed to harvest. And celery, with its unique flavor and versatility, is a fantastic addition to any home garden.
Why bother with growing celery at home when you can buy it at the store? Because nothing beats the taste of fresh, homegrown produce! Store-bought celery often lacks the vibrant flavor and satisfying crunch of celery grown with love and care. Plus, you’ll have complete control over the growing process, ensuring your celery is free from pesticides and other unwanted chemicals. It’s a healthier, tastier, and more sustainable choice.
In this guide, I’ll walk you through everything you need to know, from selecting the right seeds to harvesting your delicious bounty. We’ll cover essential tips and tricks to help you achieve a successful harvest, no matter your gardening experience. Get ready to transform your garden (or even a sunny windowsill!) into a celery-growing paradise! Let’s get started on your journey to grow celery at home.
Growing Celery from Scraps: A Complete Guide
I love celery, and I hate buying it every week! So, I decided to try growing my own. It’s surprisingly easy, and you’ll be amazed at how much you can save. Here’s my foolproof method for growing celery from scraps at home.
Phase 1: Preparing Your Celery Scrap
- Choose the right celery: Select a bunch of celery with firm, healthy stalks. Avoid any that are wilting or showing signs of rot.
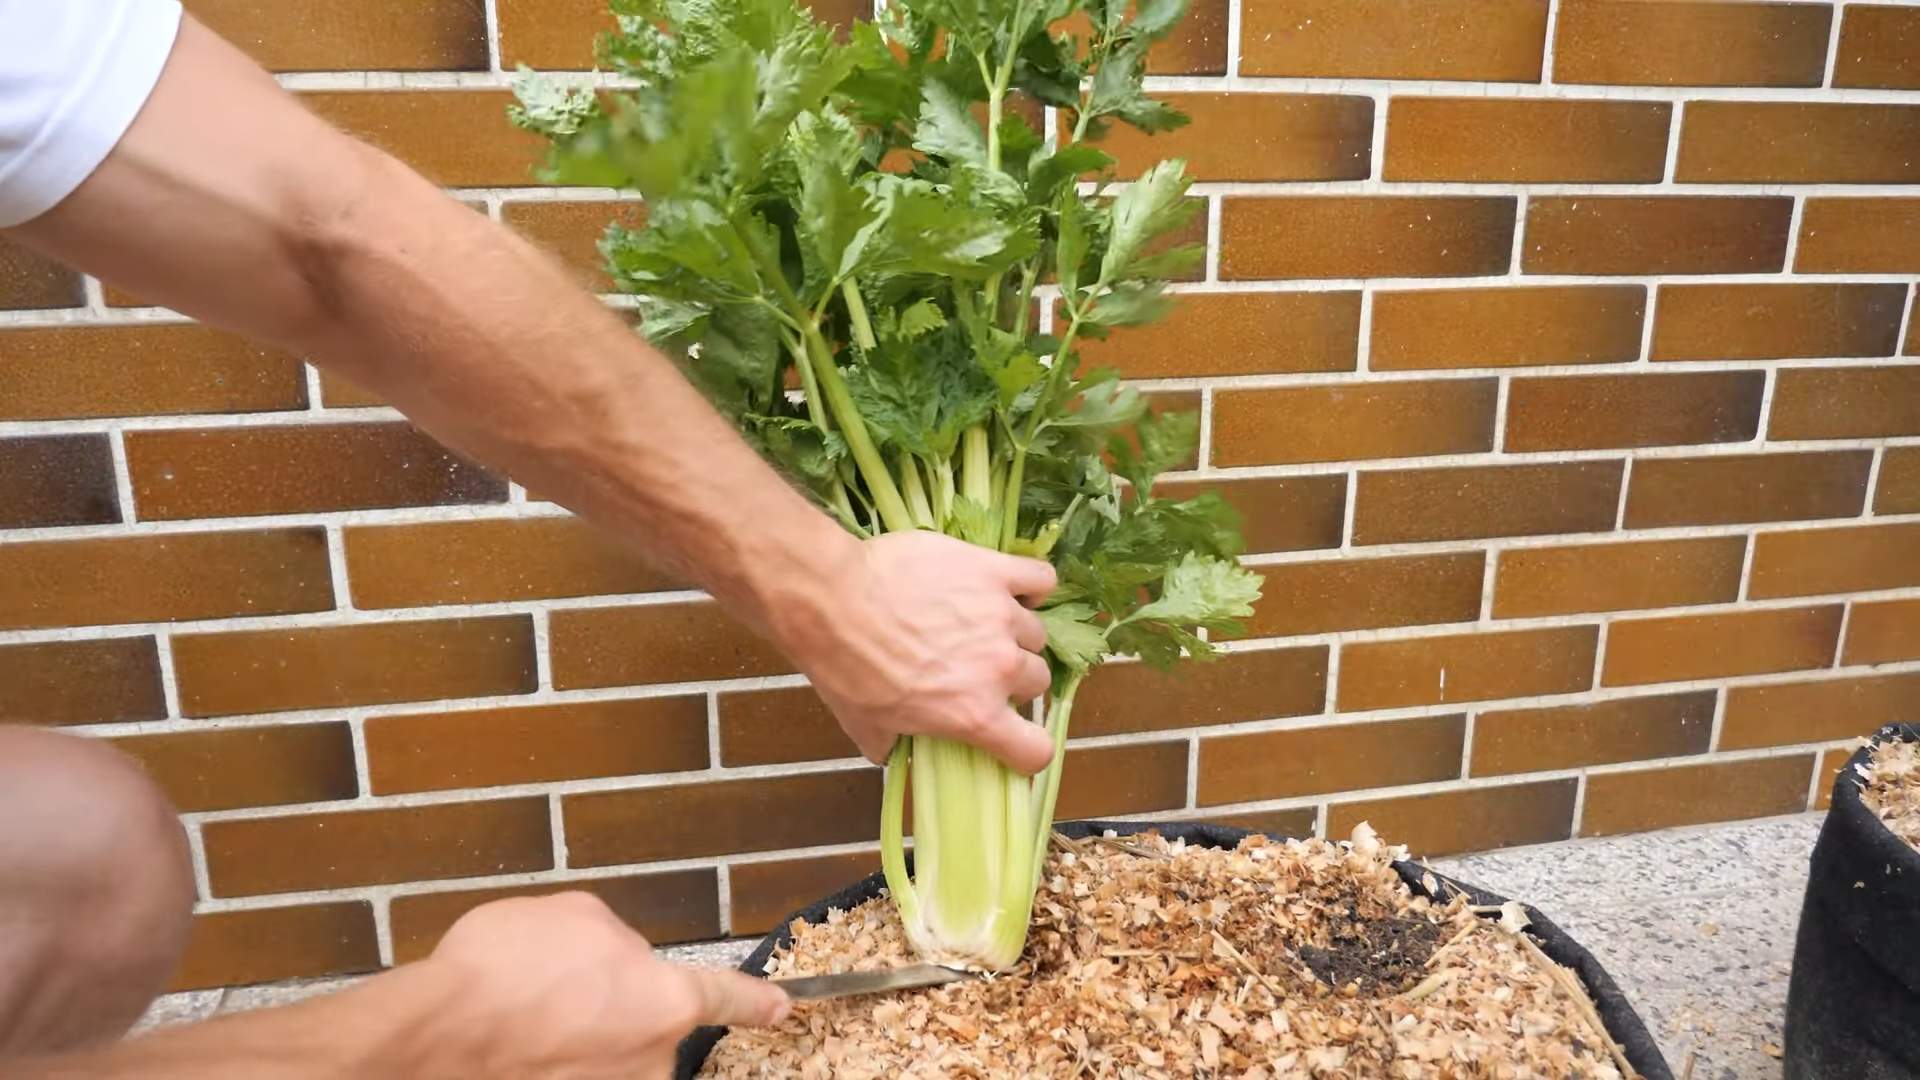
- Cut the base: You need about an inch or two of the base of the celery stalk, where the roots would normally grow. Make a clean, straight cut. This is the part we’ll be using to regrow the celery.
- Remove the outer leaves: Carefully peel away the outer leaves from the base. You want to expose the pale, inner part of the celery base. This will help the roots to develop more easily.
- Rinse thoroughly: Give your celery base a good rinse under cold water to remove any dirt or debris.
Phase 2: Planting Your Celery Base
- Choose your container: You can use a shallow dish, a small pot, or even a jar. Make sure it has drainage holes to prevent waterlogging. A container about 4-6 inches deep is ideal.
- Select your growing medium: I prefer to use a mix of potting soil and perlite. Perlite helps with drainage and aeration, which is crucial for healthy root development. You can also use a seed-starting mix. Avoid using garden soil directly, as it can contain diseases or pests.
- Fill your container: Fill your chosen container with your growing medium, leaving about half an inch of space at the top.
- Plant the celery base: Gently press the cut end of the celery base into the soil, ensuring that it’s firmly seated. The base should be completely submerged, with only the top leaves visible.
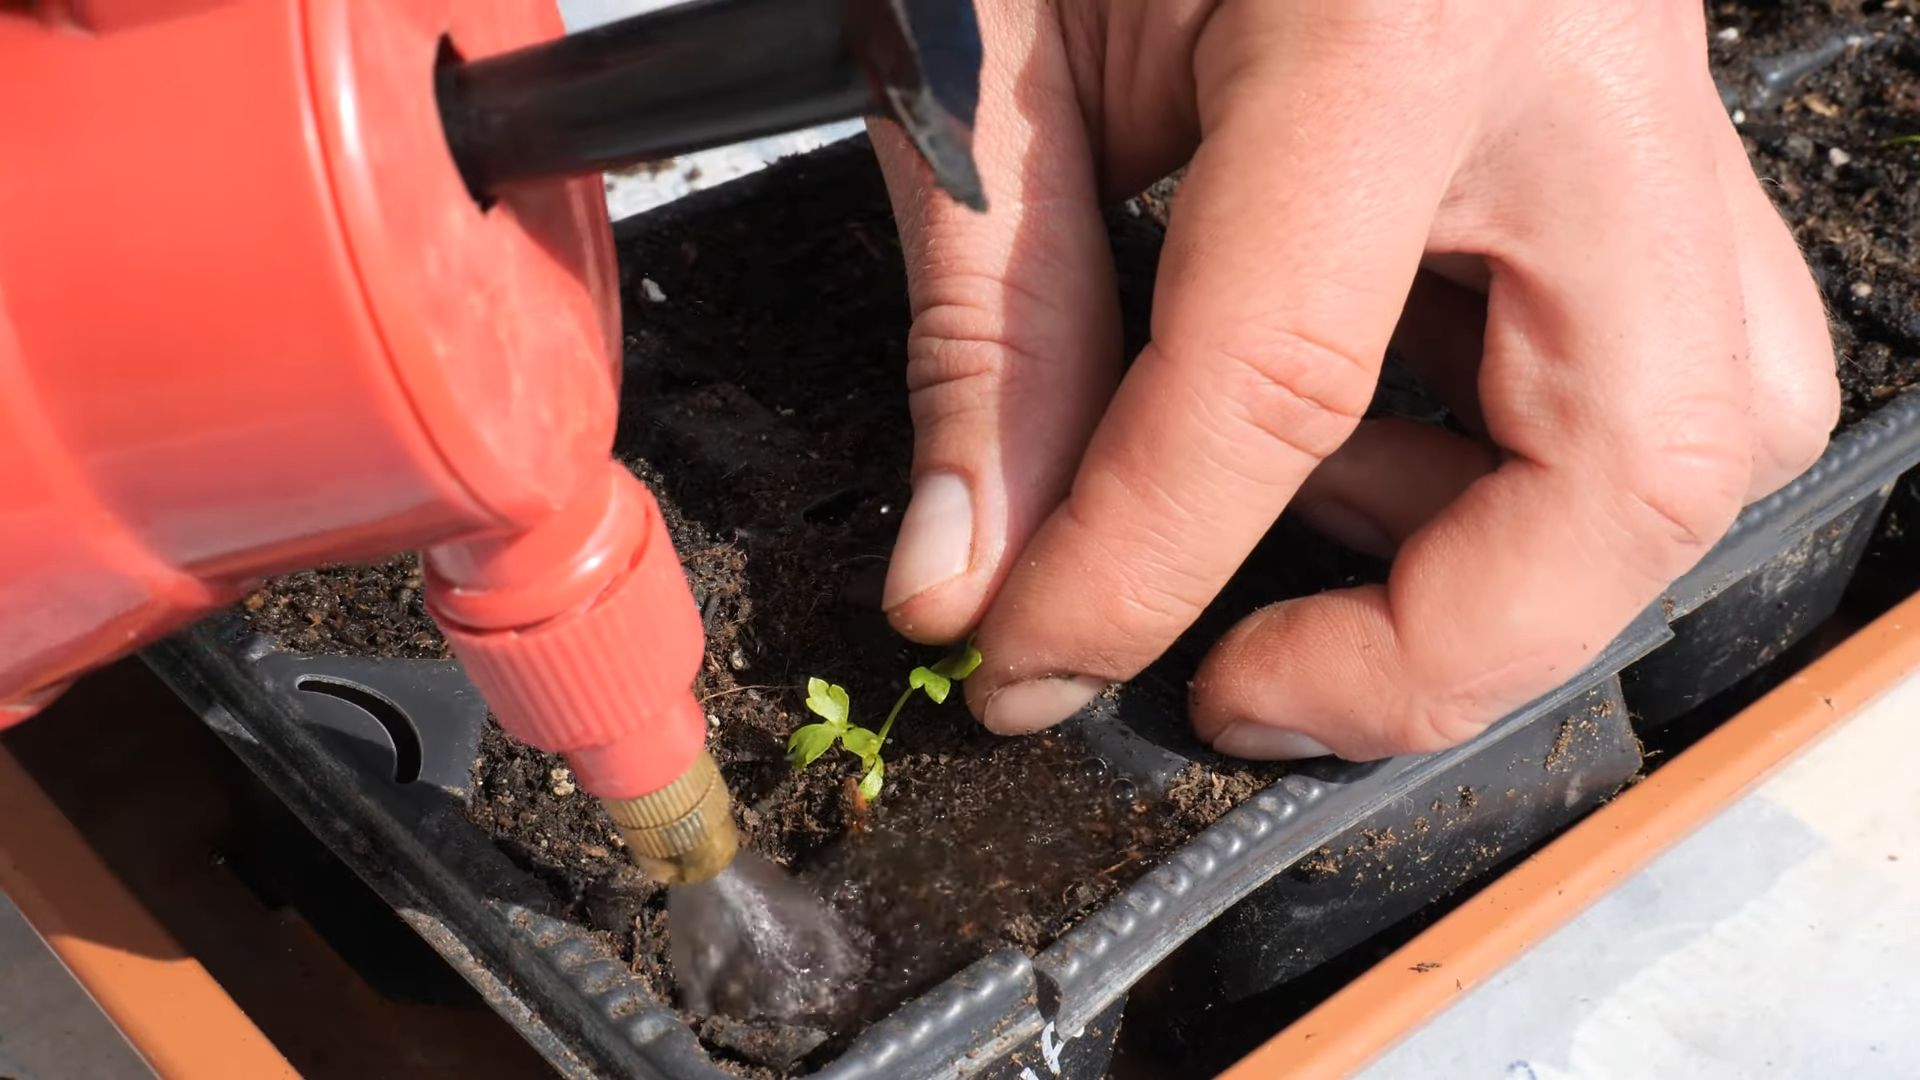
- Water gently: Water the soil thoroughly, but avoid overwatering. The soil should be moist but not soggy. Use a spray bottle to avoid disturbing the celery base.
Phase 3: Caring for Your Growing Celery
- Provide adequate sunlight: Place your container in a sunny location. Celery needs at least 6 hours of sunlight per day to thrive. A south-facing windowsill is ideal.
- Maintain consistent moisture: Keep the soil consistently moist, but not waterlogged. Check the soil daily and water when the top inch feels dry. Overwatering can lead to root rot.
- Monitor for pests and diseases: Regularly inspect your celery for any signs of pests or diseases. If you notice any problems, address them promptly. A weak solution of neem oil can be effective against many common pests.
- Fertilize (optional): You can fertilize your celery every 2-3 weeks with a diluted liquid fertilizer. This is not strictly necessary, but it can promote faster growth and healthier leaves. Use a balanced fertilizer, following the instructions on the package.
- Be patient: It takes time for celery to grow. You should start to see new growth within a few weeks. Be patient and continue to care for your plant.
Phase 4: Harvesting Your Homegrown Celery
- Harvesting time: You can start harvesting your celery once the new stalks reach a desirable size. This usually takes around 8-10 weeks, depending on the variety and growing conditions. You can harvest individual stalks as needed, or harvest the entire plant at once.
- Harvesting technique: To harvest individual stalks, carefully cut them at the base using a sharp knife. To harvest the entire plant, gently pull it from the soil.
- Enjoy your homegrown celery: Once harvested, store your celery in the refrigerator in a plastic bag to maintain its freshness.
Troubleshooting Common Problems
Yellowing Leaves:
Yellowing leaves can indicate overwatering, underwatering, or nutrient deficiencies. Check the soil moisture and adjust your watering schedule accordingly. If the problem persists, consider fertilizing your plant.
Slow Growth:
Slow growth can be due to insufficient sunlight, low temperatures, or nutrient deficiencies. Ensure your plant receives adequate sunlight and consider fertilizing it.
Root Rot:
Root rot is a common problem caused by overwatering. If you notice mushy or dark roots, it’s likely root rot. Unfortunately, this is often difficult to recover from. Prevention is key – ensure good drainage and avoid overwatering.
Pests:
Common pests include aphids and slugs. Inspect your plant regularly and take action if you notice any pests. Neem oil or insecticidal soap can be effective.
Tips for Success
- Use fresh celery: The fresher the celery, the better the chances of successful regrowth.
- Maintain consistent moisture: Avoid letting the soil dry out completely or become waterlogged.
- Provide adequate sunlight: Celery needs plenty of sunlight to thrive.
- Be patient: It takes time for celery to grow, so don’t get discouraged if you don’t see results immediately.
Growing your own celery is a rewarding experience. With a little patience and care, you can enjoy fresh, homegrown celery all year round!
Conclusion
So there you have it – a simple, yet incredibly rewarding method for growing your own celery at home! This DIY trick isn’t just about saving money on grocery bills; it’s about experiencing the satisfaction of nurturing a plant from its humble beginnings to a crisp, flavorful stalk ready for your next meal. Growing celery at home allows you to control the quality, freshness, and even the variety of celery you enjoy. Forget limp, tasteless store-bought celery; with this method, you’ll be harvesting vibrant, crunchy stalks bursting with flavor. The entire process is surprisingly straightforward, requiring minimal effort and resources, making it perfect for beginner gardeners and seasoned green thumbs alike. This simple technique transforms a seemingly mundane kitchen chore – discarding celery butts – into a rewarding gardening adventure. You’ll be amazed at how quickly your celery grows, and the sense of accomplishment is truly unparalleled. Beyond the delicious results, growing your own celery contributes to a more sustainable lifestyle, reducing your environmental footprint and connecting you more deeply with your food. Don’t just take our word for it – try it yourself!
You can experiment with different varieties of celery for a wider range of flavors and textures. Consider trying different types of soil mixes to find what works best in your environment. For a truly unique experience, try growing your celery hydroponically – a method that uses water instead of soil. This can be a fun and educational project for the whole family, especially children who will be fascinated by watching their celery grow. You can even incorporate this project into a science lesson, teaching about plant growth and the importance of water and sunlight. The possibilities are endless! Once you’ve successfully grown your own celery, share your experience with us! We’d love to see your thriving celery plants and hear about your successes (and any challenges you might have encountered). Post your photos and stories on social media using #GrowCeleryAtHome and tag us – we can’t wait to see what you create! Remember, the journey of growing your own food is as rewarding as the delicious results. So grab those celery butts, get planting, and enjoy the fruits (or rather, stalks!) of your labor. This simple DIY method for growing celery at home is a must-try for anyone looking to add a touch of green to their kitchen and a burst of flavor to their meals.
Frequently Asked Questions
What type of celery should I use for this method?
While you can use any type of celery, it’s best to start with a healthy, firm stalk. Avoid celery that shows signs of wilting or damage. The base of the celery, where the roots will grow, should be firm and free from rot.
How much sunlight does my celery need?
Celery thrives in bright, indirect sunlight. A location that receives at least six hours of sunlight per day is ideal. Avoid placing your celery in direct sunlight, especially during the hottest part of the day, as this can scorch the leaves.
What kind of soil is best for growing celery?
Celery prefers well-drained, fertile soil. A good quality potting mix is a great option. You can also amend your garden soil with compost or other organic matter to improve drainage and fertility. Ensure the soil is consistently moist but not waterlogged.
How often should I water my celery?
Water your celery regularly, keeping the soil consistently moist but not soggy. The frequency of watering will depend on factors such as temperature, humidity, and the type of container you’re using. Check the soil moisture regularly and water when the top inch feels dry.
How long does it take for celery to grow?
The time it takes for celery to mature depends on the variety and growing conditions. Generally, you can expect to harvest your celery within 70-90 days from planting. However, you can start harvesting some outer stalks earlier, as soon as they reach a desirable size.
What should I do if my celery starts to bolt?
Bolting, which is when the celery plant sends up a flower stalk, is a sign that the plant is stressed, often due to heat or drought. If your celery starts to bolt, try to provide more shade and consistent moisture. While the stalks may not be as crisp, you can still harvest them and use them in cooking.
Can I grow celery in a container?
Absolutely! Growing celery in a container is a great option, especially if you have limited space. Choose a container that is at least 12 inches deep and wide to allow for adequate root growth. Ensure the container has drainage holes to prevent waterlogging.
What are some common problems when growing celery and how can I solve them?
Common problems include pests like aphids and diseases like leaf spot. Regularly inspect your celery plants for signs of pests or diseases. Use insecticidal soap or neem oil to control pests, and ensure good air circulation to prevent fungal diseases. Maintaining proper soil moisture and avoiding overhead watering can also help prevent many problems.
My celery stalks are not very crisp, what could be wrong?
Lack of crispness can be due to several factors, including insufficient water, excessive heat, or nutrient deficiencies. Ensure your celery is receiving adequate water and is not exposed to excessive heat. Consider using a balanced fertilizer to provide the necessary nutrients.
Can I save seeds from my homegrown celery to plant next year?
While you can try to save seeds from your celery, it’s generally more reliable to purchase new seeds each year. Celery seeds can be challenging to collect and may not always produce plants that are true to the parent plant.

Leave a Comment