

Grow Brussels Sprouts Indoors? Absolutely! Forget the sprawling garden and unpredictable weather. I’m here to tell you that you can cultivate these mini-cabbages right in the comfort of your own home. For centuries, Brussels sprouts have been a staple in European cuisine, with their cultivation dating back to 13th-century Belgium – hence the name! But who says you need a Belgian farm to enjoy them fresh?
Let’s be honest, growing your own food is incredibly rewarding, but not everyone has the space or climate for a traditional garden. That’s where the magic of indoor gardening comes in. Imagine harvesting your own, perfectly formed Brussels sprouts, knowing exactly where they came from and what went into growing them. No more bland, store-bought sprouts! This DIY guide will walk you through every step, from selecting the right variety to providing the perfect light and nutrients.
I’ll show you how to grow Brussels sprouts indoors successfully, even if you’ve never grown anything before. Get ready to impress your friends and family with your green thumb and enjoy the delicious, homegrown flavor of Brussels sprouts all year round!
Growing Brussels Sprouts Indoors: A Comprehensive Guide
Okay, so you want to grow Brussels sprouts indoors? Awesome! It’s totally doable, and while it might seem a little intimidating at first, I promise it’s a rewarding experience. Get ready for some homegrown goodness! This guide will walk you through everything you need to know, from seed to harvest.
Choosing the Right Variety
First things first, not all Brussels sprouts varieties are created equal, especially when it comes to indoor growing. We need to pick varieties that are more compact and mature relatively quickly.
* ‘Jade Cross E’: This is a popular choice for smaller spaces. It produces good yields of medium-sized sprouts.
* ‘Long Island Improved’: Another reliable variety that’s known for its consistent sprout production.
* ‘Rubine’: If you’re looking for something a little different, ‘Rubine’ offers beautiful purple sprouts. It might take a bit longer to mature, but the color is worth it!
Getting Started: Planting the Seeds
Let’s get those seeds germinating! This is where the magic begins.
1. Gather Your Supplies: You’ll need:
* Brussels sprouts seeds (of course!)
* Seed starting trays or small pots (2-3 inches in diameter)
* Seed starting mix (this is different from regular potting soil – it’s lighter and better for germination)
* A spray bottle filled with water
* A heat mat (optional, but it speeds things up)
* A grow light (essential for indoor growing)
2. Sow the Seeds:
* Moisten the seed starting mix. It should be damp, not soaking wet.
* Fill the seed starting trays or pots with the moistened mix.
* Make a small indentation (about ¼ inch deep) in the center of each cell or pot.
* Place 2-3 seeds in each indentation. This increases your chances of at least one seed germinating.
* Gently cover the seeds with more seed starting mix.
* Lightly mist the surface with water.
3. Create the Ideal Germination Environment:
* Cover the seed starting trays or pots with a clear plastic dome or plastic wrap to create a humid environment.
* Place the trays or pots on a heat mat (if using). The ideal soil temperature for germination is between 65-75°F (18-24°C).
* Place the trays or pots under a grow light. Keep the light on for 14-16 hours per day.
* Monitor the moisture level daily. Keep the soil consistently moist, but not waterlogged.
4. Wait for Germination:
* Brussels sprouts seeds typically germinate within 5-10 days.
* Once the seedlings emerge, remove the plastic dome or plastic wrap.
* Continue to provide light and maintain consistent moisture.
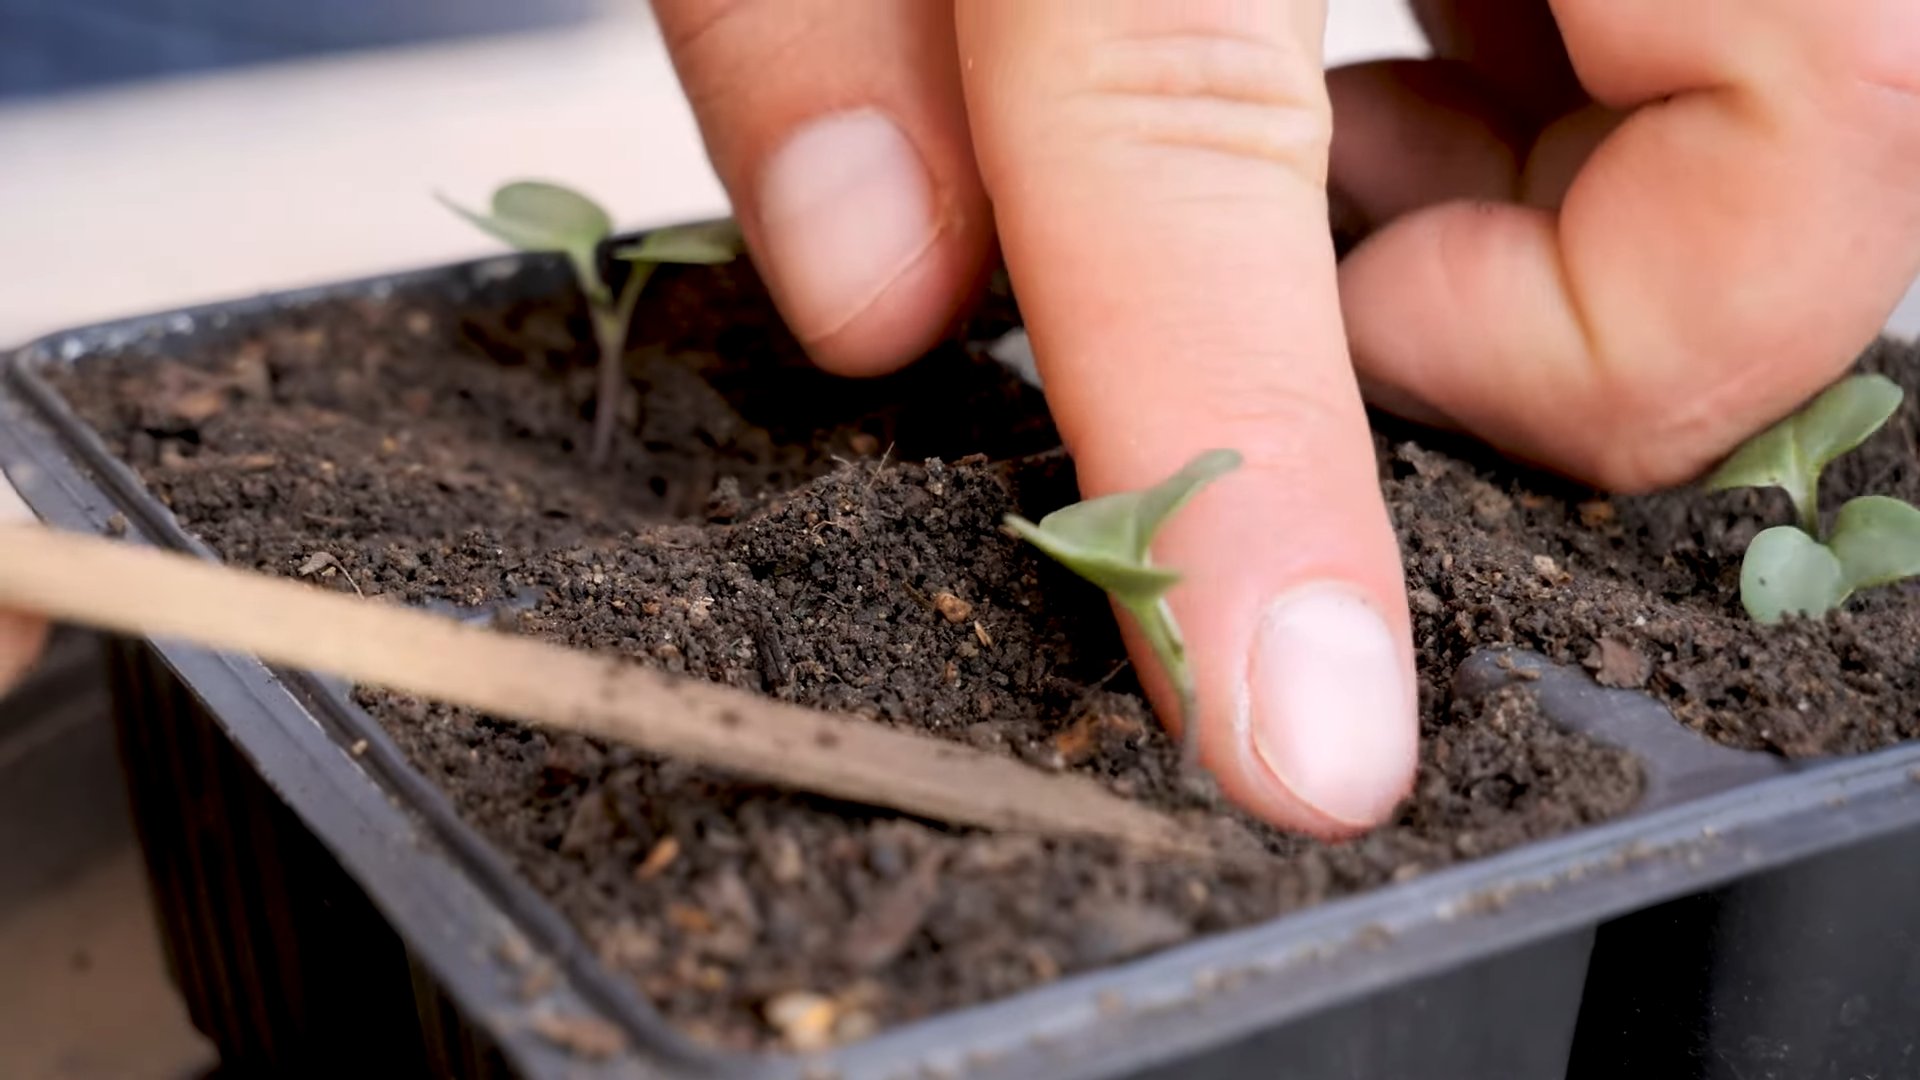
Transplanting Seedlings
Once your seedlings have developed a few sets of true leaves (those are the leaves that look like miniature versions of adult Brussels sprouts leaves), it’s time to transplant them into larger containers.
1. Prepare Your Containers:
* You’ll need pots that are at least 12 inches in diameter and 12 inches deep. Brussels sprouts need plenty of room for their roots to grow.
* Use a high-quality potting mix that’s well-draining.
* Make sure the pots have drainage holes to prevent waterlogging.
2. Gently Remove the Seedlings:
* Carefully loosen the soil around the seedlings in the seed starting trays or pots.
* Gently lift the seedlings out, being careful not to damage the roots.
* If you planted multiple seeds in each cell or pot, choose the strongest seedling and snip off the others at the soil line. This prevents overcrowding.
3. Transplant the Seedlings:
* Fill the larger pots with potting mix, leaving a few inches of space at the top.
* Make a hole in the center of each pot that’s large enough to accommodate the seedling’s root ball.
* Place the seedling in the hole and gently backfill with potting mix.
* Water thoroughly after transplanting.
Caring for Your Brussels Sprouts
Now that your Brussels sprouts are in their permanent homes, it’s time to provide them with the care they need to thrive.
1. Light:
* Brussels sprouts need at least 6 hours of direct sunlight per day. If you’re growing them indoors, you’ll definitely need a strong grow light.
* Position the grow light about 6-12 inches above the plants.
* Keep the light on for 14-16 hours per day.
2. Watering:
* Water your Brussels sprouts regularly, keeping the soil consistently moist but not waterlogged.
* Check the soil moisture by sticking your finger about an inch into the soil. If it feels dry, it’s time to water.
* Avoid getting water on the leaves, as this can promote fungal diseases.
3. Fertilizing:
* Brussels sprouts are heavy feeders, so they need regular fertilization.
* Start fertilizing about 2-3 weeks after transplanting.
* Use a balanced liquid fertilizer (e.g., 10-10-10) diluted to half strength.
* Fertilize every 2-3 weeks.
4. Temperature:
* Brussels sprouts prefer cool temperatures, ideally between 60-70°F (15-21°C).
* Avoid exposing them to temperatures above 80°F (27°C) for extended periods.
5. Air Circulation:
* Good air circulation is important for preventing fungal diseases.
* Make sure there’s adequate space between your plants.
* You can also use a small fan to improve air circulation.
6. Pest Control:
* Indoors, pests are less of a problem than outdoors, but you still need to be vigilant.
* Common pests that can affect Brussels sprouts include aphids, spider mites, and whiteflies.
* Inspect your plants regularly for signs of pests.
* If you find pests, you can try washing them off with a strong stream of water or using insecticidal soap.
Dealing with Common Problems
Even with the best care, you might encounter some problems along the way. Here are a few common issues and how to address them:
* Yellowing Leaves: This can be caused by overwatering, underwatering, nutrient deficiencies, or pests. Check the soil moisture, fertilize if necessary, and inspect for pests.
* Sprouts Not Forming: This can be caused by insufficient light, high temperatures, or nutrient deficiencies. Make sure your plants are getting enough light, keep them cool, and fertilize regularly.
* Leggy Growth: This is usually caused by insufficient light. Make sure your plants are getting enough light, and consider moving them closer to the grow light.
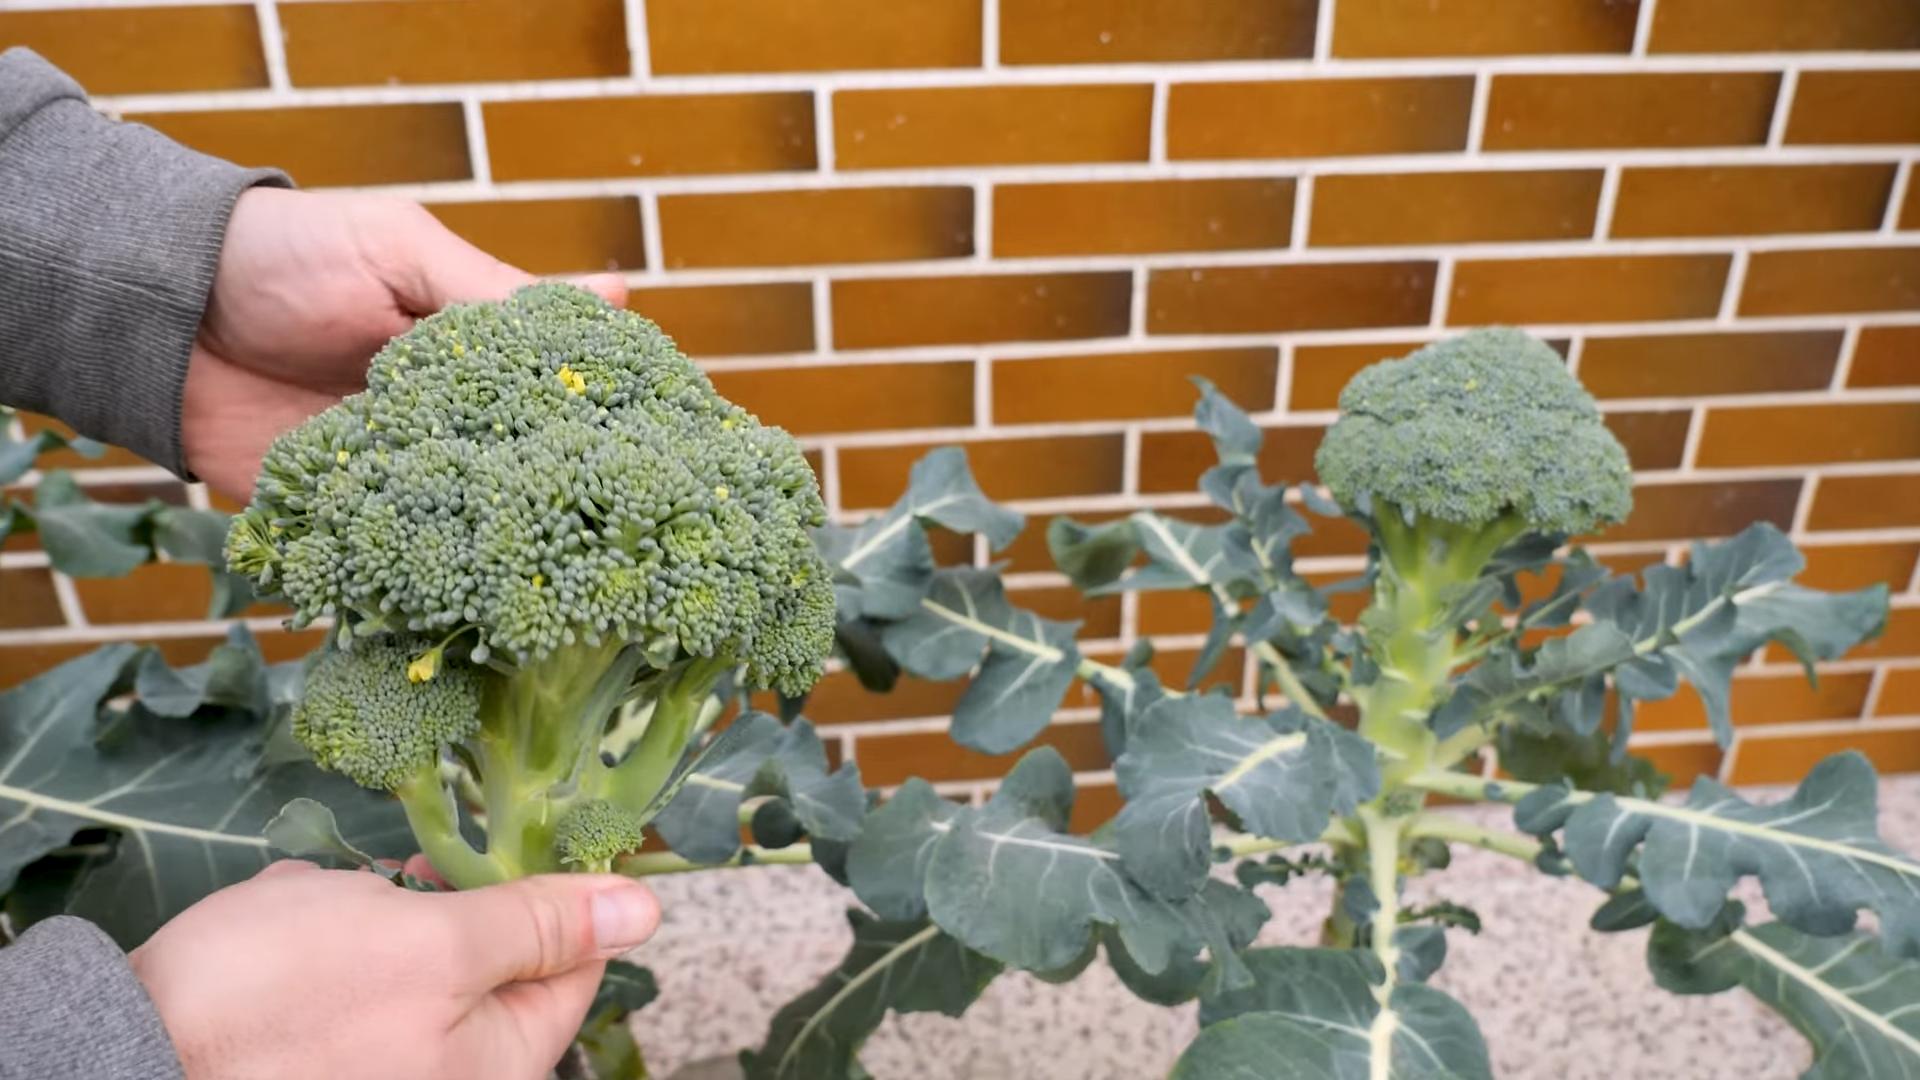
Harvesting Your Brussels Sprouts
The moment you’ve been waiting for! Harvesting your homegrown Brussels sprouts is incredibly satisfying.
1. When to Harvest:
* Brussels sprouts are typically ready to harvest about 90-100 days after planting.
* The sprouts should be firm, green, and about 1-2 inches in diameter.
* The lower sprouts on the stalk will mature first.
2. How to Harvest:
* Grasp the sprout firmly and twist it until it snaps off the stalk.
* You can harvest the sprouts gradually, starting with the lower ones and working your way up the stalk.
* After harvesting the lower sprouts, you can remove the leaves below them to encourage the plant to focus its energy on producing more sprouts higher up the stalk.
3. Storing Your Harvest:
* Freshly harvested Brussels sprouts can be stored in the refrigerator for up to a week.
* For longer storage, you can freeze them. Blanch them in boiling water for 3-5 minutes, then plunge them into ice water to stop the cooking process. Drain them well and store them in freezer bags.
Tips for Success
Here are a few extra tips to help you succeed with growing Brussels sprouts indoors:
* Rotate Your Crops: Don’t grow Brussels sprouts in the same pot year after year. This can deplete the soil of nutrients and increase the risk of disease.
* Pinch Out the Growing Tip: About a month before you want to harvest, pinch out the growing tip of the plant. This will encourage the plant to focus its energy on developing the sprouts.
* Be Patient: Growing Brussels sprouts takes time and effort. Don’t
Conclusion
So, there you have it! Growing Brussels sprouts indoors might seem like a challenge reserved for seasoned gardeners, but with a little patience and the right approach, you can absolutely cultivate these nutritious and delicious vegetables right in your own home. This DIY trick isn’t just about saving money; it’s about connecting with your food, understanding the growing process, and enjoying the unparalleled freshness of homegrown produce. Imagine the satisfaction of harvesting your own Brussels sprouts on a cold winter day, knowing you nurtured them from tiny seedlings to mature, edible delights.
This method offers a fantastic way to extend your growing season, especially if you live in a region with harsh winters or limited outdoor space. Plus, indoor growing gives you greater control over the environment, minimizing the risk of pests and diseases that can plague outdoor crops. You can tailor the temperature, humidity, and light levels to create the ideal conditions for your Brussels sprouts to thrive.
Why is this DIY trick a must-try? Because it empowers you to take control of your food source, reduces your reliance on store-bought vegetables, and provides a rewarding and educational gardening experience. It’s a sustainable and eco-friendly way to enjoy fresh, healthy food year-round.
Variations and Suggestions:
* Experiment with different varieties: While ‘Long Island Improved’ is a popular choice, explore other Brussels sprouts varieties that might be better suited to indoor growing or your personal taste preferences. Some dwarf varieties are specifically bred for container gardening and may be a good option.
* Hydroponics: For a more advanced approach, consider growing your Brussels sprouts hydroponically. This method eliminates the need for soil and can result in faster growth and higher yields.
* Companion planting: Even indoors, you can incorporate companion plants like marigolds or basil to deter pests and improve the overall health of your Brussels sprouts.
* Succession planting: To ensure a continuous harvest, plant new seeds every few weeks. This will stagger the maturity dates and provide you with a steady supply of fresh Brussels sprouts.
* Fertilizer adjustments: Monitor your plants closely and adjust the fertilizer schedule as needed. Over-fertilizing can lead to leggy growth, while under-fertilizing can stunt their development.
We strongly encourage you to give this DIY trick a try. It’s a fun, rewarding, and ultimately delicious way to enhance your gardening skills and enjoy fresh, homegrown Brussels sprouts. Don’t be afraid to experiment, adapt the techniques to your specific environment, and most importantly, have fun!
Once you’ve successfully grown your own Brussels sprouts indoors, we’d love to hear about your experience. Share your tips, tricks, and photos in the comments below. Let’s build a community of indoor Brussels sprouts enthusiasts and learn from each other’s successes and challenges. Happy growing! Remember, mastering the art of growing Brussels sprouts indoors is within your reach, and the rewards are well worth the effort.
Frequently Asked Questions (FAQ)
Q: What is the best time of year to start growing Brussels sprouts indoors?
A: You can start growing Brussels sprouts indoors at any time of year, but it’s generally best to start in late winter or early spring if you plan to transplant them outdoors later. If you intend to keep them indoors throughout their entire life cycle, you can start them whenever you have the space and resources available. Starting in the fall can provide a winter harvest.
Q: What kind of lighting do Brussels sprouts need indoors?
A: Brussels sprouts require a significant amount of light, ideally 6-8 hours of direct sunlight per day. If you don’t have access to enough natural light, you’ll need to supplement with grow lights. LED grow lights are a great option because they are energy-efficient and provide the full spectrum of light that plants need to thrive. Fluorescent grow lights can also be used, but they may not be as efficient. Position the lights close enough to the plants to provide adequate illumination, but not so close that they burn the leaves.
Q: What type of soil is best for growing Brussels sprouts indoors?
A: A well-draining potting mix is essential for growing Brussels sprouts indoors. Avoid using garden soil, as it can be too heavy and may contain pests or diseases. A good potting mix will typically contain a blend of peat moss, perlite, and vermiculite. You can also add compost to the mix to provide additional nutrients. Ensure the pot has drainage holes to prevent waterlogging.
Q: How often should I water my indoor Brussels sprouts?
A: Water your Brussels sprouts regularly, keeping the soil consistently moist but not waterlogged. Check the soil moisture level by sticking your finger about an inch into the soil. If it feels dry, it’s time to water. Water deeply, allowing the excess water to drain out of the bottom of the pot. Avoid overhead watering, as this can promote fungal diseases.
Q: What kind of fertilizer do Brussels sprouts need?
A: Brussels sprouts are heavy feeders and require regular fertilization. Use a balanced fertilizer with an NPK ratio of around 10-10-10 or 14-14-14. Start fertilizing when the seedlings are a few weeks old and continue throughout the growing season. Follow the instructions on the fertilizer package carefully, as over-fertilizing can damage the plants. You can also use organic fertilizers, such as compost tea or fish emulsion.
Q: How do I deal with pests and diseases on my indoor Brussels sprouts?
A: Indoor Brussels sprouts are less susceptible to pests and diseases than outdoor plants, but they can still be affected. Common pests include aphids, spider mites, and whiteflies. You can control these pests by spraying the plants with insecticidal soap or neem oil. Fungal diseases, such as powdery mildew, can be prevented by ensuring good air circulation and avoiding overhead watering. If you notice any signs of disease, remove the affected leaves immediately.
Q: How long does it take to grow Brussels sprouts indoors?
A: It typically takes 80-100 days from seed to harvest for Brussels sprouts. The exact time will depend on the variety, growing conditions, and your climate. Be patient, and don’t harvest the sprouts until they are firm and tightly closed.
Q: How do I harvest Brussels sprouts?
A: Harvest Brussels sprouts from the bottom of the stalk upwards. The sprouts are ready to harvest when they are firm, green, and about 1-2 inches in diameter. Twist or cut the sprouts off the stalk, leaving the leaves intact. You can continue to harvest sprouts as they mature, working your way up the stalk.
Q: Can I grow Brussels sprouts indoors year-round?
A: Yes, you can grow Brussels sprouts indoors year-round, provided you have the right growing conditions. You’ll need to provide adequate light, temperature, and humidity. Succession planting is key to ensuring a continuous harvest.
Q: My Brussels sprouts are growing tall and leggy. What am I doing wrong?
A: Leggy growth is often a sign of insufficient light. Make sure your Brussels sprouts are getting enough sunlight or grow light exposure. You may also need to provide support for the plants as they grow taller.
Q: The sprouts on my Brussels sprouts plant are loose and not tightly closed. What’s wrong?
A: Loose sprouts can be caused by several factors, including insufficient light, inconsistent watering, or nutrient deficiencies. Make sure your plants are getting enough light and water, and fertilize them regularly. Extreme temperature fluctuations can also contribute to this issue.
Q: Can I transplant my indoor-grown Brussels sprouts outdoors?
A: Yes, you can transplant your indoor-grown Brussels sprouts outdoors, but you’ll need to harden them off first. This involves gradually exposing the plants to outdoor conditions over a period of a week or two. Start by placing the plants in a sheltered location for a few hours each day, gradually increasing the amount of time they spend outdoors. This will help them acclimate to the sun, wind, and temperature changes.
Leave a Comment