

Grow Broccoli From Seed and unlock the satisfaction of harvesting your own delicious, nutrient-packed florets right from your backyard! Have you ever imagined serving a vibrant, homegrown broccoli dish to your family, knowing exactly where it came from and how it was nurtured? It’s easier than you think, and this DIY guide will walk you through every step.
Broccoli, a member of the Brassica family, has a rich history dating back to ancient Rome, where it was prized for its nutritional value and unique flavor. Over centuries, it has become a staple in cuisines worldwide. But beyond its culinary appeal, growing your own broccoli offers a connection to this history and a sense of self-sufficiency that’s incredibly rewarding.
In today’s world, where we’re increasingly conscious of food sources and sustainability, learning to grow broccoli from seed is more important than ever. Store-bought broccoli can be expensive, and you often don’t know how it was grown or what pesticides were used. By taking matters into your own hands, you can ensure a fresh, organic supply of this superfood for your table. Plus, let’s be honest, there’s nothing quite like the taste of vegetables you’ve grown yourself! So, let’s dive in and discover the secrets to successfully cultivating your own broccoli patch. I’m excited to share these simple, effective tricks and hacks that will have you harvesting beautiful broccoli heads in no time!
Growing Broccoli From Seed: A Complete DIY Guide
Hey there, fellow gardening enthusiasts! I’m so excited to share my tried-and-true method for growing broccoli from seed. It’s surprisingly easy, incredibly rewarding, and way cheaper than buying those pre-grown plants from the nursery. Plus, you get to choose from a wider variety of broccoli types! Let’s dive in!
Why Grow Broccoli From Seed?
Before we get started, let’s quickly touch on why growing from seed is the way to go:
* Cost-Effective: Seeds are significantly cheaper than starter plants.
* Variety: You’ll have access to a much broader range of broccoli varieties, including heirlooms and unique cultivars.
* Control: You have complete control over the growing process, from soil to fertilizer.
* Satisfaction: There’s nothing quite like the feeling of harvesting broccoli you grew from a tiny seed!
Materials You’ll Need
Okay, let’s gather our supplies. Here’s what you’ll need to grow broccoli from seed:
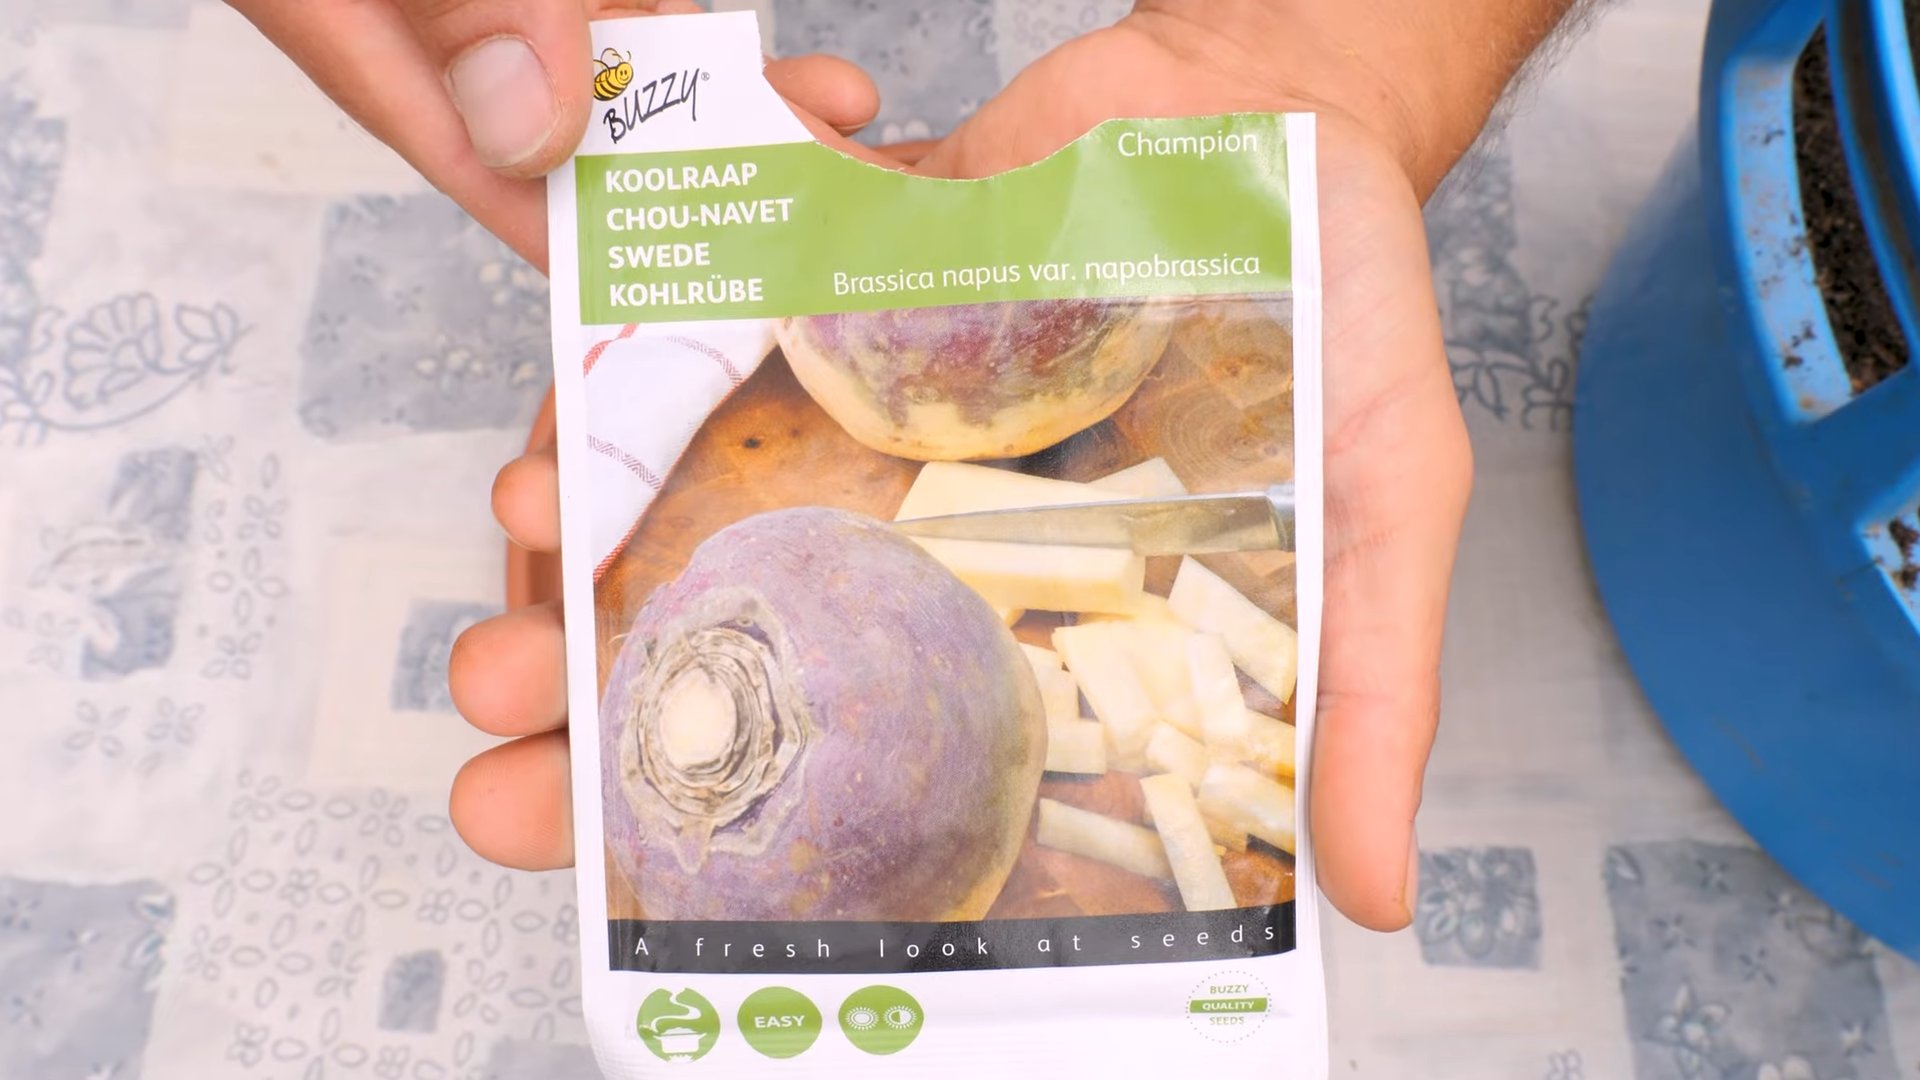
* Broccoli Seeds: Choose a variety that suits your climate and preferences. Some popular options include ‘Waltham 29’, ‘DiCicco’, and ‘Calabrese’.
* Seed Starting Trays or Pots: I prefer seed starting trays with individual cells, but small pots work just as well.
* Seed Starting Mix: This is a lightweight, sterile soil mix specifically designed for starting seeds. Don’t use garden soil!
* Watering Can or Spray Bottle: For gentle watering.
* Grow Lights (Optional but Recommended): Especially if you’re starting seeds indoors before the last frost.
* Heat Mat (Optional): To speed up germination.
* Labels and a Permanent Marker: To keep track of your varieties.
* Small Trowel or Spoon: For transplanting seedlings.
* Fertilizer: A balanced fertilizer for seedlings, diluted to half strength.
* Garden Soil: For transplanting into your garden.
* Compost or Aged Manure: To enrich your garden soil.
Timing is Everything: When to Start Your Seeds
Broccoli is a cool-season crop, which means it thrives in cooler temperatures. The timing of your seed starting will depend on your climate and the specific variety of broccoli you’re growing.
* For Spring Harvest: Start seeds indoors 6-8 weeks before the last expected frost.
* For Fall Harvest: Start seeds indoors 10-12 weeks before the first expected frost.
Check your local frost dates to determine the best time to start your seeds. I usually start my spring broccoli in late February or early March, and my fall broccoli in July.
Starting Your Broccoli Seeds Indoors: Step-by-Step
Alright, let’s get our hands dirty! Here’s how to start your broccoli seeds indoors:
1. Prepare Your Seed Starting Trays or Pots: Fill your seed starting trays or pots with seed starting mix. Gently tap the trays to settle the mix.
2. Sow Your Seeds: Make a small indentation (about 1/4 inch deep) in the center of each cell or pot. Place 2-3 broccoli seeds in each indentation. This increases your chances of at least one seed germinating.
3. Cover the Seeds: Gently cover the seeds with seed starting mix.
4. Water Thoroughly: Use a watering can or spray bottle to thoroughly moisten the seed starting mix. Be careful not to wash away the seeds.
5. Provide Warmth: Place your seed starting trays or pots on a heat mat (if using) and cover them with a humidity dome or plastic wrap. This will help to create a warm, humid environment that is ideal for germination.
6. Provide Light: Place your seed starting trays or pots under grow lights. If you don’t have grow lights, you can place them in a sunny window, but be sure to rotate them regularly to prevent the seedlings from becoming leggy.
7. Monitor Moisture: Keep the seed starting mix consistently moist, but not soggy. Check the moisture level daily and water as needed.
8. Germination: Broccoli seeds typically germinate within 5-10 days. Once the seedlings emerge, remove the humidity dome or plastic wrap.
9. Thinning: Once the seedlings have developed their first true leaves (the leaves that look like miniature broccoli leaves), thin them to one seedling per cell or pot. Use small scissors to snip off the weaker seedlings at the soil line. Don’t pull them out, as this can disturb the roots of the remaining seedling.
10. Fertilizing: Start fertilizing your seedlings with a diluted balanced fertilizer (half strength) once a week.
11. Hardening Off: About a week before you plan to transplant your seedlings into the garden, you’ll need to “harden them off.” This process gradually acclimates the seedlings to outdoor conditions. Start by placing the seedlings outdoors in a sheltered location for a few hours each day, gradually increasing the amount of time they spend outdoors. Protect them from direct sunlight and strong winds.
Transplanting Your Broccoli Seedlings into the Garden
Once your seedlings are about 4-6 inches tall and have been hardened off, they’re ready to be transplanted into the garden.
1. Prepare Your Garden Bed: Choose a sunny location in your garden with well-drained soil. Broccoli needs at least 6 hours of sunlight per day. Amend the soil with compost or aged manure to improve its fertility and drainage.
2. Space Your Seedlings: Space your broccoli seedlings 18-24 inches apart in rows that are 24-36 inches apart. This will give them enough room to grow and mature.
3. Dig Holes: Dig holes that are slightly larger than the root balls of your seedlings.
4. Transplant Carefully: Gently remove the seedlings from their trays or pots. Be careful not to damage the roots. Place the seedlings in the holes and backfill with soil.
5. Water Thoroughly: Water the seedlings thoroughly after transplanting.
6. Mulch: Apply a layer of mulch around the seedlings to help retain moisture, suppress weeds, and regulate soil temperature. Straw, wood chips, or shredded leaves are all good options.
Caring for Your Broccoli Plants
Now that your broccoli plants are in the garden, it’s important to provide them with the care they need to thrive.
* Watering: Broccoli needs consistent moisture, especially during hot, dry weather. Water deeply and regularly, aiming for about 1-1.5 inches of water per week.
* Fertilizing: Fertilize your broccoli plants every 2-3 weeks with a balanced fertilizer.
* Weeding: Keep your garden bed free of weeds, as they can compete with your broccoli plants for nutrients and water.
* Pest Control: Broccoli is susceptible to a few common pests, including cabbage worms, aphids, and flea beetles. Inspect your plants regularly and take action if you see any signs of infestation. You can use organic pest control methods, such as insecticidal soap or neem oil.
* Support: Some broccoli varieties may need support as they grow taller. You can use stakes or cages to prevent them from falling over.
Harvesting Your Broccoli
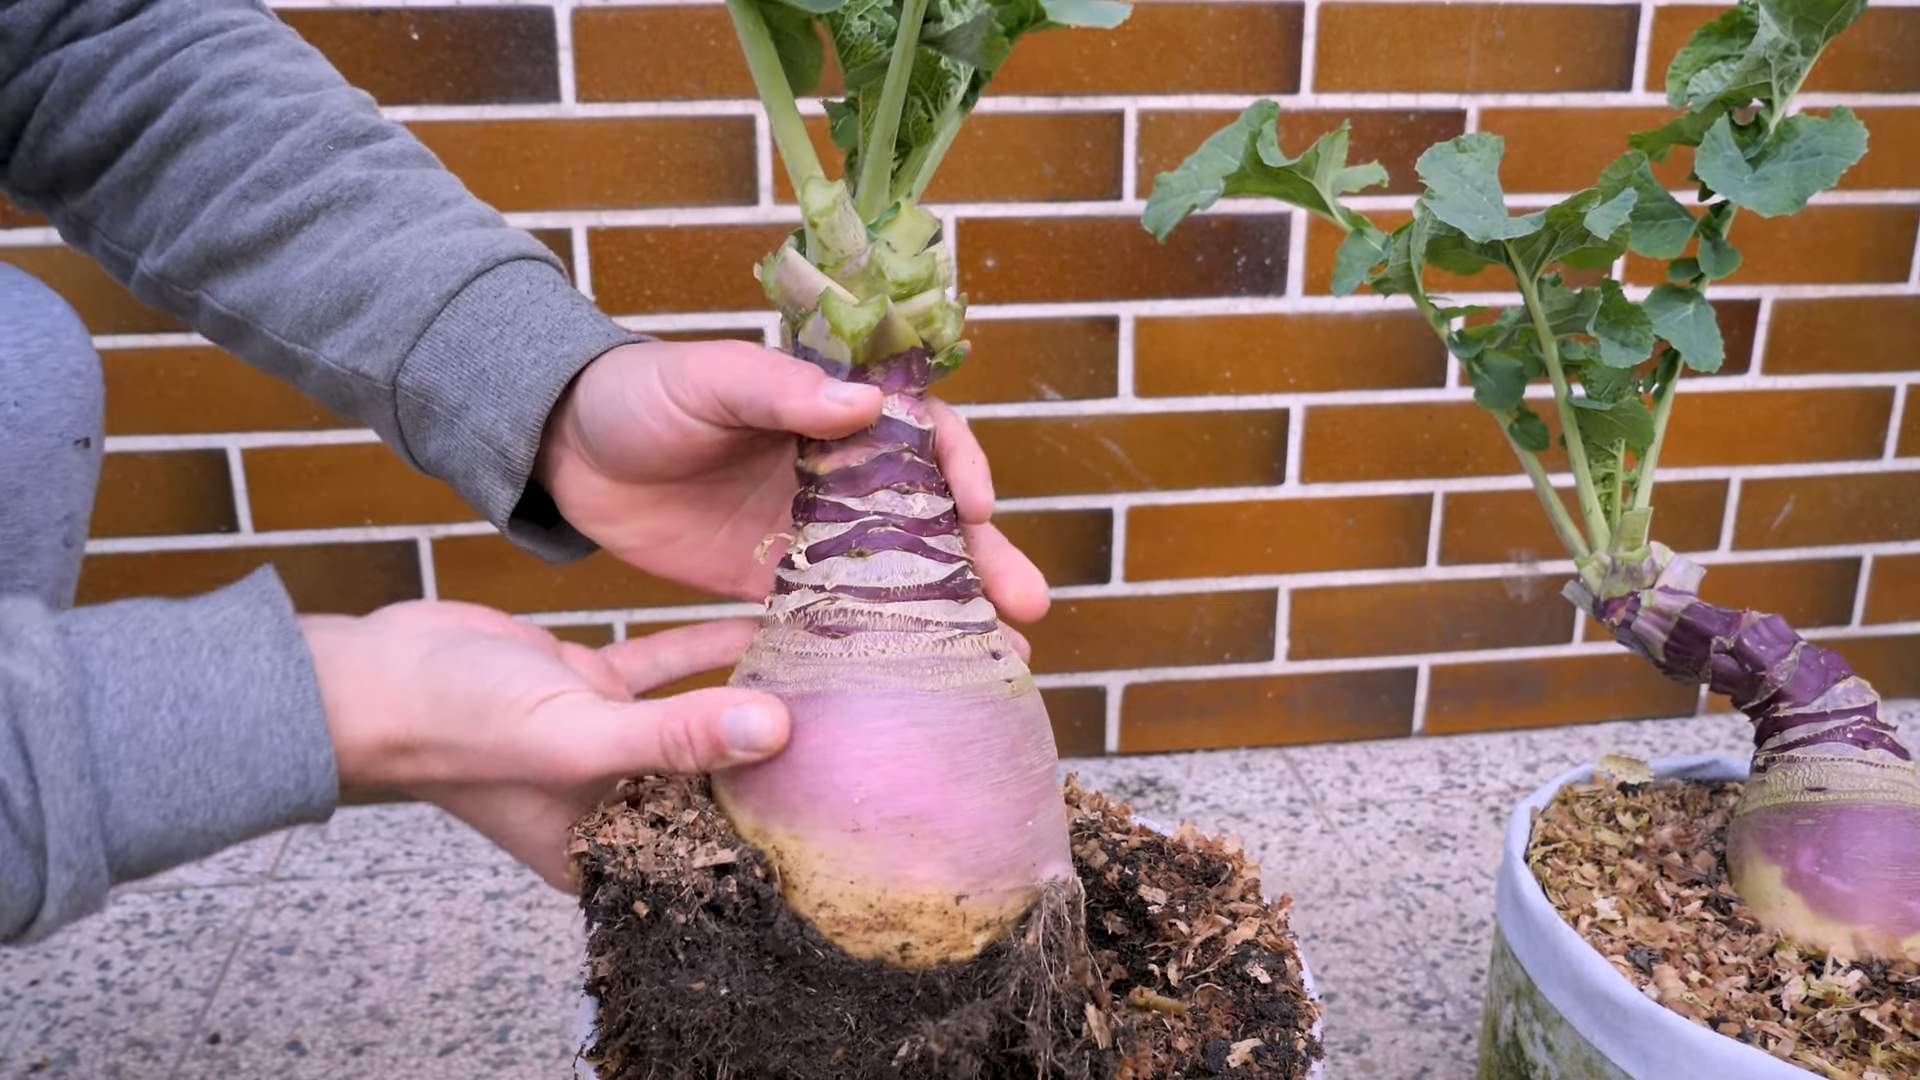
The moment we’ve all been waiting for! Broccoli is ready to harvest when the central head is firm and tight, and the individual florets are still closed.
1. Harvest the Central Head: Use a sharp knife to cut the central head from the plant, leaving about 4-6 inches of stem.
2. Encourage Side Shoots: After you harvest the central head, the plant will produce side shoots with smaller broccoli heads. These side shoots will continue to produce broccoli for several weeks.
3. Harvest Side Shoots: Harvest the side shoots when they are firm and tight, just like the central head.
Troubleshooting Common Broccoli Problems
Even with the best care, you may encounter some problems while growing broccoli. Here are a few common issues and how to address them:
* Buttoning: This is when the broccoli head forms prematurely and remains small. It’s often caused by stress, such as temperature fluctuations, lack of water, or poor soil fertility. Make sure to provide consistent moisture, fertilize regularly, and protect your plants from extreme temperatures.
* Bolting: This is when the broccoli plant starts to flower prematurely. It’s usually caused by hot weather. Choose heat-tolerant varieties and provide shade during the hottest part of the day.
* Cabbage Worms: These are green caterpillars that feed on broccoli leaves. Handpick them off the plants or use Bacillus thuringiensis (Bt), a biological insecticide.
* Aphids: These are small, sap-sucking insects that can weaken broccoli plants. Spray them off with a strong stream of water or use insecticidal soap.
Conclusion
So, there you have it! Growing broccoli from seed isn’t just a gardening project; it’s an investment in fresh, flavorful, and incredibly rewarding produce. Forget the supermarket broccoli that’s traveled miles and lost its vibrancy. With a little patience and these simple steps, you can cultivate your own supply of crisp, green florets right in your backyard.
Why is this DIY trick a must-try? Because it puts you in control. You choose the variety, you nurture the plant from its earliest stages, and you harvest at the peak of freshness. The taste difference alone is enough to convert even the most skeptical gardener. Plus, you’ll save money in the long run, and you’ll have the satisfaction of knowing exactly where your food comes from.
But the benefits don’t stop there. Growing your own broccoli is a fantastic way to connect with nature, relieve stress, and get some exercise. It’s also a great learning experience for kids, teaching them about the life cycle of plants and the importance of healthy eating.
Ready to take your broccoli game to the next level? Consider these variations:
* Succession Planting: Plant seeds every few weeks to ensure a continuous harvest throughout the growing season.
* Companion Planting: Plant broccoli alongside herbs like rosemary and thyme to deter pests and improve flavor. Marigolds are also excellent companions for pest control.
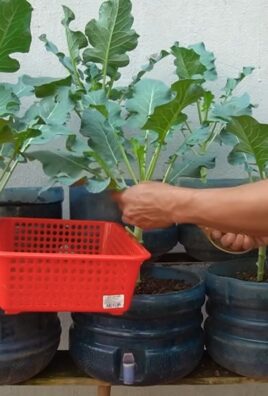
* Container Gardening: If you’re short on space, grow broccoli in large containers. Just make sure they have good drainage and are placed in a sunny location.
* Experiment with Varieties: Don’t be afraid to try different broccoli varieties, such as ‘Di Cicco’ for early harvests or ‘Waltham 29’ for heat tolerance. Purple sprouting broccoli is also a beautiful and delicious option.
Growing broccoli from seed is a journey, and like any journey, there may be a few bumps along the way. But with a little care and attention, you’ll be rewarded with a bountiful harvest of delicious, homegrown broccoli.
We encourage you to give this DIY trick a try. It’s easier than you think, and the results are well worth the effort. And most importantly, don’t forget to share your experience with us! We’d love to hear about your successes, your challenges, and any tips you’ve learned along the way. Post pictures of your broccoli plants, share your favorite recipes, and let’s build a community of broccoli-growing enthusiasts! Let us know what worked for you and what didn’t. Your insights can help other gardeners succeed in their own broccoli-growing adventures. So, grab your seeds, get your hands dirty, and get ready to enjoy the taste of homegrown goodness!
Frequently Asked Questions (FAQ)
Q: How long does it take to grow broccoli from seed?
A: The time it takes to grow broccoli from seed to harvest can vary depending on the variety and growing conditions, but generally, it takes between 70 and 100 days. Some early-maturing varieties may be ready in as little as 60 days, while others may take longer. Be sure to check the seed packet for specific information on the variety you’re growing.
Q: What is the best time of year to plant broccoli seeds?
A: The best time to plant broccoli seeds depends on your climate. In cooler climates, you can start seeds indoors 6-8 weeks before the last expected frost and transplant them outdoors in early spring. In warmer climates, you can plant seeds directly in the ground in late summer or early fall for a winter harvest. Broccoli prefers cool weather, so avoid planting during the hottest months of the year.
Q: How much sunlight does broccoli need?
A: Broccoli needs at least 6 hours of sunlight per day to thrive. Choose a location in your garden that receives full sun for the best results. If you’re growing broccoli in containers, make sure to place them in a sunny spot.
Q: What kind of soil is best for growing broccoli?
A: Broccoli prefers well-drained, fertile soil with a pH between 6.0 and 7.0. Amend your soil with compost or other organic matter to improve drainage and fertility. A soil test can help you determine the pH of your soil and whether it needs any amendments.
Q: How often should I water broccoli plants?
A: Broccoli plants need consistent moisture to grow properly. Water deeply and regularly, especially during dry periods. Aim to keep the soil consistently moist but not waterlogged. Mulching around the plants can help retain moisture and suppress weeds.
Q: What are some common pests and diseases that affect broccoli?
A: Common pests that affect broccoli include cabbage worms, aphids, and flea beetles. Diseases include clubroot, black rot, and downy mildew. Monitor your plants regularly for signs of pests or diseases and take action promptly. Organic pest control methods, such as insecticidal soap or neem oil, can be effective. Crop rotation and good sanitation practices can help prevent diseases.
Q: How do I know when broccoli is ready to harvest?
A: Broccoli is ready to harvest when the flower heads are firm and tight, and the individual florets are still closed. If the florets start to open and turn yellow, it’s time to harvest immediately. Cut the main head with a sharp knife, leaving a few inches of stem. Side shoots will often develop after the main head is harvested, providing you with additional broccoli over several weeks.
Q: Can I grow broccoli in containers?
A: Yes, you can grow broccoli in containers, but you’ll need to choose a large container (at least 5 gallons) with good drainage. Use a high-quality potting mix and provide regular watering and fertilization. Container-grown broccoli may need more frequent watering than broccoli grown in the ground.
Q: What are some tips for preventing broccoli from bolting (going to seed)?
A: Bolting occurs when broccoli plants are exposed to stress, such as heat or drought. To prevent bolting, choose heat-tolerant varieties, provide consistent watering, and mulch around the plants to keep the soil cool. If you live in a hot climate, consider providing shade during the hottest part of the day.
Q: How can I improve the flavor of my homegrown broccoli?
A: The flavor of homegrown broccoli can be improved by providing adequate sunlight, water, and nutrients. Soil rich in organic matter will also contribute to better flavor. Harvest broccoli at the peak of freshness, when the florets are tight and green. Overripe broccoli can become bitter.

Leave a Comment