

Grow Arugula Indoors Kitchen: Imagine fresh, peppery arugula, bursting with flavor, just steps away from your cutting board. No more last-minute grocery store runs or settling for wilted greens! I’m so excited to share how you can cultivate your own thriving arugula patch right in your kitchen, regardless of the season or your outdoor space.
For centuries, cultivating herbs and vegetables indoors has been a practice rooted in necessity and ingenuity. From ancient Roman window boxes to medieval monastery gardens, people have always found ways to bring the bounty of nature inside. Today, with our busy lives and often limited access to green spaces, the appeal of indoor gardening is stronger than ever.
But why grow arugula indoors specifically? Well, arugula is not only delicious and nutritious, packed with vitamins and antioxidants, but it’s also incredibly easy to grow indoors. This DIY guide will provide you with simple, step-by-step instructions and clever hacks to ensure your indoor arugula garden flourishes. I’ll walk you through everything from choosing the right container and soil to providing adequate light and water. Say goodbye to expensive, pre-packaged greens and hello to a constant supply of fresh, flavorful arugula, ready to elevate your salads, pizzas, and sandwiches. Let’s get growing!
Grow Your Own Arugula Oasis: A Beginner’s Guide to Indoor Gardening
Hey there, fellow plant enthusiasts! Are you craving the peppery bite of fresh arugula but don’t have a garden? No problem! I’m going to show you how to cultivate your very own arugula patch right in your kitchen. It’s easier than you think, and the satisfaction of harvesting your own greens is unbeatable. Let’s get started!
What You’ll Need
Before we dive in, let’s gather our supplies. This is a pretty low-key project, so you probably have some of these items already.
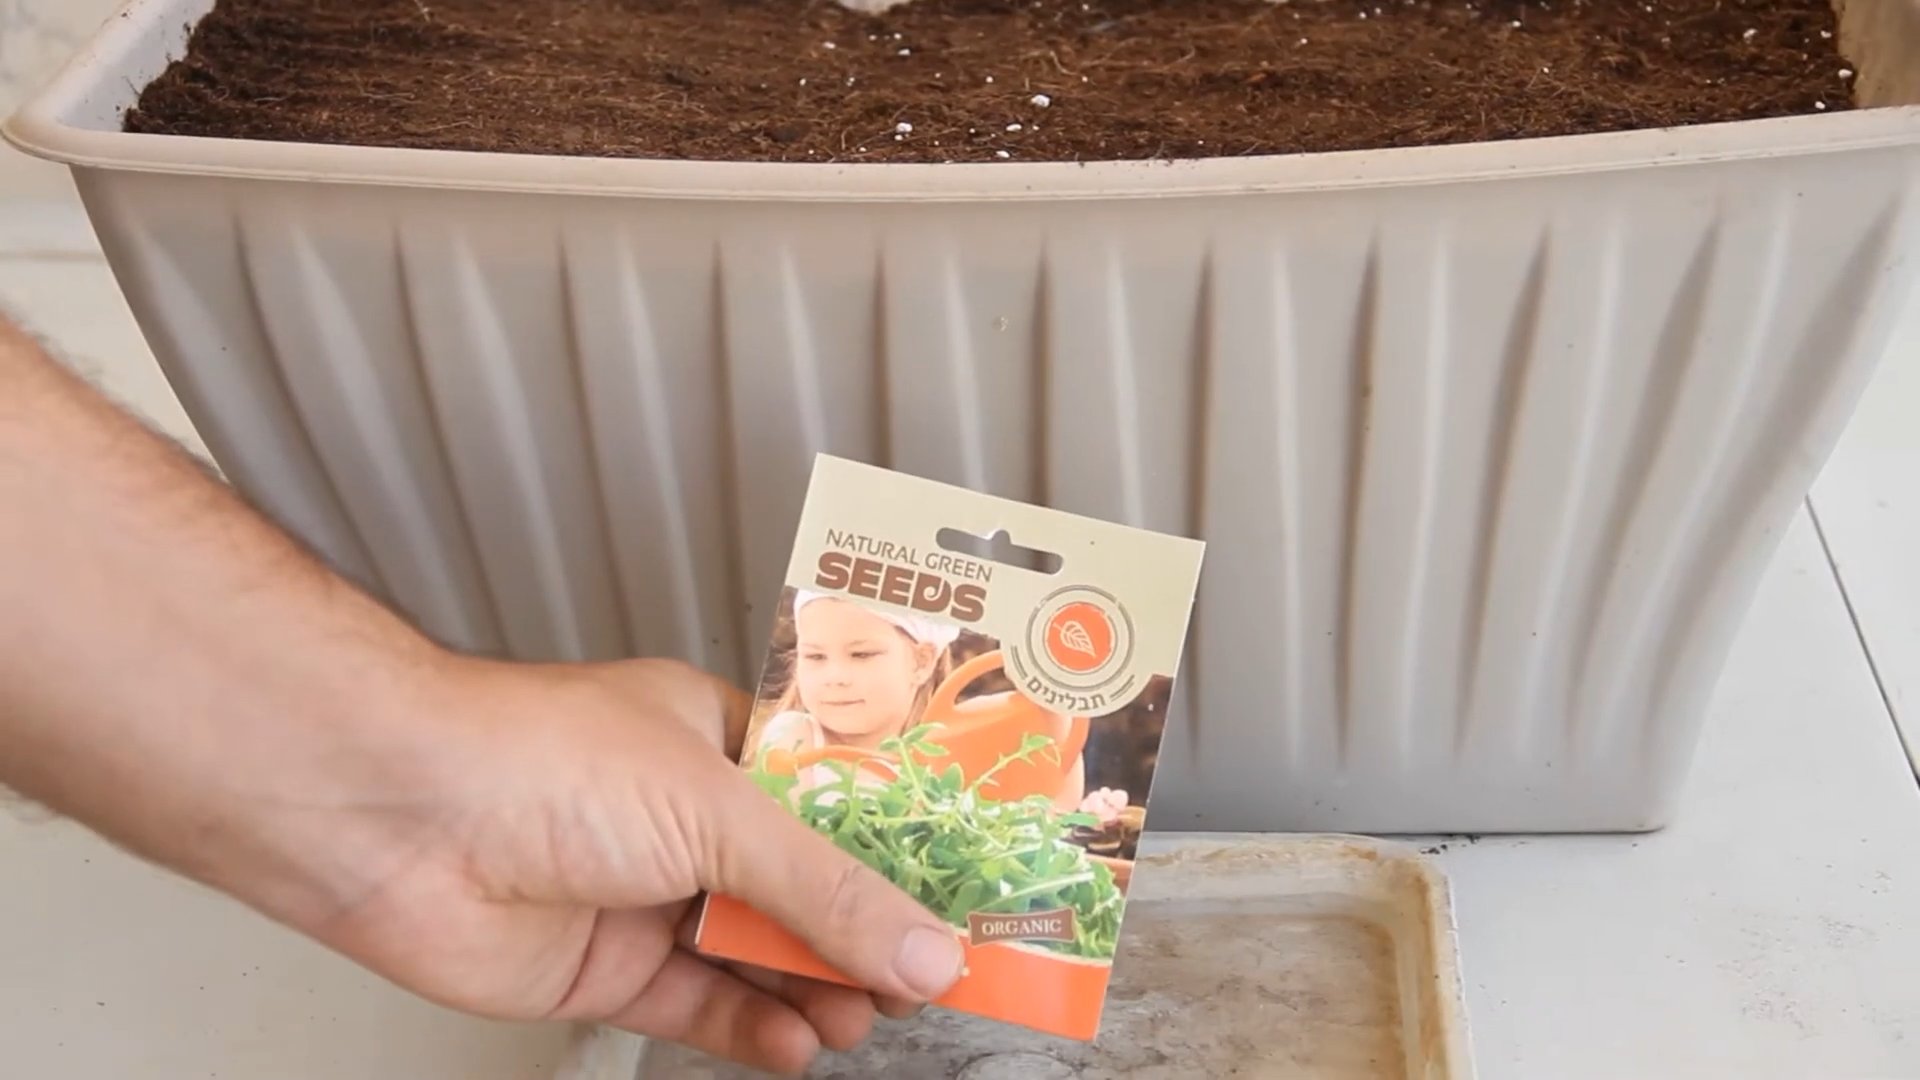
* **Arugula Seeds:** Obviously! Look for organic seeds if possible. You can find them at most garden centers or online.
* **Containers:** You can use almost anything with drainage holes! I’ve used old yogurt containers, plastic takeout containers (cleaned, of course!), or even seed starting trays. Just make sure they’re at least 4 inches deep.
* **Potting Mix:** Don’t use garden soil! It’s too heavy and compacts easily. Opt for a good quality potting mix that’s light and airy. Seed starting mix works great too.
* **Watering Can or Spray Bottle:** For gentle watering.
* **Grow Lights (Optional but Recommended):** Arugula needs plenty of light, especially indoors. If you don’t have a sunny windowsill, grow lights are your best friend.
* **Spray Bottle:** For misting the seedlings.
* **Small Shovel or Spoon:** For handling the potting mix.
* **Labels and a Marker:** To keep track of what you’ve planted!
Phase 1: Sowing the Seeds
This is where the magic begins! We’re going to create the perfect environment for our arugula seeds to sprout and thrive.
1. **Prepare Your Containers:** Fill your chosen containers with potting mix, leaving about an inch of space at the top. Gently pat down the soil to create a level surface. Don’t pack it too tightly, though! We want the roots to be able to breathe.
2. **Sow the Seeds:** Arugula seeds are tiny, so be careful not to overcrowd them. Sprinkle the seeds evenly over the surface of the soil. A good rule of thumb is to space them about ½ inch apart. You can also sow them in rows if you prefer.
3. **Cover the Seeds:** Lightly cover the seeds with a thin layer of potting mix, about ¼ inch deep. Arugula seeds need light to germinate, so don’t bury them too deep.
4. **Water Gently:** Use your watering can or spray bottle to gently moisten the soil. Be careful not to wash the seeds away! The goal is to dampen the soil without soaking it.
5. **Label Your Containers:** Don’t forget to label your containers with the date and what you’ve planted! This will help you keep track of your progress.
6. **Create a Humid Environment (Optional):** To help with germination, you can cover your containers with a clear plastic bag or plastic wrap. This will create a humid environment that the seeds will love. Just make sure to poke a few holes in the plastic for ventilation.
Phase 2: Nurturing Your Seedlings
Now that our seeds are sown, it’s time to play the waiting game. But don’t worry, it won’t be long before you see those little green sprouts popping up!
1. **Find the Right Spot:** Place your containers in a warm, bright location. A sunny windowsill is ideal, but if you don’t have one, use grow lights. Arugula needs at least 6 hours of light per day.
2. **Maintain Moisture:** Keep the soil consistently moist, but not soggy. Check the soil daily and water when the top inch feels dry to the touch. Use a spray bottle to mist the seedlings regularly, especially if you’re using grow lights.
3. **Remove the Plastic (If Used):** Once the seedlings start to emerge (usually within 5-7 days), remove the plastic bag or plastic wrap.
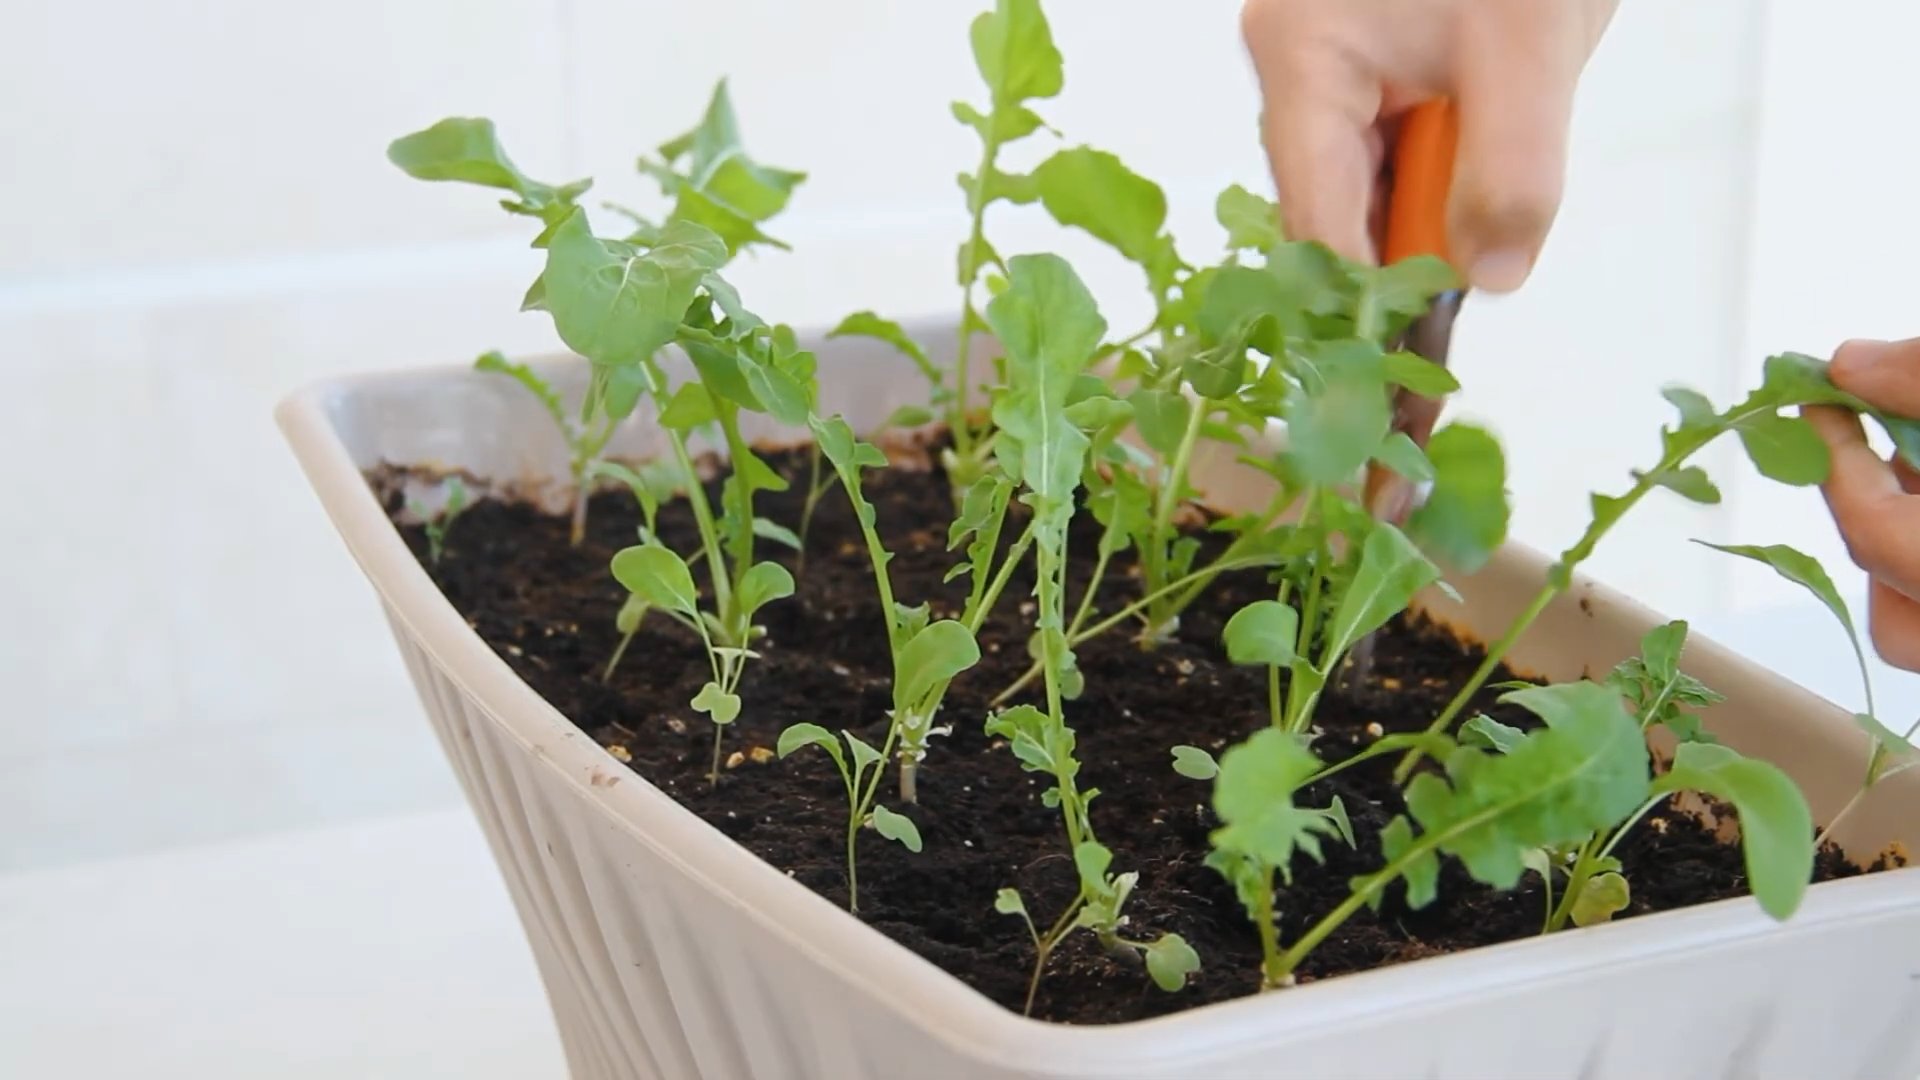
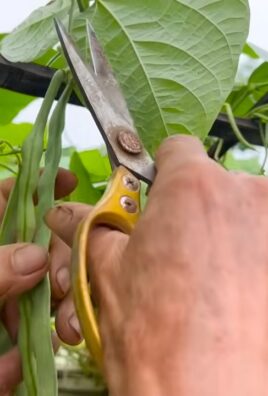
4. **Thin the Seedlings (If Necessary):** If your seedlings are too crowded, you’ll need to thin them out. This means removing some of the weaker seedlings to give the stronger ones more room to grow. Use small scissors to snip the seedlings at the base of the stem. Aim for about 1-2 inches of space between each plant.
5. **Rotate Your Containers:** If you’re using a windowsill, rotate your containers regularly to ensure that all sides of the plants receive equal light. This will prevent them from leaning towards the window.
Phase 3: Harvesting Your Arugula
The moment you’ve been waiting for! Harvesting your own arugula is so rewarding.
1. **When to Harvest:** You can start harvesting arugula when the leaves are about 2-3 inches long. The younger leaves will have a milder flavor, while the older leaves will be more peppery.
2. **How to Harvest:** Use scissors or your fingers to snip off the outer leaves, leaving the inner leaves to continue growing. This is called “cut and come again” harvesting, and it allows you to harvest multiple times from the same plant.
3. **Harvest Regularly:** The more you harvest, the more the plant will produce! Aim to harvest every few days to keep your arugula patch thriving.
4. **Wash and Enjoy:** Wash your freshly harvested arugula thoroughly before eating. You can use it in salads, sandwiches, pizzas, or as a garnish. The possibilities are endless!
Troubleshooting Tips
Even with the best intentions, things don’t always go according to plan. Here are some common problems you might encounter and how to fix them.
* **Seeds Not Germinating:** Make sure the soil is moist and the temperature is warm enough. Arugula seeds germinate best at temperatures between 60-70°F (15-21°C). If you’re using old seeds, they may have lost their viability. Try using fresh seeds.
* **Leggy Seedlings:** This means your seedlings are stretching towards the light because they’re not getting enough. Move them to a brighter location or use grow lights.
* **Yellowing Leaves:** This could be a sign of overwatering or underwatering. Check the soil moisture and adjust your watering accordingly. It could also be a sign of nutrient deficiency. Try fertilizing with a diluted liquid fertilizer.
* **Pests:** Arugula is relatively pest-resistant, but you might encounter aphids or flea beetles. You can control these pests by spraying the plants with insecticidal soap or neem oil.
Extending Your Harvest
Want to keep your arugula patch going for as long as possible? Here are a few tips:
* **Succession Planting:** Sow new seeds every few weeks to ensure a continuous harvest.
* **Cool Temperatures:** Arugula prefers cool temperatures. If it gets too hot, the leaves can become bitter. Try moving your containers to a cooler location during the hottest part of the day.
* **Fertilize Regularly:** Arugula is a heavy feeder, so fertilize it regularly with a diluted liquid fertilizer.
* **Prevent Bolting:** Bolting is when the plant starts to produce flowers and seeds. This can make the leaves bitter. To prevent bolting, keep the soil moist and the temperature cool. You can also pinch off any flower buds that appear.
Choosing the Right Container
The type of container you use can impact your arugula’s growth. Here’s a breakdown of some popular options:
* **Plastic Pots:** These are inexpensive and readily available. Make sure they have drainage holes.
* **Terracotta Pots:** These are more porous than plastic pots, which can help prevent overwatering.
* **Seed Starting Trays:** These are great for starting a large number of seeds.
* **Upcycled Containers:** Get creative! You can use old yogurt containers, plastic takeout containers, or even tin cans. Just make sure they’re clean and have drainage holes.
Remember: Drainage is key! Arugula doesn’t like to sit in soggy soil.
Choosing the Right Potting Mix
The right potting mix is essential for healthy arugula growth. Here’s what to look for:
* **Light and Airy:** Arugula needs a potting mix that drains well and allows the roots to breathe.
* **Nutrient-Rich:** Look for a potting mix that contains compost or other organic matter.
* **pH Balanced:** Arugula prefers a slightly acidic to neutral pH (around 6.0-7.0).
Avoid using garden soil! It’s too heavy and compacts easily, which can suffocate the roots.
The Importance of Light
Arugula needs plenty of light to thrive. If you don’t have a sunny windowsill, grow lights are a must.
* **Natural Light:** Arugula needs at least 6 hours of direct sunlight per day.
* **Grow Lights:** If you’re using grow lights, choose full-spectrum LED lights. Position the lights about 6-12 inches above the plants.
Tip: Rotate your containers regularly to ensure that all sides of the plants receive equal
Conclusion
So, there you have it! Growing your own arugula indoors is not only achievable, but it’s also a rewarding and surprisingly simple process. Forget those wilted, overpriced greens from the grocery store. With a little effort and this straightforward DIY trick, you can have a constant supply of fresh, peppery arugula right at your fingertips.
Why is this a must-try? Because it puts you in control. You control the quality, the freshness, and even the flavor profile of your arugula. Store-bought arugula often lacks the vibrant, spicy kick that freshly harvested leaves possess. Plus, think of the satisfaction of snipping your own greens for a salad, sandwich, or pizza topping – it’s a small victory that adds a touch of joy to your everyday meals.
Beyond the basic method outlined, there are plenty of ways to customize your indoor arugula garden. Experiment with different varieties of arugula seeds. Some are milder, while others pack a serious punch. Consider using a self-watering planter to minimize the need for constant monitoring, especially if you’re a busy individual. You can also try succession planting, sowing new seeds every few weeks, to ensure a continuous harvest throughout the year. If you have limited space, vertical planters or stacked containers can be excellent solutions.
Don’t be afraid to get creative with your lighting setup. While a sunny windowsill works well, supplementing with a grow light can significantly boost your arugula’s growth, especially during the darker winter months. You can even explore hydroponic systems for an even more efficient and soil-free growing experience.
The beauty of this DIY trick is its adaptability. It fits into almost any lifestyle and living situation. Whether you’re a seasoned gardener or a complete beginner, you can successfully grow arugula indoors. It’s a fantastic way to connect with nature, even in the heart of the city, and to enjoy the freshest, most flavorful greens imaginable.
We wholeheartedly encourage you to give this a try. It’s an investment in your health, your taste buds, and your overall well-being. And once you’ve experienced the joy of harvesting your own homegrown arugula, we’re confident you’ll be hooked.
So, grab some seeds, gather your supplies, and get growing! We can’t wait to hear about your experiences. Share your tips, tricks, and photos with us in the comments below. Let’s create a community of indoor arugula enthusiasts and inspire others to embrace the joys of homegrown goodness. Let us know what challenges you faced and how you overcame them. Did you find a particular type of container worked better? Did you experiment with different lighting? Your insights could be invaluable to other aspiring indoor gardeners.
Remember, the key to success is experimentation and observation. Pay attention to your arugula plants, learn their needs, and adjust your approach accordingly. With a little patience and care, you’ll be rewarded with a bountiful harvest of delicious, homegrown arugula. Happy growing!
Frequently Asked Questions (FAQ)
What kind of container should I use to grow arugula indoors?
Almost any container with drainage holes will work for growing arugula indoors. You can use plastic pots, terracotta pots, or even repurposed containers like yogurt tubs or plastic takeout containers. The size of the container will depend on how much arugula you want to grow. A container that is at least 6 inches deep and 6 inches wide is a good starting point. Make sure the container is clean before you use it to prevent the spread of diseases.
What kind of soil should I use?
Arugula prefers well-draining soil that is rich in organic matter. You can use a commercial potting mix or make your own by mixing equal parts of compost, perlite, and vermiculite. Avoid using garden soil, as it can be too heavy and may contain pests or diseases.
How much light does arugula need?
Arugula needs at least 6 hours of sunlight per day. If you don’t have a sunny windowsill, you can supplement with a grow light. Place the grow light about 6-12 inches above the plants.
How often should I water arugula?
Water arugula regularly, keeping the soil moist but not soggy. Allow the top inch of soil to dry out between waterings. Overwatering can lead to root rot.
How often should I fertilize arugula?
Arugula doesn’t need a lot of fertilizer. You can fertilize it every few weeks with a diluted liquid fertilizer. Follow the instructions on the fertilizer package.
When can I harvest arugula?
You can start harvesting arugula when the leaves are about 2-3 inches long. Cut the outer leaves, leaving the inner leaves to continue growing. This will allow you to harvest arugula multiple times from the same plant.
How do I prevent pests and diseases?
To prevent pests and diseases, keep your arugula plants clean and well-ventilated. Inspect your plants regularly for signs of pests or diseases. If you find any pests, you can try washing them off with water or using an insecticidal soap. If you find any diseases, remove the affected leaves and dispose of them properly.
Can I grow arugula from seed indoors year-round?
Yes, you can grow arugula from seed indoors year-round. Just make sure you provide adequate light and water.
My arugula is bolting (going to seed). What should I do?
Bolting is a natural process that occurs when arugula is exposed to high temperatures or long days. Once arugula bolts, the leaves become bitter. To prevent bolting, keep your arugula plants cool and well-watered. You can also try growing arugula in a shadier location. If your arugula does bolt, you can still harvest the seeds for future planting.
Is growing arugula indoors organically possible?
Absolutely! In fact, growing arugula indoors provides a controlled environment that makes organic practices even easier. Use organic potting mix, avoid synthetic fertilizers and pesticides, and focus on maintaining healthy soil and plant health. You can even use homemade compost tea as a natural fertilizer.
What are some common problems when growing arugula indoors and how can I fix them?
Some common problems include:
* **Leggy growth:** This is usually caused by insufficient light. Move your arugula to a sunnier location or supplement with a grow light.
* **Yellowing leaves:** This can be caused by overwatering, underwatering, or nutrient deficiencies. Adjust your watering schedule and fertilize as needed.
* **Pests:** Aphids and spider mites are common pests of arugula. Wash them off with water or use an insecticidal soap.
* **Bitter taste:** This can be caused by bolting or stress. Keep your arugula plants cool and well-watered.
Can I grow different varieties of arugula indoors?
Yes, you can! There are many different varieties of arugula, each with its own unique flavor and texture. Some popular varieties include:
* **Astro:** A fast-growing variety with a mild, peppery flavor.
* **Sylvetta:** A wild arugula with a more intense, spicy flavor.
* **Wasabi:** A variety with a strong, wasabi-like flavor.
Experiment with different varieties to find your favorite!
Leave a Comment