

Fridge cleaner does it all! Are you tired of juggling multiple cleaning products, each promising to tackle a specific mess? What if I told you that the humble fridge cleaner you already have in your kitchen cabinet could be your secret weapon for a sparkling home, inside and out?
For generations, resourceful homemakers have relied on simple, readily available ingredients to keep their homes clean and fresh. Think about it – vinegar, baking soda, and lemon juice have been cleaning staples for centuries! This DIY approach isn’t just about saving money; it’s about embracing a more sustainable and eco-friendly lifestyle.
In today’s busy world, who has time to spend hours scrubbing and sanitizing? That’s where this DIY trick comes in. Imagine simplifying your cleaning routine with one powerful product that can degrease your stovetop, shine your bathroom fixtures, and even freshen up your carpets. This article will reveal the surprising versatility of your fridge cleaner and provide you with easy-to-follow instructions for using it in ways you never thought possible. Get ready to declutter your cleaning supplies and discover the magic of a truly multi-purpose cleaner! I’m excited to share these tips with you!
DIY Fridge Cleaner: The All-Natural, All-Powerful Solution
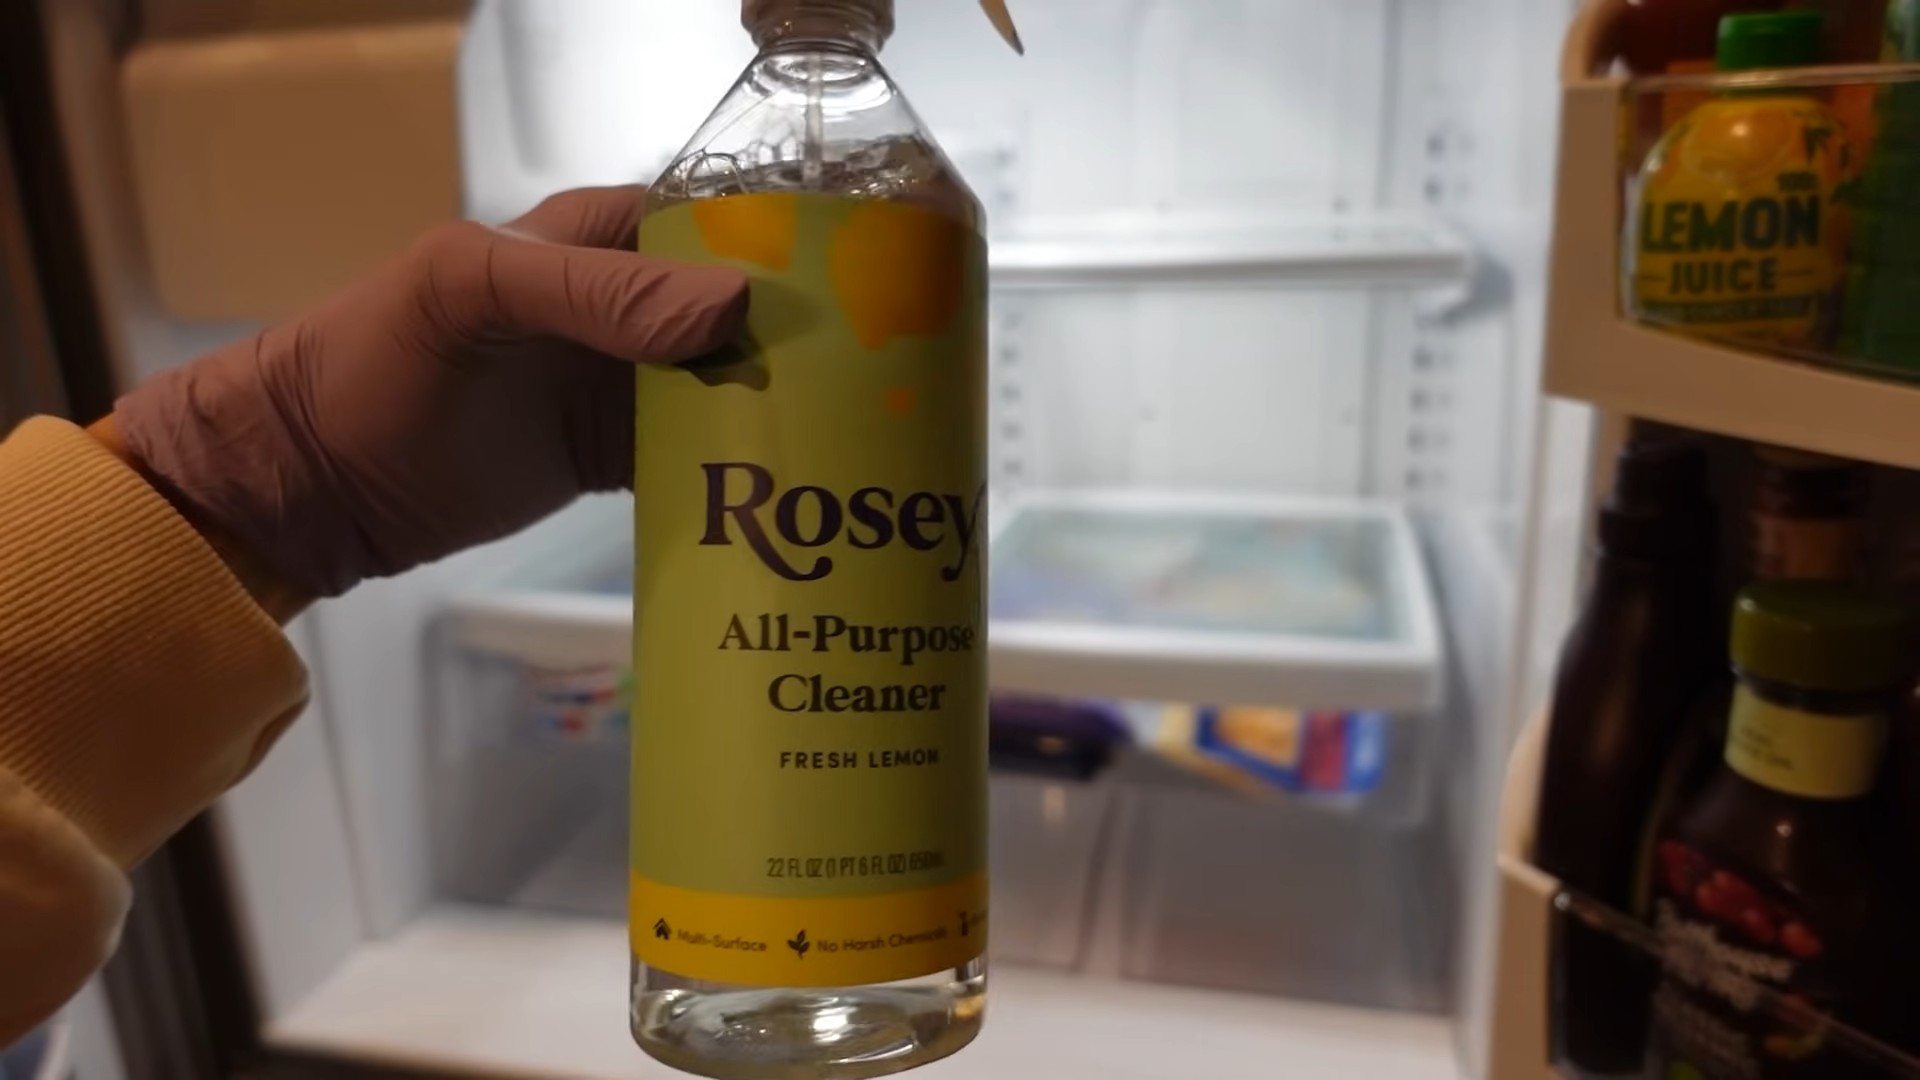
Hey there, fellow DIY enthusiasts! Are you tired of those harsh chemical smells lingering in your fridge after cleaning? Do you want a solution that’s not only effective but also safe for your food and family? Well, you’ve come to the right place! I’m going to walk you through creating an amazing all-natural fridge cleaner that’s so good, you’ll wonder why you ever bought those store-bought sprays. This cleaner tackles grime, eliminates odors, and leaves your fridge sparkling – all without any nasty chemicals. Let’s get started!
What Makes This Fridge Cleaner So Great?
Before we dive into the recipe, let’s talk about why this DIY cleaner is a game-changer:
* Natural Ingredients: We’re using ingredients you probably already have in your pantry: vinegar, baking soda, lemon, and essential oils. No hidden chemicals or artificial fragrances here!
* Effective Cleaning: Vinegar is a fantastic degreaser and disinfectant, while baking soda helps scrub away stubborn stains and absorb odors. Lemon adds a fresh scent and extra cleaning power.
* Odor Elimination: Say goodbye to lingering food smells! This cleaner neutralizes odors instead of just masking them.
* Safe for Food: Because it’s made with natural ingredients, you don’t have to worry about harmful chemicals contaminating your food.
* Cost-Effective: Making your own cleaner is much cheaper than buying commercial products.
* Environmentally Friendly: You’re reducing your plastic waste and avoiding harmful chemicals that can pollute the environment.
Ingredients You’ll Need
* 1 cup white vinegar
* 1 cup warm water
* 2 tablespoons baking soda
* 1 tablespoon lemon juice (freshly squeezed is best!)
* 5-10 drops of your favorite essential oil (lemon, grapefruit, tea tree, or lavender work well)
* Spray bottle (a clean, empty one, of course!)
* Soft cloths or sponges
* Optional: Old toothbrush for scrubbing tight corners
Step-by-Step Instructions: Making Your Fridge Cleaner
1. Prepare Your Spray Bottle: Make sure your spray bottle is clean and dry. Any residue from previous cleaners could interfere with our natural formula. Rinse it thoroughly with hot water and let it air dry.
2. Combine Vinegar and Water: In a measuring cup or bowl, mix together the white vinegar and warm water. The warm water helps the baking soda dissolve more easily later on.
3. Add Baking Soda: Slowly add the baking soda to the vinegar and water mixture. Be prepared for a little fizzing! Add it gradually to prevent it from overflowing. Stir gently until the baking soda is mostly dissolved. Don’t worry if there are a few small particles remaining.
4. Incorporate Lemon Juice: Pour in the freshly squeezed lemon juice. This will add a pleasant scent and boost the cleaning power of the mixture.
5. Add Essential Oils (Optional): If you’re using essential oils, now’s the time to add them. I personally love using lemon essential oil for an extra citrusy scent, but grapefruit, tea tree, or lavender are also great options. Tea tree oil has antibacterial properties, which is a bonus!
6. Pour into Spray Bottle: Carefully pour the mixture into your clean spray bottle. A funnel can be helpful to avoid spills.
7. Shake Well: Secure the spray nozzle and shake the bottle well to ensure all the ingredients are thoroughly combined.
Cleaning Your Fridge: A Detailed Guide
Now that you have your amazing DIY fridge cleaner, let’s get that fridge sparkling!
1. Unplug Your Fridge: This is a crucial safety step! Unplugging your fridge prevents any electrical accidents while you’re cleaning.
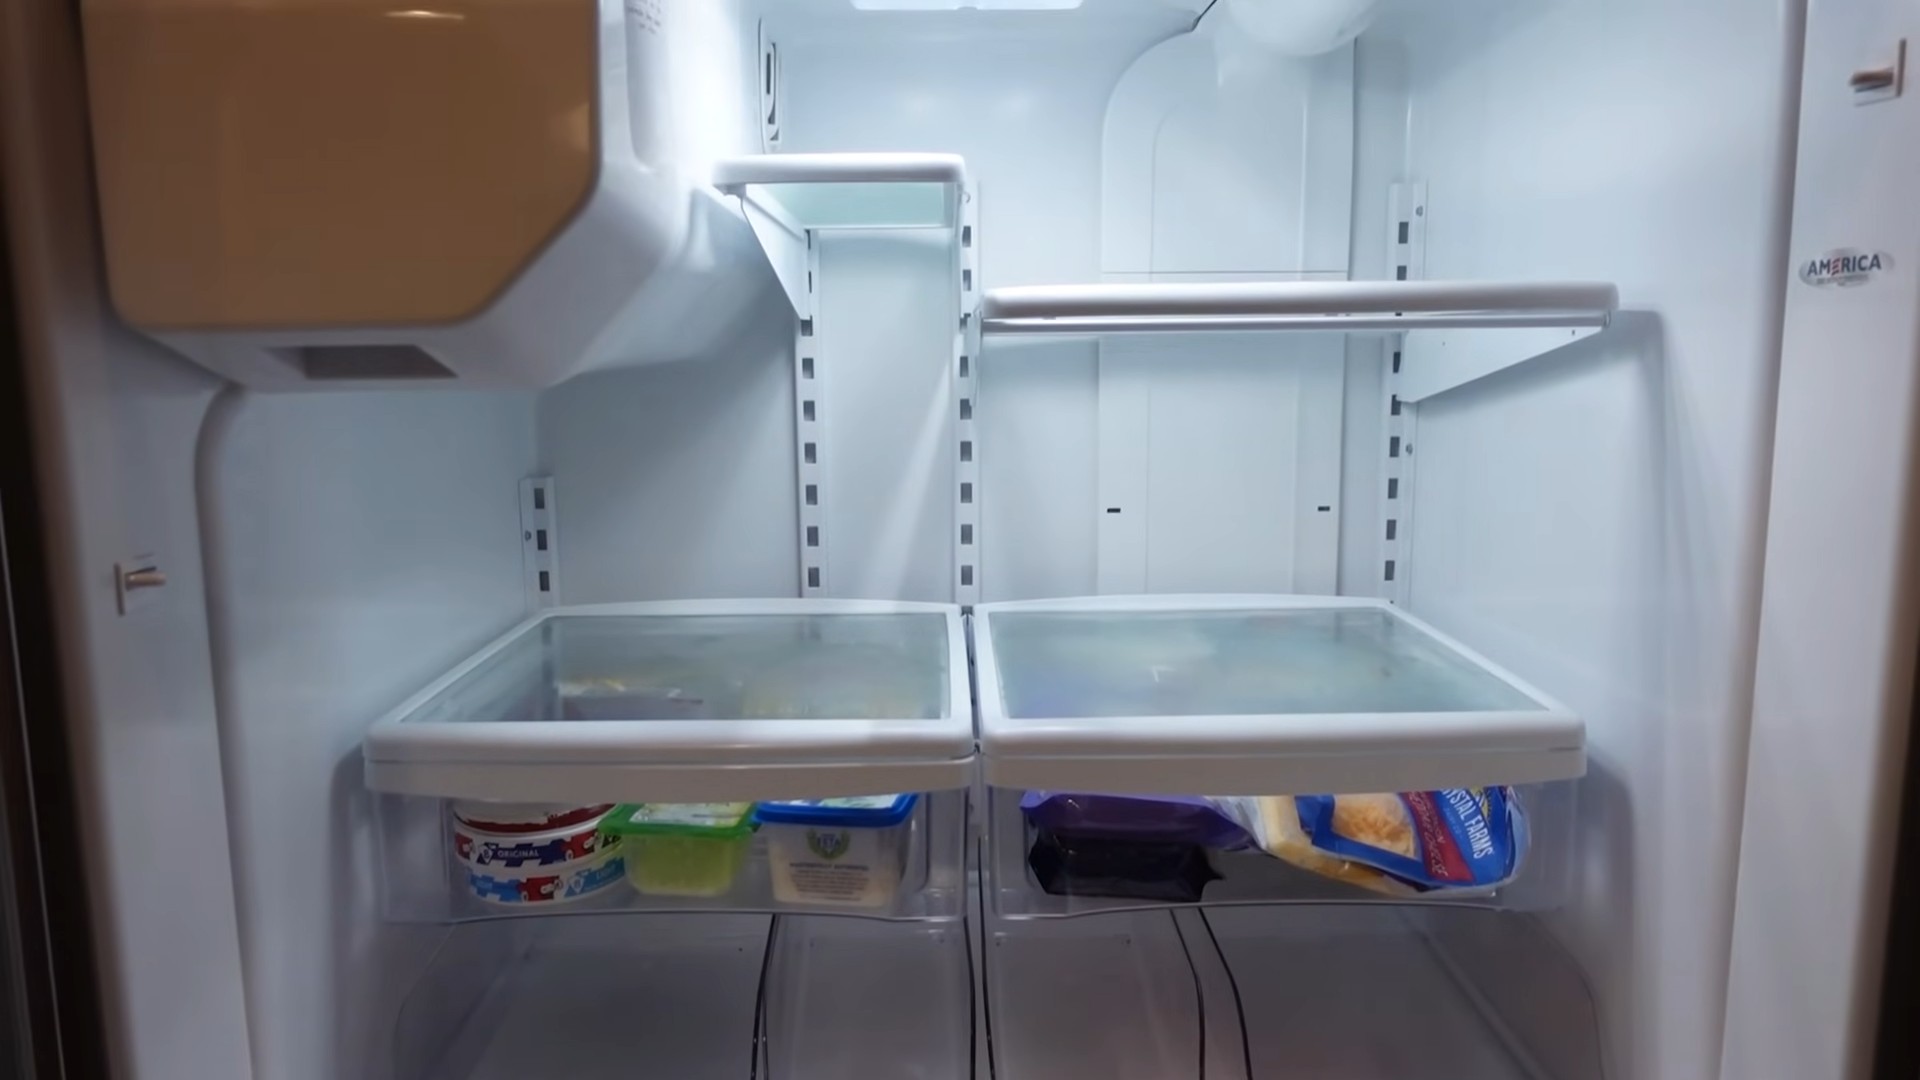
2. Remove All Food: Take everything out of your fridge, including shelves, drawers, and any loose items. This will give you full access to all surfaces and prevent food from getting contaminated by the cleaner.
3. Inspect and Discard: While you’re removing the food, take the opportunity to check expiration dates and discard anything that’s spoiled or past its prime. This will help prevent future odors and keep your fridge organized.
4. Remove Shelves and Drawers: Take out all removable shelves and drawers. These are often the dirtiest parts of the fridge, so they need a good cleaning.
5. Wash Shelves and Drawers: Wash the shelves and drawers in warm, soapy water. You can use dish soap or a natural cleaning solution. Scrub them thoroughly to remove any food residue or stains. Rinse them well with clean water and let them air dry or dry them with a clean cloth.
6. Spray the Interior: Now it’s time to spray the interior of your fridge with your DIY cleaner. Spray all surfaces, including the walls, ceiling, floor, and door. Don’t forget to spray into any crevices or corners where dirt and grime tend to accumulate.
7. Let it Sit: Allow the cleaner to sit for a few minutes to loosen any stubborn dirt and grime. This will make it easier to wipe away.
8. Wipe Down Surfaces: Using a clean, soft cloth or sponge, wipe down all the surfaces of your fridge. Pay special attention to areas with spills or stains. For tough stains, you can sprinkle a little baking soda directly onto the stain and scrub gently.
9. Clean Tight Corners: Use an old toothbrush to scrub any tight corners or crevices that are difficult to reach with a cloth or sponge. This will help remove any hidden dirt and grime.
10. Rinse (Optional): If you prefer, you can rinse the interior of your fridge with a clean, damp cloth to remove any remaining cleaner residue. However, because our cleaner is made with natural ingredients, rinsing is not strictly necessary.
11. Dry the Interior: Use a clean, dry cloth to dry the interior of your fridge. This will prevent water spots and help keep your fridge clean and fresh.
12. Replace Shelves and Drawers: Once the shelves and drawers are completely dry, replace them in your fridge.
13. Restock Your Fridge: Put all your food back into the fridge, making sure to organize it in a way that makes sense for you. Consider using clear containers to store leftovers and keep your fridge organized.
14. Plug Your Fridge Back In: Once everything is back in place, plug your fridge back in.
Tips for Keeping Your Fridge Clean
* Wipe Up Spills Immediately: The best way to keep your fridge clean is to wipe up spills as soon as they happen. This will prevent stains and odors from developing.
* Regularly Check Expiration Dates: Make it a habit to check expiration dates regularly and discard any food that’s past its prime.
* Use Baking Soda as an Odor Absorber: Place an open box of baking soda in your fridge to absorb odors. Replace it every few months.
* Store Food Properly: Store food in airtight containers to prevent spills and odors.
* Clean Your Fridge Regularly: Aim to clean your fridge at least once a month to keep it fresh and clean.
Troubleshooting
* Strong Vinegar Smell: If the vinegar smell is too strong for you, add a few more drops of essential oil or increase the amount of lemon juice. The smell will dissipate quickly.
* Cloudy Cleaner: The cleaner may appear cloudy due to the baking soda. This is normal and doesn’t affect its cleaning power. Just shake the bottle well before each use.
* Clogged Spray Nozzle: If the spray nozzle gets clogged, try running it under warm water or using a small pin to clear the blockage.
Variations and Additions
* Orange Peel Infusion: For an extra citrusy boost, infuse your vinegar with orange peels for a few days before making the cleaner. Simply place orange peels in a jar of vinegar and let it sit for a week, then strain the vinegar before using it in the recipe.
* Herbal Infusion: You can also infuse your vinegar with herbs like rosemary or thyme for a different scent and added antibacterial properties.
* Castile Soap: For extra cleaning power, add a teaspoon of liquid castile soap to the mixture. Be careful not to add too much, as it can make the cleaner too sudsy.
Safety Precautions
* Avoid Eye Contact: Although this cleaner is made with natural ingredients, it’s still important to avoid getting it in your eyes. If contact occurs, rinse thoroughly with water.
* Test on a Small Area: Before using the cleaner on the entire fridge, test it on a small, inconspicuous area to make sure it doesn’t damage the surface.
* Keep Out of Reach of Children: As with all cleaning products, keep this cleaner out of reach of children and pets.
I hope you enjoy making and using this DIY fridge cleaner as much as I do! It’s a simple, effective, and eco-friendly
Conclusion
So, there you have it! This simple, yet incredibly effective, DIY fridge cleaner is more than just a way to tidy up spills; it’s a game-changer for maintaining a fresh, hygienic, and odor-free refrigerator. We’ve walked you through the easy steps to create a powerful cleaning solution using ingredients you likely already have in your pantry. Why spend money on expensive, chemical-laden commercial cleaners when you can achieve superior results with a natural, budget-friendly alternative?
This DIY fridge cleaner isn’t just about saving money; it’s about creating a healthier environment for your food and your family. Harsh chemicals can leave residues that contaminate your food, potentially leading to health issues. Our homemade solution, on the other hand, is gentle, safe, and incredibly effective at removing grime, spills, and lingering odors.
Why is this DIY fridge cleaner a must-try?
Because it’s:
* Effective: Cuts through grease and grime with ease.
* Safe: Made with natural, non-toxic ingredients.
* Affordable: Saves you money compared to store-bought cleaners.
* Eco-friendly: Reduces your reliance on harsh chemicals and plastic packaging.
* Customizable: You can adjust the ingredients to suit your specific needs and preferences.
Looking for variations? Consider adding a few drops of your favorite essential oil, such as lemon, grapefruit, or tea tree, for an extra boost of freshness and antibacterial power. For stubborn stains, create a paste by mixing baking soda with a small amount of the cleaning solution and apply it directly to the affected area. Let it sit for a few minutes before scrubbing gently.
Don’t just take our word for it – try this DIY fridge cleaner yourself and experience the difference! We’re confident that you’ll be amazed by the results. A clean fridge is not only aesthetically pleasing but also crucial for food safety and preventing the growth of harmful bacteria.
We encourage you to experiment with different variations and find what works best for you. Perhaps you’ll discover a unique combination of ingredients that makes your fridge sparkle like never before. The possibilities are endless!
Once you’ve tried this DIY fridge cleaner, we’d love to hear about your experience. Share your tips, tricks, and feedback in the comments section below. Let’s build a community of clean fridge enthusiasts and help each other create healthier, happier homes. Don’t forget to share this recipe with your friends and family so they can benefit from this amazing DIY solution too!
Frequently Asked Questions (FAQ)
Q: What ingredients do I need to make this DIY fridge cleaner?
A: The basic recipe calls for white vinegar, baking soda, water, and optionally, a few drops of essential oil for fragrance and added cleaning power. The exact ratios are detailed in the main article, but generally, it’s a mixture of equal parts vinegar and water, with a tablespoon or two of baking soda added for extra scrubbing power.
Q: Why use vinegar in a fridge cleaner? Won’t it smell bad?
A: White vinegar is a natural disinfectant and deodorizer. It effectively cuts through grease and grime, and its acidic properties help to kill bacteria and mold. While it does have a distinct smell, the vinegar scent dissipates quickly, especially when diluted with water. Adding essential oils can also help to mask the vinegar smell and leave your fridge smelling fresh and clean.
Q: Can I use this DIY fridge cleaner on all surfaces inside my refrigerator?
A: Yes, this cleaner is generally safe for use on most surfaces found inside a refrigerator, including plastic, glass, and metal. However, it’s always a good idea to test a small, inconspicuous area first to ensure there are no adverse reactions. Avoid using it on porous surfaces like unfinished wood, as the vinegar could potentially damage them.
Q: How often should I clean my refrigerator with this DIY solution?
A: Ideally, you should aim to clean your refrigerator thoroughly at least once a month. However, you may need to clean it more frequently if you notice spills, stains, or unpleasant odors. Regular cleaning helps to prevent the buildup of bacteria and mold, ensuring that your food stays fresh and safe for longer.
Q: What’s the best way to apply the DIY fridge cleaner?
A: The easiest way to apply the cleaner is to pour it into a spray bottle. This allows you to easily distribute the solution evenly over all surfaces. Spray the cleaner onto the shelves, drawers, and walls of your refrigerator, and then wipe them down with a clean cloth or sponge. For stubborn stains, let the cleaner sit for a few minutes before scrubbing gently.
Q: Can I use this cleaner on the outside of my refrigerator as well?
A: Yes, this DIY fridge cleaner can also be used to clean the exterior of your refrigerator. It’s effective at removing fingerprints, smudges, and other surface dirt. Simply spray the cleaner onto a cloth and wipe down the exterior surfaces. Be sure to dry the surfaces thoroughly to prevent water spots.
Q: What if I don’t have vinegar or baking soda? Are there any alternatives?
A: While vinegar and baking soda are the key ingredients in this recipe, you can try using lemon juice as a substitute for vinegar. Lemon juice also has acidic properties and a pleasant scent. For baking soda, you can try using a mild dish soap diluted in water, but be sure to rinse thoroughly to remove any soap residue.
Q: How do I get rid of stubborn odors in my refrigerator?
A: If you have lingering odors in your refrigerator, try placing an open box of baking soda inside. Baking soda is a natural odor absorber and will help to neutralize unpleasant smells. You can also try placing a bowl of coffee grounds or a few cotton balls soaked in vanilla extract inside the fridge overnight.
Q: Is this DIY fridge cleaner safe for use around children and pets?
A: Yes, this DIY fridge cleaner is generally safe for use around children and pets, as it’s made with natural, non-toxic ingredients. However, it’s always a good idea to keep the cleaner out of reach of children and pets, and to avoid spraying it directly into their eyes or mouths.
Q: How long does this DIY fridge cleaner last?
A: This DIY fridge cleaner is best used fresh. While it doesn’t necessarily “go bad,” the effectiveness of the ingredients may diminish over time. It’s recommended to make a new batch each time you clean your refrigerator for optimal results.

Leave a Comment