

DIY Vinegar Cleaner: Unlock the secrets to a sparkling home with a natural, budget-friendly solution! Have you ever wondered if you could ditch those harsh chemicals and still achieve a pristine clean? I certainly have! For generations, vinegar has been a staple in households, not just for cooking, but also for its incredible cleaning power. From ancient civilizations using it to preserve food to our grandmothers relying on it for everyday chores, vinegar’s versatility is undeniable.
But why should you embrace a DIY Vinegar Cleaner? In today’s world, we’re increasingly aware of the impact of chemicals on our health and the environment. Store-bought cleaners can be expensive and filled with ingredients we can barely pronounce. This DIY trick offers a safe, effective, and affordable alternative. Imagine a home free from toxic fumes, where you can clean with confidence, knowing you’re using a natural solution that’s gentle on your family and the planet. This article will guide you through simple recipes and clever hacks, empowering you to create your own powerful vinegar-based cleaners for every corner of your home. Let’s get started!
DIY All-Purpose Vinegar Cleaner: A Natural Cleaning Powerhouse
Hey there, fellow DIY enthusiasts! I’m super excited to share my go-to recipe for an all-purpose vinegar cleaner. It’s incredibly simple, cost-effective, and a fantastic alternative to harsh chemical cleaners. Plus, it’s eco-friendly! I’ve been using this for years, and it’s tackled everything from kitchen countertops to bathroom grime. Let’s get started!
What You’ll Need
Before we dive in, let’s gather our supplies. This is a pretty short list, which is one of the things I love about this cleaner!
* **White Distilled Vinegar:** This is the star of the show! Make sure it’s white distilled vinegar, as other types might stain or leave a residue.
* **Water:** Tap water is perfectly fine.
* **Essential Oils (Optional):** Vinegar has a distinct smell, so essential oils are great for masking it and adding a pleasant scent. I personally love lemon, lavender, tea tree, or eucalyptus.
* **Spray Bottle:** A clean, empty spray bottle is essential for application.
* **Measuring Cup or Spoons:** For accurate measurements.
* **Funnel (Optional):** Makes pouring liquids into the spray bottle easier.
Mixing the Magic: Step-by-Step Instructions
Okay, now for the fun part! Let’s mix up our all-purpose cleaner.
1. **Prepare Your Spray Bottle:** Make sure your spray bottle is clean and dry. Any residue from previous cleaners could react with the vinegar.
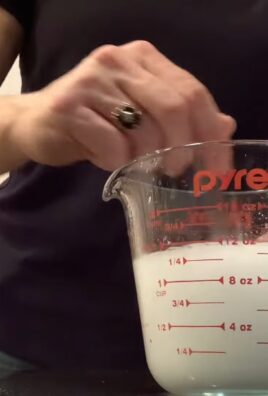
2. **Combine Vinegar and Water:** This is where the magic happens! The ratio of vinegar to water is crucial. For general cleaning, I recommend a 1:1 ratio. That means equal parts vinegar and water. So, if you’re using a 16-ounce spray bottle, you’ll need 8 ounces of vinegar and 8 ounces of water. For tougher jobs, you can increase the vinegar concentration to a 2:1 ratio (more vinegar than water).
* **Pour the Vinegar:** Using your measuring cup, carefully pour the desired amount of white distilled vinegar into the spray bottle. A funnel can be super helpful here to avoid spills.
* **Add the Water:** Next, measure out the corresponding amount of water and add it to the spray bottle.
3. **Add Essential Oils (Optional):** This is where you can customize your cleaner and make it smell amazing! Essential oils not only add a pleasant fragrance but also have some cleaning properties of their own.
* **Choose Your Scent:** Select your favorite essential oil or a blend of oils. I usually go for a citrus scent like lemon or orange for the kitchen, and lavender or tea tree for the bathroom.
* **Add the Drops:** Add about 10-20 drops of essential oil per 16-ounce spray bottle. Start with fewer drops and add more if you want a stronger scent. Be careful not to add too much, as some essential oils can be irritating.
* A Word of Caution: Never mix vinegar with bleach! This creates toxic fumes. Also, avoid using vinegar on natural stone surfaces like marble or granite, as it can etch the surface.
4. **Shake Well:** Secure the spray nozzle onto the bottle and shake vigorously to ensure the vinegar, water, and essential oils (if using) are thoroughly mixed.
5. **Label Your Bottle:** This is important! Label your spray bottle clearly as “Vinegar Cleaner” or “All-Purpose Cleaner” to avoid any confusion. You can also add the date you made it.
Putting Your Cleaner to Work: Cleaning Tips and Tricks
Now that you have your amazing DIY vinegar cleaner, let’s put it to good use! Here are some of my favorite ways to use it:
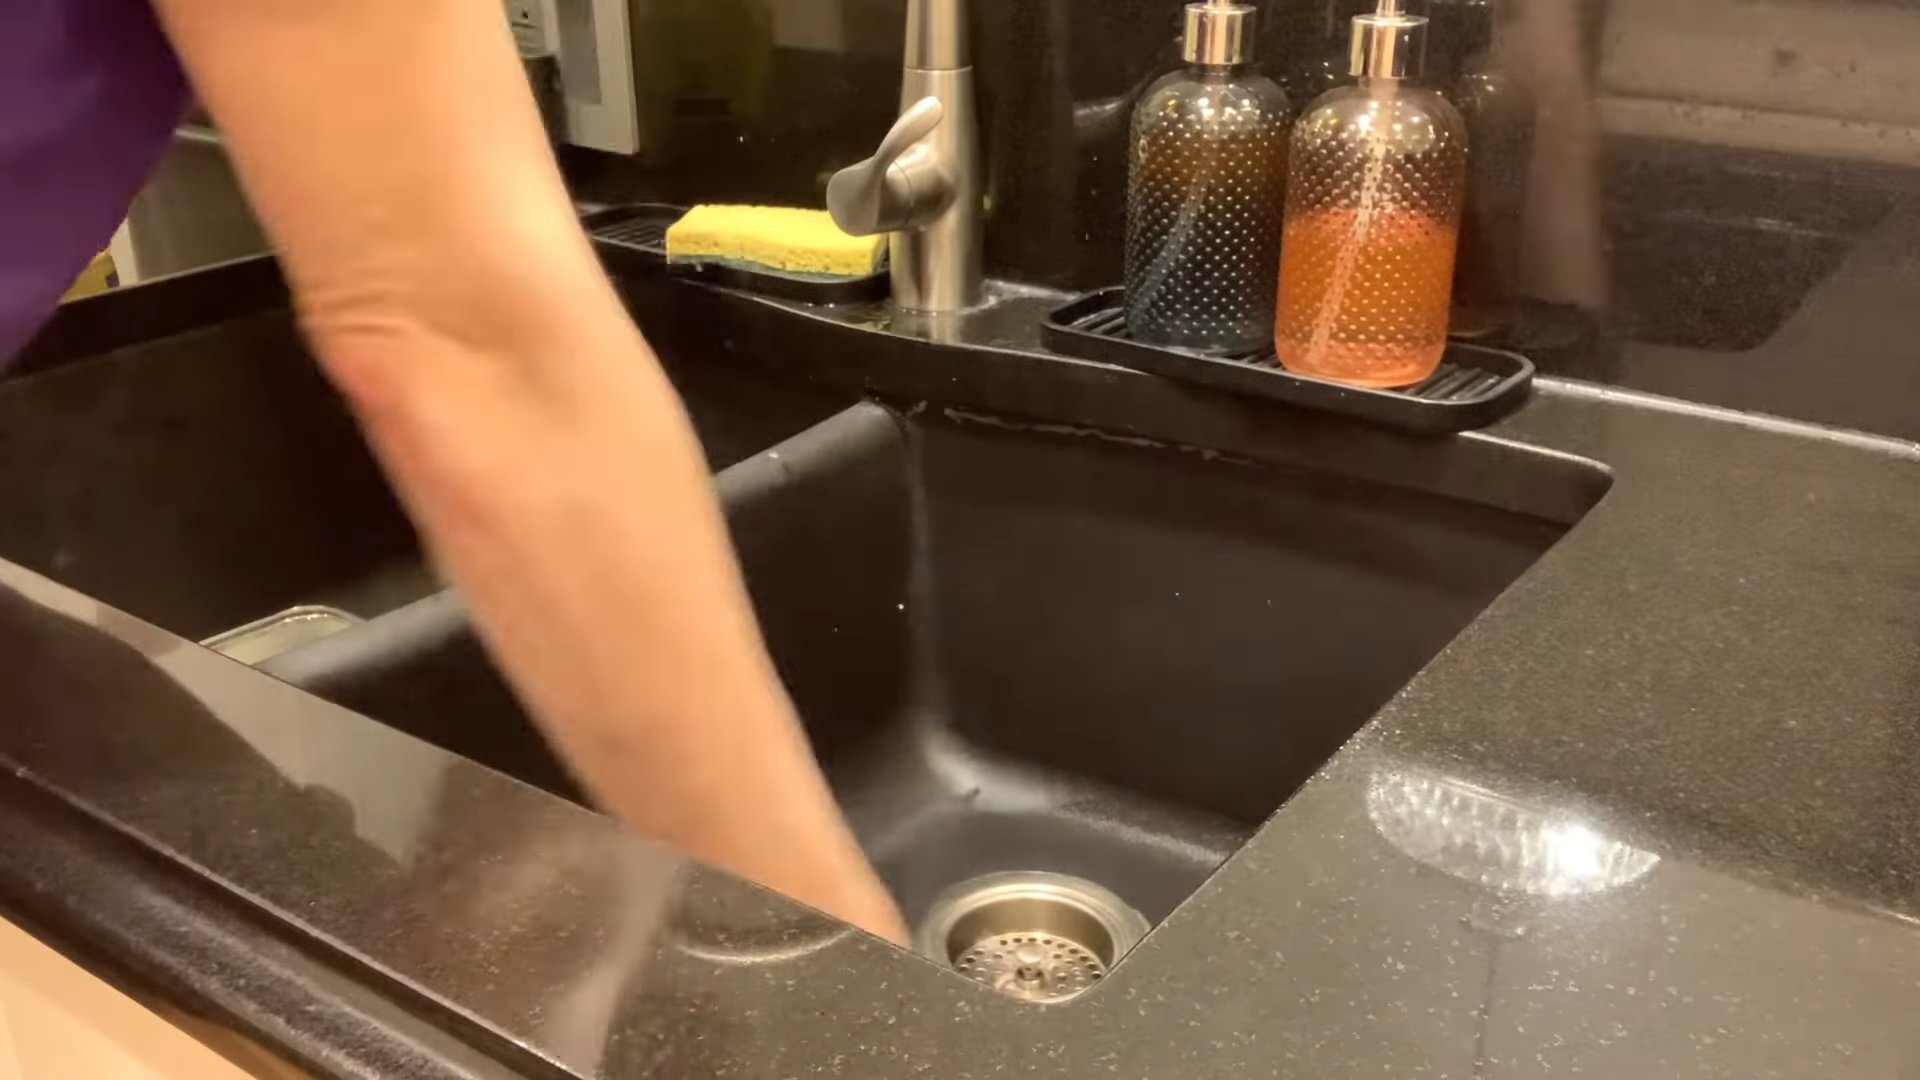
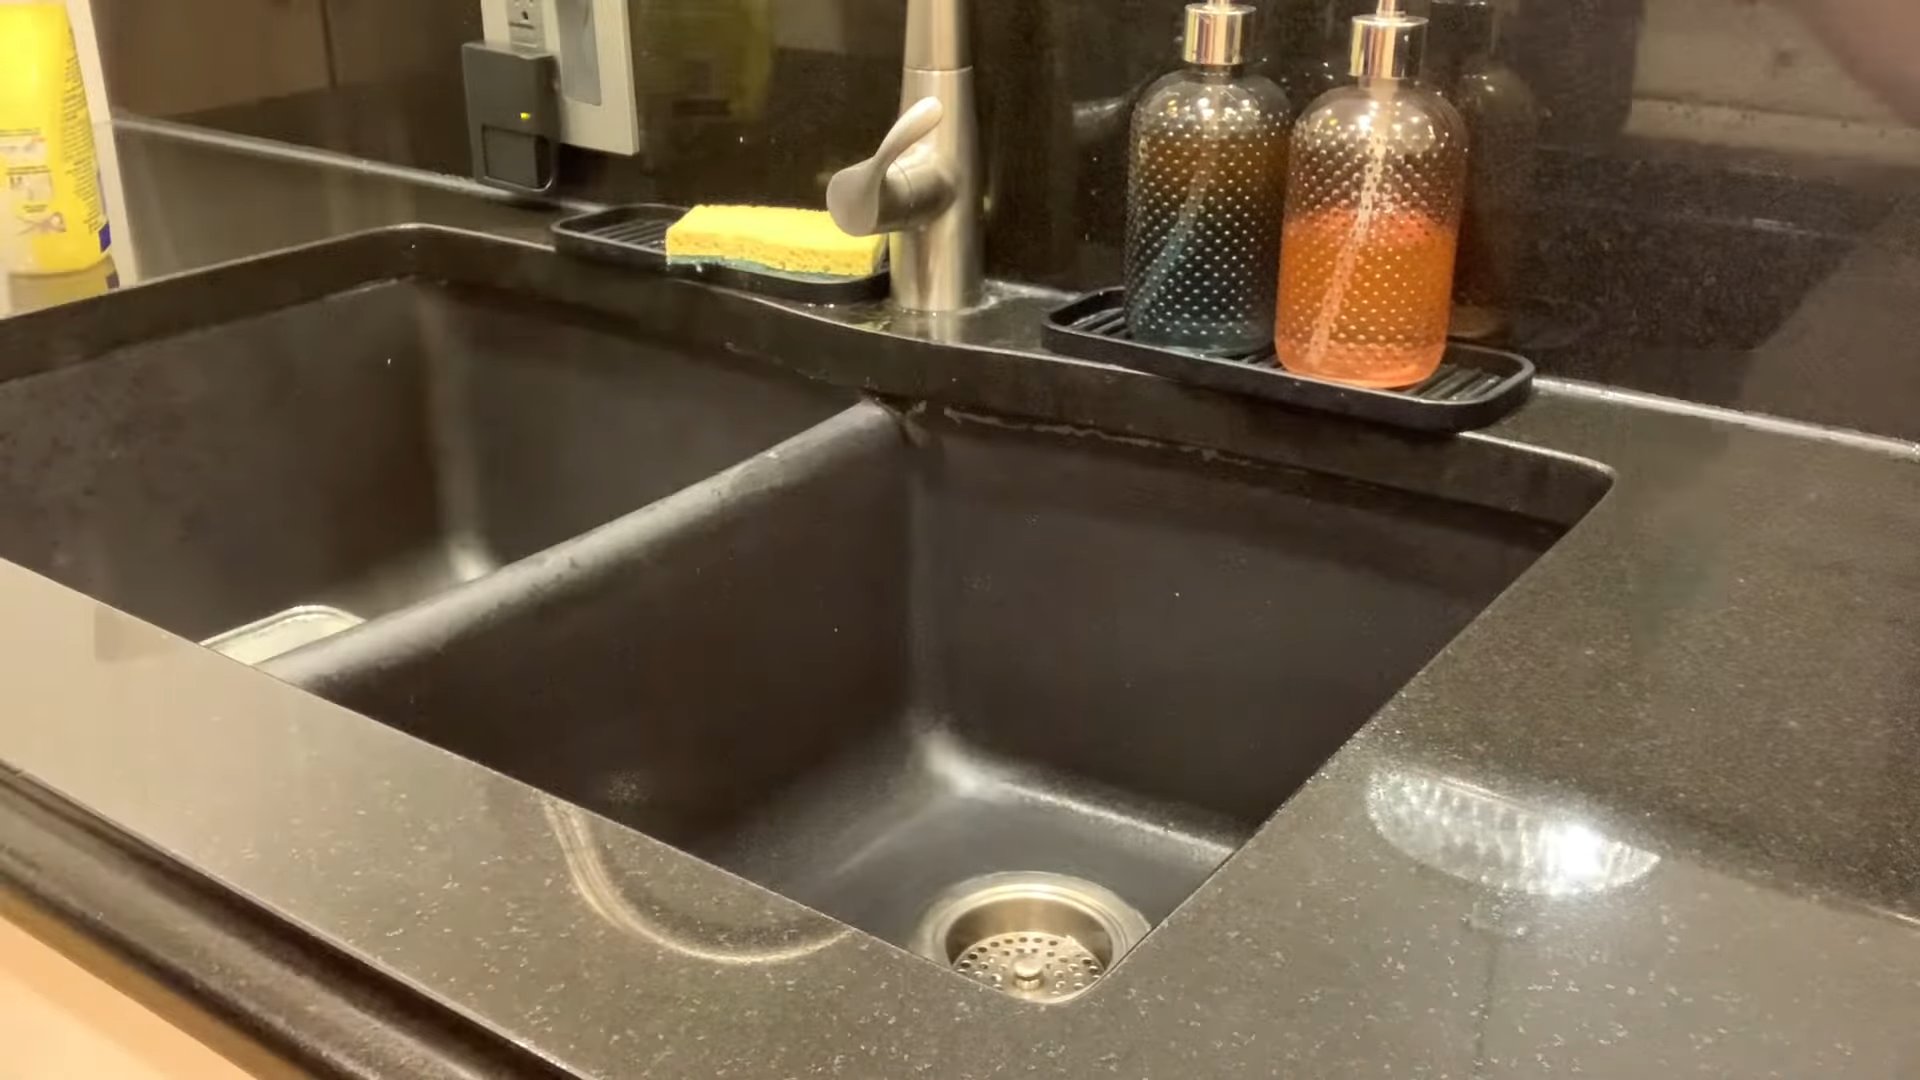
* **Kitchen Countertops:** Spray the cleaner onto your countertops and wipe clean with a damp cloth. Avoid using it on granite or marble countertops.
* **Bathroom Surfaces:** This cleaner works wonders on bathroom sinks, toilets, and showers. Spray, let it sit for a few minutes, and then wipe clean.
* **Mirrors and Windows:** For streak-free shine, spray the cleaner onto mirrors and windows and wipe with a microfiber cloth.
* **Floors (Except Hardwood):** Add a cup of vinegar cleaner to a bucket of warm water and mop your floors. Avoid using it on hardwood floors, as it can damage the finish.
* **Coffee Maker Cleaning:** Fill the water reservoir of your coffee maker with a 1:1 solution of vinegar and water. Run a brewing cycle, then run two cycles with plain water to rinse.
* **Microwave Cleaning:** Heat a cup of vinegar and water in the microwave for a few minutes. The steam will loosen any stuck-on food, making it easy to wipe clean.
* **Dishwasher Booster:** Add a cup of vinegar to the bottom of your dishwasher before running a cycle to help boost cleaning power and remove hard water stains.
* **Deodorizing:** Spray the cleaner into the air to help neutralize odors.
Troubleshooting and Tips for Success
Even with a simple recipe, sometimes things don’t go exactly as planned. Here are some common issues and how to fix them:
* **Strong Vinegar Smell:** If the vinegar smell is too strong for you, try adding more essential oils or diluting the cleaner with more water. You can also open windows to ventilate the area while cleaning.
* **Streaky Surfaces:** If you’re getting streaks, try using a clean microfiber cloth and avoid using too much cleaner. You can also try wiping the surface with a dry cloth after cleaning.
* **Cloudy Cleaner:** Sometimes, the essential oils can cause the cleaner to look cloudy. This is perfectly normal and doesn’t affect the cleaning power. Just shake the bottle well before each use.
* **Clogged Spray Nozzle:** If your spray nozzle gets clogged, try rinsing it with warm water or soaking it in vinegar.
Safety First!
While vinegar is a natural cleaner, it’s st
Hey there, fellow DIY enthusiasts! I’m super excited to share my go-to recipe for an all-purpose vinegar cleaner. It’s incredibly simple, cost-effective, and a fantastic alternative to harsh chemical cleaners. Plus, it’s eco-friendly! I’ve been using this for years, and it’s tackled everything from kitchen countertops to bathroom grime. Let’s get started!
What You’ll Need
Before we dive in, let’s gather our supplies. This is a pretty short list, which is one of the things I love about this cleaner!
* **White Distilled Vinegar:** This is the star of the show! Make sure it’s white distilled vinegar, as other types might stain or leave a residue.
* **Water:** Tap water is perfectly fine.
* **Essential Oils (Optional):** Vinegar has a distinct smell, so essential oils are great for masking it and adding a pleasant scent. I personally love lemon, lavender, tea tree, or eucalyptus.
* **Spray Bottle:** A clean, empty spray bottle is essential for application.
* **Measuring Cup or Spoons:** For accurate measurements.
* **Funnel (Optional):** Makes pouring liquids into the spray bottle easier.
Mixing the Magic: Step-by-Step Instructions
Okay, now for the fun part! Let’s mix up our all-purpose cleaner.
1. **Prepare Your Spray Bottle:** Make sure your spray bottle is clean and dry. Any residue from previous cleaners could react with the vinegar.
2. **Combine Vinegar and Water:** This is where the magic happens! The ratio of vinegar to water is crucial. For general cleaning, I recommend a 1:1 ratio. That means equal parts vinegar and water. So, if you’re using a 16-ounce spray bottle, you’ll need 8 ounces of vinegar and 8 ounces of water. For tougher jobs, you can increase the vinegar concentration to a 2:1 ratio (more vinegar than water).
* **Pour the Vinegar:** Using your measuring cup, carefully pour the desired amount of white distilled vinegar into the spray bottle. A funnel can be super helpful here to avoid spills.
* **Add the Water:** Next, measure out the corresponding amount of water and add it to the spray bottle.
3. **Add Essential Oils (Optional):** This is where you can customize your cleaner and make it smell amazing! Essential oils not only add a pleasant fragrance but also have some cleaning properties of their own.
* **Choose Your Scent:** Select your favorite essential oil or a blend of oils. I usually go for a citrus scent like lemon or orange for the kitchen, and lavender or tea tree for the bathroom.
* **Add the Drops:** Add about 10-20 drops of essential oil per 16-ounce spray bottle. Start with fewer drops and add more if you want a stronger scent. Be careful not to add too much, as some essential oils can be irritating.
* A Word of Caution: Never mix vinegar with bleach! This creates toxic fumes. Also, avoid using vinegar on natural stone surfaces like marble or granite, as it can etch the surface.
4. **Shake Well:** Secure the spray nozzle onto the bottle and shake vigorously to ensure the vinegar, water, and essential oils (if using) are thoroughly mixed.
5. **Label Your Bottle:** This is important! Label your spray bottle clearly as “Vinegar Cleaner” or “All-Purpose Cleaner” to avoid any confusion. You can also add the date you made it.
Putting Your Cleaner to Work: Cleaning Tips and Tricks
Now that you have your amazing DIY vinegar cleaner, let’s put it to good use! Here are some of my favorite ways to use it:
* **Kitchen Countertops:** Spray the cleaner onto your countertops and wipe clean with a damp cloth. Avoid using it on granite or marble countertops.
* **Bathroom Surfaces:** This cleaner works wonders on bathroom sinks, toilets, and showers. Spray, let it sit for a few minutes, and then wipe clean.
* **Mirrors and Windows:** For streak-free shine, spray the cleaner onto mirrors and windows and wipe with a microfiber cloth.
* **Floors (Except Hardwood):** Add a cup of vinegar cleaner to a bucket of warm water and mop your floors. Avoid using it on hardwood floors, as it can damage the finish.
* **Coffee Maker Cleaning:** Fill the water reservoir of your coffee maker with a 1:1 solution of vinegar and water. Run a brewing cycle, then run two cycles with plain water to rinse.
* **Microwave Cleaning:** Heat a cup of vinegar and water in the microwave for a few minutes. The steam will loosen any stuck-on food, making it easy to wipe clean.
* **Dishwasher Booster:** Add a cup of vinegar to the bottom of your dishwasher before running a cycle to help boost cleaning power and remove hard water stains.
* **Deodorizing:** Spray the cleaner into the air to help neutralize odors.
Troubleshooting and Tips for Success
Even with a simple recipe, sometimes things don’t go exactly as planned. Here are some common issues and how to fix them:
* **Strong Vinegar Smell:** If the vinegar smell is too strong for you, try adding more essential oils or diluting the cleaner with more water. You can also open windows to ventilate the area while cleaning.
* **Streaky Surfaces:** If you’re getting streaks, try using a clean microfiber cloth and avoid using too much cleaner. You can also try wiping the surface with a dry cloth after cleaning.
* **Cloudy Cleaner:** Sometimes, the essential oils can cause the cleaner to look cloudy. This is perfectly normal and doesn’t affect the cleaning power. Just shake the bottle well before each use.
* **Clogged Spray Nozzle:** If your spray nozzle gets clogged, try rinsing it with warm water or soaking it in vinegar.
Safety First!
While vinegar is a natural cleaner, it’s still important to take some safety precautions:
* **Avoid Mixing with Bleach:** As I mentioned before, never mix vinegar with bleach, as this can create toxic fumes.
* **Test on a Small Area:** Before using the cleaner on a large surface, test it on a small, inconspicuous area to make sure it doesn’t damage the finish.
* **Keep Out of Reach of Children and Pets:** Although it’s a natural cleaner, it’s still important to keep it out of reach of children and pets.
* **Wear Gloves (Optional):** If you have sensitive skin, you may want to wear gloves while cleaning with vinegar.
Why I Love This DIY Cleaner
I’ve been using this DIY vinegar cleaner for years, and I absolutely love it! Here’s why:
* **It’s Affordable:** Vinegar is super cheap, making this cleaner a budget-friendly option.
* **It’s Eco-Friendly:** It’s a great alternative to harsh chemical cleaners that can be harmful to the environment.
* **It’s Effective:** It cleans just as well as many commercial cleaners, without the harsh chemicals.
* **It’s Customizable:** You can customize the scent with your favorite essential oils.
* **It’s Easy to Make:** It takes just a few minutes to whip up a batch of this cleaner.
Beyond the Basics: Advanced Vinegar Cleaning Hacks
Once you’re comfortable with the basic all-purpose cleaner, you can start experimenting with more advanced vinegar cleaning hacks!
* **Vinegar and Baking Soda Drain Cleaner:** Pour 1/2 cup of baking soda down the drain, followed by 1 cup of vinegar. Let it fizz for 30 minutes, then flush with hot water. This is a great way to unclog drains naturally.
* **Vinegar and Salt for Rust Removal:** Make a paste of vinegar and salt and apply it to rusty surfaces. Let it sit for a few hours, then scrub with a brush.
* **Vinegar and Newspaper for Window Cleaning:** Use a solution of vinegar and water to clean windows, then dry them with crumpled newspaper for a streak-free shine.
* **Vinegar for Laundry:** Add 1/2 cup of vinegar to your laundry to help brighten colors, soften fabrics, and remove odors.
* **Vinegar for Weed Control:** Spray undiluted vinegar on weeds to kill them naturally. Be careful not to spray it on plants you want to keep, as it will kill them too.
Storing Your DIY Cleaner
Proper storage is key to keeping your DIY vinegar cleaner fresh and effective.
* **Keep it in a Cool, Dark Place:** Store your cleaner in a cool, dark place away from direct sunlight. This will help prevent the essential oils from degrading.
* **Use a Properly Labeled Bottle:** Make sure your bottle is clearly labeled so you don’t accidentally use it for something else.
* **Check for Separation:** Over time, the essential oils may separate from the vinegar and water. Just shake the bottle well before each use to remix them.
* **Shelf Life:** This cleaner doesn’t really “expire,” but the essential oils may lose their
Conclusion
So, there you have it! Ditching the harsh chemicals and embracing the power of a homemade DIY vinegar cleaner is not just a trend; it’s a smart, sustainable, and surprisingly effective way to keep your home sparkling. We’ve walked you through the simple steps, highlighting the cost-effectiveness and eco-friendly benefits. But the real magic lies in the results.
Think about it: no more lingering chemical smells, no more worrying about harmful residues around your children or pets, and a significantly lighter impact on the environment. Plus, you’re likely to save a considerable amount of money compared to constantly repurchasing commercial cleaning products. It’s a win-win-win!
This isn’t just about cleaning; it’s about making a conscious choice to live a healthier, more sustainable life. And the best part? It’s incredibly easy. You probably already have the ingredients in your pantry.
But don’t just take our word for it. The true testament to the effectiveness of this DIY vinegar cleaner lies in your own experience. We encourage you to give it a try. Start with a small batch, experiment with different essential oil combinations to find your favorite scent, and see the difference it makes in your home.
Variations and Suggestions:
* Citrus Infusion: For an extra boost of cleaning power and a refreshing scent, infuse your vinegar with citrus peels (lemon, orange, grapefruit) for a few weeks before using it in your cleaner. Simply add the peels to a jar of vinegar, seal it tightly, and let it sit in a cool, dark place for 2-3 weeks. Strain the vinegar before using.
* Herbal Power: Similarly, you can infuse vinegar with herbs like rosemary, lavender, or thyme for added antibacterial and antifungal properties.
* Baking Soda Boost: For stubborn stains or grime, create a paste of baking soda and your DIY vinegar cleaner. Apply the paste to the affected area, let it sit for a few minutes, and then scrub gently.
* Different Vinegar Types: While white distilled vinegar is the most common choice, you can also experiment with apple cider vinegar. Keep in mind that apple cider vinegar has a stronger scent, so you might want to use it in areas where the smell won’t be as noticeable.
* Essential Oil Blends: Get creative with your essential oil blends! Try combinations like lavender and tea tree for a calming and antibacterial cleaner, or lemon and eucalyptus for a refreshing and invigorating scent.
We’re confident that once you experience the cleaning power and eco-friendly benefits of this DIY vinegar cleaner, you’ll never go back to store-bought alternatives.
So, grab your vinegar, gather your essential oils, and get ready to transform your cleaning routine. And most importantly, we want to hear about your experience! Share your tips, tricks, and favorite scent combinations in the comments below. Let’s build a community of DIY cleaning enthusiasts and make our homes cleaner, greener, and healthier, one spray at a time. We are eager to hear how this DIY vinegar cleaner has helped you!
Frequently Asked Questions (FAQ)
Is vinegar safe to use on all surfaces?
While vinegar is a fantastic all-purpose cleaner, it’s essential to be aware of surfaces where it’s not recommended. Avoid using vinegar on natural stone surfaces like marble, granite, and limestone, as the acidity can etch and damage them. It’s also best to avoid using vinegar on waxed furniture, as it can strip the wax finish. Always test your DIY vinegar cleaner in an inconspicuous area before applying it to a larger surface, especially if you’re unsure about its compatibility. For wooden surfaces, dilute the vinegar solution further and avoid prolonged contact.
What is the best type of vinegar to use for cleaning?
White distilled vinegar is generally considered the best type of vinegar for cleaning due to its high acidity and lack of color. It’s effective at cutting through grease, grime, and hard water stains without leaving behind any residue or discoloration. While apple cider vinegar can also be used, it has a stronger scent and may leave a slight residue, so it’s best reserved for areas where the smell won’t be as noticeable. Avoid using cleaning vinegar, which has a higher acidity than white distilled vinegar, as it can be too harsh for some surfaces.
How much essential oil should I add to my DIY vinegar cleaner?
A general guideline is to add about 10-20 drops of essential oil per cup of vinegar. However, the exact amount will depend on the strength of the essential oil and your personal preference. Start with a smaller amount and add more as needed until you achieve your desired scent. Be sure to use high-quality, pure essential oils for the best results. Some essential oils, like tea tree and eucalyptus, have stronger scents than others, so adjust the amount accordingly.
Can I use this DIY vinegar cleaner to clean my windows and mirrors?
Yes, a DIY vinegar cleaner is an excellent choice for cleaning windows and mirrors. The vinegar helps to cut through streaks and grime, leaving behind a sparkling clean surface. Simply mix equal parts vinegar and water in a spray bottle, spray the solution onto the glass, and wipe clean with a microfiber cloth. For best results, avoid cleaning windows and mirrors in direct sunlight, as the cleaner may dry too quickly and leave streaks.
How long will my DIY vinegar cleaner last?
A DIY vinegar cleaner has a long shelf life and can typically last for several months when stored properly. Keep it in a cool, dark place away from direct sunlight and heat. Over time, the scent of the essential oils may fade slightly, but the cleaning power of the vinegar will remain intact. If you notice any changes in the appearance or smell of the cleaner, it’s best to discard it and make a fresh batch.
Is it safe to mix vinegar with other cleaning products?
No, it’s generally not safe to mix vinegar with other cleaning products, especially bleach. Mixing vinegar with bleach can create toxic chlorine gas, which can cause respiratory irritation and other health problems. Avoid mixing vinegar with ammonia-based cleaners as well, as this can create harmful chloramine vapors. When using a DIY vinegar cleaner, always use it on its own and avoid combining it with other cleaning agents.
Can I use this DIY vinegar cleaner to clean my toilet?
Yes, a DIY vinegar cleaner can be used to clean your toilet. Pour a cup of vinegar into the toilet bowl and let it sit for about 30 minutes. Then, scrub the bowl with a toilet brush and flush. For stubborn stains, you can add a paste of baking soda and vinegar to the affected area and let it sit for a longer period before scrubbing. The vinegar will help to disinfect and deodorize the toilet bowl, leaving it clean and fresh.
Will the vinegar smell linger after cleaning?
The vinegar smell may be noticeable initially, but it typically dissipates quickly after cleaning. Adding essential oils to your DIY vinegar cleaner can help to mask the vinegar scent and leave behind a more pleasant aroma. Open windows and doors to ventilate the area after cleaning to help the vinegar smell dissipate faster. If you’re particularly sensitive to the smell of vinegar, you can dilute the solution further or use a different type of vinegar, such as apple cider vinegar, which has a milder scent.
Can I use this DIY vinegar cleaner on my hardwood floors?
It’s generally not recommended to use a DIY vinegar cleaner on hardwood floors, as the acidity can damage the finish over time. If you choose to use vinegar on your hardwood floors, dilute the solution significantly (no more than 1/4 cup of vinegar per gallon of water) and avoid prolonged contact. Always test the cleaner in an inconspicuous area first to ensure it doesn’t damage the finish. Consider using a cleaner specifically designed for hardwood floors instead.
How does this DIY vinegar cleaner compare to commercial cleaning products?
A DIY vinegar cleaner offers several advantages over commercial cleaning products. It’s more cost-effective, eco-friendly, and free of harsh chemicals and artificial fragrances. While commercial cleaning products may contain stronger cleaning agents, they can also be harmful to your health and the environment. A DIY vinegar cleaner is a safe and effective alternative for everyday cleaning tasks. However, for heavy-duty cleaning or disinfecting, you may need to use a stronger cleaning product.
Leave a Comment