

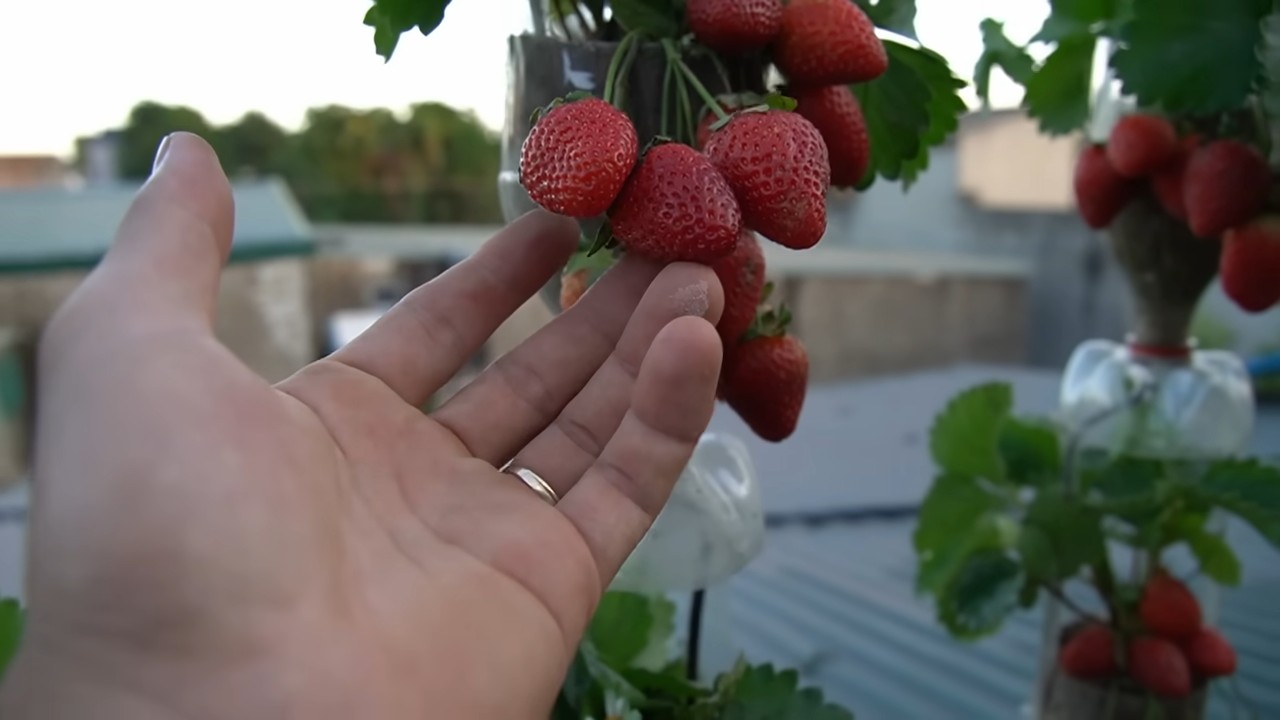
DIY Strawberry Tower: Imagine plucking juicy, sun-ripened strawberries right from your own backyard, even if you’re short on space! That’s the magic of a DIY strawberry tower, and I’m here to show you how to build one yourself. Forget those expensive store-bought berries – with a little effort, you can have a thriving vertical garden bursting with deliciousness.
Vertical gardening, including structures like our DIY strawberry tower, has a rich history. Think of the Hanging Gardens of Babylon, one of the Seven Wonders of the Ancient World! While we might not be building anything quite so grand, the principle is the same: maximizing space and bringing beauty and sustenance closer to home. For centuries, gardeners have sought innovative ways to cultivate plants in limited areas, and the strawberry tower is a modern twist on this age-old practice.
Why do you need this DIY trick in your life? Well, besides the obvious benefit of fresh, organic strawberries, a strawberry tower is a fantastic solution for urban dwellers, apartment residents, or anyone with a small garden. It’s also a visually stunning addition to any outdoor space, adding a touch of charm and personality. Plus, building your own DIY strawberry tower is a fun and rewarding project that connects you with nature and provides a sense of accomplishment. Let’s get started and transform your space into a strawberry paradise!
Erdbeer-Turm selber bauen: Eine Schritt-für-Schritt Anleitung
Hallo liebe Gartenfreunde! Ich zeige euch heute, wie ihr einen fantastischen Erdbeer-Turm selber bauen könnt. Das ist nicht nur eine platzsparende Lösung für kleine Gärten oder Balkone, sondern auch ein echter Hingucker! Und das Beste: Ihr könnt euch schon bald über eine reiche Erdbeerernte freuen. Los geht’s!
Was du brauchst: Die Materialliste
Bevor wir loslegen, hier eine Liste aller Materialien und Werkzeuge, die du für dein Erdbeer-Paradies benötigst:
* Ein großes Kunststoffrohr (ca. 15-20 cm Durchmesser, 1,5-2 m Länge): Ich empfehle ein Abwasserrohr aus dem Baumarkt. Achte darauf, dass es lebensmittelecht ist, wenn du ganz sicher gehen willst.
* Ein kleineres Kunststoffrohr (ca. 5-7 cm Durchmesser, etwas länger als das große Rohr): Dieses Rohr dient zur Bewässerung.
* Bohrmaschine mit Lochsäge (ca. 5-8 cm Durchmesser): Die Größe der Lochsäge hängt davon ab, wie groß du deine Pflanzlöcher haben möchtest.
* Bohrmaschine mit kleinem Bohrer: Für die Bewässerungslöcher.
* Geotextil oder Unkrautvlies: Um zu verhindern, dass Erde in das Bewässerungsrohr gelangt.
* Pflanzerde: Am besten eine Mischung aus Gartenerde, Kompost und etwas Sand.
* Erdbeerpflanzen: Wähle am besten verschiedene Sorten für eine längere Erntezeit.
* Kies oder Blähton: Für die Drainage am Boden des Turms.
* Handschuhe: Zum Schutz deiner Hände.
* Maßband oder Zollstock: Zum Abmessen der Löcher.
* Stift oder Marker: Zum Anzeichnen der Löcher.
* Evtl. Klebeband: Zum Fixieren des Geotextils.
* Evtl. eine Säge: Falls du das große Rohr kürzen musst.
Phase 1: Vorbereitung des großen Rohrs
1. Rohr reinigen: Bevor du anfängst, solltest du das große Kunststoffrohr gründlich reinigen. Entferne Staub und Schmutz mit Wasser und eventuell etwas Spülmittel.
2. Löcher anzeichnen: Jetzt kommt der spaßige Teil! Mit dem Maßband und dem Stift markierst du die Stellen, an denen du die Löcher für die Erdbeerpflanzen bohren möchtest. Ich empfehle, die Löcher versetzt anzuordnen, damit die Pflanzen genügend Platz haben. Der Abstand zwischen den Löchern sollte etwa 20-25 cm betragen. Achte darauf, dass die Löcher nicht zu nah am Rand des Rohrs sind.
3. Löcher bohren: Mit der Bohrmaschine und der Lochsäge bohrst du nun die Löcher an den markierten Stellen. Sei vorsichtig und arbeite langsam, damit das Rohr nicht reißt. Trage dabei unbedingt Handschuhe und eine Schutzbrille.
4. Entgraten: Nach dem Bohren können scharfe Kanten an den Löchern entstehen. Diese solltest du vorsichtig mit einem Messer oder einer Feile entfernen, damit sich die Pflanzen später nicht verletzen.
Phase 2: Vorbereitung des Bewässerungsrohrs
1. Bewässerungslöcher bohren: Nimm das kleinere Kunststoffrohr und bohre mit einem kleinen Bohrer viele kleine Löcher hinein. Diese Löcher dienen dazu, das Wasser gleichmäßig im Erdbeer-Turm zu verteilen. Die Löcher sollten über die gesamte Länge des Rohrs verteilt sein, besonders im unteren Bereich.
2. Geotextil anbringen: Umwickle das kleinere Rohr mit Geotextil oder Unkrautvlies. Das verhindert, dass Erde in das Rohr gelangt und die Löcher verstopft. Fixiere das Geotextil mit Klebeband, falls nötig.
Phase 3: Zusammenbau des Erdbeer-Turms
1. Drainage vorbereiten: Stelle das große Rohr an den gewünschten Standort. Fülle den Boden des Rohrs mit einer Schicht Kies oder Blähton. Das sorgt für eine gute Drainage und verhindert Staunässe.
2. Bewässerungsrohr einsetzen: Stelle das vorbereitete Bewässerungsrohr mittig in das große Rohr. Achte darauf, dass es bis zum Boden reicht.
3. Erde einfüllen: Fülle nun das große Rohr mit Pflanzerde. Achte darauf, dass die Erde gut verteilt ist und keine Hohlräume entstehen. Fülle die Erde bis kurz unterhalb der ersten Lochreihe.
4. Erdbeeren pflanzen: Setze die Erdbeerpflanzen vorsichtig in die Löcher. Achte darauf, dass die Wurzeln gut mit Erde bedeckt sind. Drücke die Erde leicht an.
5. Weitere Schichten befüllen: Fülle nun weitere Schichten Erde ein und pflanze weitere Erdbeeren in die Löcher. Wiederhole diesen Vorgang, bis der Erdbeer-Turm vollständig bepflanzt ist.
6. Abschluss: Fülle die oberste Schicht des Turms mit Erde und pflanze dort ebenfalls Erdbeeren. Gieße den gesamten Turm gründlich.
Phase 4: Pflege und Ernte
1. Gießen: Gieße den Erdbeer-Turm regelmäßig, besonders an heißen Tagen. Du kannst das Wasser direkt in das Bewässerungsrohr gießen, damit es gleichmäßig verteilt wird. Achte darauf, dass die Erde immer leicht feucht ist, aber nicht zu nass.
2. Düngen: Dünge die Erdbeeren regelmäßig mit einem speziellen Erdbeerdünger. Beachte dabei die Anweisungen auf der Verpackung.
3. Schutz vor Schädlingen: Kontrolliere die Erdbeeren regelmäßig auf Schädlinge wie Schnecken oder Blattläuse. Bei Bedarf kannst du biologische Schädlingsbekämpfungsmittel einsetzen.
4. Bevor wir loslegen, hier eine Liste aller Materialien und Werkzeuge, die du für dein Erdbeer-Paradies benötigst: * Ein großes Kunststoffrohr (ca. 15-20 cm Durchmesser, 1,5-2 m Länge): Ich empfehle ein Abwasserrohr aus dem Baumarkt. Achte darauf, dass es lebensmittelecht ist, wenn du ganz sicher gehen willst. 1. Rohr reinigen: Bevor du anfängst, solltest du das große Kunststoffrohr gründlich reinigen. Entferne Staub und Schmutz mit Wasser und eventuell etwas Spülmittel. 2. Löcher anzeichnen: Jetzt kommt der spaßige Teil! Mit dem Maßband und dem Stift markierst du die Stellen, an denen du die Löcher für die Erdbeerpflanzen bohren möchtest. Ich empfehle, die Löcher versetzt anzuordnen, damit die Pflanzen genügend Platz haben. Der Abstand zwischen den Löchern sollte etwa 20-25 cm betragen. Achte darauf, dass die Löcher nicht zu nah am Rand des Rohrs sind. 3. Löcher bohren: Mit der Bohrmaschine und der Lochsäge bohrst du nun die Löcher an den markierten Stellen. Sei vorsichtig und arbeite langsam, damit das Rohr nicht reißt. Trage dabei unbedingt Handschuhe und eine Schutzbrille. 4. Entgraten: Nach dem Bohren können scharfe Kanten an den Löchern entstehen. Diese solltest du vorsichtig mit einem Messer oder einer Feile entfernen, damit sich die Pflanzen später nicht verletzen. 1. Bewässerungslöcher bohren: Nimm das kleinere Kunststoffrohr und bohre mit einem kleinen Bohrer viele kleine Löcher hinein. Diese Löcher dienen dazu, das Wasser gleichmäßig im Erdbeer-Turm zu verteilen. Die Löcher sollten über die gesamte Länge des Rohrs verteilt sein, besonders im unteren Bereich. 2. Geotextil anbringen: Umwickle das kleinere Rohr mit Geotextil oder Unkrautvlies. Das verhindert, dass Erde in das Rohr gelangt und die Löcher verstopft. Fixiere das Geotextil mit Klebeband, falls nötig. 1. Drainage vorbereiten: Stelle das große Rohr an den gewünschten Standort. Fülle den Boden des Rohrs mit einer Schicht Kies oder Blähton. Das sorgt für eine gute Drainage und verhindert Staunässe. 2. Bewässerungsrohr einsetzen: Stelle das vorbereitete Bewässerungsrohr mittig in das große Rohr. Achte darauf, dass es bis zum Boden reicht. 3. Erde einfüllen: Fülle nun das große Rohr mit Pflanzerde. Achte darauf, dass die Erde gut verteilt ist und keine Hohlräume entstehen. Fülle die Erde bis kurz unterhalb der ersten Lochreihe. 4. Erdbeeren pflanzen: Setze die Erdbeerpflanzen vorsichtig in die Löcher. Achte darauf, dass die Wurzeln gut mit Erde bedeckt sind. Drücke die Erde leicht an. 5. Weitere Schichten befüllen: Fülle nun weitere Schichten Erde ein und pflanze weitere Erdbeeren in die Löcher. Wiederhole diesen Vorgang, bis der Erdbeer-Turm vollständig bepflanzt ist. 6. Abschluss: Fülle die oberste Schicht des Turms mit Erde und pflanze dort ebenfalls Erdbeeren. Gieße den gesamten Turm gründlich. 1. Gießen: Gieße den Erdbeer-Turm regelmäßig, besonders an heißen Tagen. Du kannst das Wasser direkt in das Bewässerungsrohr gießen, damit es gleichmäßig verteilt wird. Achte darauf, dass die Erde immer leicht feucht ist, aber nicht zu nass. 2. Düngen: Dünge die Erdbeeren regelmäßig mit einem speziellen Erdbeerdünger. Beachte dabei die Anweisungen auf der Verpackung. 3. Schutz vor Schädlingen: Kontrolliere die Erdbeeren regelmäßig auf Schädlinge wie Schnecken oder Blattläuse. Bei Bedarf kannst du biologische Schädlingsbekämpfungsmittel einsetzen. 4. Ernte: Und jetzt kommt der beste Teil! Sobald die Erdbeeren rot und reif sind, kannst du sie ernten. Pflücke die Erdbeeren vorsichtig ab, damit du die Pflanzen nicht beschädigst. * Sortenwahl: Wähle verschiedene Erdbeersorten, die zu unterschiedlichen Zeiten reifen. So kannst du über einen längeren Zeitraum Erdbeeren ernten. Ich hoffe, diese Anleitung hilft dir dabei, deinen eigenen Erdbeer-Turm zu bauen. Viel Spaß beim Gärtnern und eine reiche Ernte! Und denk dran: Selbstgemacht schmeckt am besten! So, there you have it! Building your own DIY Strawberry Tower isn’t just a fun weekend project; it’s a gateway to a bountiful harvest of fresh, juicy strawberries right in your backyard, balcony, or even on your patio. Forget those expensive, pre-made planters that often lack the space and drainage your strawberry plants truly need. This method empowers you to create a customized growing environment perfectly suited to their needs, resulting in healthier plants and a significantly larger yield. Why is this DIY trick a must-try? Because it’s economical, space-saving, and incredibly rewarding. You’re not just growing strawberries; you’re cultivating a connection with nature, learning about plant care, and enjoying the satisfaction of harvesting your own food. Plus, a strawberry tower is a beautiful and unique addition to any garden, adding a touch of rustic charm and vertical interest. But the benefits don’t stop there. By building your own tower, you have complete control over the materials used. Opt for untreated wood to ensure a completely organic growing environment. Choose a food-grade plastic liner to prevent soil contamination. You can even incorporate recycled materials, making this project even more eco-friendly. Looking for variations? Consider these ideas: * Herb Tower Hybrid: Intermix strawberry plants with herbs like basil, thyme, or mint. These companion plants can help deter pests and enhance the flavor of your strawberries. Don’t be intimidated by the thought of building your own strawberry tower. The process is surprisingly simple, and the results are well worth the effort. It’s a fantastic project for gardeners of all skill levels, from beginners to seasoned pros. We wholeheartedly encourage you to give this DIY Strawberry Tower a try. It’s a fun, affordable, and sustainable way to enjoy fresh strawberries all season long. And once you’ve built your tower and harvested your first batch of berries, we’d love to hear about your experience! Share your photos, tips, and tricks in the comments below. Let’s create a community of strawberry tower enthusiasts and inspire others to grow their own delicious treats. Happy gardening! The ideal soil for your strawberry tower is a well-draining, nutrient-rich mix. A combination of equal parts potting soil, compost, and peat moss works well. The potting soil provides structure, the compost adds essential nutrients, and the peat moss helps retain moisture. Avoid using garden soil, as it can be too heavy and may not drain properly, leading to root rot. You can also add a slow-release fertilizer to the soil mix to provide a steady supply of nutrients throughout the growing season. Consider testing your soil’s pH level; strawberries prefer a slightly acidic soil with a pH between 5.5 and 6.5. Watering frequency depends on several factors, including the weather, the type of soil you’re using, and the size of your tower. Generally, you should water your strawberry tower whenever the top inch of soil feels dry to the touch. During hot, dry weather, this may mean watering daily, while during cooler, wetter periods, you may only need to water every few days. Be sure to water thoroughly, ensuring that the water reaches all levels of the tower. Avoid overwatering, as this can lead to root rot. A well-draining soil mix is crucial to prevent waterlogging. Consider using a moisture meter to accurately gauge the soil’s moisture level. Day-neutral and everbearing strawberry varieties are generally the best choices for growing in a tower, as they produce fruit throughout the growing season. Some popular options include: * Albion: A day-neutral variety known for its large, sweet berries and disease resistance. When selecting strawberry varieties, consider your local climate and growing conditions. Choose varieties that are known to perform well in your area. Strawberry plants need at least six to eight hours of direct sunlight per day to thrive. Place your strawberry tower in a location that receives plenty of sunlight throughout the day. If you live in a particularly hot climate, you may need to provide some afternoon shade to prevent the plants from overheating. You can also rotate the tower periodically to ensure that all sides receive equal sunlight exposure. Insufficient sunlight can result in poor fruit production and leggy growth. There are several steps you can take to protect your strawberry tower from pests and diseases: * Choose disease-resistant varieties: Selecting strawberry varieties that are known to be resistant to common diseases can significantly reduce the risk of problems. Overwintering your strawberry tower depends on your climate. In mild climates, you may be able to leave the tower outdoors with minimal protection. In colder climates, you’ll need to take steps to protect the plants from freezing temperatures. Here are a few options: * Move the tower indoors: If possible, move the tower to a sheltered location, such as a garage or greenhouse. Yes, you can definitely grow other plants in your strawberry tower alongside your strawberries! Companion planting can be beneficial for both the strawberries and the other plants. Some good companion plants for strawberries include: * Basil: Repels pests and improves the flavor of strawberries. Avoid planting aggressive or tall plants that will shade the strawberries or compete for resources. The lifespan of your DIY Strawberry Tower depends on the materials you use and how well you maintain it. A tower made from untreated wood will likely last for a few seasons, while a tower made from treated wood or durable plastic could last for many years. Regular maintenance, such as cleaning the tower and replacing worn-out parts, can help extend its lifespan. Proper drainage is also crucial to prevent rot and decay.
* Ein kleineres Kunststoffrohr (ca. 5-7 cm Durchmesser, etwas länger als das große Rohr): Dieses Rohr dient zur Bewässerung.
* Bohrmaschine mit Lochsäge (ca. 5-8 cm Durchmesser): Die Größe der Lochsäge hängt davon ab, wie groß du deine Pflanzlöcher haben möchtest.
* Bohrmaschine mit kleinem Bohrer: Für die Bewässerungslöcher.
* Geotextil oder Unkrautvlies: Um zu verhindern, dass Erde in das Bewässerungsrohr gelangt.
* Pflanzerde: Am besten eine Mischung aus Gartenerde, Kompost und etwas Sand.
* Erdbeerpflanzen: Wähle am besten verschiedene Sorten für eine längere Erntezeit.
* Kies oder Blähton: Für die Drainage am Boden des Turms.
* Handschuhe: Zum Schutz deiner Hände.
* Maßband oder Zollstock: Zum Abmessen der Löcher.
* Stift oder Marker: Zum Anzeichnen der Löcher.
* Evtl. Klebeband: Zum Fixieren des Geotextils.
* Evtl. eine Säge: Falls du das große Rohr kürzen musst.Phase 1: Vorbereitung des großen Rohrs
Phase 2: Vorbereitung des Bewässerungsrohrs
Phase 3: Zusammenbau des Erdbeer-Turms
Phase 4: Pflege und Ernte
Zusätzliche Tipps und Tricks
* Standort: Stelle den Erdbeer-Turm an einen sonnigen Standort. Erdbeeren lieben die Sonne!
* Überwinterung: Im Winter solltest du den Erdbeer-Turm vor Frost schützen. Du kannst ihn mit Vlies abdecken oder an einen geschützten Ort stellen.
* Dekoration: Du kannst den Erdbeer-Turm zusätzlich dekorieren, zum Beispiel mit kleinen Schildern oder bunten Bändern.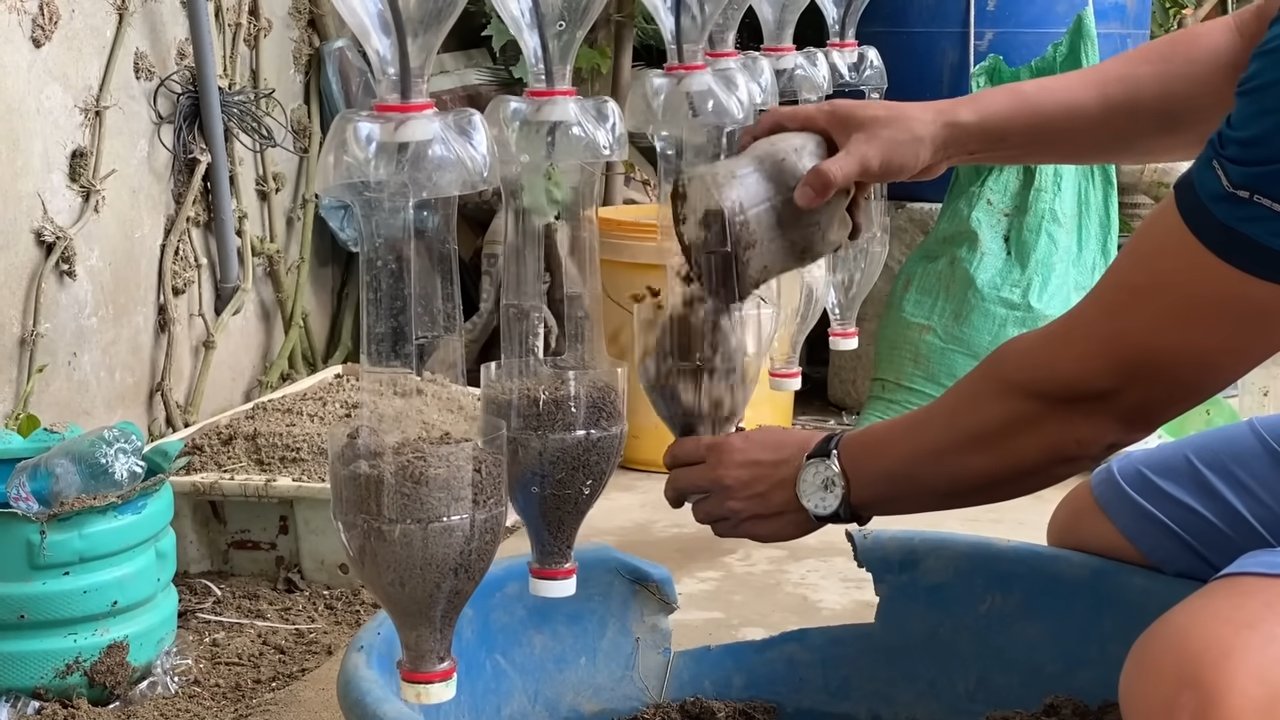
Conclusion
* Tiered Terracotta: Instead of wood, use stacked terracotta pots of varying sizes to create a visually stunning and durable tower.
* Pallet Power: Repurpose an old wooden pallet into a vertical strawberry garden. Simply add fabric liners to the pallet’s openings and fill with soil.
* PVC Pipe Paradise: Use a large PVC pipe with holes drilled along its length to create a hydroponic strawberry tower. This method requires a bit more technical know-how but can result in incredibly fast growth.
* Add a Self-Watering System: Incorporate a simple drip irrigation system to ensure your strawberry plants receive consistent moisture, especially during hot summer months. This can be as simple as a water bottle with small holes poked in the lid, buried near the top of the tower.Frequently Asked Questions (FAQ)
What type of soil is best for a DIY Strawberry Tower?
How often should I water my strawberry tower?
What are the best strawberry varieties for growing in a tower?
* Seascape: Another excellent day-neutral variety that produces consistently high yields of flavorful berries.
* Ozark Beauty: An everbearing variety that produces two main crops of berries, one in the spring and one in the fall.
* Tristar: A compact day-neutral variety that is well-suited for smaller towers.
* Quinault: An everbearing variety that produces large, juicy berries with a slightly tart flavor.How much sunlight do strawberry plants need in a tower?
How do I protect my strawberry tower from pests and diseases?
* Maintain good air circulation: Proper air circulation helps prevent fungal diseases. Ensure that your strawberry plants are not overcrowded and that there is adequate space between the tower and other structures.
* Water properly: Avoid overwatering, as this can create a favorable environment for fungal diseases. Water at the base of the plants to avoid wetting the foliage.
* Remove diseased leaves: Regularly inspect your strawberry plants for signs of disease and remove any affected leaves promptly.
* Use organic pest control methods: If you encounter pests, consider using organic pest control methods, such as insecticidal soap or neem oil.
* Companion planting: Plant herbs like basil or marigolds near your strawberry tower to help deter pests.
* Netting: Use netting to protect your strawberries from birds and other animals.How do I overwinter my strawberry tower?
* Insulate the tower: Wrap the tower with burlap or bubble wrap to provide insulation.
* Mulch the plants: Add a thick layer of mulch, such as straw or leaves, around the base of the plants to protect the roots.
* Water sparingly: During the winter months, water only when the soil is dry to the touch.
* Dormancy: Expect the plants to go dormant during the winter. They will resume growth in the spring.Can I grow other plants in my strawberry tower?
* Marigolds: Repel nematodes and other soil pests.
* Thyme: Attracts beneficial insects and repels cabbage moths.
* Mint: Repels aphids and other pests (but be careful, mint can be invasive, so consider planting it in a container within the tower).
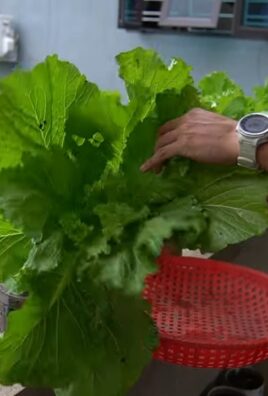
* Lettuce: Provides ground cover and helps retain moisture.
* Spinach: Similar benefits to lettuce.How long will my DIY Strawberry Tower last?
Leave a Comment