

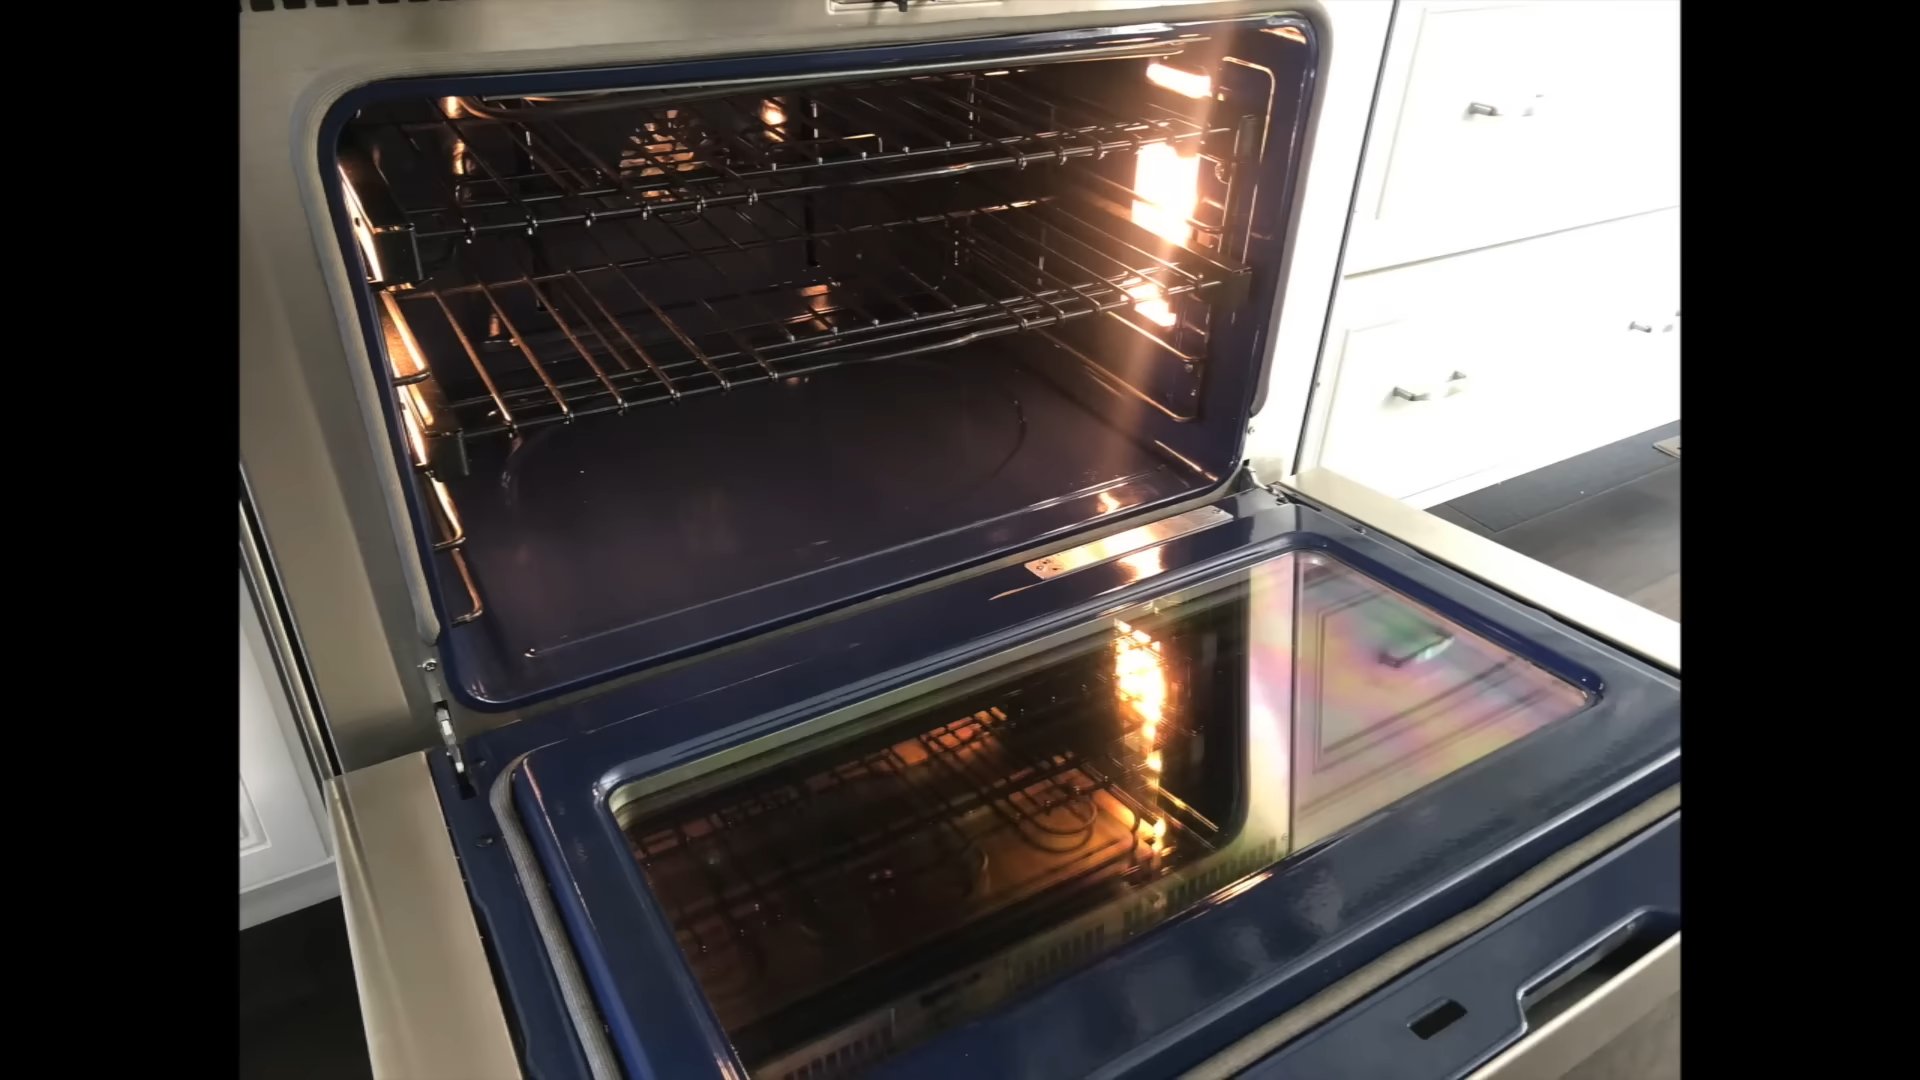
Clean Oven DIY: Is your oven looking less like a culinary haven and more like a burnt offering? Don’t despair! We’ve all been there. The dreaded task of oven cleaning looms large, often postponed until the smoke alarm becomes a permanent fixture during pizza night. But what if I told you that tackling this chore could be surprisingly simple, cost-effective, and even…dare I say…satisfying?
For generations, resourceful homemakers have relied on clever DIY solutions to keep their homes sparkling. Before the age of self-cleaning ovens and harsh chemical cleaners, natural ingredients like baking soda and vinegar were the go-to for tackling baked-on grime. This tradition of resourcefulness is not only budget-friendly but also kinder to our environment and our health.
Let’s face it, nobody enjoys spending hours scrubbing away at stubborn stains. Store-bought oven cleaners can be expensive and filled with harsh chemicals that leave behind lingering odors. That’s where our clean oven DIY guide comes in. I’m going to share some tried-and-true methods that use common household items to get your oven sparkling clean without the fumes or the hefty price tag. Imagine the satisfaction of a gleaming oven, ready to bake your next masterpiece – and all achieved with a little DIY magic!
DIY Oven Cleaning: A Sparkling Clean Oven Without Harsh Chemicals
Okay, let’s face it, cleaning the oven is probably on everyone’s list of least favorite chores. But a clean oven cooks more efficiently and, let’s be honest, just *feels* better. I’m going to walk you through my favorite method for getting your oven sparkling clean without resorting to harsh chemicals. This method uses just a few simple ingredients you probably already have in your pantry!
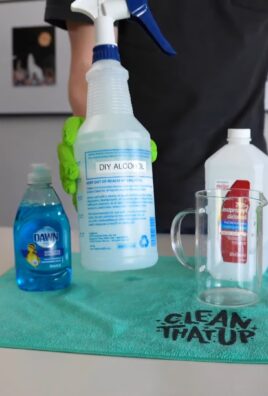
What You’ll Need:
* Baking soda
* White vinegar
* Water
* Spray bottle
* Spatula or scraper
* Rubber gloves (trust me, you’ll want these!)
* Sponge or scrub brush
* Old towels or rags
* Small bowl
* Optional: Lemon essential oil (for a fresh scent)
Preparation is Key!
Before we dive in, let’s get everything prepped and ready to go. This will make the whole process much smoother.
1. Safety First! Make sure your oven is completely cool. Unplug it or turn off the breaker to be extra safe.
2. Empty the Oven: Remove everything from inside the oven – racks, baking stones, thermometers, anything at all. We’ll clean the racks separately.
3. Protect Your Floor: Lay down old towels or newspaper around the base of the oven to catch any drips or spills. This will save you from having to clean the floor afterward!
4. Ventilation is Important: Open a window or turn on your kitchen exhaust fan to ensure good ventilation. Even though we’re using natural ingredients, it’s always a good idea to have fresh air circulating.
Cleaning the Oven Racks
Let’s tackle those grimy oven racks first. There are a couple of ways to do this, and I’ll share my preferred method.
1. The Bathtub Soak (My Favorite!):
* Line your bathtub with old towels to protect the enamel.
* Place the oven racks in the tub.
* Sprinkle a generous amount of baking soda over the racks.
* Slowly pour in hot water until the racks are completely submerged.
* Add about 1/2 cup of dish soap (optional, but it helps cut through the grease).
* Let the racks soak overnight (or at least for several hours). The longer they soak, the easier they’ll be to clean.
* In the morning, drain the tub and scrub the racks with a sponge or scrub brush. The grime should come off fairly easily.
* Rinse the racks thoroughly with clean water and let them dry completely before putting them back in the oven.
2. The Trash Bag Method (Good for Smaller Racks):
* Place the oven racks inside a large, heavy-duty trash bag.
* Pour in about 1/2 cup of ammonia (be careful with ammonia – wear gloves and a mask, and ensure good ventilation!).
* Seal the bag tightly and let it sit overnight. The ammonia fumes will help loosen the grime.
* The next day, carefully open the bag outdoors or in a well-ventilated area.
* Remove the racks and scrub them with a sponge or scrub brush.
* Rinse thoroughly with clean water and let them dry completely.
* Important Note: Never mix ammonia with bleach! This can create toxic fumes.
Making the Baking Soda Paste
Now, let’s create the magic cleaning paste that will transform your oven.
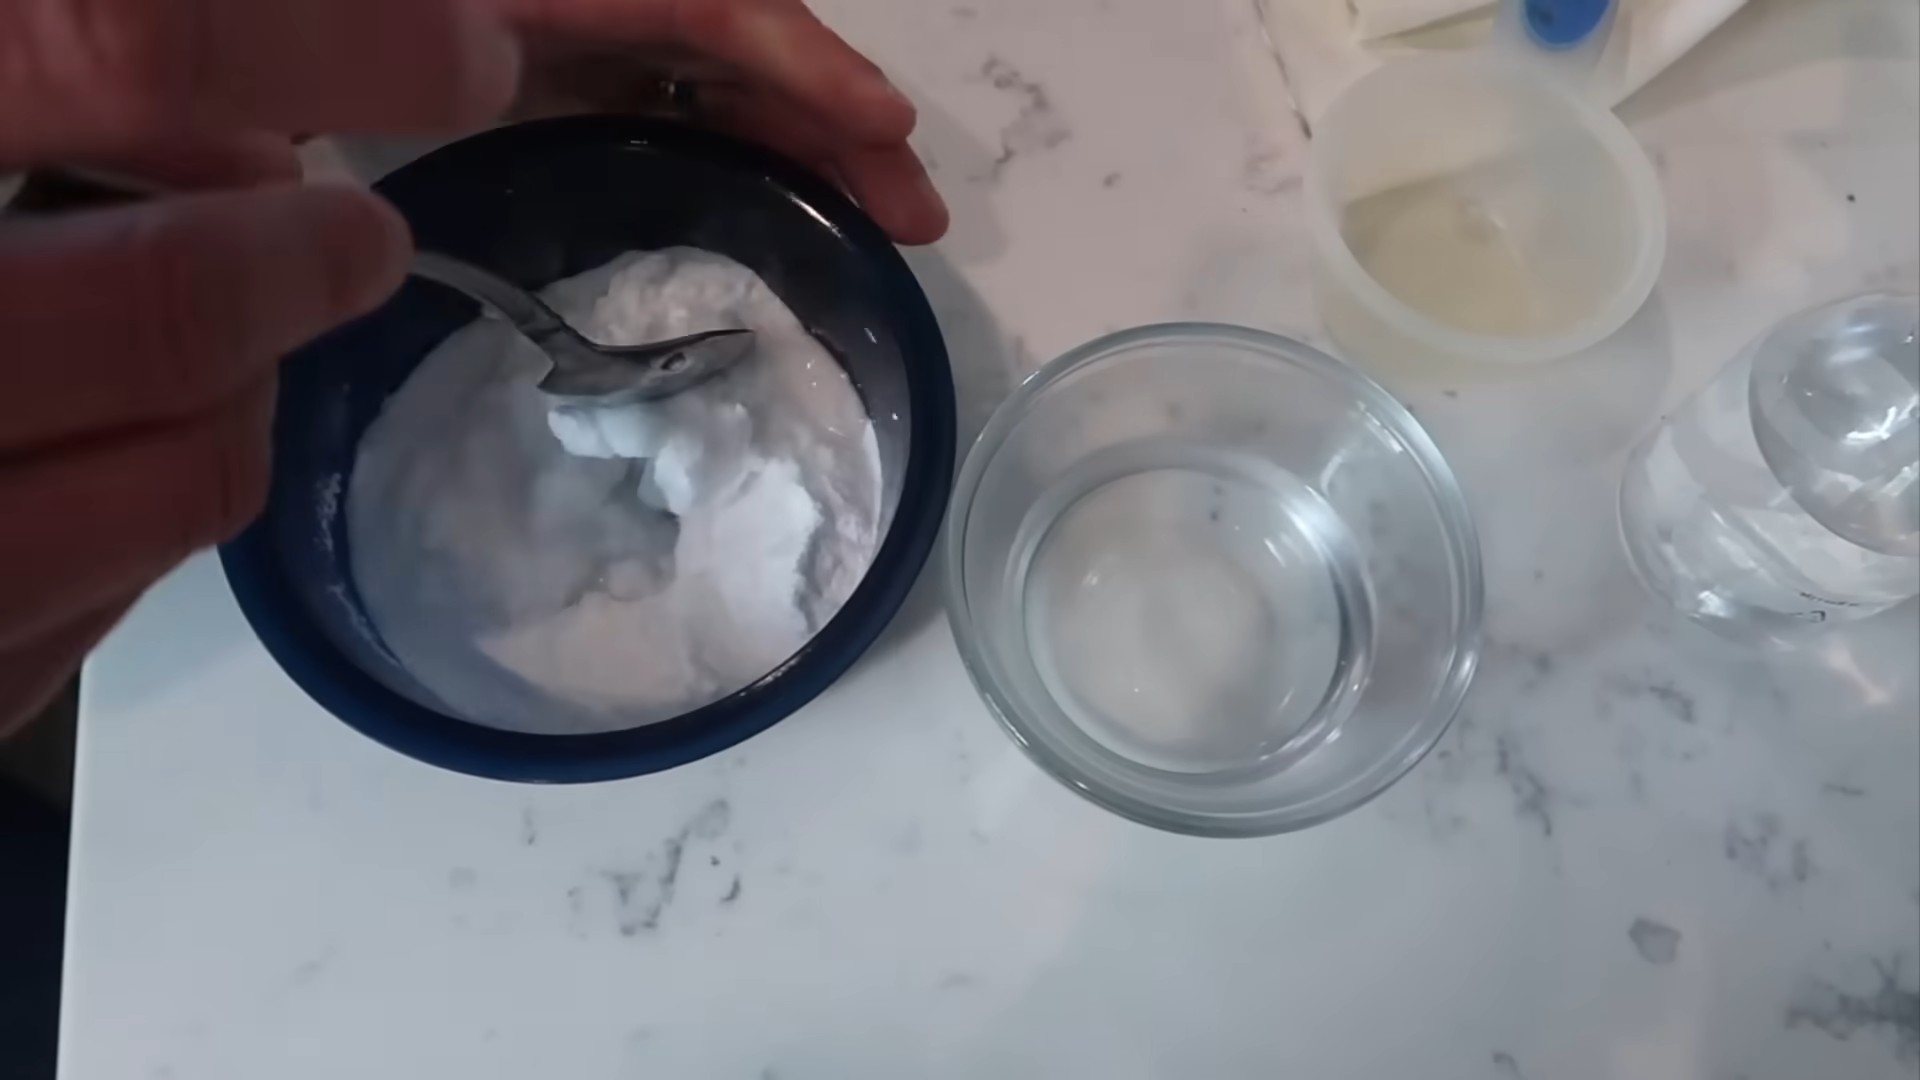
1. Mix the Paste: In a small bowl, combine 1/2 cup of baking soda with enough water to form a thick, spreadable paste. You’ll want it to be thick enough to stick to the oven walls.
2. Optional Scent Boost: If you want to add a fresh scent, add a few drops of lemon essential oil to the paste. This is totally optional, but I find it makes the cleaning process a little more pleasant.
Applying the Baking Soda Paste
This is where the elbow grease (or, well, the baking soda paste) comes in!
1. Coat the Oven: Using your rubber gloves, spread the baking soda paste all over the inside of your oven, avoiding the heating elements. Be generous with the paste, especially on areas with baked-on grease and grime.
2. Don’t Forget the Door: Make sure to coat the inside of the oven door as well.
3. Let it Sit: Once the entire oven is coated, let the baking soda paste sit for at least 12 hours, or even overnight. The longer it sits, the more time it has to loosen the grime.
Cleaning Up the Baking Soda Paste
Okay, the paste has done its work. Now it’s time to clean it all up!
1. Scrape Away the Excess: Using a spatula or scraper, scrape away as much of the dried baking soda paste as possible. This will make the next step much easier.
2. Wipe Down with Vinegar: Fill your spray bottle with white vinegar. Spray the inside of the oven with vinegar. The vinegar will react with the baking soda, creating a fizzing action that helps to loosen any remaining grime.
3. Wipe Clean: Using a damp sponge or scrub brush, wipe down the entire inside of the oven. You may need to rinse your sponge frequently as you go.
4. Stubborn Spots: For any stubborn spots, make a fresh batch of baking soda paste and apply it directly to the area. Let it sit for a few minutes, then scrub and wipe clean.
5. Rinse Thoroughly: Once you’ve removed all the baking soda paste and grime, rinse the inside of the oven thoroughly with clean water. Use a clean, damp cloth to wipe away any remaining residue.
6. Dry the Oven: Use clean towels or rags to dry the inside of the oven completely.
Okay, let’s face it, cleaning the oven is probably on everyone’s list of least favorite chores. But a clean oven cooks more efficiently and, let’s be honest, just *feels* better. I’m going to walk you through my favorite method for getting your oven sparkling clean without resorting to harsh chemicals. This method uses just a few simple ingredients you probably already have in your pantry!
What You’ll Need:
* Baking soda
* White vinegar
* Water
* Spray bottle
* Spatula or scraper
* Rubber gloves (trust me, you’ll want these!)
* Sponge or scrub brush
* Old towels or rags
* Small bowl
* Optional: Lemon essential oil (for a fresh scent)
Preparation is Key!
Before we dive in, let’s get everything prepped and ready to go. This will make the whole process much smoother.
1. Safety First! Make sure your oven is completely cool. Unplug it or turn off the breaker to be extra safe.
2. Empty the Oven: Remove everything from inside the oven – racks, baking stones, thermometers, anything at all. We’ll clean the racks separately.
3. Protect Your Floor: Lay down old towels or newspaper around the base of the oven to catch any drips or spills. This will save you from having to clean the floor afterward!
4. Ventilation is Important: Open a window or turn on your kitchen exhaust fan to ensure good ventilation. Even though we’re using natural ingredients, it’s always a good idea to have fresh air circulating.
Cleaning the Oven Racks
Let’s tackle those grimy oven racks first. There are a couple of ways to do this, and I’ll share my preferred method.
1. The Bathtub Soak (My Favorite!):
* Line your bathtub with old towels to protect the enamel.
* Place the oven racks in the tub.
* Sprinkle a generous amount of baking soda over the racks.
* Slowly pour in hot water until the racks are completely submerged.
* Add about 1/2 cup of dish soap (optional, but it helps cut through the grease).
* Let the racks soak overnight (or at least for several hours). The longer they soak, the easier they’ll be to clean.
* In the morning, drain the tub and scrub the racks with a sponge or scrub brush. The grime should come off fairly easily.
* Rinse the racks thoroughly with clean water and let them dry completely before putting them back in the oven.
2. The Trash Bag Method (Good for Smaller Racks):
* Place the oven racks inside a large, heavy-duty trash bag.
* Pour in about 1/2 cup of ammonia (be careful with ammonia – wear gloves and a mask, and ensure good ventilation!).
* Seal the bag tightly and let it sit overnight. The ammonia fumes will help loosen the grime.
* The next day, carefully open the bag outdoors or in a well-ventilated area.
* Remove the racks and scrub them with a sponge or scrub brush.
* Rinse thoroughly with clean water and let them dry completely.
* Important Note: Never mix ammonia with bleach! This can create toxic fumes.
Making the Baking Soda Paste
Now, let’s create the magic cleaning paste that will transform your oven.
1. Mix the Paste: In a small bowl, combine 1/2 cup of baking soda with enough water to form a thick, spreadable paste. You’ll want it to be thick enough to stick to the oven walls.
2. Optional Scent Boost: If you want to add a fresh scent, add a few drops of lemon essential oil to the paste. This is totally optional, but I find it makes the cleaning process a little more pleasant.
Applying the Baking Soda Paste
This is where the elbow grease (or, well, the baking soda paste) comes in!
1. Coat the Oven: Using your rubber gloves, spread the baking soda paste all over the inside of your oven, avoiding the heating elements. Be generous with the paste, especially on areas with baked-on grease and grime.
2. Don’t Forget the Door: Make sure to coat the inside of the oven door as well.
3. Let it Sit: Once the entire oven is coated, let the baking soda paste sit for at least 12 hours, or even overnight. The longer it sits, the more time it has to loosen the grime.
Cleaning Up the Baking Soda Paste
Okay, the paste has done its work. Now it’s time to clean it all up!
1. Scrape Away the Excess: Using a spatula or scraper, scrape away as much of the dried baking soda paste as possible. This will make the next step much easier.
2. Wipe Down with Vinegar: Fill your spray bottle with white vinegar. Spray the inside of the oven with vinegar. The vinegar will react with the baking soda, creating a fizzing action that helps to loosen any remaining grime.
3. Wipe Clean: Using a damp sponge or scrub brush, wipe down the entire inside of the oven. You may need to rinse your sponge frequently as you go.
4. Stubborn Spots: For any stubborn spots, make a fresh batch of baking soda paste and apply it directly to the area. Let it sit for a few minutes, then scrub and wipe clean.
5. Rinse Thoroughly: Once you’ve removed all the baking soda paste and grime, rinse the inside of the oven thoroughly with clean water. Use a clean, damp cloth to wipe away any remaining residue.
6. Dry the Oven: Use clean towels or rags to dry the inside of the oven completely.
Final Touches
Almost there! Just a few more steps to ensure a sparkling clean oven.
1. Clean the Oven Door Glass: If your oven door glass is dirty, you can use a glass cleaner or a mixture of vinegar and water to clean it.
2. Replace the Racks: Once the oven racks are completely dry, carefully place them back inside the oven.
3. Run a Low-Temperature Cycle: To ensure that the oven is completely dry and to eliminate any lingering odors, run the oven on a low temperature (around 200 degrees Fahrenheit) for about 15-20 minutes.
4. Admire Your Work! Step back and admire your sparkling clean oven! You did it!
Tips and Tricks for Keeping Your Oven Clean
* Wipe Up Spills Immediately: The best way to keep your oven clean is to wipe up spills as soon as they happen. This will prevent them from baking onto the oven walls and becoming difficult to remove.
* Use Oven Liners: Consider using oven liners to catch drips and spills. These can be easily removed and cleaned, saving you from having to clean the entire oven.
* Regular Cleaning: Try to clean your oven at least every few months, or more often if you use it frequently. Regular cleaning will prevent grime from building up and make the cleaning process much easier.
* Self-Cleaning Ovens: If you have a self-cleaning oven, be sure to follow the manufacturer’s instructions carefully. However, even self-cleaning ovens can benefit from occasional manual cleaning to remove stubborn spots. I still prefer this baking soda method even with a self-cleaning oven because it avoids the harsh smells and high heat.
* Vinegar Steam Clean: For a quick refresh between deep cleans, place a heat-safe bowl filled with equal parts water and vinegar in the oven. Turn the oven on to 350 degrees Fahrenheit for 20 minutes. The steam will help loosen any light grime, making it easier to wipe away.
And there you have it! A sparkling clean oven without the use of harsh chemicals. I hope you found this guide helpful. Happy cleaning!
Conclusion
So, there you have it! This simple, effective, and surprisingly affordable DIY method to clean oven grime is a game-changer for any home cook. Forget harsh chemicals, expensive oven cleaners, and hours of scrubbing. This method harnesses the power of readily available ingredients, transforming your oven from a baked-on mess to a sparkling clean cooking haven.
Why is this DIY trick a must-try? Because it’s not just about cleaning; it’s about reclaiming your time, protecting your health, and saving money. Traditional oven cleaners are often laden with harsh chemicals that can be harmful to your lungs and the environment. This DIY approach uses natural ingredients, making it a safer and more eco-friendly alternative. Plus, the satisfaction of seeing years of baked-on grease and grime effortlessly wipe away is incredibly rewarding.
But the benefits don’t stop there. This method is also incredibly versatile. While the baking soda and vinegar paste is a powerhouse for tackling stubborn stains, you can easily adapt the recipe to suit your specific needs and preferences.
Here are a few suggestions and variations to consider:
* Lemon Power: Add a few tablespoons of lemon juice to your baking soda paste for an extra boost of cleaning power and a fresh, citrusy scent. The acidity of the lemon helps to break down grease and grime even further.
* Essential Oil Infusion: For a more aromatic cleaning experience, add a few drops of your favorite essential oil to the baking soda paste. Lavender, tea tree, or eucalyptus oil can add a pleasant fragrance and even provide some antibacterial benefits.
* Borax Boost: For extremely stubborn stains, consider adding a tablespoon of borax to the baking soda paste. Borax is a natural mineral that acts as a powerful cleaning agent. However, be sure to wear gloves when handling borax and avoid contact with your eyes.
* Oven Rack Soak: Don’t forget about your oven racks! Soak them in a bathtub filled with hot water and a cup of dish soap for several hours to loosen baked-on food particles. You can then scrub them clean with a brush or sponge.
* Preventative Measures: Once your oven is sparkling clean, take steps to prevent future build-up. Consider using oven liners or baking sheets to catch spills and splatters. Regularly wipe down the interior of your oven with a damp cloth to remove any fresh spills before they have a chance to bake on.
Ultimately, the best way to discover the magic of this DIY oven cleaning method is to try it for yourself. We are confident that you will be amazed by the results. It’s a simple, effective, and affordable way to keep your oven clean and your kitchen smelling fresh.
So, what are you waiting for? Gather your ingredients, roll up your sleeves, and prepare to transform your oven. We encourage you to try this DIY trick and share your experience with us in the comments below. Let us know what variations you tried, what challenges you faced, and what tips you have for other readers. Together, we can create a community of clean oven enthusiasts! Your feedback is invaluable and will help us refine and improve this method for everyone. Happy cleaning!
Frequently Asked Questions (FAQ)
Q: Is this DIY oven cleaning method safe for all types of ovens?
A: Generally, yes, this method is safe for most ovens, including self-cleaning ovens (although you should still avoid using the self-cleaning function with the baking soda residue). However, it’s always a good idea to consult your oven’s manual for specific cleaning recommendations. If you have a particularly delicate or unusual oven, you may want to test the baking soda paste on a small, inconspicuous area first to ensure it doesn’t cause any damage or discoloration. Avoid applying the paste to heating elements or any exposed electrical components.
Q: How long does it take to clean an oven using this DIY method?
A: The total time required will depend on the level of grime and baked-on residue in your oven. The application and soaking time typically takes around 12 hours, or overnight. The actual scrubbing and wiping down process can take anywhere from 30 minutes to an hour, depending on how much elbow grease you’re willing to put in. For heavily soiled ovens, you may need to repeat the scrubbing and wiping process a few times to achieve optimal results.
Q: Can I use this method to clean the oven door glass?
A: Absolutely! This DIY method works wonders on oven door glass. The baking soda paste helps to loosen baked-on grease and grime, making it easier to wipe away. Apply the paste to the glass, let it sit for a few hours, and then scrub with a non-abrasive sponge or cloth. For particularly stubborn stains, you can use a razor blade scraper to gently remove the residue. Be careful not to scratch the glass.
Q: What if I don’t have vinegar? Can I use something else?
A: While vinegar is the preferred acid for this DIY method, you can substitute it with lemon juice or citric acid. Both lemon juice and citric acid have similar acidic properties that help to react with the baking soda and break down grease and grime. However, vinegar is generally more readily available and affordable.
Q: How often should I clean my oven using this method?
A: The frequency of cleaning will depend on how often you use your oven and how much food tends to splatter or spill inside. As a general rule, it’s a good idea to clean your oven every 3-6 months. However, if you notice a significant build-up of grease or grime, you may need to clean it more frequently. Regular cleaning will prevent the build-up of stubborn stains and make the cleaning process easier in the long run.
Q: The baking soda paste is hard to spread. What can I do?
A: If the baking soda paste is too thick and difficult to spread, you can add a little bit of water, a teaspoon at a time, until you reach a more spreadable consistency. The paste should be thick enough to adhere to the oven surfaces but not so thick that it’s difficult to apply.
Q: Is it really necessary to leave the baking soda paste on overnight?
A: While you can technically clean your oven with a shorter soaking time, leaving the baking soda paste on overnight allows it to fully penetrate and loosen the baked-on grease and grime. This will make the scrubbing process much easier and more effective. If you’re short on time, you can try leaving the paste on for at least a few hours, but overnight is highly recommended for optimal results.
Q: What kind of sponge or cloth should I use to scrub the oven?
A: It’s best to use a non-abrasive sponge or cloth to scrub your oven. Abrasive sponges or scouring pads can scratch the oven surfaces. Microfiber cloths are also a good option, as they are gentle yet effective at removing dirt and grime. For particularly stubborn stains, you can use a nylon scrub brush, but be careful not to apply too much pressure.
Q: How do I get rid of the baking soda residue after cleaning?
A: After scrubbing your oven, wipe it down thoroughly with a damp cloth to remove any remaining baking soda residue. You may need to rinse the cloth frequently and repeat the wiping process several times to ensure that all the residue is gone. You can also use a spray bottle filled with water to rinse the oven surfaces.
Q: Can I use this method to clean a self-cleaning oven?
A: Yes, you can use this method to clean a self-cleaning oven. However, it’s important to note that you should avoid using the self-cleaning function after applying the baking soda paste. The high temperatures of the self-cleaning cycle can cause the baking soda residue to harden and become even more difficult to remove. It is best to manually clean the oven using the DIY method described above.

Leave a Comment