

Clean Bathroom DIY Tips are your secret weapon to a sparkling, fresh bathroom without breaking the bank! Let’s face it, nobody enjoys cleaning the bathroom. It’s often the smallest room in the house, but it can feel like the biggest chore. But what if I told you that you could transform your bathroom cleaning routine from a dreaded task into a quick and satisfying accomplishment?
For generations, resourceful homeowners have relied on DIY solutions to keep their homes clean and tidy. Think about it – our grandmothers didn’t have a plethora of specialized cleaning products at their disposal. They used simple, natural ingredients like vinegar and baking soda to achieve incredible results. This tradition of resourcefulness is not only cost-effective but also environmentally friendly.
In today’s busy world, time is precious. Who wants to spend hours scrubbing away at stubborn stains and grime? That’s where these clean bathroom DIY tips come in. I’m going to share some of my favorite hacks and tricks that will help you achieve a spotless bathroom in less time and with less effort. From tackling soap scum to banishing mildew, these DIY solutions will leave your bathroom looking and smelling amazing. Plus, you’ll feel a sense of accomplishment knowing you created a clean and healthy space using simple, readily available ingredients. So, grab your rubber gloves and let’s get started!
DIY Bathroom Cleaning Hacks: Sparkling Clean on a Budget!
Okay, let’s face it, cleaning the bathroom is nobody’s favorite chore. But a sparkling clean bathroom? That’s something we can all appreciate! I’m going to share some of my favorite DIY bathroom cleaning hacks that are not only effective but also easy on your wallet. Get ready to ditch those harsh chemicals and embrace a cleaner, fresher bathroom using ingredients you probably already have at home!
Hack #1: The Power of Baking Soda and Vinegar (Your All-Purpose Cleaning Duo!)
Baking soda and vinegar are like the dynamic duo of DIY cleaning. They’re cheap, readily available, and surprisingly powerful. This hack tackles everything from grimy grout to stubborn soap scum.
What You’ll Need:
* Baking soda
* White vinegar
* Spray bottle
* Old toothbrush or scrub brush
* Microfiber cloths
* Gloves (optional, but recommended)
Step-by-Step Instructions:
1. Prepare the Baking Soda Paste: In a small bowl, mix baking soda with a little water to form a thick paste. The consistency should be similar to toothpaste. This paste will be our abrasive cleaner for tough stains.
2. Tackle Grout with Baking Soda: Apply the baking soda paste generously to your grout lines. Let it sit for at least 15-20 minutes. The longer it sits, the better it will work at loosening the grime.
3. Vinegar Power: Fill a spray bottle with white vinegar. After the baking soda has sat on the grout, spray the vinegar directly onto the baking soda paste. You’ll see a fizzing reaction – that’s the magic happening!
4. Scrub-a-dub-dub: Using an old toothbrush or scrub brush, scrub the grout lines thoroughly. The fizzing action helps to lift the dirt and grime, making it easier to scrub away.
5. Rinse and Repeat (If Necessary): Rinse the area with clean water. If the grout is particularly dirty, you may need to repeat steps 2-4.
6. Clean Soap Scum with Vinegar: For soap scum on shower doors, tiles, or faucets, spray the area liberally with white vinegar. Let it sit for 10-15 minutes to soften the soap scum.
7. Wipe Away the Scum: Use a microfiber cloth to wipe away the softened soap scum. For stubborn areas, you may need to scrub gently with a non-abrasive sponge.
8. Rinse and Shine: Rinse the area with clean water and dry with a clean microfiber cloth for a sparkling finish.
Hack #2: Sparkling Toilet Bowl with Baking Soda and Vinegar (Again!)
Yes, our dynamic duo is back! This time, they’re tackling the dreaded toilet bowl. This method is a great alternative to harsh chemical cleaners.
What You’ll Need:
* 1 cup baking soda
* 2 cups white vinegar
* Toilet brush
Step-by-Step Instructions:
1. Baking Soda First: Pour 1 cup of baking soda into the toilet bowl.
2. Vinegar Power: Slowly pour 2 cups of white vinegar into the bowl. Again, you’ll see a fizzing reaction.
3. Let it Fizz: Let the mixture fizz and sit for at least 30 minutes, or even better, overnight. This allows the baking soda and vinegar to break down stains and mineral deposits.
4. Scrub-a-dub-dub (Toilet Edition): Use your toilet brush to scrub the bowl thoroughly, paying attention to any stains or rings.
5. Flush Away: Flush the toilet to rinse away the cleaning mixture.
6. For Stubborn Stains: If you have stubborn stains, you can repeat the process or try adding a small amount of borax to the baking soda and vinegar mixture.
Hack #3: DIY Shower Cleaner (Keep Mold and Mildew at Bay!)
Mold and mildew are common bathroom problems, especially in the shower. This DIY shower cleaner is a natural and effective way to prevent and remove them.
What You’ll Need:
* Spray bottle
* 1 cup water
* 1/2 cup white vinegar
* 10-20 drops tea tree oil (optional, but highly recommended for its antifungal properties)
Step-by-Step Instructions:
1. Mix the Solution: In a spray bottle, combine the water, white vinegar, and tea tree oil (if using). Shake well to mix.
2. Spray and Prevent: After each shower, spray the shower walls, door, and floor with the cleaning solution.
3. No Need to Rinse (Usually): In most cases, you don’t need to rinse the solution. The vinegar smell will dissipate quickly.
4. For Existing Mold and Mildew: If you already have mold or mildew, spray the affected areas with the solution and let it sit for 10-15 minutes. Then, scrub with a scrub brush or sponge and rinse with water. You may need to repeat this process for stubborn mold.
5. Weekly Deep Clean: Once a week, give your shower a more thorough cleaning with this solution. Spray, let sit for 15-20 minutes, scrub, and rinse.
Hack #4: Clean Your Showerhead (Remove Mineral Buildup!)
A clogged showerhead can reduce water pressure and make your shower less enjoyable. Mineral buildup is usually the culprit. This hack will have your showerhead flowing freely again.
What You’ll Need:
* White vinegar
* Plastic bag (gallon-sized is ideal)
* Rubber band or twist tie
Step-by-Step Instructions:
1. Fill the Bag: Fill the plastic bag with enough white vinegar to completely submerge your showerhead.
2. Secure the Bag: Carefully place the bag over the showerhead, ensuring that the showerhead is fully immersed in the vinegar. Use a rubber band or twist tie to secure the bag to the showerhead arm.
3. Soak Overnight: Let the showerhead soak in the vinegar overnight (or for at least 8 hours). This allows the vinegar to dissolve the mineral buildup.
4. Remove and Rinse: Remove the bag and discard the vinegar. Rinse the showerhead thoroughly with water to remove any remaining vinegar and loosened mineral deposits.
5. Scrub if Needed: If there’s still some stubborn buildup, use an old toothbrush or scrub brush to gently scrub the showerhead nozzles.
6. Run the Shower: Run the shower for a few minutes to flush out any remaining debris.
Hack #5: Freshen Up Your Bathroom with Essential Oils
Now that your bathroom is clean, let’s make it smell amazing! Essential oils are a natural and effective way to freshen up the air.
What You’ll Need:
* Essential oils (lavender, eucalyptus, tea tree, lemon, and peppermint are great choices for the bathroom)
* Diffuser (optional)
* Cotton balls
* Small dish or jar
Step-by-Step Instructions:
1. Diffuser Option: If you have an essential oil diffuser, simply add a few drops of your favorite essential oil to the diffuser and let it run.
2. Cotton Ball Method: If you don’t have a diffuser, you can use cotton balls. Place a few drops of essential oil onto a cotton ball and place it in a small dish or jar. You can place these in discreet locations around the bathroom, such as behind the toilet or on a shelf.
3. Toilet Paper Roll Trick: Add a few drops of essential oil to the inside of your toilet paper roll. Each time someone uses the toilet paper, it will release a subtle fragrance.
4. DIY Room Spray: Create your own room spray by mixing a few drops of essential oil with water in a spray bottle. Shake well before each use and spray around the bathroom.
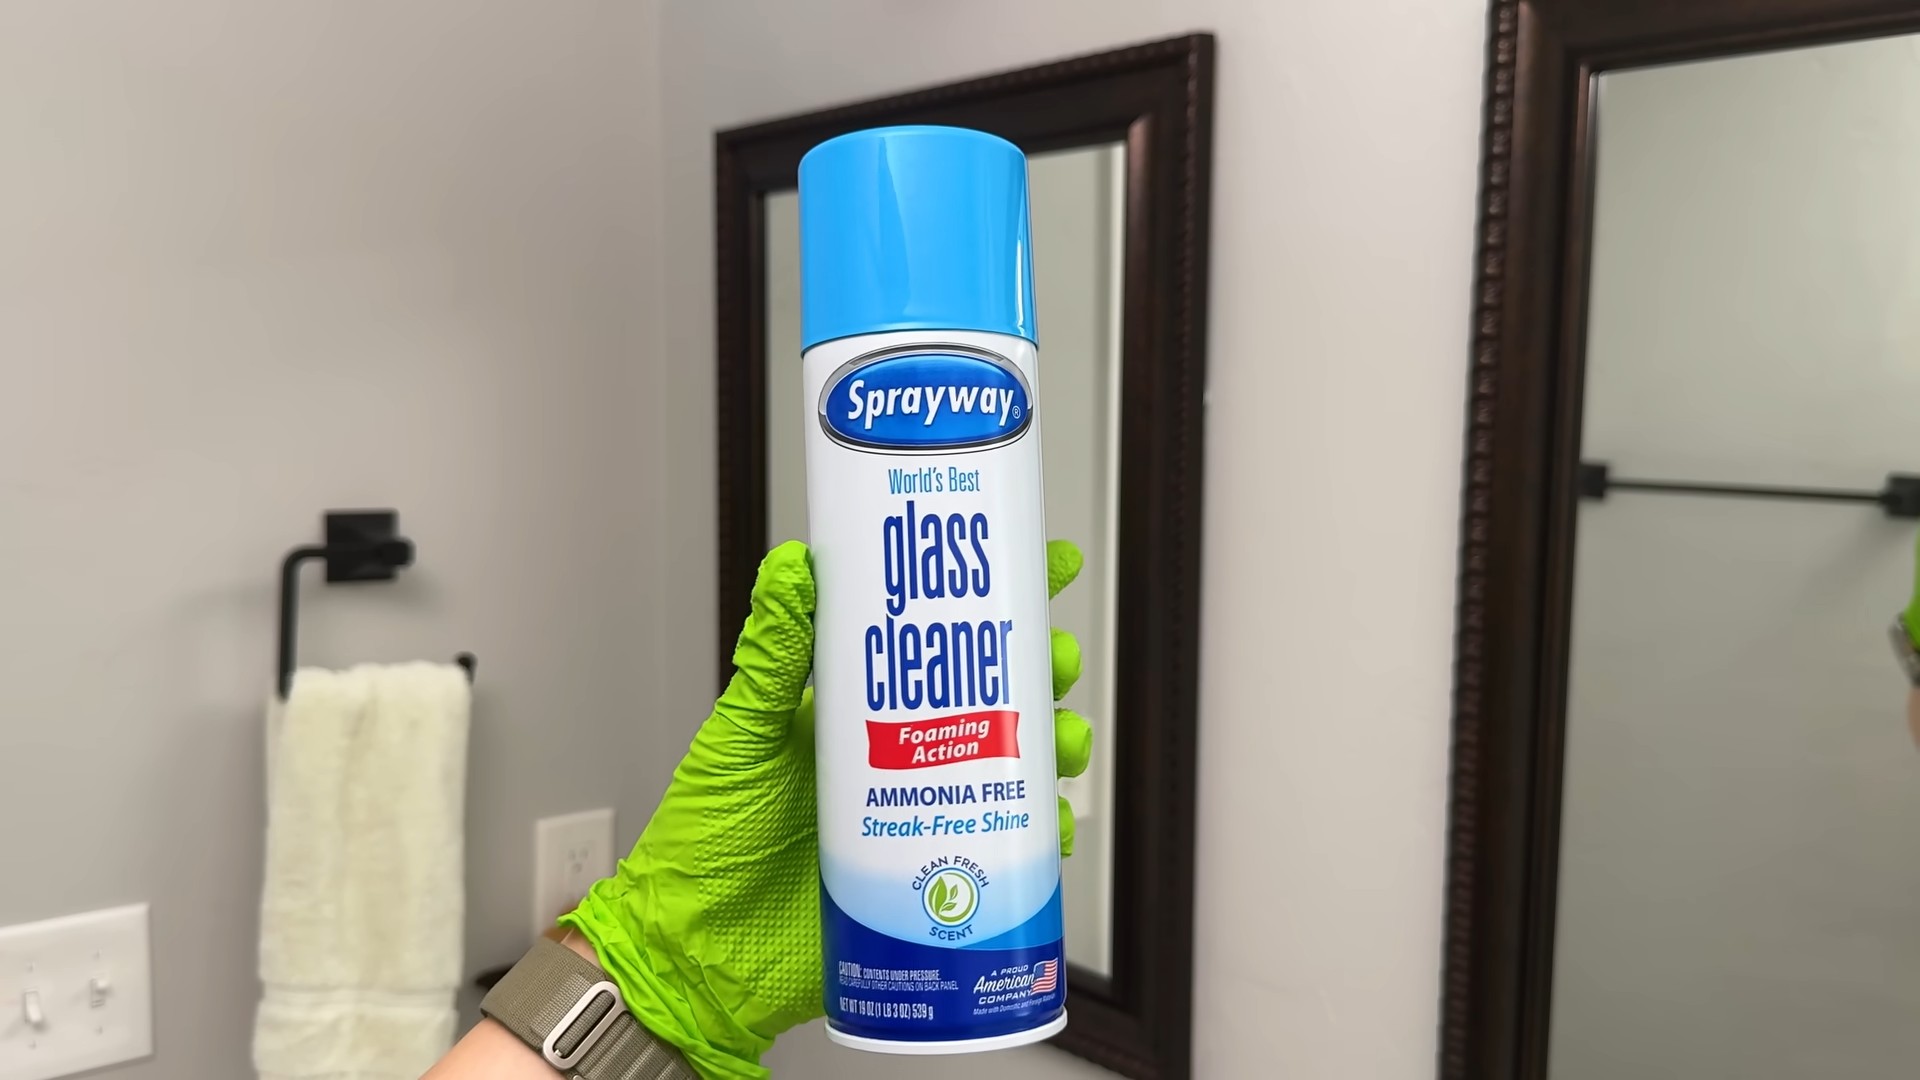
Hack #6: Clean Mirrors and Glass with Vinegar (Streak-Free Shine!)
Streaky mirrors and glass can make your bathroom look less clean, even if it is. This simple vinegar solution will give you a streak-free shine.
What You’ll Need:
* Spray bottle
* 1 part white vinegar
* 1 part water
* Microfiber cloth
Step-by-Step Instructions:
1. Mix the Solution: In a spray bottle, combine equal parts white vinegar and water.
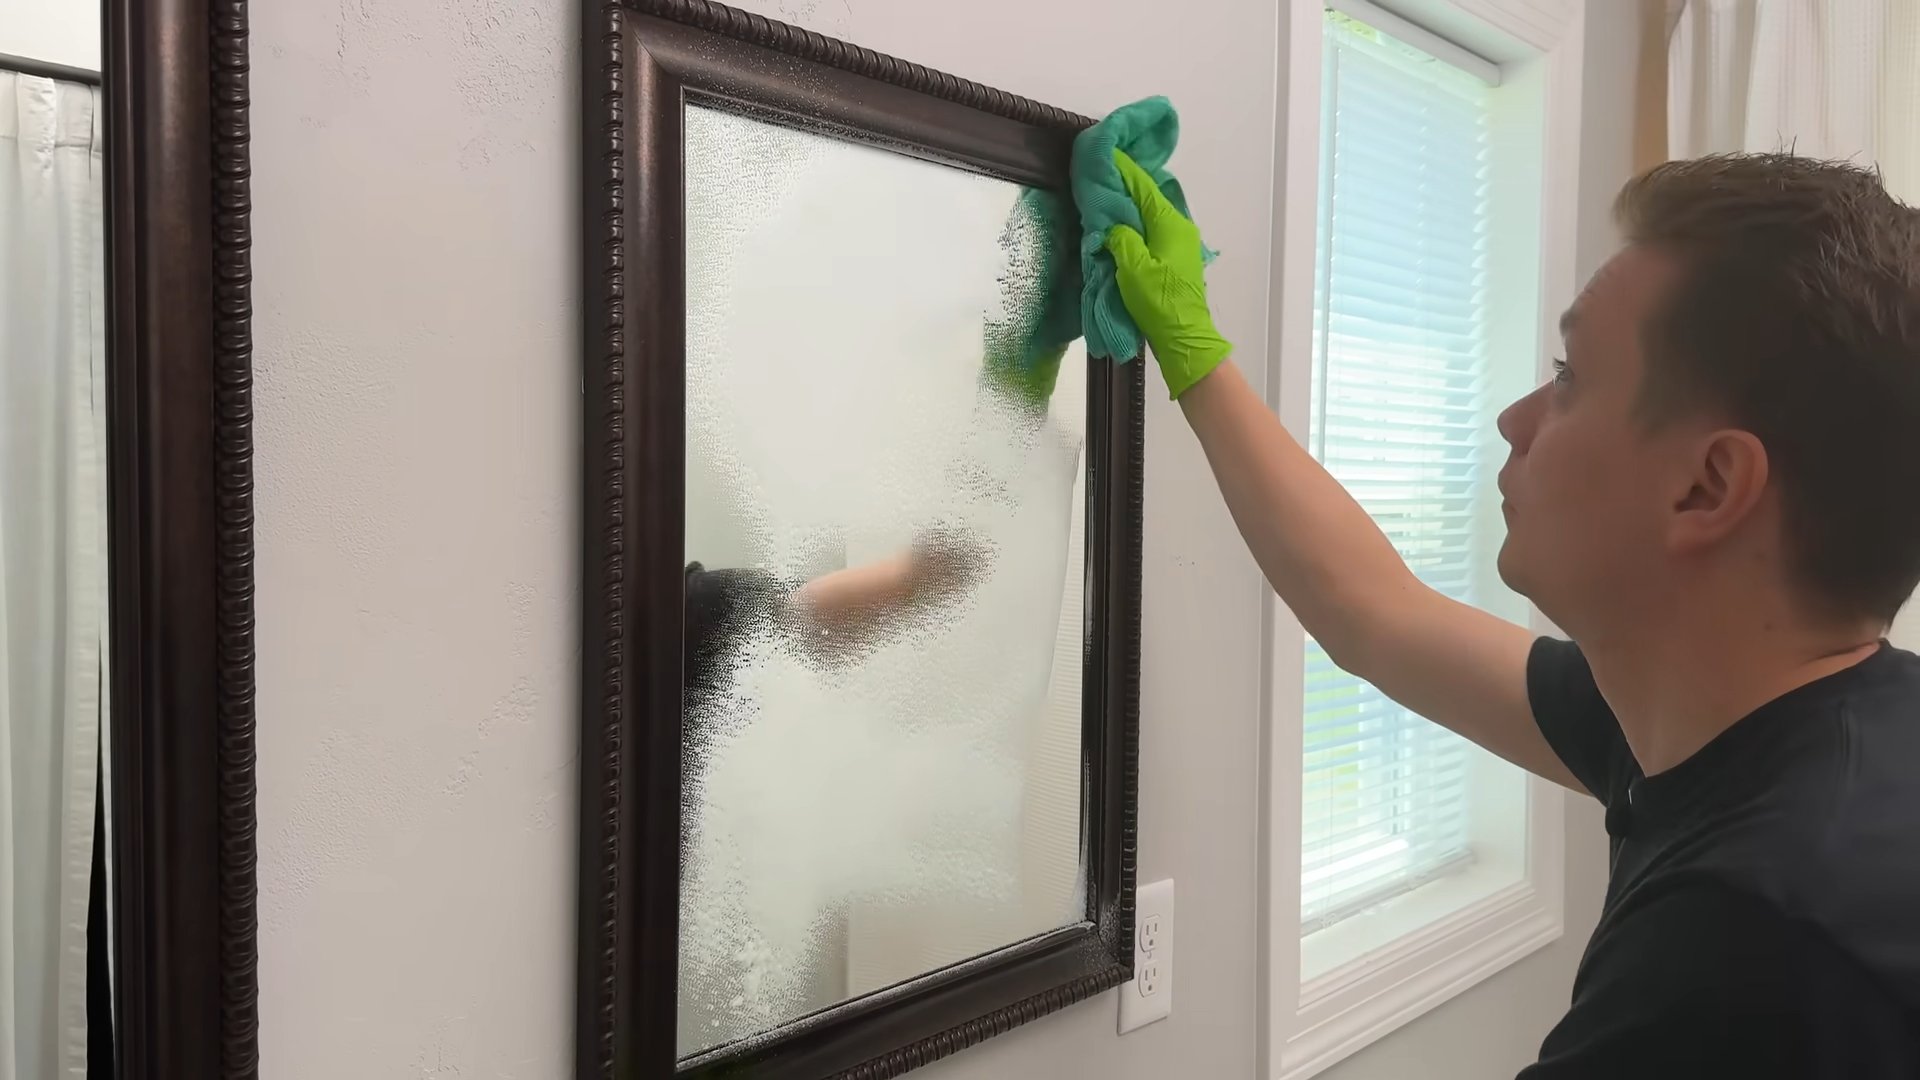
2. Spray and Wipe: Spray the mirror or glass surface with the vinegar solution.
3. Wipe with Microfiber: Immediately wipe the surface with a clean, dry microfiber cloth. Microfiber cloths are essential for achieving a streak-free finish.
4. Buff for Extra Shine: For an extra shine, buff the surface with a second clean, dry microfiber cloth.
Hack #7: Unclog a Drain with Baking Soda and
Conclusion
So, there you have it! Transforming your bathroom into a sparkling oasis doesn’t require a hefty budget or harsh chemicals. This clean bathroom DIY trick is a game-changer for anyone looking to achieve a pristine space with minimal effort and maximum impact. We’ve shown you how to harness the power of readily available ingredients and simple techniques to banish grime, eliminate odors, and restore the shine to your bathroom surfaces.
Why is this DIY method a must-try? Because it’s effective, affordable, and eco-friendly. Commercial bathroom cleaners often contain harsh chemicals that can irritate your skin, damage your plumbing, and pollute the environment. This DIY approach allows you to control exactly what goes into your cleaning solutions, ensuring a safer and healthier home for you and your family. Plus, you’ll save money by using ingredients you likely already have in your pantry.
But the benefits don’t stop there. This DIY method is incredibly versatile. Feel free to experiment with different essential oils to create your own signature scent. Lavender, tea tree, and eucalyptus are all excellent choices for their antibacterial and aromatherapy properties. For tougher stains, consider adding a bit of baking soda to your cleaning paste for extra scrubbing power. If you prefer a spray cleaner, dilute your vinegar solution with more water and add a few drops of your favorite essential oil.
Remember, consistency is key. Incorporating this clean bathroom DIY routine into your regular cleaning schedule will prevent grime from building up and make your bathroom maintenance a breeze. Aim to wipe down surfaces after each use and deep clean at least once a week.
We’re confident that you’ll be amazed by the results of this simple yet effective DIY trick. Say goodbye to harsh chemicals and hello to a sparkling clean bathroom that you can be proud of.
Now, it’s your turn! We encourage you to try this clean bathroom DIY method and experience the difference for yourself. Don’t be afraid to experiment with different variations and find what works best for you. And most importantly, we want to hear about your experience! Share your tips, tricks, and before-and-after photos in the comments below. Let’s create a community of DIY enthusiasts who are passionate about creating clean and healthy homes. We are eager to hear how this DIY method has transformed your bathroom cleaning routine. Your feedback will help others discover the power of simple, natural cleaning solutions. So, grab your supplies, roll up your sleeves, and get ready to transform your bathroom into a sparkling sanctuary!
Frequently Asked Questions (FAQ)
What are the basic ingredients I need for this clean bathroom DIY?
The core ingredients typically include white vinegar, baking soda, dish soap (optional), and water. You can also add essential oils for fragrance and added cleaning power. Specific recipes will vary, but these are the foundational elements.
Is vinegar safe to use on all bathroom surfaces?
While vinegar is a fantastic natural cleaner, it’s not suitable for all surfaces. Avoid using vinegar on natural stone surfaces like marble, granite, and travertine, as it can etch and damage them. It’s also best to avoid using vinegar on waxed surfaces, as it can strip the wax. Always test a small, inconspicuous area before applying vinegar to a larger surface. For these delicate surfaces, a mild dish soap and water solution is a safer alternative.
How often should I perform this clean bathroom DIY routine?
The frequency depends on how often your bathroom is used and how quickly it gets dirty. A quick wipe-down of surfaces after each use can prevent grime buildup. A more thorough cleaning, using the DIY methods described, should be done at least once a week. For bathrooms with heavy usage, you might need to clean more frequently.
Can I use this DIY cleaner on mold and mildew?
Yes, vinegar is effective at killing mold and mildew. For mold and mildew removal, use undiluted white vinegar. Spray the affected area, let it sit for at least an hour, and then scrub with a brush. Rinse thoroughly with water. For stubborn mold, you may need to repeat the process. Baking soda can also be used as a mild abrasive to help scrub away mold and mildew.
What essential oils are best for cleaning the bathroom?
Several essential oils have antibacterial, antifungal, and antiviral properties, making them excellent additions to your DIY bathroom cleaner. Some popular choices include:
* Tea Tree Oil: Known for its strong antiseptic and antifungal properties.
* Lavender Oil: Has a calming scent and antibacterial properties.
* Eucalyptus Oil: Has a refreshing scent and is effective against bacteria and viruses.
* Lemon Oil: Has a bright, citrusy scent and is a natural degreaser.
* Peppermint Oil: Has a refreshing scent and can help deter pests.
When using essential oils, always dilute them properly and test a small area first to ensure they don’t damage the surface.
How do I clean a showerhead with this DIY method?
To clean a showerhead, fill a plastic bag with white vinegar and secure it around the showerhead so that the showerhead is submerged in the vinegar. Let it soak for at least an hour, or preferably overnight. Remove the bag and run the shower to flush out any remaining vinegar and loosened mineral deposits. For stubborn deposits, you can use an old toothbrush to scrub the showerhead after soaking.
What if I don’t like the smell of vinegar?
The smell of vinegar can be strong, but it dissipates quickly. You can mask the smell by adding essential oils to your cleaning solution. Lemon, lavender, and eucalyptus oils are particularly effective at neutralizing the vinegar scent. You can also open a window or turn on the bathroom fan to ventilate the room while cleaning.
Can I use this DIY cleaner on toilet bowls?
Yes, you can use vinegar and baking soda to clean toilet bowls. Pour a cup of vinegar into the toilet bowl and let it sit for about 30 minutes. Then, sprinkle a cup of baking soda into the bowl and add a few drops of essential oil (optional). Let the mixture fizz for a few minutes, then scrub with a toilet brush and flush.
How do I store the leftover DIY cleaner?
Store your DIY cleaner in a labeled spray bottle or container. Keep it out of reach of children and pets. It’s best to use the cleaner within a few weeks, as the ingredients may separate over time. Shake well before each use.
What if I have hard water stains in my bathroom?
Hard water stains can be stubborn, but vinegar is an effective solution. Soak a cloth or sponge in white vinegar and apply it to the hard water stains. Let it sit for several minutes, or even longer for tough stains. Then, scrub with a non-abrasive sponge or brush and rinse thoroughly with water. For particularly stubborn stains, you can create a paste of baking soda and water and apply it to the stains before scrubbing.
Is this clean bathroom DIY method septic-safe?
Yes, the ingredients used in this DIY method, such as vinegar, baking soda, and dish soap, are generally considered safe for septic systems. They are biodegradable and won’t harm the beneficial bacteria in your septic tank. However, it’s always a good idea to use these cleaners in moderation and avoid pouring large amounts down the drain at once.


Leave a Comment