

Beginner garden setup can feel daunting, I know! You’re probably picturing endless rows of perfectly aligned vegetables and vibrant blooms, but the reality of getting started can seem overwhelming. Don’t worry, I’m here to tell you it doesn’t have to be! For centuries, humans have cultivated their own food and flowers, from the hanging gardens of Babylon to the humble kitchen gardens of medieval Europe. This connection to the earth is deeply ingrained in us, and the satisfaction of growing your own food or creating a beautiful outdoor space is truly unparalleled.
But let’s face it, in today’s busy world, who has time to become a master gardener overnight? That’s where these simple, yet effective, DIY tricks and hacks come in. Whether you’re dealing with limited space, a tight budget, or simply a lack of experience, I’m going to share some easy-to-follow tips that will transform your thumb from brown to green in no time. You’ll learn how to create a thriving beginner garden setup, even if you’ve never planted a seed before. Get ready to roll up your sleeves and discover the joy of home gardening!
Creating Your Dream Beginner Garden: A Step-by-Step Guide
Okay, so you’re ready to dive into the wonderful world of gardening! That’s fantastic! It might seem a little daunting at first, but trust me, with a little planning and effort, you can have a thriving garden even if you’ve never touched a trowel before. This guide is designed to walk you through the process, from choosing the right spot to planting your first seeds. Let’s get our hands dirty!
Phase 1: Planning and Preparation
Before you even think about buying plants, a little planning goes a long way. This phase is all about setting yourself up for success.
- Choosing the Right Location: Sunlight is key! Most vegetables and flowers need at least 6 hours of direct sunlight per day. Observe your yard throughout the day to see where the sun shines the longest. Also, consider proximity to a water source. Lugging watering cans across the yard gets old fast!
- Testing Your Soil: Don’t skip this step! Knowing your soil’s pH and nutrient content is crucial. You can buy a soil testing kit at most garden centers or send a sample to your local agricultural extension office. They’ll provide detailed information and recommendations for amendments.
- Planning Your Garden Layout: Think about what you want to grow and how much space each plant will need. Taller plants should be placed on the north side of the garden to avoid shading smaller plants. Consider companion planting – some plants thrive when grown together (like tomatoes and basil!).
- Gathering Your Supplies: Having everything you need on hand will make the planting process much smoother. Here’s a basic list:
- Gardening gloves
- Trowel
- Hand rake
- Watering can or hose
- Soil amendments (compost, fertilizer, etc.)
- Seeds or seedlings
- Plant markers
- Gardening shovel
Phase 2: Preparing the Garden Bed
Now that you have a plan and your supplies, it’s time to get the garden bed ready for planting. This involves clearing the area, improving the soil, and creating a suitable planting surface.
- Clear the Area: Remove any existing grass, weeds, rocks, and debris from the area you’ve chosen for your garden. A shovel and a good pair of gloves will be your best friends here. If you’re dealing with a lot of grass, you can rent a sod cutter to make the job easier.
- Loosen the Soil: Use a garden fork or tiller to loosen the soil to a depth of at least 12 inches. This will improve drainage and allow plant roots to penetrate easily. If you’re double digging (which is great for improving soil structure), you’ll dig down two spade depths.
- Amend the Soil: This is where your soil test results come in handy. Based on the recommendations, add compost, aged manure, or other soil amendments to improve the soil’s fertility and drainage. Work the amendments into the soil thoroughly using a garden fork or tiller. I personally love adding compost – it’s like a superfood for your plants!
- Level the Bed: Use a rake to level the surface of the garden bed. This will ensure that water drains evenly and prevent puddling.
Phase 3: Planting Your Seeds or Seedlings
Alright, the moment we’ve been waiting for! Time to get those plants in the ground.
- Read the Seed Packet or Plant Label: This is super important! Pay attention to the recommended spacing, planting depth, and sunlight requirements for each plant.
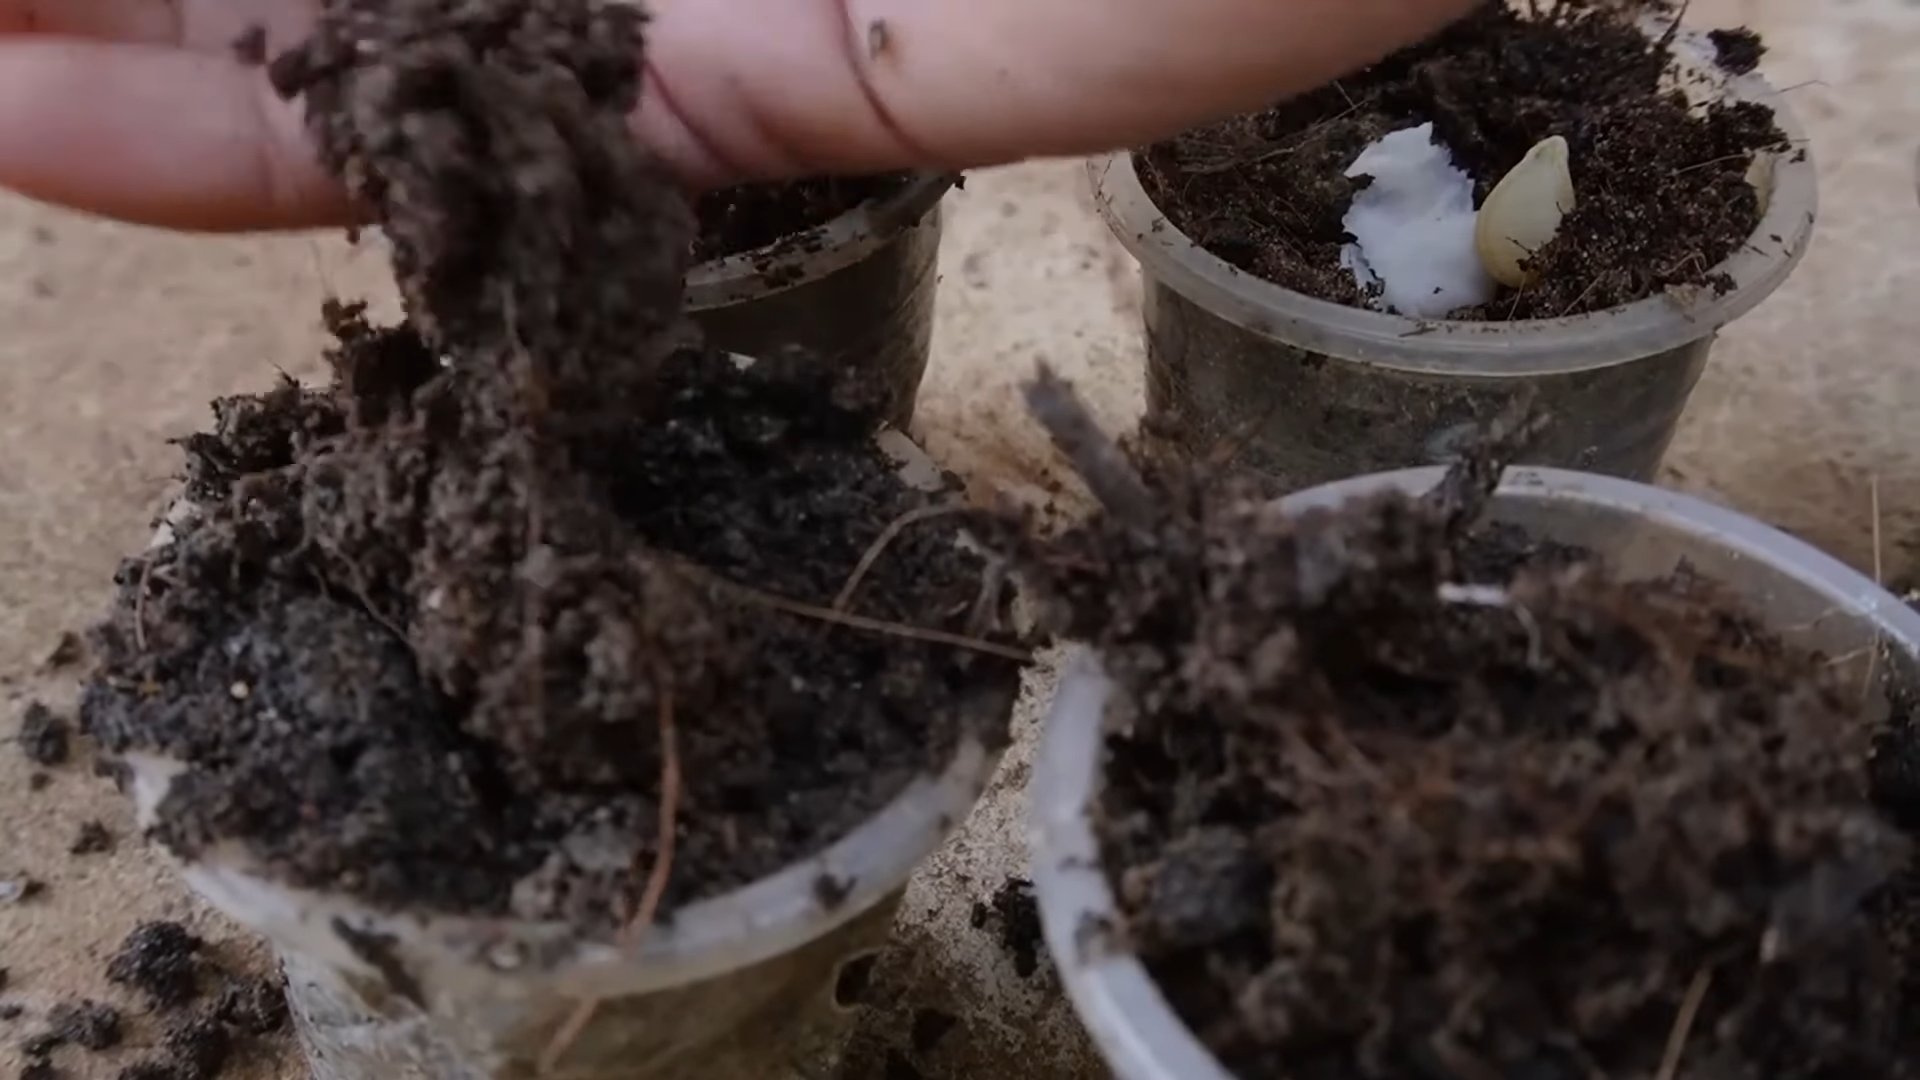
- Planting Seeds:
- Use your finger or a trowel to create a small hole in the soil, according to the recommended depth on the seed packet.
- Drop in the appropriate number of seeds (usually 2-3 per hole).
- Gently cover the seeds with soil and lightly pat down.
- Water gently to moisten the soil.
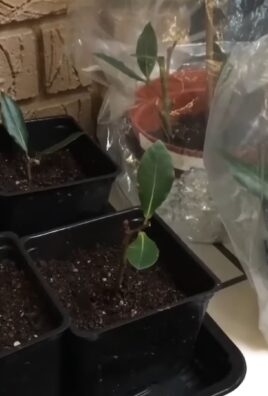
- Planting Seedlings:
- Dig a hole that is slightly larger than the root ball of the seedling.
- Gently remove the seedling from its container, being careful not to damage the roots. If the roots are tightly bound, gently loosen them with your fingers.
- Place the seedling in the hole, making sure the top of the root ball is level with the surrounding soil.
- Fill the hole with soil and gently pat down.
- Water thoroughly.
- Space Plants Appropriately: Give your plants enough room to grow! Overcrowding can lead to disease and reduced yields. Refer to the seed packet or plant label for recommended spacing.
- Add Plant Markers: Label each row or plant with a marker so you know what you’ve planted and where. This is especially helpful when you’re starting a lot of different seeds. I like to use popsicle sticks and a permanent marker – cheap and effective!
Phase 4: Watering and Maintenance
Planting is just the beginning! Regular watering and maintenance are essential for a healthy and productive garden.
- Watering:
- Water deeply and regularly, especially during dry periods. The best time to water is early in the morning.
- Avoid overwatering, which can lead to root rot. The soil should be moist but not soggy.
- Use a watering can or hose with a gentle spray nozzle to avoid damaging delicate seedlings.
- Consider using a soaker hose or drip irrigation system to deliver water directly to the roots.
- Weeding:
- Weeds compete with your plants for water, nutrients, and sunlight. Remove weeds regularly by hand or with a hoe.
- Mulching can help suppress weed growth.
- Fertilizing:
- Fertilize your plants regularly with a balanced fertilizer, following the instructions on the package.
- You can also use organic fertilizers like compost tea or fish emulsion.
- Pest and Disease Control:
- Inspect your plants regularly for signs of pests or diseases.
- Use organic pest control methods whenever possible, such as insecticidal soap or neem oil.
- Remove any diseased plants immediately to prevent the spread of infection.
- Mulching:
- Apply a layer of mulch around your plants to help retain moisture, suppress weeds, and regulate soil temperature.
- Organic mulches like straw, wood chips, or shredded leaves are best.
- Support:
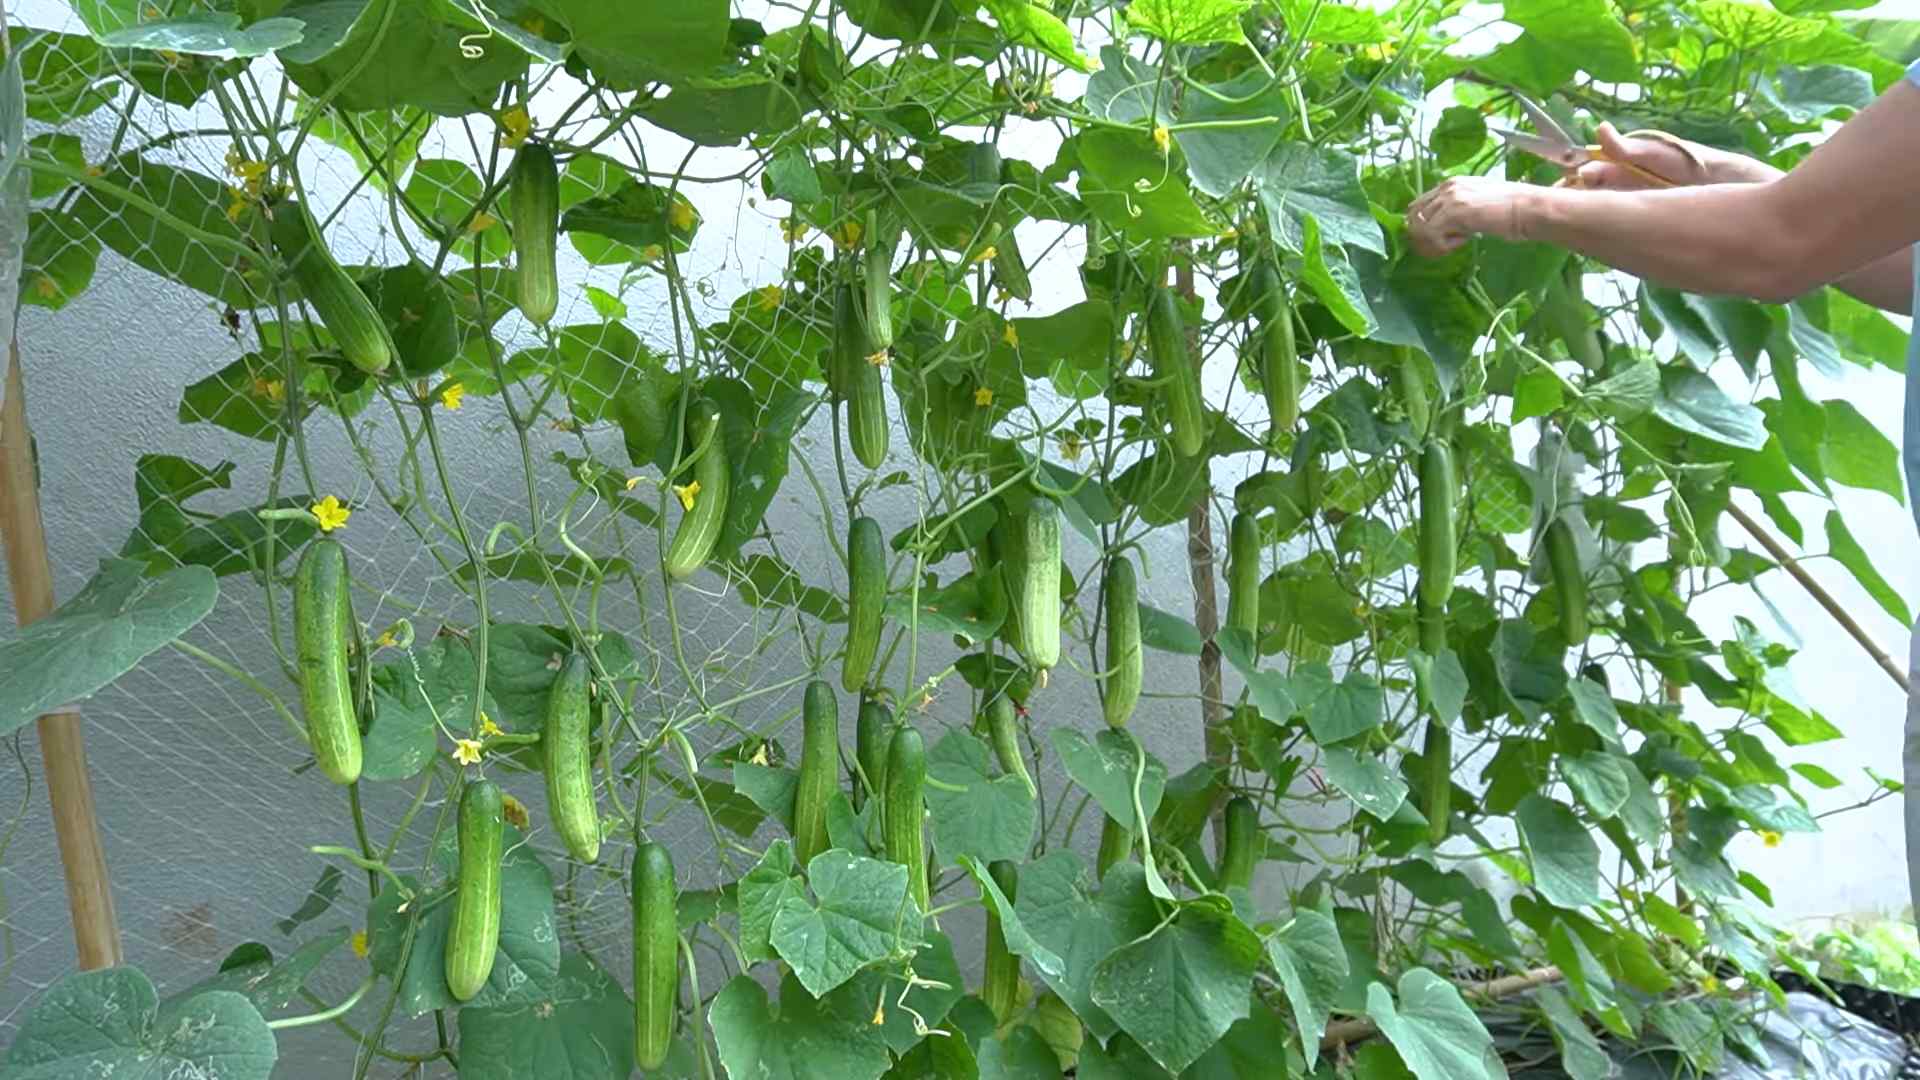
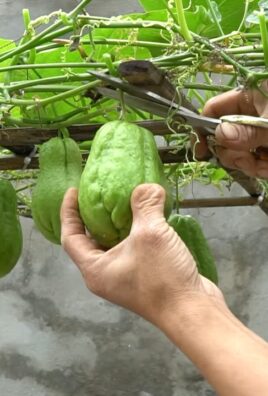
- Provide support for climbing plants like tomatoes, cucumbers, and beans. You can use stakes, trellises, or cages.
Phase 5: Harvesting and Enjoying Your Bounty!
This is the most rewarding part! Harvesting the fruits (and vegetables!) of your labor.
- Harvest at the Right Time: Each vegetable and fruit has an optimal time for harvesting. Research the specific requirements for each plant you’re growing. For example, tomatoes should be fully colored and slightly soft to the touch, while lettuce leaves can be harvested as needed.
- Harvest Gently: Handle your produce with care to avoid bruising or damaging it. Use sharp scissors or a knife to cut stems or vines.
- Store Properly: Store your harvested produce in a cool, dry place. Some vegetables, like tomatoes and peppers, can be stored at room temperature, while others, like lettuce and spinach, should be refrigerated.
- Enjoy Your Harvest! Use your fresh produce in your favorite recipes, share it with friends and neighbors, or preserve it for later use. There’s nothing quite like the taste of homegrown vegetables!
Tips for Beginner Gardeners
Here are a few extra tips to help you succeed in your gardening journey:
- Start Small: Don’t try to do too much at once. Start with a small garden bed and a few easy-to-grow plants. You can always expand later.
- Choose Easy-to-Grow Plants: Some plants are easier to grow than others. Good choices for beginners include lettuce, spinach, radishes, beans, zucchini, and tomatoes.
- Don’t Be Afraid to Ask for Help: There are plenty of resources available to help you learn about gardening. Talk to experienced gardeners, visit your local garden center, or consult online resources.
- Be Patient: Gardening takes time and effort. Don’t get discouraged if things don’t go perfectly at first. Learn from your mistakes and keep trying.
-
Conclusion
So, there you have it! Transforming your space into a thriving garden, even as a complete beginner, is absolutely within reach. This simple, yet effective, DIY trick for a beginner garden setup is more than just a shortcut; it’s a gateway to a world of fresh produce, vibrant blooms, and the immense satisfaction of nurturing life from seed to harvest.
Why is this a must-try? Because it eliminates the overwhelming feeling that often accompanies starting a garden. It simplifies the process, reduces the learning curve, and significantly increases your chances of success. Forget about complicated soil analyses, expensive equipment, and endless hours of weeding. This method focuses on creating a manageable, productive space that you can easily maintain and enjoy.
Imagine stepping outside your door and picking fresh tomatoes for your salad, snipping herbs for your pasta sauce, or admiring the colorful flowers you’ve grown yourself. This DIY trick makes that dream a reality, even if you’ve never touched a trowel before.
But don’t stop there! This is just the beginning of your gardening journey. Once you’ve mastered the basics, feel free to experiment with different variations. Try using different types of containers, such as repurposed buckets, old tires, or even hanging baskets. Explore different soil mixes to see what works best for your plants. And don’t be afraid to get creative with your plant selection. Grow a variety of vegetables, herbs, and flowers to create a diverse and visually appealing garden.
Consider adding companion plants to your setup. Marigolds, for example, are known to deter pests, while basil can improve the flavor of tomatoes. Research which plants thrive together and incorporate them into your garden design. You can also explore vertical gardening techniques to maximize your space and add visual interest. Trellises, hanging planters, and stacked planters are all great options for small spaces.
Another variation is to focus on specific types of gardening. If you’re passionate about herbs, create a dedicated herb garden. If you love tomatoes, dedicate a section of your garden to growing different varieties. The possibilities are endless!
The key is to start small, be patient, and learn as you go. Don’t be discouraged if you encounter challenges along the way. Gardening is a learning process, and even experienced gardeners face setbacks from time to time. The important thing is to keep experimenting, keep learning, and keep enjoying the process.
We wholeheartedly encourage you to try this DIY trick for a beginner garden setup. It’s a simple, affordable, and rewarding way to connect with nature, grow your own food, and beautify your surroundings.
Ready to get your hands dirty? Give it a try and share your experience with us! We’d love to see your photos, hear your stories, and learn from your successes (and even your failures!). Share your progress on social media using #BeginnerGardenDIY and inspire others to embark on their own gardening adventures. Let’s create a community of beginner gardeners who are passionate about growing their own food and beautifying their world, one plant at a time. Your journey to a green thumb starts now!
Frequently Asked Questions (FAQ)
What if I don’t have a lot of sunlight in my yard?
This is a common concern, but don’t let it deter you! Even if you don’t have a full day of direct sunlight, you can still grow a successful garden. The key is to choose plants that tolerate partial shade. Leafy greens like lettuce, spinach, and kale are excellent choices for shady areas. Herbs like mint, parsley, and chives also thrive in partial shade. You can also consider using grow lights to supplement natural sunlight. Grow lights are especially helpful for starting seedlings indoors or for growing plants in areas with very limited sunlight. When choosing grow lights, look for full-spectrum lights that provide a range of wavelengths that plants need for photosynthesis. Experiment with different locations in your yard to find the spot that receives the most sunlight, even if it’s only a few hours a day. Remember, even a little bit of sunlight is better than none!
What kind of soil should I use for my beginner garden setup?
The type of soil you use is crucial for the success of your garden. While you can use soil directly from your yard, it’s often best to use a high-quality potting mix, especially for container gardening. Potting mix is specifically formulated to provide good drainage, aeration, and nutrient retention. Avoid using garden soil in containers, as it can become compacted and prevent proper root growth. Look for a potting mix that contains ingredients like peat moss, perlite, and vermiculite. These ingredients help to improve drainage and aeration. You can also amend your potting mix with compost to add nutrients and improve soil structure. Compost is a great way to recycle kitchen scraps and yard waste, and it provides essential nutrients for your plants. If you’re using raised beds, you can create your own soil mix by combining topsoil, compost, and other amendments. Aim for a soil mix that is loose, well-draining, and rich in organic matter.
How often should I water my plants?
Watering frequency depends on several factors, including the type of plant, the weather, and the type of soil you’re using. As a general rule, water your plants when the top inch of soil feels dry to the touch. Avoid overwatering, as this can lead to root rot. When you water, water deeply, so that the water reaches the roots. Water in the morning, so that the leaves have time to dry before nightfall. This helps to prevent fungal diseases. Use a watering can or a hose with a gentle spray nozzle to avoid damaging the plants. Check the soil moisture regularly, especially during hot, dry weather. You may need to water more frequently during these times. Mulching around your plants can help to retain moisture in the soil and reduce the need for watering.
What about pests and diseases? How do I protect my plants?
Pests and diseases are a common challenge for gardeners, but there are many things you can do to protect your plants. Start by choosing disease-resistant varieties of plants. Inspect your plants regularly for signs of pests or diseases. If you catch problems early, you can often treat them with organic methods. For example, you can use insecticidal soap to control aphids and other soft-bodied insects. You can also use neem oil to control a variety of pests and diseases. Encourage beneficial insects, such as ladybugs and lacewings, to visit your garden. These insects prey on harmful pests. Avoid using chemical pesticides, as they can harm beneficial insects and pollute the environment. Practice good garden hygiene by removing dead leaves and other debris that can harbor pests and diseases. Rotate your crops each year to prevent the buildup of pests and diseases in the soil.
Can I really grow vegetables in containers? What are the best vegetables for container gardening?
Absolutely! Container gardening is a fantastic way to grow vegetables, especially if you have limited space. Many vegetables thrive in containers, including tomatoes, peppers, eggplant, cucumbers, zucchini, lettuce, spinach, kale, and herbs. When choosing vegetables for container gardening, look for compact or bush varieties. These varieties are specifically bred to be grown in containers. Make sure your containers are large enough to accommodate the root systems of your plants. Use a high-quality potting mix and provide adequate drainage. Water your plants regularly and fertilize them as needed. Place your containers in a sunny location that receives at least six hours of sunlight per day. With a little care and attention, you can enjoy a bountiful harvest of fresh vegetables from your container garden.
How do I fertilize my beginner garden setup?
Fertilizing is essential for providing your plants with the nutrients they need to grow and thrive. There are many different types of fertilizers available, including organic and synthetic fertilizers. Organic fertilizers are derived from natural sources, such as compost, manure, and bone meal. Synthetic fertilizers are manufactured chemically. Both types of fertilizers can be effective, but organic fertilizers are generally considered to be better for the environment. When choosing a fertilizer, look for one that is specifically formulated for vegetables or flowers. Follow the instructions on the fertilizer label carefully. Avoid over-fertilizing, as this can damage your plants. You can also use compost tea to fertilize your plants. Compost tea is a liquid fertilizer that is made by steeping compost in water. It is a great way to provide your plants with a boost of nutrients.

Leave a Comment