

Bean Sprout Growing at Home: Imagine biting into a crisp, refreshing salad, knowing that the star ingredient – those delightful bean sprouts – were nurtured by your own hands, right in your kitchen! Forget those bland, store-bought sprouts; we’re diving into the wonderful world of DIY bean sprout cultivation, and trust me, it’s easier than you think!
Sprouts have been a culinary staple in many Asian cultures for centuries, valued not only for their delicious flavor but also for their incredible nutritional benefits. From stir-fries to salads, they add a delightful crunch and a boost of vitamins and minerals. But why rely on the grocery store when you can have a constant supply of fresh, organic sprouts at your fingertips?
In today’s fast-paced world, knowing how to grow your own food, even in a small way, is incredibly empowering. Bean sprout growing at home offers a fantastic way to connect with nature, reduce your reliance on commercially produced foods, and ensure you’re consuming the freshest, most nutritious ingredients possible. Plus, it’s a fun and rewarding project for the whole family! This DIY guide will walk you through simple, effective techniques for cultivating your own bountiful harvest of bean sprouts, transforming your kitchen into a mini-farm. Let’s get sprouting!
Growing Bean Sprouts at Home: A Beginner’s Guide
Hey there, fellow DIY enthusiasts! Ever thought about growing your own bean sprouts? It’s surprisingly easy, super rewarding, and a fantastic way to add fresh, crunchy goodness to your meals. Plus, you know exactly where they came from – no mystery chemicals or questionable growing practices here! I’m going to walk you through the whole process, step-by-step, so you can enjoy delicious, homegrown bean sprouts in just a few days.
What You’ll Need
Before we dive in, let’s gather our supplies. The beauty of this project is that you probably already have most of what you need lying around the house.
* **Beans:** Mung beans are the most common and easiest to sprout, but you can also use adzuki beans, lentils, chickpeas, or even radish seeds. Just make sure they are intended for sprouting and are fresh. Old beans might not sprout well. I usually get mine from the bulk section of my local health food store.
* **A Wide-Mouth Jar:** A quart-sized mason jar works perfectly. You can also use a clean glass container.
* **Sprouting Lid or Cheesecloth:** You’ll need something to cover the jar that allows for drainage and airflow. Sprouting lids are specifically designed for this, but a piece of cheesecloth secured with a rubber band works just as well. I personally prefer the sprouting lids because they’re reusable and easy to clean.
* **Water:** Clean, filtered water is best.
* **A Dark Place:** Bean sprouts need darkness to germinate properly. A cupboard, pantry, or even a covered box will do the trick.
* **A Bowl or Tray:** To catch any excess water that drains from the jar.
* **Optional: Hydrogen Peroxide (3%):** This can help prevent mold growth, especially in warmer climates. We’ll talk about how to use it later.
Getting Started: Soaking the Beans
The first step is to wake up those sleepy beans! Soaking them kickstarts the germination process.
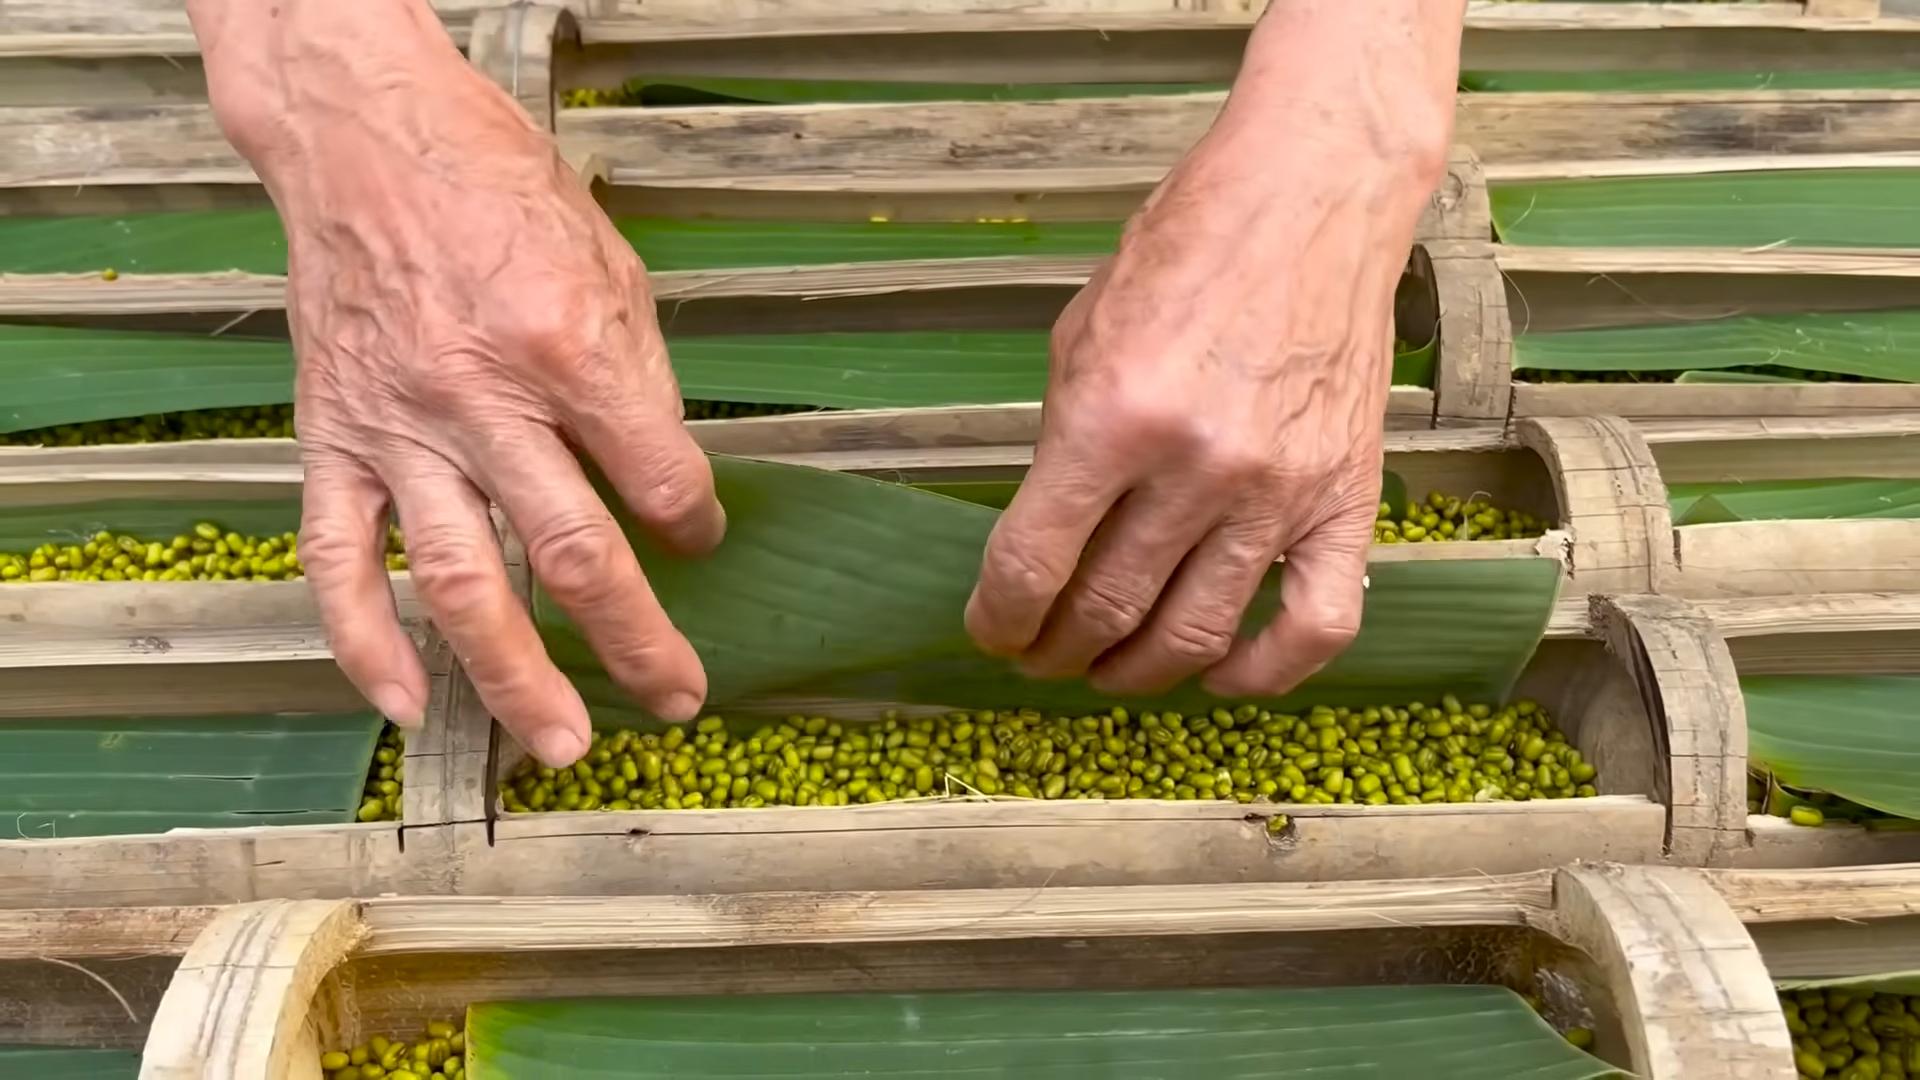
1. **Rinse the Beans:** Place about 1/4 cup of mung beans (or your chosen bean) in a colander and rinse them thoroughly under cool water. This removes any dirt or debris.
2. **Transfer to the Jar:** Put the rinsed beans into your clean jar.
3. **Add Water:** Cover the beans with plenty of cool, filtered water. You’ll want about 2-3 times the volume of the beans. They’ll expand as they soak.
4. **Cover and Soak:** Secure your sprouting lid or cheesecloth over the jar opening. Let the beans soak for 8-12 hours, or even overnight. I usually soak mine before I go to bed, so they’re ready to go in the morning.
The Sprouting Process: Rinse and Repeat
This is where the magic happens! The key to successful sprouting is consistent rinsing and drainage.
1. **Drain the Soaking Water:** After the soaking period, drain all the water from the jar. Make sure to drain it really well. You don’t want the beans sitting in stagnant water.
2. **Rinse Thoroughly:** Rinse the beans with cool, filtered water. Swirl the water around to make sure all the beans are rinsed.
3. **Drain Again:** Drain all the rinse water completely.
4. **Invert and Position:** Place the jar upside down in a bowl or tray at an angle. This allows any excess water to drain out and provides good airflow. I usually prop mine up with a small dish towel to get a better angle.
5. **Darkness is Key:** Place the jar in your chosen dark location.
6. **Repeat the Rinse and Drain:** Rinse and drain the beans 2-3 times a day. This is crucial! It keeps them moist and prevents mold growth. I usually do it in the morning, afternoon, and before bed.
7. **Observe and Adjust:** Keep an eye on your sprouts. If they seem dry, increase the frequency of rinsing. If you notice any mold (which is rare, but can happen), you can add a small amount of 3% hydrogen peroxide to the rinse water (about 1 tablespoon per quart of water). This will help kill any mold spores. Just be sure to rinse thoroughly afterwards.
Harvesting and Storing Your Bean Sprouts
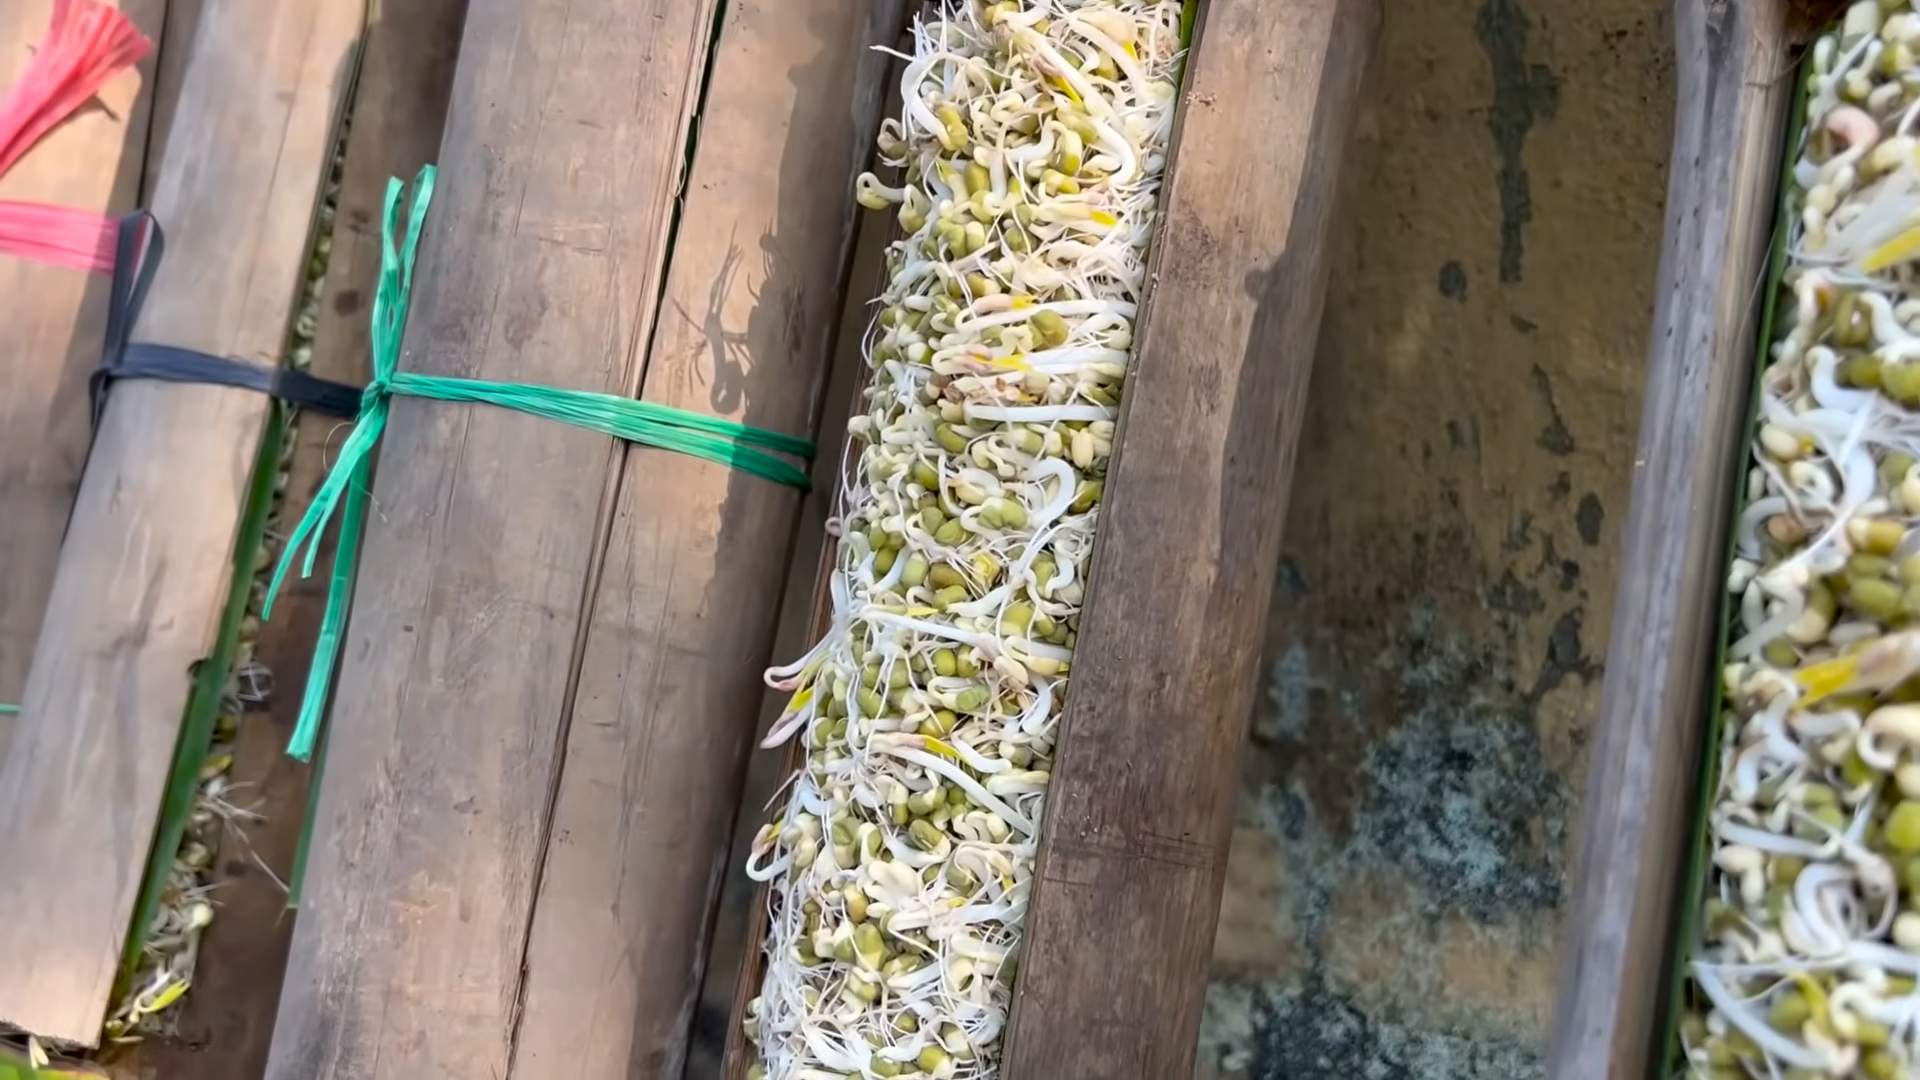
After about 3-5 days, your bean sprouts should be ready to harvest! They’ll be about 1-2 inches long and have a nice, crunchy texture.
1. **Final Rinse:** Give your bean sprouts a final rinse in cool water. This will remove any remaining seed husks.
2. **Remove Seed Husks (Optional):** Some people prefer to remove the seed husks. You can do this by gently agitating the sprouts in a bowl of water. The husks will float to the top and can be skimmed off. I usually don’t bother with this step, as the husks are perfectly edible.
3. **Drain Thoroughly:** Drain the sprouts very well. Excess moisture will cause them to spoil faster.
4. **Store in the Refrigerator:** Store your bean sprouts in a clean, airtight container in the refrigerator. Line the container with a paper towel to absorb any excess moisture. They should last for about a week.
5. **Enjoy!** Add your homegrown bean sprouts to salads, sandwiches, stir-fries, soups, or enjoy them as a crunchy snack.
Troubleshooting: Common Issues and Solutions
Even with the best intentions, things can sometimes go wrong. Here are a few common issues you might encounter and how to fix them:
* **Mold Growth:** This is usually caused by insufficient rinsing or poor drainage. If you see mold, discard the entire batch. To prevent mold, make sure to rinse the sprouts thoroughly 2-3 times a day and ensure good drainage. You can also use a small amount of hydrogen peroxide in the rinse water, as mentioned earlier.
* **Slow Sprouting:** This could be due to old beans, cold temperatures, or insufficient moisture. Make sure your beans are fresh and intended for sprouting. Keep the jar in a slightly warmer location (but not too warm!). Increase the frequency of rinsing.
* **Rotting Smell:** This indicates that the sprouts are rotting, usually due to overwatering or poor drainage. Discard the batch and start over. Make sure to drain the sprouts thoroughly after each rinse.
* **Bitter Taste:** This can be caused by over-sprouting. Harvest the sprouts when they are about 1-2 inches long.
Tips and Tricks for Sprouting Success
Here are a few extra tips to help you become a bean sprouting pro:
* Use High-Quality Beans: The quality of your beans will directly impact your sprouting success. Choose fresh, organic beans specifically intended for sprouting.
* Maintain Hygiene: Cleanliness is key to preventing mold and bacteria growth. Make sure to thoroughly clean your jar, sprouting lid, and any other equipment you use.
* Experiment with Different Beans: Once you’ve mastered mung beans, try sprouting other types of beans, lentils, or seeds. Each has its own unique flavor and texture.
* Adjust to Your Climate: If you live in a warm climate, you may need to rinse the sprouts more frequently to prevent them from drying out. If you live in a cold climate, you may need to keep the jar in a slightly warmer location to encourage sprouting.
* Don’t Overcrowd the Jar: Start with a small amount of beans (about 1/4 cup) to ensure good airflow and prevent overcrowding.
* Enjoy the Process! Sprouting beans is a fun and rewarding activity. Don’t be afraid to experiment and learn from your mistakes.
Advanced Techniques: Sprouting Without a Jar
While the jar method is the most common, there are other ways to sprout beans. Here’s a quick overview of a couple of alternative methods:
* **Sprouting Tray:** A sprouting tray is a multi-tiered tray with drainage holes. You simply spread the soaked beans on the trays and rinse them regularly. This method provides excellent airflow and drainage.
* **Hemp Mat:** You can also sprout beans on a hemp mat. Simply soak the mat, spread the soaked beans on top, and keep the mat moist. This method is great for sprouting smaller seeds like alfalfa or radish seeds.
Why Grow Your Own Bean Sprouts?
Besides being incredibly easy and cost-effective, growing your own bean sprouts offers several benefits:
* Freshness: You can’t beat the taste of freshly sprouted beans. They’re crisp, crunchy, and bursting with flavor.
* Nutritional Value: Sprouting increases the nutritional value of beans. They become richer in vitamins, minerals, and enzymes.
* Control: You have complete control over the growing process. You know exactly what’s going into your sprouts – no pesticides, herbicides, or other harmful chemicals.
* Sustainability: Growing your own food is a sustainable way to reduce your environmental impact.
* Fun and Educational: Sprouting beans is a fun and educational activity for kids and adults alike.
So
Conclusion
So, there you have it! Growing your own bean sprouts at home is not just a fun project; it’s a gateway to fresher, more nutritious meals, and a significant step towards sustainable living. Forget those limp, often chemically treated sprouts from the grocery store. With this simple, straightforward method, you can cultivate crisp, flavorful bean sprouts right in your own kitchen, whenever you need them.
Why is this DIY trick a must-try? Because it puts you in control. You control the quality of the beans, the cleanliness of the environment, and ultimately, the taste and nutritional value of your sprouts. You’ll be amazed at how much better homemade bean sprouts taste compared to store-bought ones. They’re crunchier, fresher, and bursting with natural flavor. Plus, you’ll save money in the long run, as a small bag of beans yields a surprisingly large quantity of sprouts.
But the benefits extend beyond just taste and cost savings. Growing your own bean sprouts is an incredibly rewarding experience. It’s a tangible connection to the food you eat, a mini-lesson in botany, and a fantastic way to introduce children to the wonders of nature. It’s also a great way to reduce your carbon footprint by minimizing transportation and packaging waste.
Looking for variations? Experiment with different types of beans! Mung beans are the most common, but you can also try adzuki beans, lentils, or even chickpeas. Each will offer a unique flavor and texture profile. You can also adjust the sprouting time to achieve your preferred level of sprout length and crunchiness. Some people prefer shorter, stubbier sprouts, while others like them long and stringy. The choice is yours! Consider adding a weight on top of the beans during the sprouting process to encourage thicker, more robust sprouts. A small plate or jar filled with water works perfectly.
Don’t be intimidated if you’ve never tried sprouting before. This method is incredibly forgiving and requires minimal effort. The key is to maintain a consistent level of moisture and ensure proper drainage. With a little practice, you’ll be a bean sprout pro in no time.
We wholeheartedly encourage you to give this DIY bean sprout growing method a try. It’s a simple, satisfying, and sustainable way to enhance your meals and connect with your food. And most importantly, it allows you to enjoy the freshest, most delicious bean sprouts imaginable.
Once you’ve mastered the art of growing your own bean sprouts, we’d love to hear about your experience! Share your tips, tricks, and variations in the comments below. Let’s build a community of home sprouters and spread the joy of fresh, homegrown goodness! So, grab a jar, some beans, and get sprouting! You won’t regret it. This method of **bean sprout growing at home** is a game changer.
Frequently Asked Questions (FAQ)
What kind of beans can I use for sprouting?
The most common and readily available bean for sprouting is the mung bean. However, you can also successfully sprout adzuki beans, lentils, chickpeas, and even some types of peas. Just be sure to use beans specifically intended for sprouting or cooking, not ornamental beans, as some ornamental varieties can be toxic. Avoid using beans that have been treated with pesticides or fungicides. Organic beans are always the best choice for sprouting. Experiment with different types to find your favorite flavor and texture!
How long does it take to grow bean sprouts?
The sprouting process typically takes between 3 to 5 days, depending on the type of bean, the temperature of your environment, and your personal preference for sprout length. Mung beans usually sprout within 3 to 4 days. Keep in mind that warmer temperatures will accelerate the sprouting process, while cooler temperatures will slow it down. Check your sprouts daily and harvest them when they reach your desired length and crunchiness.
How do I keep my bean sprouts from getting moldy?
Mold growth is the biggest concern when sprouting beans. To prevent mold, it’s crucial to maintain proper hygiene and ensure adequate drainage. Rinse your beans thoroughly at least twice a day with fresh, cool water. Make sure the jar or container you’re using has good ventilation and drainage holes. Avoid overcrowding the beans in the jar, as this can restrict airflow and increase the risk of mold. If you notice any signs of mold, discard the entire batch immediately. Using clean water and equipment is paramount.
What is the best way to store bean sprouts?
Once your bean sprouts have reached your desired length, rinse them thoroughly and drain them well. Pat them dry with a clean paper towel to remove excess moisture. Store them in an airtight container lined with a paper towel in the refrigerator. The paper towel will help absorb any excess moisture and keep the sprouts fresh for longer. Properly stored bean sprouts can last for up to a week in the refrigerator.
Are there any health benefits to eating bean sprouts?
Yes! Bean sprouts are a nutritional powerhouse. They are low in calories and fat and are a good source of protein, fiber, vitamins, and minerals. They are particularly rich in vitamin C, vitamin K, and folate. Bean sprouts also contain enzymes that aid in digestion. Sprouting increases the bioavailability of nutrients, making them easier for your body to absorb. Eating bean sprouts can contribute to improved immune function, bone health, and overall well-being.
Can I eat bean sprouts raw?
While bean sprouts are often eaten raw, it’s important to be aware of the potential risks of foodborne illness. Raw sprouts can harbor bacteria such as Salmonella and E. coli. To minimize the risk, purchase sprouts from a reputable source and wash them thoroughly before eating. If you are pregnant, elderly, or have a weakened immune system, it’s best to cook bean sprouts before consuming them. Cooking destroys harmful bacteria and makes the sprouts safer to eat.
What can I do with my bean sprouts?
Bean sprouts are incredibly versatile and can be used in a wide variety of dishes. They are a popular addition to stir-fries, salads, soups, and sandwiches. They can also be used as a topping for tacos, spring rolls, and other Asian-inspired dishes. Bean sprouts add a crunchy texture and a fresh, slightly sweet flavor to any dish. Experiment with different recipes and find your favorite ways to incorporate them into your meals.
My bean sprouts are not sprouting. What am I doing wrong?
If your bean sprouts are not sprouting, there could be several reasons why. First, make sure your beans are viable and haven’t expired. Old beans may have a lower germination rate. Second, ensure that your beans are getting enough moisture. They should be rinsed and drained at least twice a day. Third, check the temperature of your environment. Bean sprouts prefer a warm, but not hot, environment. Fourth, make sure your beans are not overcrowded in the jar. Overcrowding can restrict airflow and inhibit sprouting. Finally, be patient! Sometimes it takes a little longer for sprouts to get going.
Can I grow bean sprouts in direct sunlight?
No, bean sprouts should not be grown in direct sunlight. Direct sunlight can overheat the sprouts and cause them to dry out or even cook. The ideal environment for sprouting is a dark, cool, and well-ventilated place. A kitchen cabinet or a pantry is a good option. You can also cover the jar with a cloth or towel to block out light.
How do I know when my bean sprouts are ready to harvest?
Your bean sprouts are ready to harvest when they have reached your desired length and crunchiness. This is typically between 3 to 5 days after starting the sprouting process. The sprouts should be firm and crisp, not mushy or slimy. Taste a few sprouts to make sure they have a pleasant flavor. If they taste bitter or off, discard the entire batch.
Leave a Comment