

Backyard melon growing tips are what you need to transform your garden into a summer oasis bursting with juicy, homegrown goodness! Imagine biting into a perfectly ripe watermelon, cantaloupe, or honeydew, knowing you nurtured it from seed to table. Forget those bland, store-bought melons – we’re talking about flavor explosions right outside your back door!
For centuries, melons have been cherished across cultures, from ancient Egypt where they were buried with pharaohs, to the sun-drenched fields of the Mediterranean. Their sweet taste and refreshing qualities have made them a symbol of summer abundance and a staple in countless cuisines. But you don’t need vast farmland to enjoy this delicious fruit.
Many people shy away from growing melons, thinking it’s too difficult or requires too much space. But I’m here to tell you that with a few clever tricks and DIY hacks, even those with small backyards or limited gardening experience can successfully cultivate these delightful fruits. This article is packed with easy-to-follow backyard melon growing tips that will empower you to create your own personal melon patch. We’ll cover everything from choosing the right varieties and preparing your soil to providing the perfect amount of sunlight and water. Get ready to impress your friends and family with your homegrown melon bounty!
DIY Backyard Melon Oasis: From Seed to Sweetness
Hey there, fellow garden enthusiasts! I’m so excited to share my tried-and-true methods for growing juicy, delicious melons right in your own backyard. Forget those bland supermarket melons – with a little effort and these tips, you’ll be enjoying homegrown sweetness all summer long.
Choosing Your Melon Variety
Before we get our hands dirty, let’s talk melons! The variety you choose will depend on your climate, space, and personal preference. Here are a few of my favorites:
* Watermelon: A classic for a reason! Look for shorter-season varieties like ‘Sugar Baby’ if you have a shorter growing season. ‘Crimson Sweet’ is another reliable choice.
* Cantaloupe: ‘Hales Best Jumbo’ is a popular and flavorful cantaloupe. ‘Athena’ is a good choice for disease resistance.
* Honeydew: ‘Honey Dew Green Flesh’ is a reliable and sweet option.
* Other Melons: Don’t be afraid to experiment! Consider trying Galia melons, Casaba melons, or even specialty watermelons like yellow or seedless varieties.
Preparing Your Melon Patch
Melons are sun-loving, hungry plants. Giving them the right start is crucial for success.
* Sunlight: Melons need at least 6-8 hours of direct sunlight per day. Choose a location in your yard that gets plenty of sun.
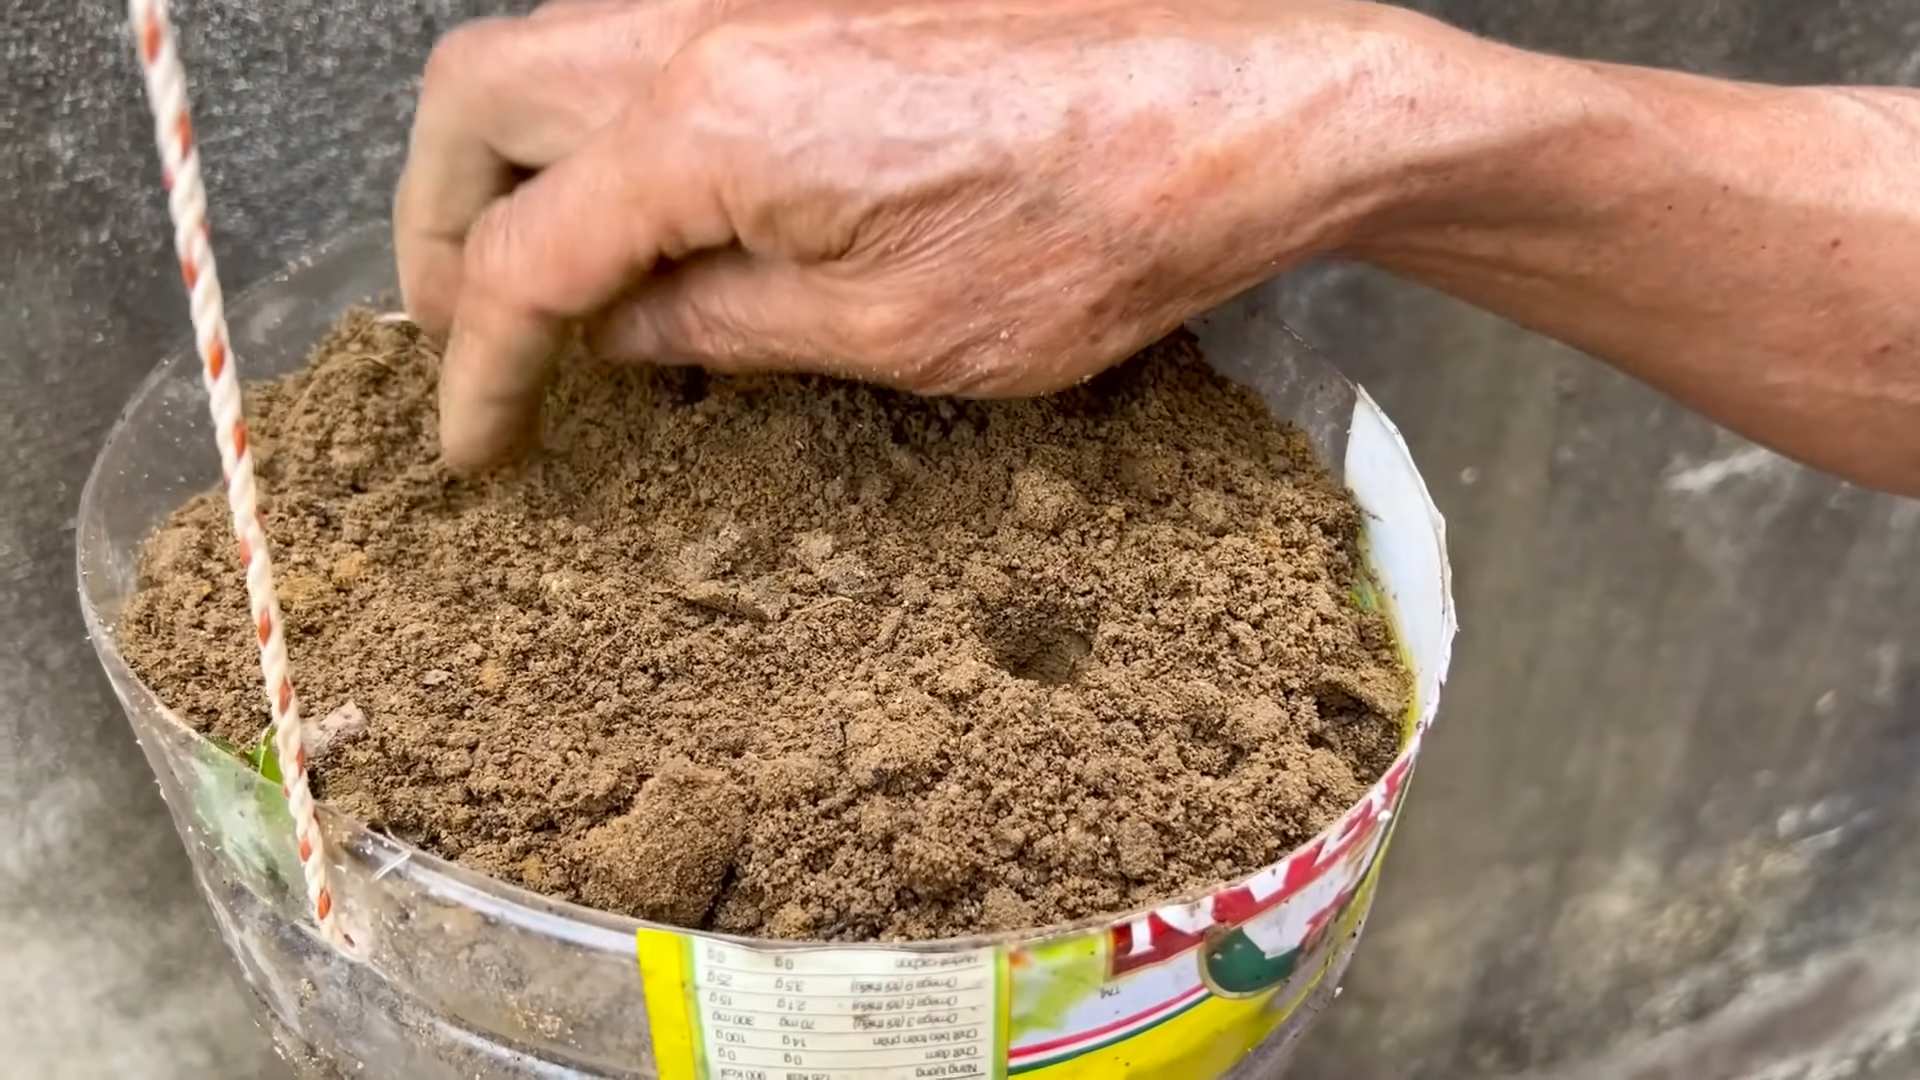
* Soil: Well-drained soil is essential. Melons don’t like to sit in soggy soil. Amend your soil with compost or well-rotted manure to improve drainage and fertility. A slightly acidic to neutral pH (6.0-7.0) is ideal.
* Space: Melons need plenty of space to sprawl. Watermelons especially can take up a lot of room. Consider using trellises for smaller melon varieties like cantaloupe to save space.
* Soil Testing: I highly recommend getting your soil tested. It’s a small investment that can save you a lot of headaches down the road. Your local agricultural extension office can provide information on soil testing services.
Starting Your Melon Seeds
You can either direct sow your melon seeds or start them indoors. I prefer starting them indoors, especially in cooler climates, to give them a head start.
* When to Start: Start your seeds indoors about 4-6 weeks before the last expected frost.
* Materials: You’ll need seed starting trays or small pots, seed starting mix, and a heat mat (optional, but helpful).
* Sowing the Seeds: Plant 2-3 seeds per cell or pot, about ½ inch deep. Keep the soil moist but not soggy.
* Warmth: Melons need warmth to germinate. A heat mat can help speed up the process. Aim for a soil temperature of 70-80°F (21-27°C).
* Light: Once the seeds germinate, provide them with plenty of light. A grow light is ideal, but a sunny windowsill can also work.
* Thinning: Once the seedlings have their first true leaves, thin them to one plant per cell or pot. Choose the strongest seedling and snip off the others at the soil line.
Transplanting Your Melon Seedlings
Once the danger of frost has passed and the soil has warmed up, it’s time to transplant your melon seedlings into the garden.
* Hardening Off: Before transplanting, you need to harden off your seedlings. This means gradually exposing them to outdoor conditions over a period of 7-10 days. Start by placing them in a sheltered spot outdoors for a few hours each day, gradually increasing the amount of time they spend outside.
* Preparing the Planting Hole: Dig a hole that is slightly larger than the root ball of the seedling. Amend the soil in the hole with compost or well-rotted manure.
* Transplanting: Gently remove the seedling from its pot and place it in the hole. Make sure the top of the root ball is level with the surrounding soil. Backfill the hole with soil and gently firm it around the plant.
* Watering: Water the seedlings thoroughly after transplanting.
* Spacing: Space watermelon plants 2-4 feet apart, cantaloupe and honeydew plants 1-2 feet apart.
* Mulching: Mulch around the plants with straw or hay to help retain moisture, suppress weeds, and keep the soil warm. Black plastic mulch can also be used to warm the soil, especially in cooler climates.
Caring for Your Melon Plants
Once your melon plants are in the ground, they’ll need regular care to thrive.
* Watering: Melons need consistent watering, especially during fruit development. Water deeply and regularly, aiming for about 1-2 inches of water per week. Avoid overhead watering, as this can promote fungal diseases. Drip irrigation is ideal.
* Fertilizing: Melons are heavy feeders. Fertilize them regularly with a balanced fertilizer. I like to use a fertilizer that is high in phosphorus and potassium, which are important for fruit development. You can also side-dress the plants with compost or well-rotted manure.
* Weeding: Keep the area around your melon plants free of weeds. Weeds compete with the plants for water and nutrients.
* Pest and Disease Control: Keep an eye out for pests and diseases. Common melon pests include aphids, squash bugs, and cucumber beetles. Common diseases include powdery mildew and fusarium wilt. Treat any problems promptly with appropriate organic or conventional methods.
* Pollination: Melons need to be pollinated to produce fruit. Bees are the primary pollinators. If you don’t have many bees in your area, you may need to hand-pollinate the flowers. To hand-pollinate, use a small paintbrush to transfer pollen from the male flowers to the female flowers. Female flowers have a small fruit behind the flower, while male flowers do not.
* Trellising (Optional): For smaller melon varieties like cantaloupe, trellising can save space and improve air circulation. Use a sturdy trellis and tie the vines to the trellis as they grow. You may need to support the developing melons with slings made from netting or fabric.
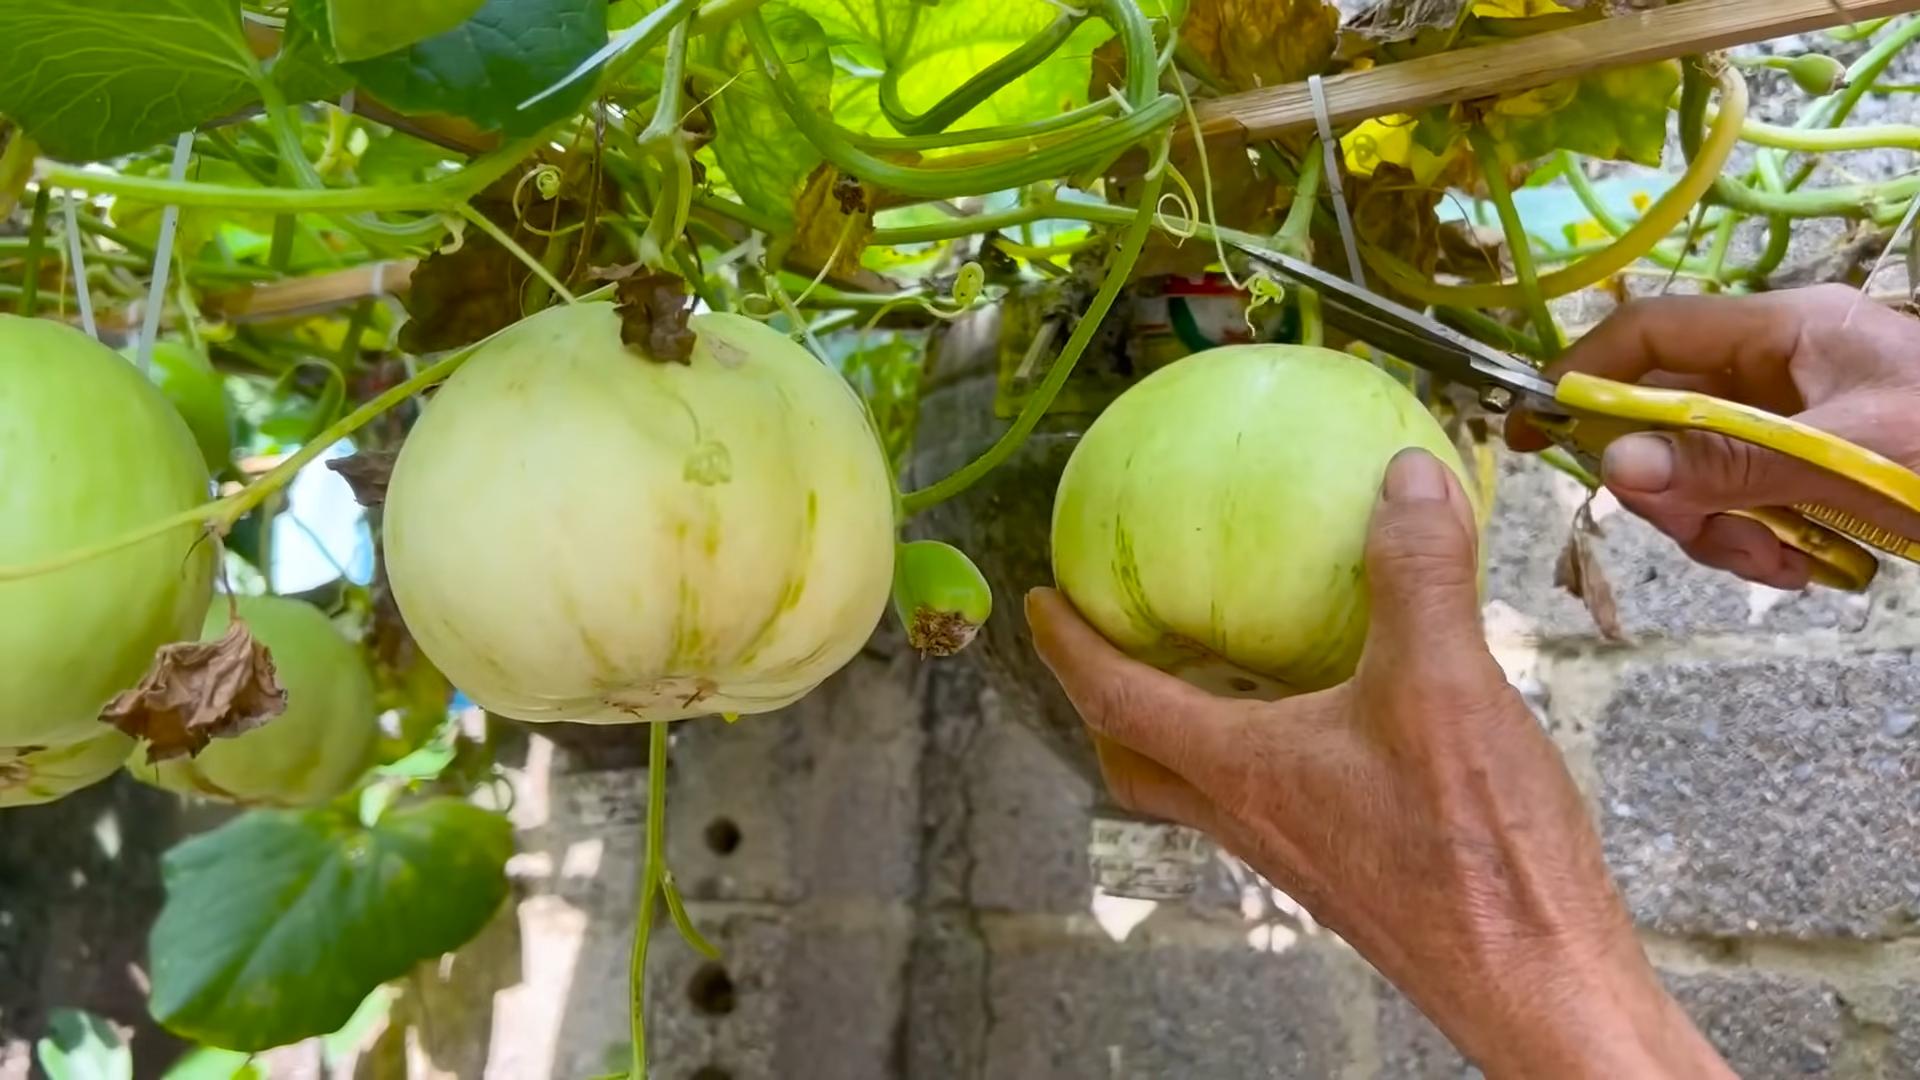
Harvesting Your Melons
Knowing when to harvest your melons is key to enjoying their full flavor.
* Watermelon: There are several ways to tell when a watermelon is ripe. Look for the following signs:
* The tendril closest to the fruit should be brown and dry.
* The spot where the melon rests on the ground (the “ground spot”) should be yellow or cream-colored.
* The melon should sound hollow when you thump it.
* Cantaloupe: A ripe cantaloupe will have a sweet aroma and the stem will slip easily from the fruit.
* Honeydew: A ripe honeydew will have a slightly waxy feel and a sweet aroma. The blossom end should be slightly soft.
Step-by-Step Guide to Growing Melons
Okay, let’s break down the whole process into easy-to-follow steps:
1. Choose Your Variety: Select melon varieties that are well-suited to your climate and growing conditions. Consider space requirements and personal preferences.
2. Prepare Your Soil: Amend your soil with compost or well-rotted manure to improve drainage and fertility. Ensure the soil is well-drained and receives ample sunlight.
3. Start Seeds Indoors (Optional): Start seeds indoors 4-6 weeks before the last expected frost for a head start. Use seed starting mix and provide warmth and light.
4. Harden Off Seedlings: Gradually expose seedlings to outdoor conditions over 7-10 days before transplanting.
5. Transplant Seedlings: Transplant seedlings into the garden after the danger of frost has passed and the soil has warmed up. Space plants appropriately and water thoroughly.
6. Mulch Around Plants: Apply mulch around the plants to retain moisture, suppress weeds, and keep the soil warm.
7. Water Regularly: Water deeply and consistently, providing 1-2 inches of water per week. Avoid overhead watering.
8. Fertilize Regularly: Fertilize with a balanced fertilizer, especially one high in phosphorus and potassium.
9. Control Pests and Diseases: Monitor plants for pests and diseases and treat promptly with appropriate methods.
10. Pollinate (If Necessary): Hand-pollinate flowers if bee activity is low.
11. Harvest at the Right Time: Harvest melons when they are ripe, using the indicators specific to each variety.
Troubleshooting Common Melon Growing Problems
Even with the best care, you might encounter some challenges. Here are a few common problems and how to address them:
* Poor Germination: Make sure your seeds are fresh and viable. Provide adequate warmth and moisture for germination.
*
Conclusion
So, there you have it! Transforming your backyard into a melon oasis is not only achievable, but incredibly rewarding. We’ve walked you through the essential steps, from selecting the perfect melon variety for your climate to nurturing those precious vines with the right soil, sunlight, and watering techniques. But why is this DIY approach to backyard melon growing a must-try?
Firstly, the flavor. There’s simply no comparison between a store-bought melon, often picked before peak ripeness and shipped across vast distances, and a sun-ripened melon harvested straight from your own garden. The sweetness is more intense, the texture more succulent, and the overall experience a true celebration of summer. You’ll be amazed at the difference!
Secondly, the satisfaction. Nurturing a plant from seed to fruit is an incredibly fulfilling experience. Watching those tiny seedlings emerge, training the vines, and finally harvesting your own juicy melons provides a sense of accomplishment that’s hard to match. It’s a connection to nature that can be deeply grounding and therapeutic.
Thirdly, control over your food. In a world increasingly concerned with food sourcing and quality, growing your own melons allows you to know exactly what went into them. You can choose organic practices, avoid harmful pesticides, and ensure that your family is enjoying the healthiest, most delicious melons possible.
But the journey doesn’t end here! Feel free to experiment with different melon varieties. Try growing cantaloupe, honeydew, watermelon, or even some of the more exotic varieties like Galia or Charentais. Each has its own unique flavor profile and growing requirements, offering endless opportunities for exploration.
Consider companion planting to enhance your melon patch. Marigolds can deter pests, while basil can improve the flavor of your melons. You can also try vertical gardening techniques to maximize space in smaller backyards. Trellising your melon vines not only saves space but also improves air circulation, reducing the risk of fungal diseases.
And don’t forget about the soil! Regularly amend your soil with compost and other organic matter to provide your melon plants with the nutrients they need to thrive. A soil test can help you determine any specific deficiencies and tailor your fertilization accordingly.
We encourage you to embrace the challenge and embark on your own backyard melon growing adventure. It’s a journey filled with learning, growth, and ultimately, delicious rewards. And most importantly, we want to hear about your experiences! Share your tips, successes, and even your failures in the comments below. Let’s create a community of backyard melon growers, sharing our knowledge and inspiring each other to cultivate the sweetest, most flavorful melons imaginable. So, grab your seeds, prepare your soil, and get ready to experience the joy of homegrown melons! Your taste buds (and your garden) will thank you.
Variations and Further Exploration
* Grafted Melons: Explore the world of grafted melons for increased disease resistance and vigor.
* Succession Planting: Plant melons in stages to extend your harvest season.
* Seed Saving: Save seeds from your best-performing melons to continue the cycle next year.
Frequently Asked Questions (FAQ)
What is the best type of melon to grow for a beginner?
For beginners, cantaloupe and smaller watermelon varieties like Sugar Baby are generally the easiest to grow. They are relatively forgiving and tend to ripen more quickly than larger varieties. Honeydew can be a bit more challenging, as they require consistent watering and are more susceptible to fungal diseases. Consider your local climate and growing season when making your selection. Look for varieties that are specifically recommended for your region. Local nurseries and garden centers are excellent resources for finding the right melon for your area.
How much space do melon plants need?
Melon plants, especially watermelon, can be quite sprawling. As a general rule, allow at least 3-4 feet between plants for smaller varieties like cantaloupe and Sugar Baby watermelon, and 5-6 feet for larger watermelon varieties. If you’re growing vertically on a trellis, you can reduce the spacing somewhat, but make sure the trellis is sturdy enough to support the weight of the mature melons. Proper spacing is crucial for good air circulation, which helps prevent fungal diseases. Overcrowding can also lead to smaller, less flavorful melons.
What kind of soil is best for growing melons?
Melons thrive in well-drained, fertile soil that is rich in organic matter. A slightly acidic to neutral pH (around 6.0-7.0) is ideal. Before planting, amend your soil with plenty of compost, well-rotted manure, or other organic materials to improve drainage and fertility. If your soil is heavy clay, consider adding sand or perlite to improve drainage. A soil test can help you determine the pH and nutrient levels of your soil and guide your amendment strategy.
How often should I water my melon plants?
Melon plants need consistent watering, especially during fruit development. Water deeply and regularly, aiming to keep the soil consistently moist but not waterlogged. Avoid overhead watering, as this can promote fungal diseases. Drip irrigation or soaker hoses are excellent options for delivering water directly to the roots. During hot, dry weather, you may need to water daily. Reduce watering as the melons approach maturity to concentrate the sugars and improve flavor.
How do I know when my melons are ripe?
Determining ripeness varies depending on the melon variety. For cantaloupe, look for a change in color from green to tan or yellow, a sweet aroma, and a slight cracking around the stem. The stem should also slip easily from the vine with gentle pressure. For watermelon, look for a dull thud when you tap the melon, a yellow or creamy spot on the underside where it rested on the ground, and a dried tendril closest to the melon on the vine. Honeydew melons are ripe when they turn a creamy yellow color and have a slightly waxy feel.
What are some common pests and diseases that affect melon plants?
Common pests include aphids, squash bugs, cucumber beetles, and vine borers. Diseases include powdery mildew, fusarium wilt, and anthracnose. Regularly inspect your plants for signs of pests or diseases and take action promptly. Organic pest control methods include hand-picking pests, using insecticidal soap or neem oil, and introducing beneficial insects like ladybugs. To prevent diseases, ensure good air circulation, avoid overhead watering, and use disease-resistant varieties. Crop rotation can also help prevent soilborne diseases.
Can I grow melons in containers?
Yes, you can grow melons in containers, but you’ll need to choose smaller varieties and provide adequate support. Use a large container (at least 20 gallons) with good drainage. Choose a potting mix that is well-draining and rich in organic matter. Provide a trellis or other support for the vines to climb. Water and fertilize regularly, as container-grown plants tend to dry out and deplete nutrients more quickly.
How do I fertilize my melon plants?
Melon plants benefit from regular fertilization. Use a balanced fertilizer (e.g., 10-10-10) at planting time, and then side-dress with a nitrogen-rich fertilizer when the vines begin to run. Once the fruits begin to develop, switch to a fertilizer that is higher in phosphorus and potassium to promote fruit development and sweetness. Follow the instructions on the fertilizer label carefully to avoid over-fertilizing. Organic options include compost tea, fish emulsion, and bone meal.
How can I improve the sweetness of my melons?
Several factors contribute to melon sweetness. Choose varieties known for their sweetness, provide plenty of sunlight (at least 6-8 hours per day), and ensure adequate watering and fertilization. Reduce watering as the melons approach maturity to concentrate the sugars. Avoid over-fertilizing with nitrogen, as this can promote leafy growth at the expense of fruit sweetness. Proper pollination is also crucial for fruit development and sweetness.
What do I do if my melon plant is not producing fruit?
Several factors can contribute to a lack of fruit production. Ensure that your plants are getting enough sunlight, water, and nutrients. Poor pollination can also be a culprit. Hand-pollinate your melon flowers by transferring pollen from the male flowers to the female flowers using a small brush. Stress from pests, diseases, or extreme weather can also inhibit fruit production. Address any underlying issues and provide your plants with optimal growing conditions.

Leave a Comment