

Growing onions in plastic bottles might sound like something out of a science fiction movie, but trust me, it’s a surprisingly effective and rewarding way to cultivate these flavorful bulbs right in your own home! Are you tired of buying onions from the store, only to use half and watch the rest wither away in your crisper drawer? Or perhaps you’re dreaming of a lush garden but are short on space? Well, this DIY trick is your answer!
For centuries, humans have cultivated onions, with evidence suggesting their use dates back over 5000 years! From ancient Egypt, where they were revered and even used as offerings, to the bustling markets of today, onions have been a staple in cuisines worldwide. But what if you could connect with that rich history and grow your own, even without a sprawling backyard?
That’s where the magic of repurposing plastic bottles comes in. This method isn’t just about saving money; it’s about sustainability, resourcefulness, and the sheer joy of nurturing life. Plus, it’s a fantastic way to teach kids about gardening and the importance of recycling. Imagine the satisfaction of harvesting your own fresh onions, grown with your own two hands (and a few plastic bottles!). This guide will walk you through every step, making growing onions in plastic bottles a breeze, even for beginners. Let’s get started and transform those discarded bottles into miniature onion farms!
Zwiebeln in Plastikflaschen ziehen: Eine DIY-Anleitung für den kleinen Garten
Hallo liebe Gartenfreunde! Habt ihr auch so wenig Platz im Garten oder auf dem Balkon, aber trotzdem Lust auf frische, selbstgezogene Zwiebeln? Dann habe ich hier genau das Richtige für euch: Zwiebeln in Plastikflaschen ziehen! Das ist nicht nur super platzsparend, sondern auch eine tolle Möglichkeit, Plastikmüll wiederzuverwerten. Ich zeige euch, wie es geht!
Was ihr braucht:
* Plastikflaschen: Am besten eignen sich große PET-Flaschen (1,5 Liter oder größer). Je größer die Flasche, desto mehr Platz haben die Zwiebeln.
* Erde: Normale Blumenerde oder Gartenerde ist perfekt. Ihr könnt auch eine Mischung aus Erde, Kompost und Sand verwenden.
* Zwiebeln: Entweder kleine Steckzwiebeln oder Zwiebeln, die bereits ausgetrieben haben. Letztere sind ideal, um sie nicht wegzuwerfen.
* Messer oder Schere: Zum Zuschneiden der Plastikflaschen.
* Bohrer oder Nagel: Um Löcher für die Drainage zu machen.
* Gießkanne: Zum Bewässern der Zwiebeln.
* Optional: Kies oder Blähton für die Drainage.
Vorbereitung der Plastikflaschen
Bevor wir mit dem Pflanzen beginnen, müssen wir die Plastikflaschen vorbereiten. Das ist ganz einfach, aber wichtig für den Erfolg unseres kleinen Zwiebelgartens.
1. Reinigung der Flaschen: Zuerst solltet ihr die Plastikflaschen gründlich reinigen. Entfernt alle Etiketten und spült sie mit warmem Wasser und etwas Spülmittel aus. Achtet darauf, dass keine Spülmittelreste zurückbleiben.
2. Zuschneiden der Flaschen: Jetzt kommt der spannende Teil: das Zuschneiden der Flaschen. Es gibt verschiedene Möglichkeiten, wie ihr das machen könnt. Ich zeige euch zwei Varianten:
* Variante 1: Horizontales Zuschneiden: Schneidet die Flasche horizontal in der Mitte durch. Der obere Teil wird später umgedreht und in den unteren Teil gesteckt. So entsteht ein kleiner Topf.
* Variante 2: Seitliches Zuschneiden: Schneidet rechteckige oder ovale Löcher in die Seiten der Flasche. Diese Löcher dienen als Pflanzöffnungen für die Zwiebeln. Achtet darauf, dass die Löcher groß genug sind, damit die Zwiebeln hineinpassen, aber nicht zu groß, damit die Erde nicht herausfällt.
3. Drainagelöcher bohren: Egal für welche Variante ihr euch entscheidet, Drainagelöcher sind unerlässlich. Bohrt oder stecht mit einem Nagel mehrere kleine Löcher in den Boden der Flasche. Diese Löcher sorgen dafür, dass überschüssiges Wasser ablaufen kann und die Zwiebeln nicht faulen.
4. Optional: Drainageschicht einfügen: Für eine noch bessere Drainage könnt ihr eine Schicht Kies oder Blähton auf den Boden der Flasche geben, bevor ihr die Erde einfüllt.
Das Bepflanzen der Plastikflaschen
Jetzt geht es ans Eingemachte: das Bepflanzen der vorbereiteten Plastikflaschen mit den Zwiebeln.
1. Erde einfüllen: Füllt die Plastikflasche mit Erde. Achtet darauf, dass die Erde locker und luftig ist. Drückt sie nicht zu fest an, damit die Wurzeln der Zwiebeln gut wachsen können.
* Bei horizontal geteilten Flaschen: Füllt den unteren Teil der Flasche mit Erde und steckt den umgedrehten oberen Teil hinein.
* Bei seitlich aufgeschnittenen Flaschen: Füllt die Flasche bis kurz unterhalb der Pflanzöffnungen mit Erde.
2. Zwiebeln pflanzen: Setzt die Zwiebeln in die Erde. Achtet darauf, dass die Spitze der Zwiebeln aus der Erde herausschaut.
* Bei horizontal geteilten Flaschen: Pflanzt die Zwiebeln in die Erde im oberen Teil der Flasche.
* Bei seitlich aufgeschnittenen Flaschen: Steckt die Zwiebeln vorsichtig durch die Pflanzöffnungen in die Erde. Achtet darauf, dass die Wurzeln gut mit Erde bedeckt sind.
3. Gießen: Gießt die Zwiebeln nach dem Pflanzen gründlich an. Achtet darauf, dass die Erde gut durchfeuchtet ist, aber nicht zu nass.
Pflege der Zwiebeln in Plastikflaschen
Damit eure Zwiebeln in den Plastikflaschen gut gedeihen, ist die richtige Pflege wichtig.
1. Standort: Stellt die Plastikflaschen an einen sonnigen Standort. Zwiebeln brauchen viel Licht, um gut zu wachsen. Ein Südbalkon oder ein sonniger Platz im Garten sind ideal.
2. Bewässerung: Gießt die Zwiebeln regelmäßig, aber nicht zu viel. Die Erde sollte immer leicht feucht sein, aber nicht nass. Vermeidet Staunässe, da dies zu Fäulnis führen kann.
3. Düngung: Zwiebeln sind keine Starkzehrer, aber eine gelegentliche Düngung kann das Wachstum fördern. Verwendet einen organischen Dünger oder verdünnten Flüssigdünger. Düngt die Zwiebeln alle paar Wochen während der Wachstumsphase.
4. Schutz vor Schädlingen: Achtet auf Schädlinge wie Blattläuse oder Zwiebelfliegen. Bei Bedarf könnt ihr natürliche Schädlingsbekämpfungsmittel verwenden.
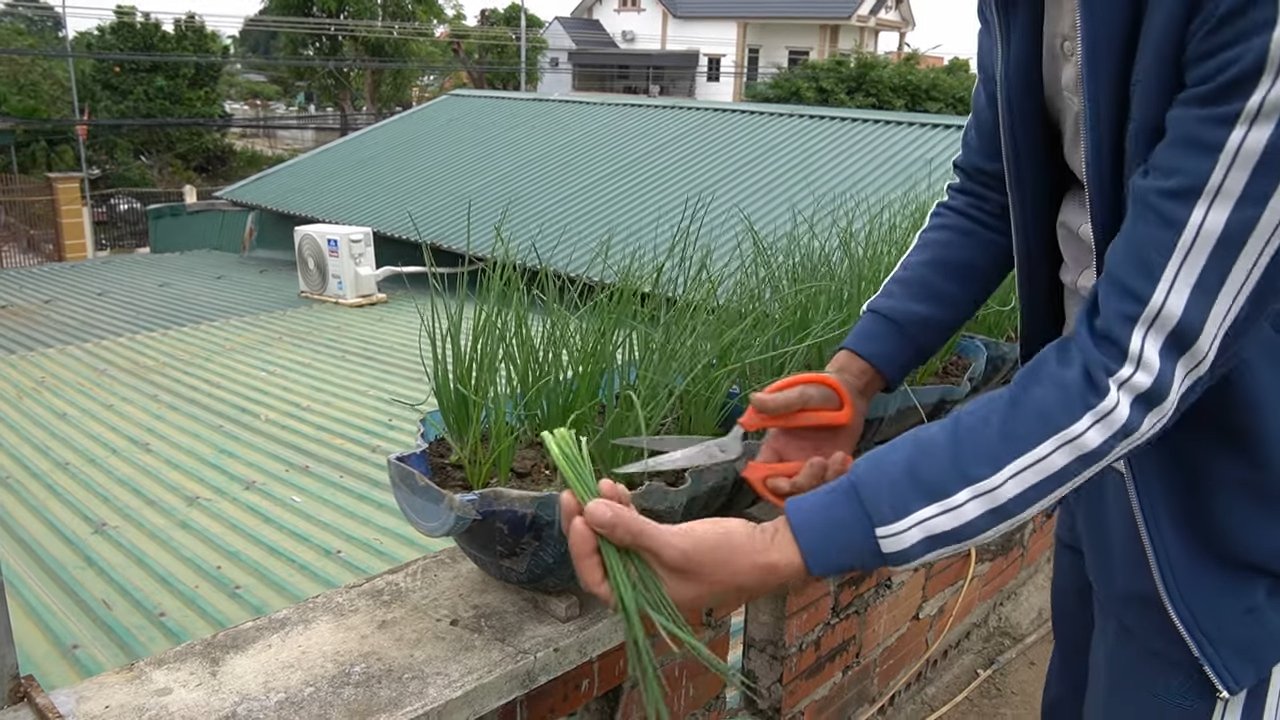
5. Ernte: Die Erntezeit hängt von der Zwiebelsorte und den Wachstumsbedingungen ab. In der Regel sind die Zwiebeln nach einigen Monaten erntereif. Ihr erkennt es daran, dass das Laub gelb wird und umknickt. Zieht die Zwiebeln vorsichtig aus der Erde.
Zusätzliche Tipps und Tricks
* Verschiedene Zwiebelsorten: Probiert verschiedene Zwiebelsorten aus, um herauszufinden, welche euch am besten schmecken und am besten in den Plastikflaschen wachsen.
* Kräuter dazwischen pflanzen: Ihr könnt auch Kräuter wie Schnittlauch oder Petersilie zwischen die Zwiebeln pflanzen. Das spart Platz und sorgt für eine abwechslungsreiche Ernte.
* Beschriftung der Flaschen: Beschriftet die Plastikflaschen mit dem Namen der Zwiebelsorte und dem Pflanzdatum. So behaltet ihr den Überblick.
* Dekoration der Flaschen: Ihr könnt die Plastikflaschen auch bemalen oder bekleben, um sie optisch aufzuwerten. So wird euer kleiner Zwiebelgarten zu einem echten Hingucker.
* Vertikale Gärten: Wenn ihr noch mehr Platz sparen wollt, könnt ihr die Plastikflaschen auch an einer Wand oder einem Zaun befestigen und einen vertikalen Garten anlegen.
Häufige Probleme und Lösungen
* Zwiebeln faulen: Wenn die Zwiebeln faulen, liegt das meist an Staunässe. Achtet darauf, dass die Erde gut drainiert ist und gießt nicht zu viel.
* Zwiebeln wachsen nicht: Wenn die Zwiebeln nicht wachsen, kann das an zu wenig Licht oder Nährstoffen liegen. Stellt die Flaschen an einen sonnigeren Standort und düngt die Zwiebeln regelmäßig.
* Schädlinge: Bei Schädlingsbefall solltet ihr schnell handeln. Verwendet natürliche Schädlingsbekämpfungsmittel oder entfernt die befallenen Pflanzen.
Fazit
Zwiebeln in Plastikflaschen zu ziehen ist eine einfache und platzsparende Möglichkeit, frische Zwiebeln selbst anzubauen. Mit ein wenig Geduld und Pflege könnt ihr euch schon bald über eine reiche Ernte freuen. Probiert es aus und lasst mich wissen, wie es euch gefallen hat! Viel Spaß beim Gärtnern!

Conclusion
So, there you have it! Growing onions in plastic bottles isn’t just a quirky gardening experiment; it’s a genuinely effective and space-saving method that can bring fresh, flavorful onions right to your windowsill or balcony. We’ve explored the step-by-step process, from preparing your bottles and soil to planting and nurturing your onion sets. The benefits are undeniable: reduced garden space requirements, efficient water usage, and the satisfaction of watching your own onions thrive in a recycled container.
This DIY trick is a must-try for several compelling reasons. First, it’s incredibly accessible. Most of us have plastic bottles readily available, turning what would otherwise be waste into a valuable resource. Second, it’s a fantastic way to introduce children to the joys of gardening and teach them about sustainability. Third, it’s a practical solution for urban dwellers or anyone with limited outdoor space who still craves the taste of homegrown produce. Finally, it’s a cost-effective way to grow your own onions, saving you money at the grocery store and ensuring you always have fresh ingredients on hand.
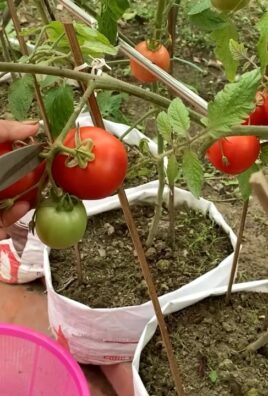
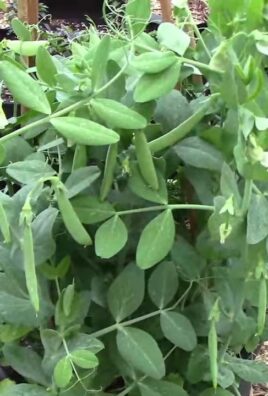
But don’t stop there! Feel free to experiment with different varieties of onions. Shallots, scallions, and even smaller bulb onions can all be successfully grown using this method. You can also try adding companion plants like marigolds or basil to your bottle gardens to deter pests and enhance the flavor of your onions. Consider using different types of soil mixes to see which one yields the best results in your specific climate.
Growing onions in plastic bottles offers a unique opportunity to connect with nature, reduce waste, and enjoy the delicious rewards of your labor. It’s a simple yet powerful way to make a positive impact on the environment and your own well-being.
We wholeheartedly encourage you to give this DIY project a try. It’s a fun, rewarding, and sustainable way to grow your own food. Once you’ve harvested your first batch of bottle-grown onions, we’d love to hear about your experience! Share your photos, tips, and any variations you’ve tried in the comments below. Let’s build a community of bottle-gardening enthusiasts and inspire others to embrace this innovative approach to growing fresh produce. Happy gardening!
Frequently Asked Questions (FAQ)
What kind of plastic bottles are best for growing onions?
Ideally, you should use sturdy, food-grade plastic bottles. Two-liter soda bottles or larger juice bottles work well. Avoid using bottles that have contained harsh chemicals or cleaning products, as these could contaminate the soil and affect the onions. Make sure to thoroughly clean the bottles with soap and water before using them. Clear or translucent bottles are preferable as they allow you to monitor the soil moisture levels. Darker bottles can also be used, but you’ll need to be more diligent about checking the soil.
How often should I water my onions grown in plastic bottles?
Watering frequency depends on several factors, including the climate, the type of soil you’re using, and the size of the bottle. Generally, you should water your onions when the top inch of soil feels dry to the touch. Avoid overwatering, as this can lead to root rot. Ensure that the bottles have adequate drainage holes to prevent water from accumulating at the bottom. During hot, dry weather, you may need to water more frequently, perhaps every day or every other day. In cooler, wetter weather, you can reduce the watering frequency. A good rule of thumb is to check the soil moisture regularly and water accordingly.
What type of soil is best for growing onions in plastic bottles?
A well-draining potting mix is essential for growing healthy onions in plastic bottles. You can use a commercially available potting mix or create your own by combining equal parts of garden soil, compost, and perlite or vermiculite. The compost provides nutrients, while the perlite or vermiculite improves drainage and aeration. Avoid using heavy clay soil, as it can become waterlogged and suffocate the roots. A slightly acidic to neutral pH (around 6.0 to 7.0) is ideal for onions. You can test the pH of your soil using a soil testing kit.
How much sunlight do onions need when grown in plastic bottles?
Onions require at least 6-8 hours of direct sunlight per day to thrive. Place your bottle gardens in a sunny location, such as a south-facing windowsill or balcony. If you don’t have access to enough natural sunlight, you can supplement with artificial grow lights. LED grow lights are energy-efficient and provide the full spectrum of light that plants need to grow. Rotate the bottles regularly to ensure that all sides of the plants receive adequate sunlight.
Can I grow onions from seed in plastic bottles?
Yes, you can grow onions from seed in plastic bottles, but it’s generally easier and faster to start with onion sets (small, immature onion bulbs). If you choose to grow from seed, sow the seeds directly into the prepared soil in the bottles. Keep the soil consistently moist until the seeds germinate, which usually takes about 7-14 days. Once the seedlings emerge, thin them out to allow enough space for each plant to grow. Be patient, as it takes longer to grow onions from seed than from sets.
How do I fertilize onions grown in plastic bottles?
Onions are heavy feeders and benefit from regular fertilization. You can use a balanced liquid fertilizer, such as a 10-10-10 or 20-20-20 formula, diluted to half strength. Apply the fertilizer every 2-3 weeks during the growing season. Alternatively, you can use organic fertilizers, such as compost tea or fish emulsion. Avoid over-fertilizing, as this can lead to excessive foliage growth at the expense of bulb development.
How do I prevent pests and diseases when growing onions in plastic bottles?
To prevent pests and diseases, start with healthy onion sets and use a well-draining potting mix. Regularly inspect your plants for signs of pests, such as aphids, thrips, or onion maggots. If you find any pests, you can try spraying them with insecticidal soap or neem oil. To prevent fungal diseases, avoid overwatering and ensure good air circulation around the plants. You can also apply a fungicide if necessary. Companion planting with marigolds or basil can help deter pests.
When are onions ready to harvest when grown in plastic bottles?
Onions are typically ready to harvest when the tops start to turn yellow and fall over. This usually happens about 90-120 days after planting. Gently pull the onions from the soil and allow them to dry in the sun for a few days before storing them. Store the onions in a cool, dry, and well-ventilated place.
Can I reuse the plastic bottles for growing onions again?
Yes, you can reuse the plastic bottles for growing onions again, but it’s important to thoroughly clean them before each use. Wash the bottles with soap and water to remove any soil or debris. You can also disinfect them with a diluted bleach solution (1 part bleach to 9 parts water) to kill any pathogens. Rinse the bottles thoroughly with clean water before using them again.
What are some variations I can try when growing onions in plastic bottles?
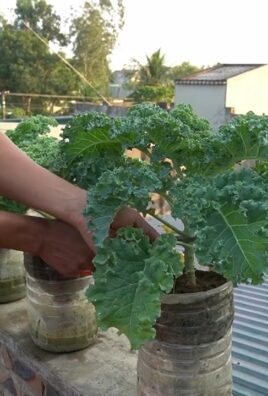
Besides growing different onion varieties, you can experiment with different bottle sizes and shapes. You can also try creating vertical gardens by stacking multiple bottles on top of each other. Another variation is to add a self-watering system to the bottles by inserting a wick that draws water from a reservoir at the bottom. You can also try growing other vegetables or herbs in the same bottle as the onions, such as lettuce, spinach, or parsley. The possibilities are endless!
Leave a Comment