

Growing peas indoors might sound like a whimsical dream, reserved for those with sprawling greenhouses, but I’m here to tell you it’s totally achievable, even if your “garden” is currently a windowsill! Forget those pricey supermarket peas that lack that fresh, sweet snap. Imagine plucking plump, juicy peas right from your own indoor vine – that’s the magic we’re unlocking today!
For centuries, peas have been a staple in diets across the globe, with evidence suggesting their cultivation dates back to the Neolithic era. From ancient civilizations to modern-day kitchens, these little green gems have provided essential nutrients and a burst of flavor. While traditionally grown outdoors, the desire for fresh produce year-round has fueled the rise of indoor gardening, and growing peas indoors is a fantastic way to extend your harvest and enjoy homegrown goodness regardless of the season.
Why should you bother with this DIY project? Well, for starters, it’s incredibly rewarding! There’s something deeply satisfying about nurturing a plant from seed to harvest, especially when it provides you with delicious, healthy food. Plus, indoor gardening offers a fantastic escape from the everyday hustle, a chance to connect with nature, and a way to brighten up your living space. And let’s be honest, who wouldn’t want to impress their friends and family with their indoor pea-growing prowess? So, grab your seeds, some soil, and let’s get started on this exciting journey!
Growing Peas Indoors: Your DIY Guide for a Bountiful Harvest
Hello dear garden friends! Are you tired of dreary winter days and longing for some fresh greenery? Then I have just the thing for you: growing peas indoors! Yes, you heard that right. With a few simple tips and tricks, you can enjoy a rich harvest even during the cold season. I’ll show you how!
What You Need: The Materials List
Before we get started, we’ll need the right materials, of course. Don’t worry, you probably have most of them at home already.
- Pea seeds: It’s best to choose varieties that are suitable for growing in pots, such as dwarf peas or shelling peas. I personally really like the ‘Little Marvel’ variety.
- Pots or planters: They should be at least 15 cm (6 inches) deep so the pea roots have enough space.
- Seed starting mix: A good seed starting mix is important for healthy growth. you can buy it at a garden center or mix it yourself.
- Support/Trellis: Peas are climbing plants and need a support to hold onto. Bamboo stakes, small trellises, or even twigs from the garden work well.
- Spray bottle: For moistening the soil.
- Watering can: For watering the plants.
- A bright windowsill or a grow light: Peas need a lot of light to grow well.
- Optional: Liquid fertilizer for vegetables.
The Preparation: Everything for a Good Start
Before we start planting, good preparation is key.
- Prepare the seeds: To speed up germination, you can soak the pea seeds in lukewarm water overnight. This softens the shell and makes sprouting easier.
- Prepare the pots: Fill the pots or planters with seed starting mix. Leave about 2-3 cm (1 inch) of space to the rim.
- Prepare the support: Insert the support into the soil before you plant the seeds. This way, you avoid damaging the roots later.
Sowing: How to Get the Peas in the Soil
Now let’s get down to it!
- Sow the seeds: Press small indentations into the soil with your finger, about 2-3 cm (1 inch) deep. Place 2-3 pea seeds in each hole. This increases the likelihood that at least one seed will germinate.
- Cover the seeds: Cover the seeds with soil and press down lightly.
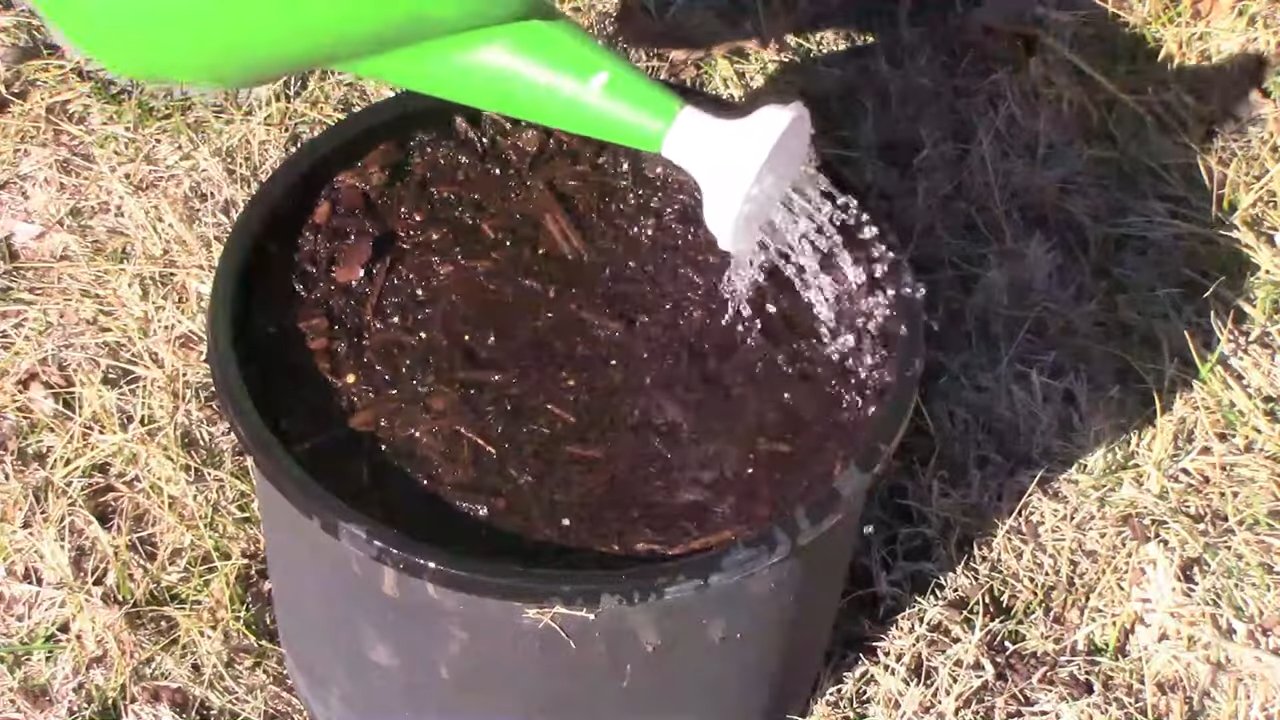
- Water them in: Gently water the soil with a spray bottle. The soil should be moist, but not wet.
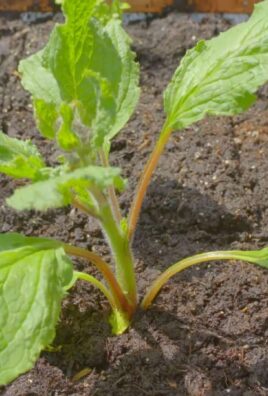
The Care: Keeping Your Peas Healthy and Happy
After sowing, proper care is crucial for a successful harvest.
- Watering: Keep the soil consistently moist, but avoid waterlogging. It’s best to water in the morning so the leaves can dry during the day.
- Light: Peas need a lot of light, at least 6-8 hours per day. Place the pots on a bright windowsill or use a grow light.
- Temperature: The ideal temperature for pea growth is between 15 and 20 degrees Celsius (59-68°F).
- Fertilizing: Once the plants are about 10 cm (4 inches) tall, you can feed them every two weeks with a liquid vegetable fertilizer. Follow the dosage instructions on the packaging.
- Support: Help the peas attach to the support. If necessary, tie them loosely with some twine.
- Pests: Watch out for pests like aphids or spider mites. If infested, you can treat the plants with a natural insecticide. I like to use a mixture of water and a little bit of mild soap.
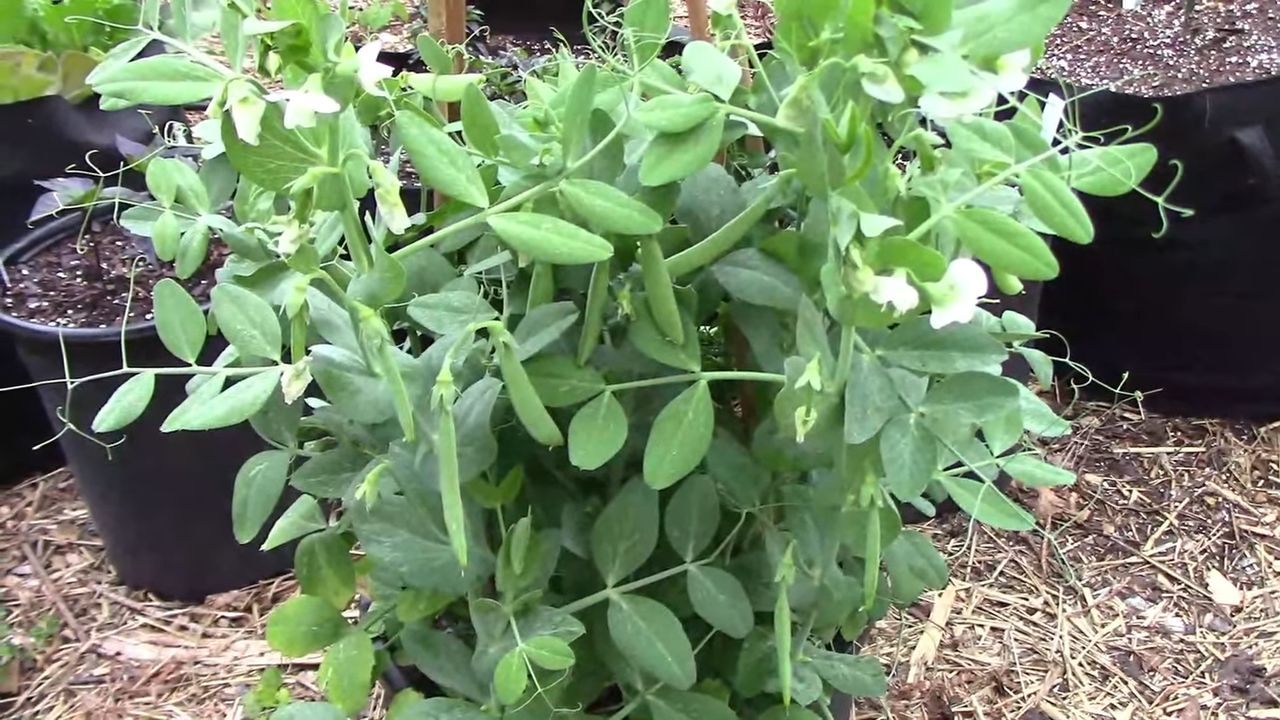
The Harvest: Fresh Peas at Last!
After about 60-70 days, you can harvest the first peas.
- Recognizing the right time: The peas are ripe when the pods are plump and open easily.
- Harvesting: Gently pick the peas from the plant. It’s best to harvest regularly so the plant continues to produce new pods.
Common Problems and Solutions
Problems can also arise when growing peas indoors. Here are some of the most common issues and how to solve them:
- The seeds don’t germinate: The seeds may have been too old or the soil too dry. Try again with fresh seeds and make sure to water sufficiently.
- The plants are growing slowly: The plants may not be getting enough light or nutrients. Move them to a brighter location and fertilize them regularly.
- The leaves are turning yellow: The soil might be too wet, or the plants may have a nutrient deficiency. Reduce watering and fertilize the plants.
- Pests: If you have a pest infestation, you can treat the plants with a natural insecticide.
Extra Tips for an Even Better Harvest
Here are a few additional tips that can help you achieve an even better harvest:
- Variety selection: Choose varieties that have been specifically bred for growing in pots. These varieties are usually more compact and bear fruit earlier.
- Crop rotation: Don’t grow peas in the same spot every year. Crop rotation helps to prevent diseases and pests.
- Mulching: Mulch the soil around the pea plants with straw or grass clippings. This keeps the soil moist and suppresses weeds.
- Regular harvesting: Harvest the peas regularly, even if you can’t eat them all right away. This encourages the formation of new pods.
- Peas as green manure: After the harvest, you can use the pea plants as green manure. Cut the plants down and leave the roots in the soil. They will decompose and enrich the soil with nitrogen.
Conclusion: Growing Peas Indoors is Easier Than You Think!
I hope this guide has encouraged you to try growing peas indoors yourself. It’s really easier than you might think, and the fresh peas taste simply unbeatable. Give it a try and let me know how it went! Happy gardening
Conclusion
So, there you have it! Growing peas indoors is not only achievable, but it’s also a rewarding experience that brings a touch of spring into your home, regardless of the season. We’ve walked through the steps, from selecting the right pea variety to providing the optimal growing conditions. But why should you actually try this?
Firstly, consider the sheer convenience. Imagine fresh, crisp pea shoots or plump, sweet pea pods readily available just steps from your kitchen. No more relying on grocery store produce that may have traveled miles and lost its peak flavor. You control the entire process, ensuring the highest quality and freshness.
Secondly, indoor pea growing offers a fantastic solution for those with limited outdoor space. Whether you live in an apartment, condo, or simply have a small yard, you can still enjoy the satisfaction of harvesting your own vegetables. It’s a perfect way to connect with nature and cultivate a green thumb, even within the confines of your home.
Thirdly, growing peas indoors extends the growing season. You’re no longer limited by the weather or the traditional planting calendar. You can start your pea crop whenever you desire, enjoying a continuous supply of fresh peas throughout the year. This is particularly beneficial for those living in regions with short growing seasons.
But the benefits don’t stop there. Indoor pea growing is also a sustainable and eco-friendly practice. By growing your own food, you reduce your carbon footprint associated with transportation and packaging. You also have the opportunity to use organic growing methods, avoiding harmful pesticides and herbicides.
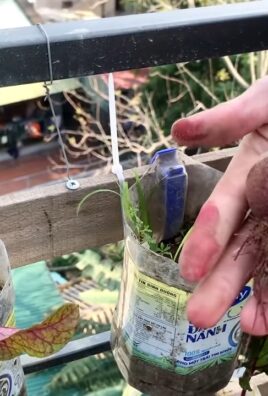
Now, let’s talk about variations. While we’ve focused on growing shelling peas, you can also experiment with snow peas or snap peas. Each variety offers a unique flavor and texture, adding diversity to your indoor garden. You can also try different growing mediums, such as coco coir or perlite, to see what works best for you. Consider using a trellis or support system to encourage vertical growth and maximize space utilization. You can even get creative with your containers, using recycled materials or decorative pots to add a personal touch to your indoor garden.
Don’t be afraid to experiment with different lighting conditions. While a sunny windowsill is ideal, you can also supplement with grow lights to ensure your peas receive adequate light, especially during the darker months. Adjust the watering frequency based on the humidity levels in your home. Remember, consistency is key to successful indoor pea growing.
We understand that you might have some questions, and that’s perfectly normal. Growing anything new can be a bit daunting at first, but we’re here to help. We’ve compiled a list of frequently asked questions to address any concerns you may have.
So, what are you waiting for? Embrace the challenge and embark on your indoor pea growing adventure today! We’re confident that you’ll be amazed by the results. And most importantly, don’t forget to share your experience with us! We’d love to hear about your successes, challenges, and any tips you’ve discovered along the way. Share your photos and stories on social media using [Your Hashtag Here] and let’s inspire others to discover the joy of growing peas indoors. Let’s cultivate a community of indoor gardeners and spread the word about this fantastic and rewarding DIY trick!
Frequently Asked Questions (FAQ)
What are the best pea varieties to grow indoors?
While many pea varieties can be grown indoors, bush varieties tend to be more compact and better suited for container gardening. Some excellent choices include ‘Little Marvel,’ ‘Sugar Ann’ (snap pea), ‘Snowbird’ (snow pea), and ‘Alaska.’ These varieties are known for their early maturity and relatively small size, making them ideal for indoor spaces. Consider the available space and lighting when selecting your pea variety. Taller varieties may require more support and stronger lighting.
How much light do indoor peas need?
Peas require at least 6-8 hours of direct sunlight per day to thrive. A south-facing windowsill is often the best location. However, if you don’t have access to sufficient natural light, you can supplement with grow lights. Fluorescent or LED grow lights are excellent options. Position the lights a few inches above the plants and keep them on for 12-16 hours per day. Monitor your plants closely and adjust the lighting as needed. Signs of insufficient light include leggy growth and pale leaves.
What type of soil should I use for growing peas indoors?
Use a well-draining potting mix that is rich in organic matter. Avoid using garden soil, as it can be too heavy and may contain pests or diseases. A good potting mix will provide adequate drainage and aeration, which are essential for healthy root development. You can also amend the potting mix with compost or other organic materials to improve its fertility. Ensure the container has drainage holes to prevent waterlogging.
How often should I water my indoor pea plants?
Water your pea plants regularly, keeping the soil consistently moist but not waterlogged. Check the soil moisture daily and water when the top inch feels dry to the touch. Avoid overwatering, as this can lead to root rot. The frequency of watering will depend on the temperature, humidity, and the size of the container. During warmer months, you may need to water more frequently.
Do I need to fertilize my indoor pea plants?
Peas are relatively light feeders, but they will benefit from occasional fertilization. Use a balanced liquid fertilizer diluted to half strength every 2-3 weeks. Avoid over-fertilizing, as this can lead to excessive foliage growth and reduced pod production. You can also amend the soil with compost or other organic fertilizers to provide a slow-release source of nutrients.
How do I support my indoor pea plants?
Peas are climbing plants and will need some form of support to grow properly. You can use a trellis, stakes, or even a simple string system. Install the support system when the plants are young to encourage them to climb. As the plants grow, gently guide the vines onto the support. This will help to keep the plants upright and prevent them from becoming tangled.
When can I harvest my indoor peas?
The harvest time will depend on the pea variety and the growing conditions. Shelling peas are typically ready to harvest when the pods are plump and filled with peas. Snow peas are harvested when the pods are flat and tender. Snap peas are harvested when the pods are plump but still crisp. Harvest regularly to encourage continued production.
What are some common problems with growing peas indoors?
Some common problems include aphids, powdery mildew, and root rot. Aphids can be controlled with insecticidal soap or neem oil. Powdery mildew can be prevented by providing good air circulation and avoiding overhead watering. Root rot is caused by overwatering, so be sure to water only when the soil is dry to the touch. Regularly inspect your plants for signs of pests or diseases and take action promptly.
Can I grow peas indoors year-round?
Yes, you can grow peas indoors year-round, provided you have adequate light and temperature control. You may need to adjust the growing conditions based on the season. During the winter months, you may need to supplement with grow lights and provide extra warmth. During the summer months, you may need to provide shade to prevent the plants from overheating.
How do I save seeds from my indoor pea plants?
To save seeds, allow the pea pods to dry completely on the plant. Once the pods are dry and brittle, remove the seeds and store them in an airtight container in a cool, dry place. Be sure to label the seeds with the variety and date. You can then use these seeds to grow more peas indoors in the future. Note that hybrid varieties may not produce true-to-type seeds.
Leave a Comment