

Floor Cleaning Shortcuts: Transform Your Cleaning Routine!
Let’s be honest, cleaning floors can feel like a never-ending chore. But what if I told you there are simple, effective floor cleaning shortcuts that can dramatically reduce your cleaning time and effort, leaving your floors sparkling without the back-breaking work? This isn’t just about saving time; it’s about reclaiming precious moments in your day to spend on things you actually enjoy.
For centuries, people have sought efficient ways to maintain clean homes. From the simple brooms of our ancestors to the advanced vacuum cleaners of today, the quest for cleaner floors has driven innovation. But even with modern technology, many of us still struggle with the sheer amount of time floor cleaning consumes. That’s why I’m so excited to share these floor cleaning shortcuts with you – proven techniques and DIY solutions that I’ve personally tested and refined over the years.
Why You Need These Floor Cleaning Shortcuts
In today’s busy world, we all crave efficiency. These floor cleaning shortcuts aren’t just about saving time; they’re about simplifying your life. Imagine effortlessly removing stubborn stains, achieving a streak-free shine, and spending less time scrubbing and more time relaxing. These DIY solutions are cost-effective, environmentally friendly, and surprisingly easy to implement, making them perfect for busy individuals and families alike. Ready to transform your cleaning routine? Let’s dive in!
My Super-Effective Floor Cleaning Shortcuts
I’m always looking for ways to make cleaning easier, and my floors are no exception. Between kids, pets, and just general life, they take a beating! So I’ve developed a few shortcuts that really work. These aren’t about skipping cleaning altogether, but about making the process faster and more efficient. Let’s dive in!
Section 1: Preparation is Key
- Clear the clutter: Before you even think about cleaning, pick up anything that’s on the floor. Toys, shoes, stray socks – get it all out of the way. This will make cleaning so much easier and faster.
- Gather your supplies: Having everything you need within reach saves time and prevents unnecessary trips back and forth. My go-to supplies include:
- A good quality mop and bucket (I love microfiber mops!)
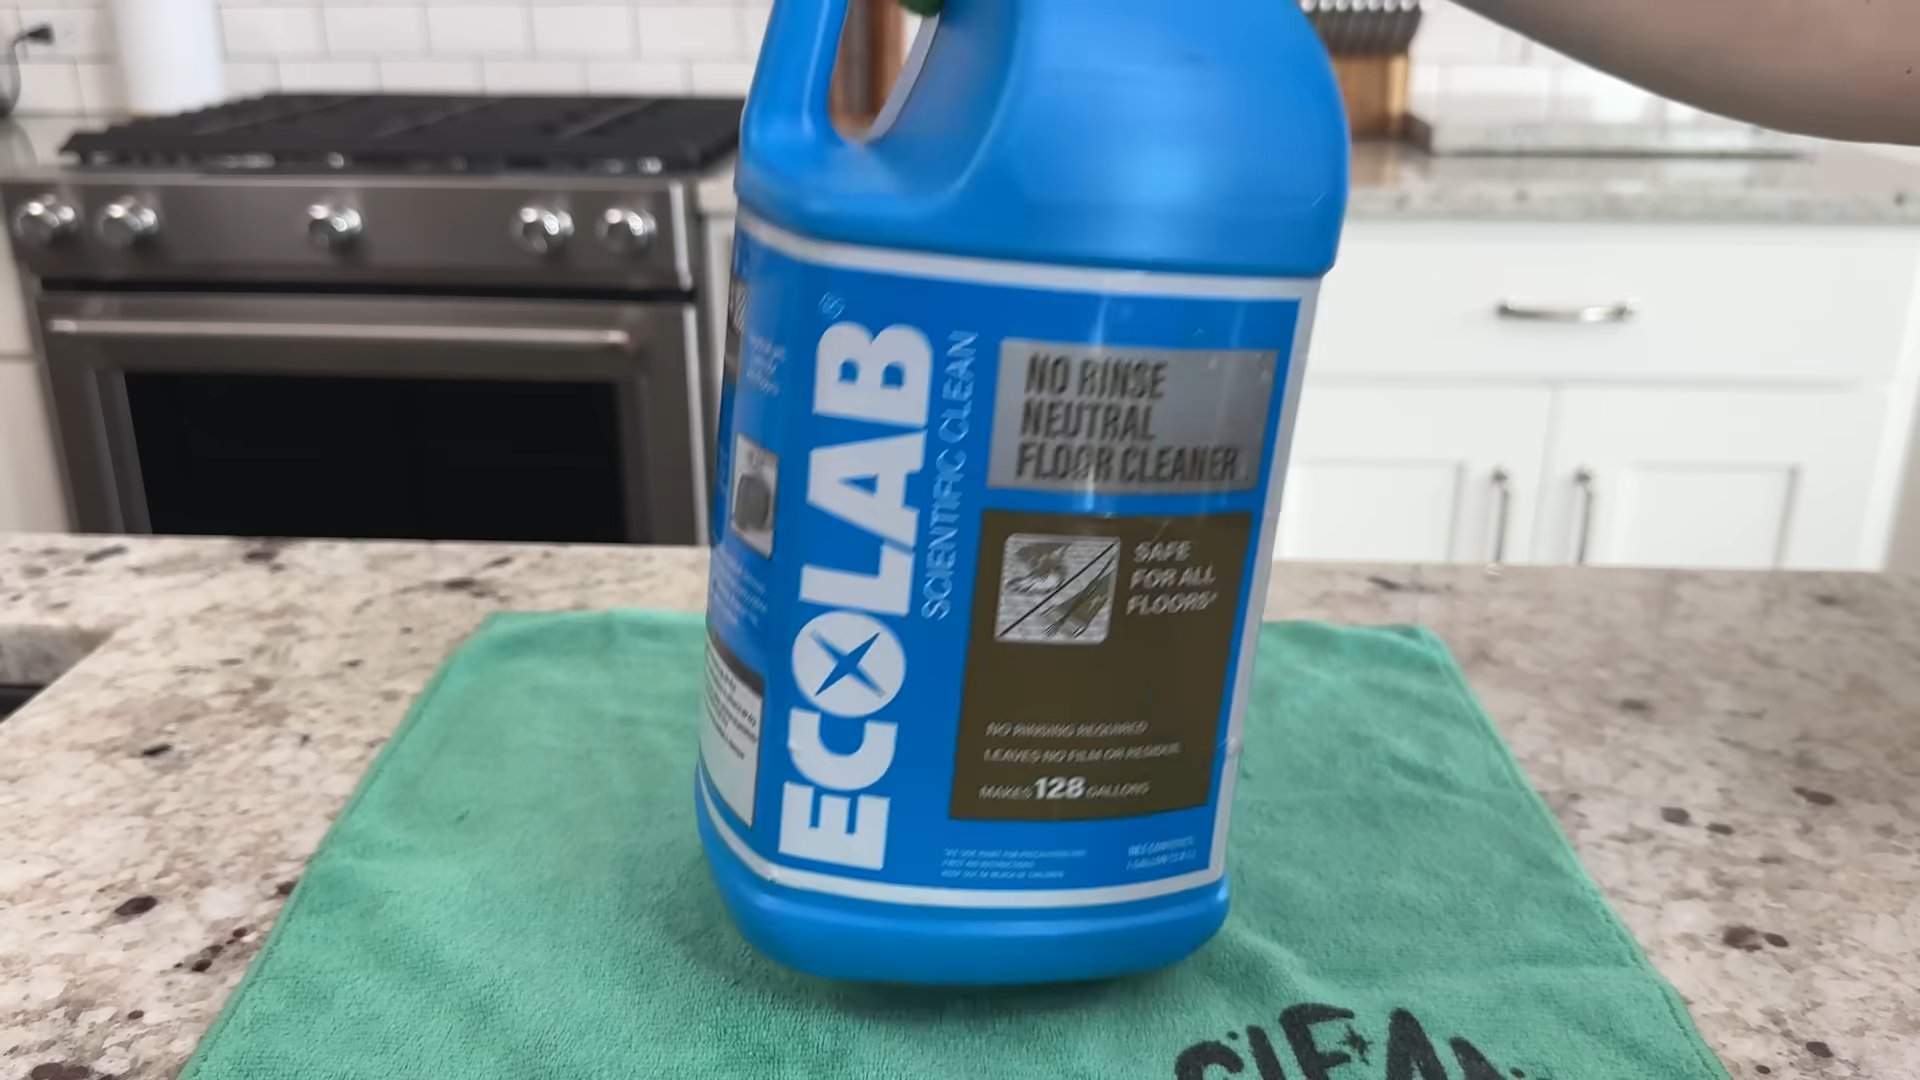
- Your chosen floor cleaner (I’ll share my favorite recipes later!)
- A spray bottle
- A scrub brush (for stubborn stains)
- Clean cloths or paper towels
- Rubber gloves (to protect your hands)
- Pre-treat stains: Don’t wait until you’re mopping to deal with spills or sticky spots. Address them immediately. A quick wipe-down with a damp cloth often prevents them from setting.
Section 2: The Cleaning Process
- Sweep or vacuum: This is crucial! You don’t want to just spread dirt around while mopping. A quick sweep or vacuum removes loose dirt, dust, and debris, making your mopping much more effective.
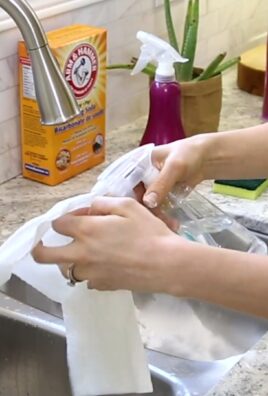
- Mix your cleaning solution: I usually make my own floor cleaner because it’s cheaper and I can control the ingredients. Here are a few of my favorite recipes:
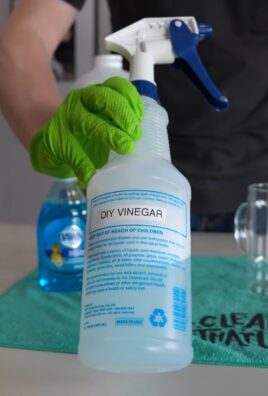
- Basic Vinegar Solution: 1/2 cup white vinegar, 1 gallon warm water. This is great for most floors and is naturally antibacterial.
- Lemon-infused Cleaner: 1/4 cup lemon juice, 1/4 cup white vinegar, 1 gallon warm water. This leaves a fresh, clean scent.
- Baking Soda Powerhouse: 1/4 cup baking soda, 1/4 cup white vinegar, 1 gallon warm water. The baking soda helps to deodorize and scrub.
Important Note: Always test your cleaning solution in an inconspicuous area first to ensure it doesn’t damage your floor finish.
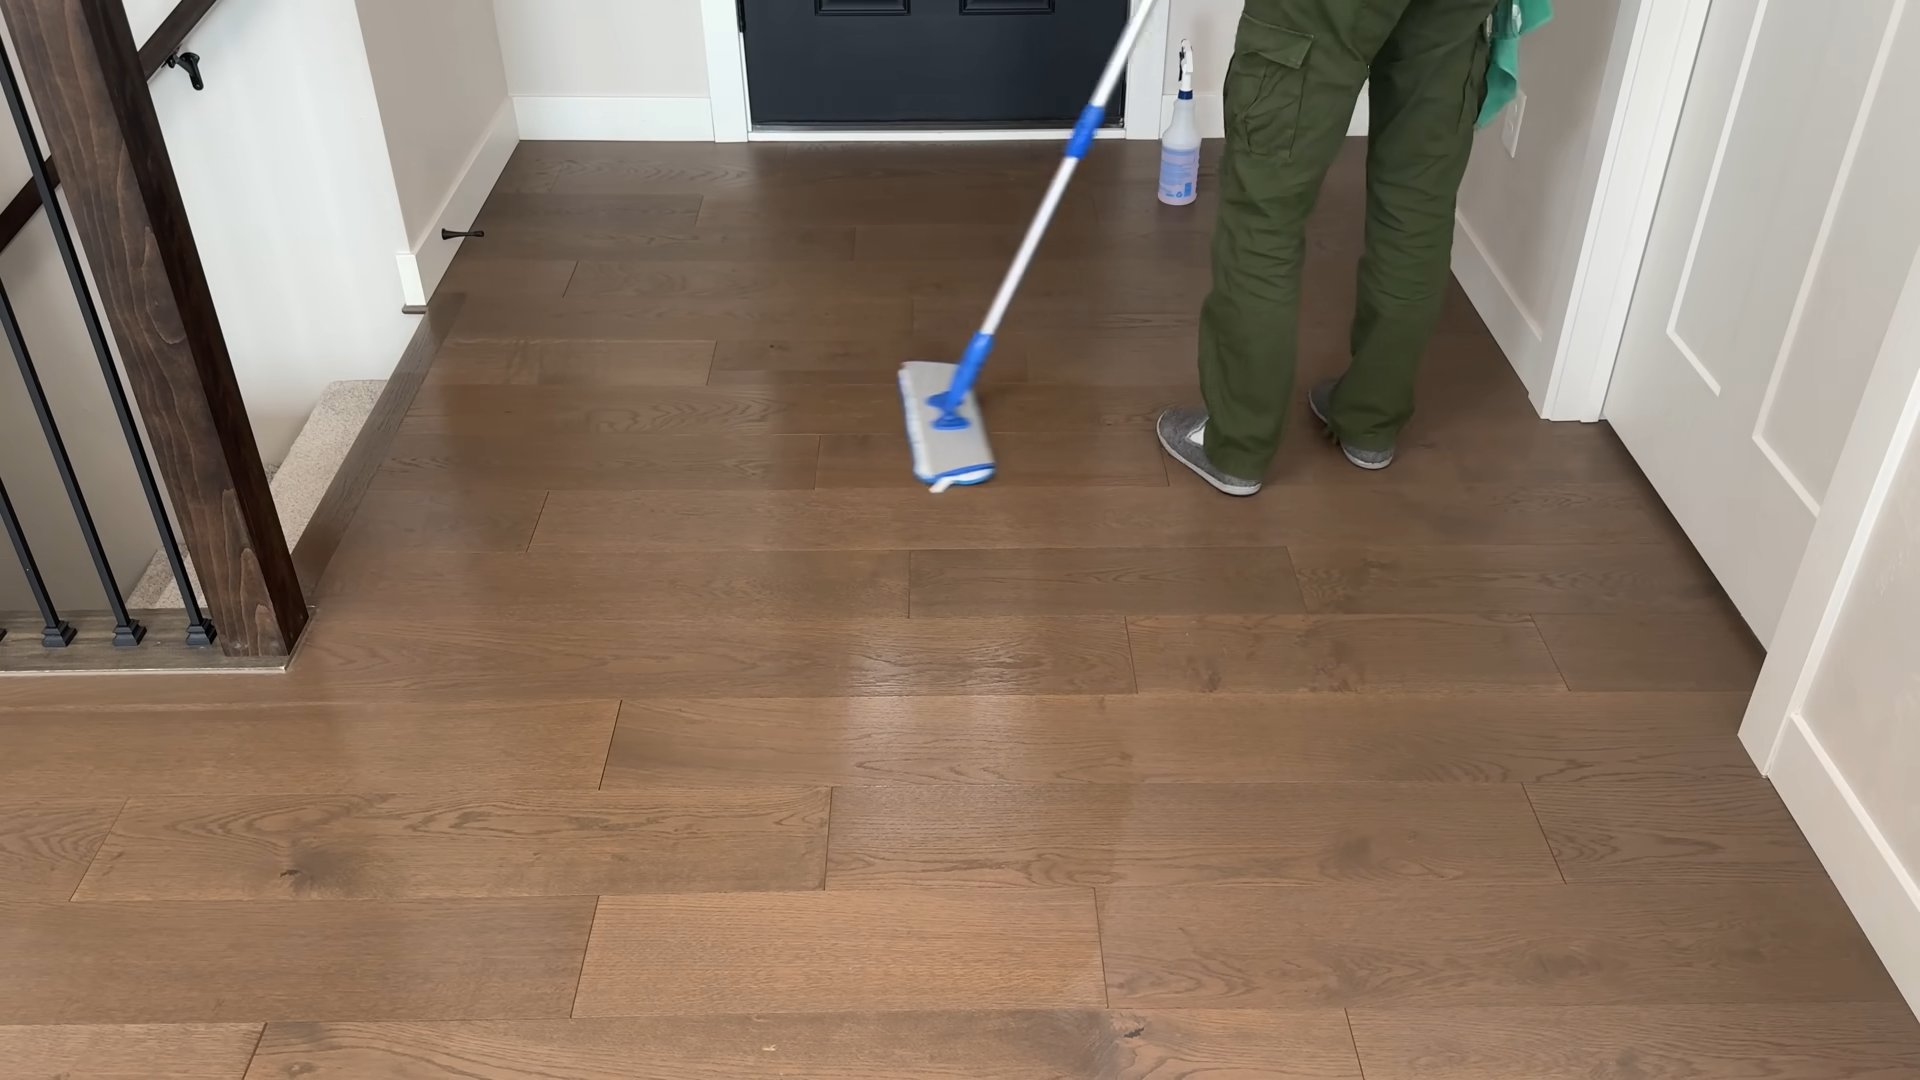
- Mop in sections: Don’t try to mop your entire floor at once. Work in smaller, manageable sections, overlapping each stroke to ensure complete coverage. This prevents streaks and ensures thorough cleaning.
- Rinse your mop frequently: As you mop, rinse your mop head frequently in clean water to prevent spreading dirt. Change the water in your bucket as needed. Dirty water will just spread grime around your floor.
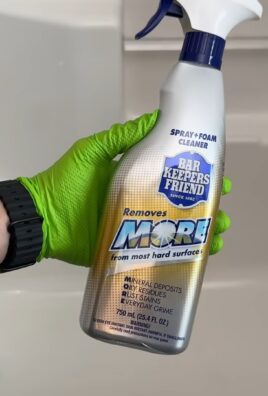
- Tackle stubborn stains: If you encounter stubborn stains, use your scrub brush and a bit of extra cleaning solution to gently scrub the area. Be careful not to scrub too hard, as this could damage your floor.
- Dry the floor: Once you’ve finished mopping, allow the floor to air dry completely. If you’re short on time, you can use a clean, dry cloth or a squeegee to speed up the drying process. This prevents slippery floors and helps to prevent water damage.
Section 3: Specific Floor Types
Different floor types require slightly different cleaning methods. Here are a few tips for common floor materials:
- Hardwood Floors: Avoid excessive water. Use a damp, not soaking wet, mop. Always use a wood-specific cleaner to avoid damaging the finish.
- Tile Floors: Tile is generally easy to clean. You can use a stronger cleaning solution if needed, but always rinse thoroughly to prevent residue buildup.
- Laminate Floors: Similar to hardwood, avoid excessive water. Use a damp mop and a laminate-safe cleaner. Never use abrasive cleaners or scrub brushes.
- Vinyl Floors: Vinyl is very durable and can withstand a bit more scrubbing. However, avoid harsh chemicals that could damage the surface.
Section 4: Maintaining Clean Floors
Cleaning is only half the battle! Here are some tips to keep your floors looking their best between deep cleans:
- Regular sweeping or vacuuming: This is the single most important thing you can do to prevent dirt and grime buildup. Aim for daily or every-other-day cleaning, depending on your household activity level.
- Spot cleaning: Address spills and stains immediately to prevent them from setting. A quick wipe-down often prevents the need for a full floor cleaning.
- Use doormats: Place doormats inside and outside your entrances to trap dirt and debris before it gets tracked onto your floors.
- Remove shoes: Encourage family members and guests to remove their shoes before entering your home. This significantly reduces the amount of dirt brought in.
- Protect your floors: Use furniture pads under heavy furniture to prevent scratches and dents. Use rugs in high-traffic areas to protect your floors from wear and tear.
Section 5: Troubleshooting
Even with the best cleaning techniques, sometimes you might encounter problems. Here are some solutions:
- Streaky floors: This often happens when you don’t rinse your mop frequently enough or when you use too much cleaning solution. Try using less cleaner and rinsing your mop more often.
- Sticky residue: This could be due to using too much cleaning solution or not rinsing thoroughly. Try using a less concentrated solution and rinsing more thoroughly.
- Scuff marks: These can often be removed with a damp cloth and a bit of gentle scrubbing. For stubborn scuffs, you may need a specialized cleaner.
Remember, consistency is key! By following these tips and incorporating them into your regular cleaning routine, you can keep your floors sparkling clean without spending hours scrubbing!
Conclusion
So there you have it! Our collection of floor cleaning shortcuts offers a powerful arsenal against dirt, grime, and everyday messes. From tackling sticky spills with surprising ease to banishing stubborn scuff marks, these DIY tricks are designed to save you time, effort, and money. This isn’t just about cleaning; it’s about reclaiming your precious time and energy. By incorporating these simple yet effective methods into your cleaning routine, you’ll not only achieve sparkling clean floors but also experience a sense of accomplishment and satisfaction. The feeling of a freshly cleaned floor is undeniably rewarding, and with these shortcuts, achieving that feeling is easier than ever.
The beauty of these Floor Cleaning Shortcuts lies in their adaptability. Feel free to experiment with different combinations of ingredients based on your floor type and the specific cleaning challenge. For example, if you have particularly stubborn stains on your tile floors, you might want to increase the dwell time of your baking soda paste. Similarly, if you’re dealing with a large area, consider using a mop with a microfiber head for optimal efficiency. For those with sensitive skin, always opt for natural cleaning agents and wear gloves during the cleaning process. Don’t be afraid to get creative and find what works best for you and your home.
Beyond the specific recipes, the overarching message here is empowerment. You don’t need expensive, harsh chemicals to maintain sparkling clean floors. With a little ingenuity and the right tools, you can achieve professional-level results using readily available household items. This is about taking control of your cleaning routine and making it work for you, not the other way around. Embrace the simplicity, embrace the effectiveness, and embrace the satisfaction of a job well done.
We strongly encourage you to try these Floor Cleaning Shortcuts and share your experiences with us! Let us know which tricks worked best for you, what variations you experimented with, and any additional tips you’ve discovered along the way. Your feedback will not only help us improve but also inspire other readers to embark on their own journey towards cleaner, more efficient floor cleaning. Join the conversation and let’s build a community of savvy, clean-home enthusiasts!
Frequently Asked Questions
What types of floors are these shortcuts suitable for?
Most of these shortcuts are suitable for a variety of floor types, including hardwood, tile, laminate, and linoleum. However, it’s crucial to always test any cleaning solution on a small, inconspicuous area first to ensure it doesn’t damage the finish. Always refer to the manufacturer’s cleaning recommendations for your specific flooring material. For delicate surfaces like polished marble or certain types of hardwood, you might need to adjust the cleaning method or use a gentler approach.
How often should I use these floor cleaning shortcuts?
The frequency of cleaning depends on your lifestyle and the level of foot traffic in your home. For high-traffic areas, you might need to spot-clean daily and perform a more thorough cleaning weekly. Low-traffic areas might only require weekly or bi-weekly cleaning. Regular sweeping or vacuuming is always recommended to prevent dirt buildup and reduce the need for more intensive cleaning.
Are these shortcuts safe for pets and children?
Most of the ingredients used in these shortcuts are generally considered safe for pets and children, provided they are used as directed and the area is allowed to dry completely before allowing pets or children back into the area. However, it’s always advisable to keep cleaning solutions out of reach of children and pets. If you have concerns about specific ingredients, opt for natural, pet-friendly alternatives. Thorough rinsing is also crucial to remove any residue that could be harmful.
What should I do if I have a particularly stubborn stain?
For stubborn stains, you might need to increase the dwell time of the cleaning solution or apply a more concentrated mixture. For example, a paste of baking soda and water can be left on a stain for a longer period before scrubbing. If the stain persists, you might need to consider using a specialized stain remover appropriate for your floor type. Always test any new product on an inconspicuous area first.
Can I use these shortcuts on all types of dirt and grime?
While these shortcuts are effective for many common dirt and grime types, they might not be suitable for all situations. For example, heavily ingrained grease or oil stains might require a stronger cleaning agent. Similarly, certain types of stains, such as ink or paint, might require specialized stain removers. These shortcuts are best suited for everyday cleaning and maintenance, addressing common dirt, dust, and spills.
What if I don’t have all the ingredients listed?
The beauty of these shortcuts is their flexibility. If you don’t have a specific ingredient, you can often substitute it with a similar alternative. For example, white vinegar can often be substituted for lemon juice, and baking soda can sometimes be replaced with washing soda (though always check for compatibility with your floor type). The key is to maintain the basic cleaning principles of using a cleaning agent, scrubbing, and rinsing thoroughly.
Leave a Comment