

Clean Shower Routine: Your Guide to a Sparkling Clean Shower
Let’s be honest, cleaning the shower isn’t anyone’s favorite chore. It’s often a grimy, time-consuming task that many of us put off until it’s absolutely unavoidable. But what if I told you there’s a way to make this dreaded chore significantly easier and more efficient? This article is all about establishing a simple yet effective Clean Shower Routine, transforming your shower cleaning from a monumental task into a quick and easy part of your regular cleaning schedule.
For centuries, maintaining a clean and hygienic bathing space has been crucial across various cultures. From the ancient Roman baths to the modern shower, the importance of cleanliness hasn’t changed. However, the methods and products available have evolved dramatically. This is where a well-defined Clean Shower Routine comes in handy. It’s not just about sparkling surfaces; it’s about preventing mildew buildup, avoiding costly repairs, and ultimately, creating a more relaxing and enjoyable showering experience.
Why You Need a Clean Shower Routine
A consistent cleaning routine is essential for several reasons. Firstly, it prevents the accumulation of soap scum, mildew, and hard water stains, which can be difficult to remove once they’ve set in. Secondly, a clean shower is a healthier shower, reducing the risk of bacterial growth and respiratory issues. Finally, a sparkling clean shower simply feels better! It’s a small act of self-care that can significantly improve your daily routine.
In this article, I’ll share my tried-and-true tips and tricks for maintaining a sparkling clean shower with minimal effort. Get ready to discover easy DIY solutions and effective strategies that will revolutionize your shower cleaning and leave you with a shower you’ll actually enjoy cleaning!
My Super-Effective Shower Cleaning Routine (DIY Style!)
I used to dread cleaning my shower. The grime, the soap scum, the general ick factor… it was enough to make me want to avoid showering altogether! But then I discovered a few simple tricks and now, cleaning my shower is a breeze. And the best part? It’s all DIY!
Gathering Your Supplies
- Spray bottle
- White vinegar
- Baking soda
- Dish soap (I prefer a plant-based one)
- Microfiber cloths (or old towels)
- Rubber gloves (optional, but highly recommended!)
- Scrub brush (a stiff-bristled one works best)
- Squeegee
That’s it! No expensive, harsh chemicals needed. Let’s get started.
Phase 1: Prepping the Shower
1. Clear the decks: Remove any shampoo bottles, soap dishes, bath mats, and anything else that might be in the way. This gives you a clear workspace.
2. Rinse down the shower: Give the shower walls and floor a quick rinse with warm water. This helps loosen any loose dirt and debris. This step makes the cleaning process much easier.
3. Protect your surfaces: If you have any sensitive surfaces in your shower (like certain types of grout), you might want to test your cleaning solution on a small, inconspicuous area first. Better safe than sorry!
Phase 2: Making Your Cleaning Solution
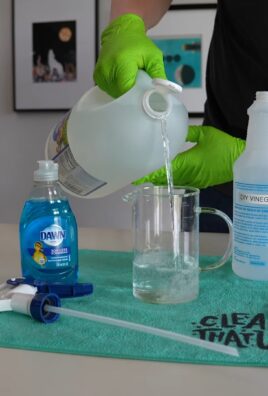
1. Vinegar Power: Fill your spray bottle about halfway with white vinegar. Vinegar is a natural cleaner and disinfectant, and it’s amazing at cutting through soap scum.
2. Dish Soap Boost: Add a squirt or two of dish soap to the spray bottle. The dish soap helps to emulsify the grime, making it easier to wipe away.
3. Top it Off: Fill the rest of the spray bottle with water. Give it a good shake to mix everything together.
4. Baking Soda Paste (Optional but recommended): In a separate bowl, mix baking soda with a little bit of water to create a paste. This paste is fantastic for scrubbing away stubborn stains.
Phase 3: Cleaning the Shower
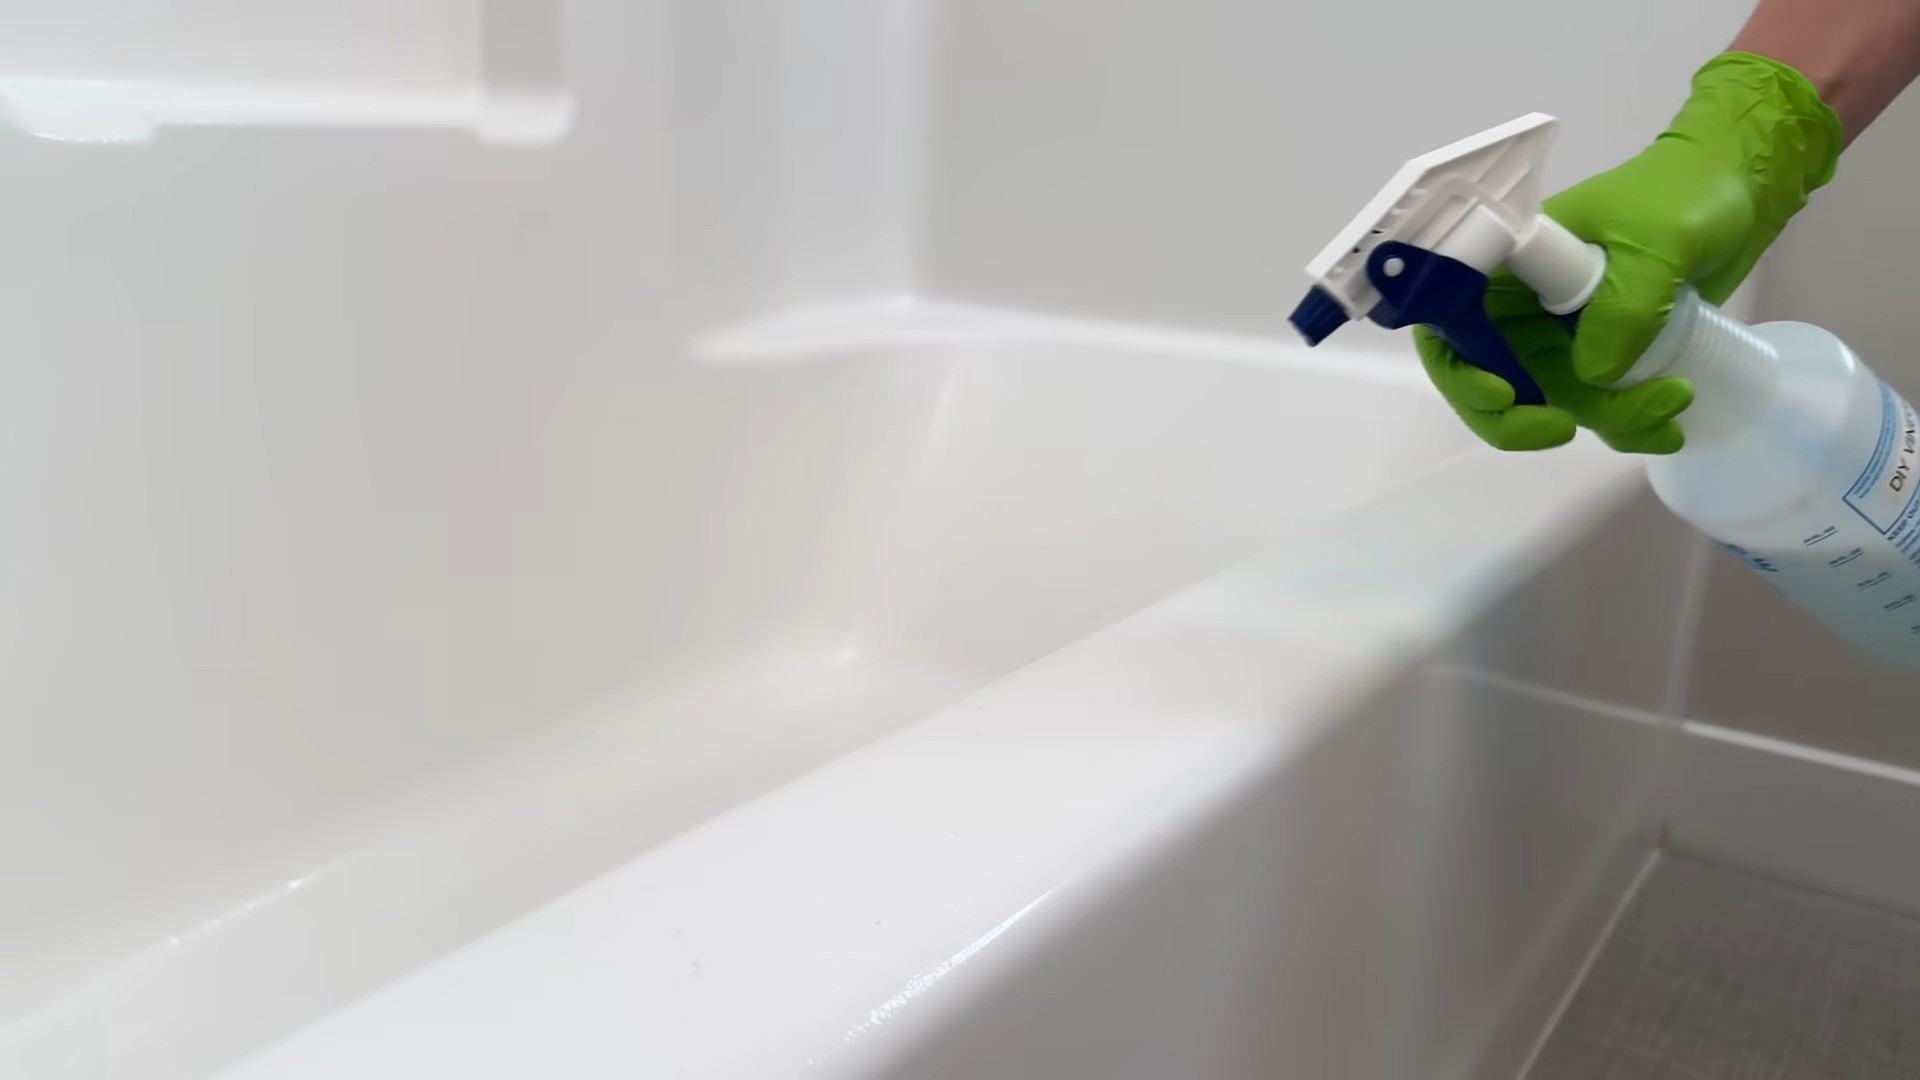
1. Spray it down: Generously spray your vinegar and dish soap solution onto all shower surfaces – walls, floor, showerhead, etc. Let it sit for about 15-20 minutes. The longer it sits, the better it works! Seriously, let it sit!
2. Scrub-a-dub-dub: Using your scrub brush, start scrubbing! Focus on areas with heavy soap scum buildup. For really stubborn stains, apply the baking soda paste and scrub vigorously.
3. Pay attention to details: Don’t forget to clean the showerhead, the faucet handles, and the shower door tracks. These areas often get neglected, but they can accumulate a lot of grime.
4. Rinse thoroughly: Once you’ve scrubbed everything, rinse the entire shower thoroughly with warm water. Make sure to remove all traces of the cleaning solution.
5. Squeegee Time: Use your squeegee to wipe down the shower walls and door. This prevents water spots and helps keep your shower looking sparkling clean.
Phase 4: Final Touches and Maintenance
1. Dry everything: Use a clean microfiber cloth to dry any remaining water droplets. This will prevent water spots and mildew growth.
2. Replace items: Put back your shampoo bottles, soap dishes, and other items.
3. Regular maintenance: To keep your shower sparkling clean, try to wipe down the walls and floor with a squeegee after each shower. This simple step will significantly reduce the amount of cleaning you need to do in the future. Trust me, it’s a game-changer!
4. Deep clean less often: By following this regular maintenance routine, you’ll only need to do a deep clean like this every few weeks, or even less frequently, depending on your usage.
Troubleshooting
Persistent Soap Scum:
If you’re still struggling with persistent soap scum, you might need to increase the dwell time of the cleaning solution (let it sit longer). You could also try using a stronger concentration of vinegar or adding a bit more dish soap.
Mildew:
For mildew, a solution of bleach and water (always follow the bleach manufacturer’s instructions carefully) can be effective. However, remember to ventilate the area well and wear protective gear. Always test any bleach solution in an inconspicuous area first.
Hard Water Stains:
Hard water stains can be stubborn. Try soaking a cloth in white vinegar and placing it over the stains for a few hours before scrubbing. You can also try a commercial hard water stain remover, but always check for compatibility with your shower materials.
And there you have it! My foolproof, DIY shower cleaning routine. It’s easy, effective, and way better than battling stubborn grime with harsh chemicals. Now go forth and conquer your shower cleaning!
Conclusion
This DIY clean shower routine isn’t just about sparkling surfaces; it’s about reclaiming your time and creating a healthier bathroom environment. By harnessing the power of readily available, natural ingredients, you’ve learned how to effectively tackle soap scum, mildew, and hard water stains without resorting to harsh chemicals. This method is significantly more cost-effective than buying expensive commercial cleaners, and the results are undeniably impressive. The satisfaction of a truly clean shower, achieved with your own hands and simple ingredients, is unparalleled. This simple, effective, and eco-friendly approach to shower cleaning is a must-try for anyone looking to elevate their cleaning game and create a more refreshing and hygienic space. You’ll not only appreciate the sparkling cleanliness but also the peace of mind knowing you’re using safe, natural products in your home. This clean shower routine is a game-changer, transforming a typically tedious chore into a quick and satisfying task.
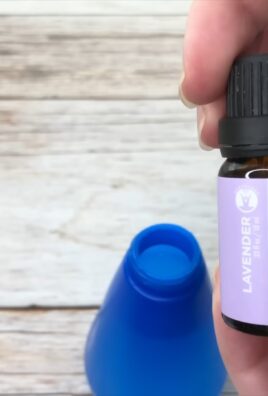
Beyond the basic routine, there are endless possibilities for customization. Experiment with different essential oils to add a pleasant aroma to your cleaning solution. Lavender, tea tree, and eucalyptus are all excellent choices with natural antimicrobial properties. If you have particularly stubborn mildew, consider increasing the soaking time or applying a paste of baking soda and water directly to affected areas before scrubbing. For those with sensitive skin, ensure you thoroughly rinse all surfaces after cleaning to remove any residual cleaning solution. You can also adjust the frequency of your cleaning based on your shower usage and water hardness. Some may find a weekly cleaning sufficient, while others might prefer a bi-weekly or even monthly approach. The key is to establish a routine that works best for you and maintains the cleanliness of your shower.
We strongly encourage you to try this DIY clean shower routine and share your experience! Let us know in the comments below how it worked for you, any variations you tried, and your favorite essential oil combinations. Your feedback will help inspire others to embrace this simple yet effective method. Join the growing community of people who are ditching harsh chemicals and embracing a more natural, sustainable approach to cleaning. Remember, a clean shower is not just about aesthetics; it’s about creating a healthier and more relaxing environment for you and your family. Embrace the power of this simple DIY trick and transform your shower cleaning routine today!
Frequently Asked Questions
What if I have very hard water?
Hard water can definitely make cleaning more challenging. If you have exceptionally hard water, you might need to increase the soaking time of your cleaning solution or repeat the process more frequently. Consider using a combination of white vinegar and baking soda for a more powerful cleaning action. A paste of baking soda applied directly to stubborn mineral deposits can also be very effective. Regularly cleaning your showerhead can also help prevent mineral buildup.
Can I use this method on all shower surfaces?
Generally, yes. This method is safe for most shower surfaces, including tile, glass, and fiberglass. However, always test a small, inconspicuous area first to ensure the cleaning solution doesn’t damage or discolor the surface. Avoid using abrasive scrubbers on delicate surfaces. For particularly sensitive materials, you might want to reduce the concentration of vinegar or opt for a gentler cleaning solution altogether.
How often should I clean my shower using this method?
The frequency of cleaning depends on your shower usage and water hardness. As a general guideline, weekly cleaning is often sufficient for most people. However, if you have hard water or use your shower frequently, you may need to clean it more often, perhaps bi-weekly or even every other week. Pay attention to the buildup of soap scum and mildew; this will be your best indicator of how often you need to clean.
Are there any safety precautions I should take?
Always wear gloves when handling cleaning solutions, especially vinegar, to protect your skin. Ensure adequate ventilation in your bathroom while cleaning to avoid inhaling strong fumes. Keep cleaning solutions out of reach of children and pets. If you have any allergies or sensitivities, test a small area first before applying the solution to the entire shower. Never mix bleach with vinegar, as this can create harmful gases.
What if I don’t have white vinegar?
While white vinegar is the most effective and readily available ingredient, you can experiment with other mild acids like lemon juice. However, keep in mind that lemon juice may not be as effective as vinegar in removing stubborn soap scum and mildew. You can also try using a commercial cleaner specifically designed for shower cleaning, but remember that this defeats the purpose of using a natural and DIY method.
Can I use this method on my showerhead?
Yes, you can clean your showerhead using this method. Fill a plastic bag with your cleaning solution (vinegar and water), secure it around the showerhead using a rubber band, and let it soak for at least 30 minutes, or even overnight for stubborn mineral deposits. After soaking, scrub the showerhead with a brush to remove any remaining buildup. Thoroughly rinse the showerhead to remove all traces of the cleaning solution. This is a great way to prevent mineral buildup and maintain optimal water flow.
What are some other natural cleaning alternatives?
Besides vinegar and baking soda, other natural cleaning agents you can explore include tea tree oil (for its antimicrobial properties), lemon juice (a mild acid), and castile soap (a plant-based soap). Remember to always test any new cleaning solution on a small, inconspicuous area first to ensure it doesn’t damage your shower surfaces. Experimentation is key to finding the perfect natural cleaning solution that works best for you and your shower. Remember to always prioritize safety and thorough rinsing after cleaning.
Leave a Comment