

Homemade Garlic
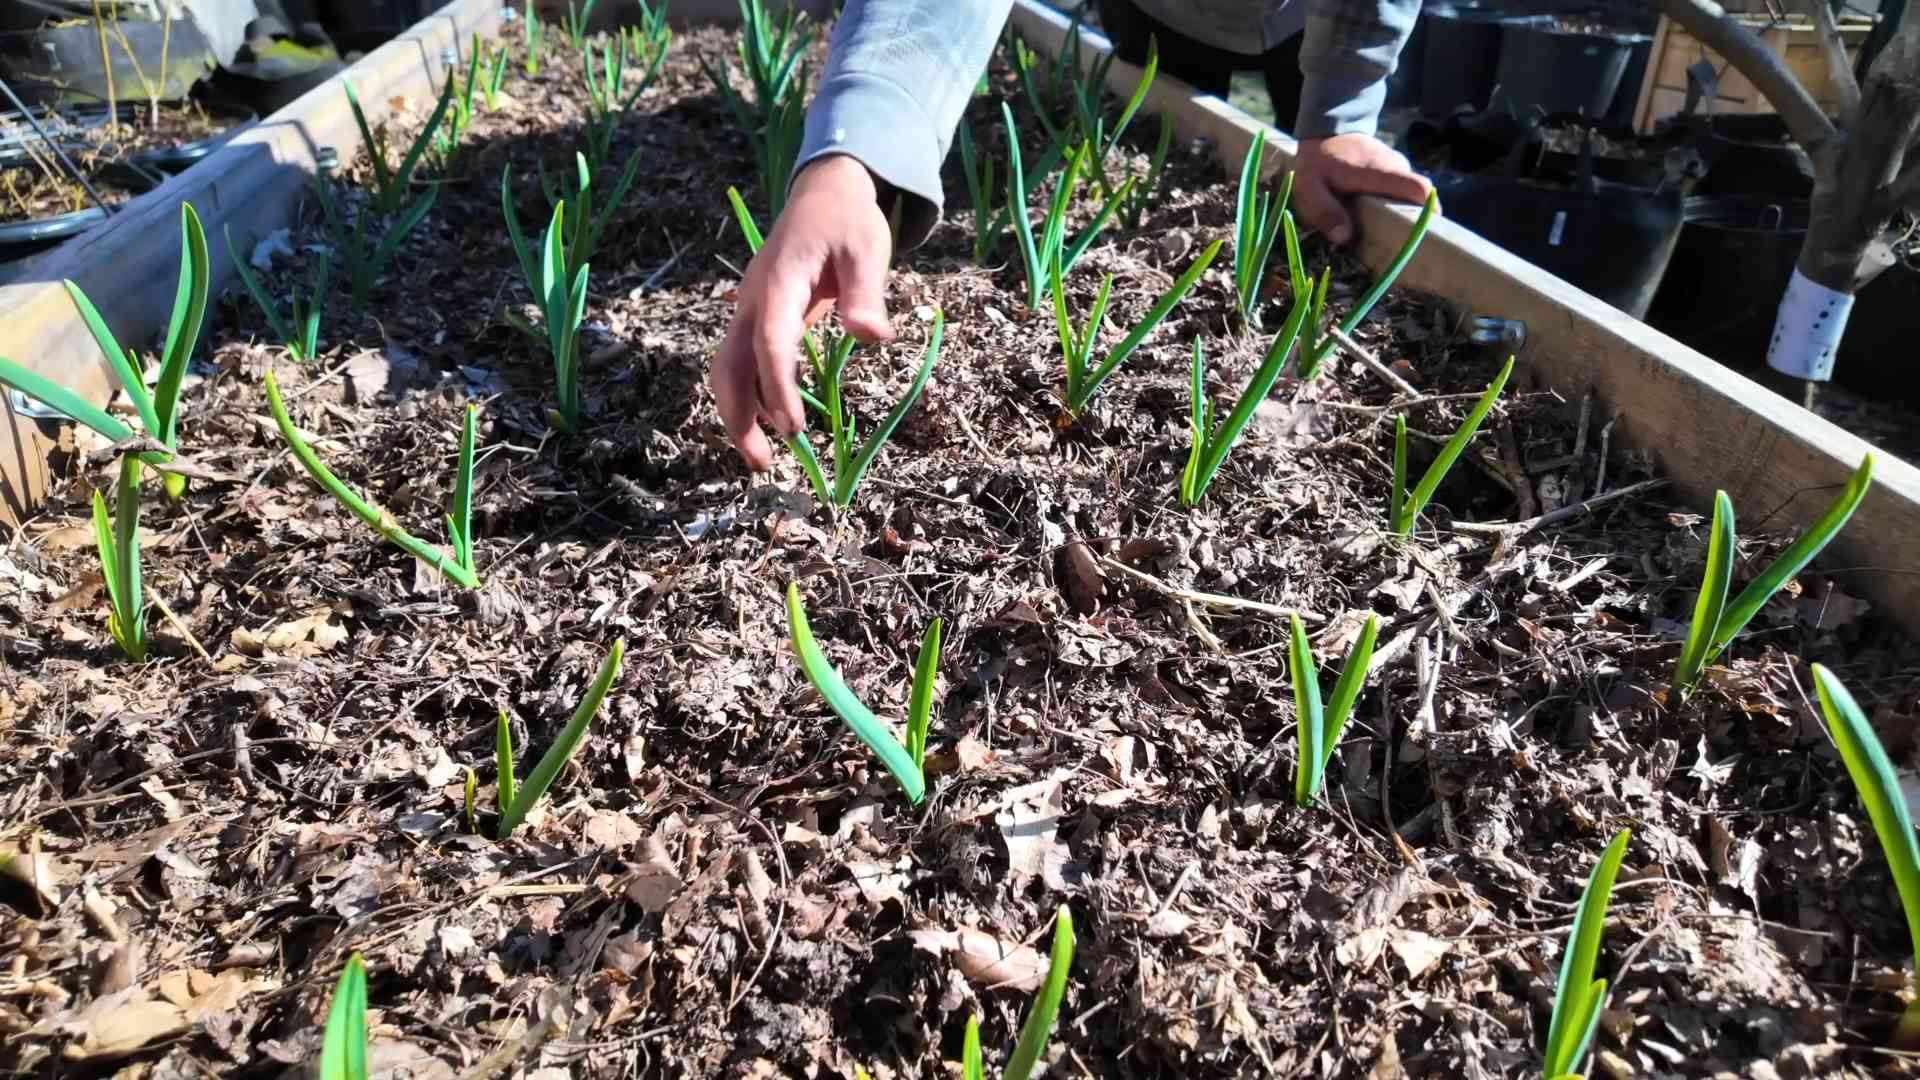
I’ve always loved the pungent aroma and robust flavor of garlic, but let’s be honest, buying pre-minced garlic from the store just doesn’t compare to the fresh, vibrant taste of homegrown garlic. That’s why I’m so excited to share with you my secrets for growing your own garlic – a truly rewarding and surprisingly simple process! This isn’t just about saving money on groceries; it’s about connecting with nature, understanding where your food comes from, and experiencing the unparalleled satisfaction of harvesting your own homemade garlic.
The cultivation of garlic stretches back millennia, with evidence suggesting its use dating back to ancient Egypt and beyond. It’s been a staple in cuisines worldwide, prized not only for its culinary applications but also for its purported medicinal properties. Throughout history, garlic has held a significant place in both culinary traditions and folklore, symbolizing protection and warding off evil in some cultures.
Why Grow Your Own?
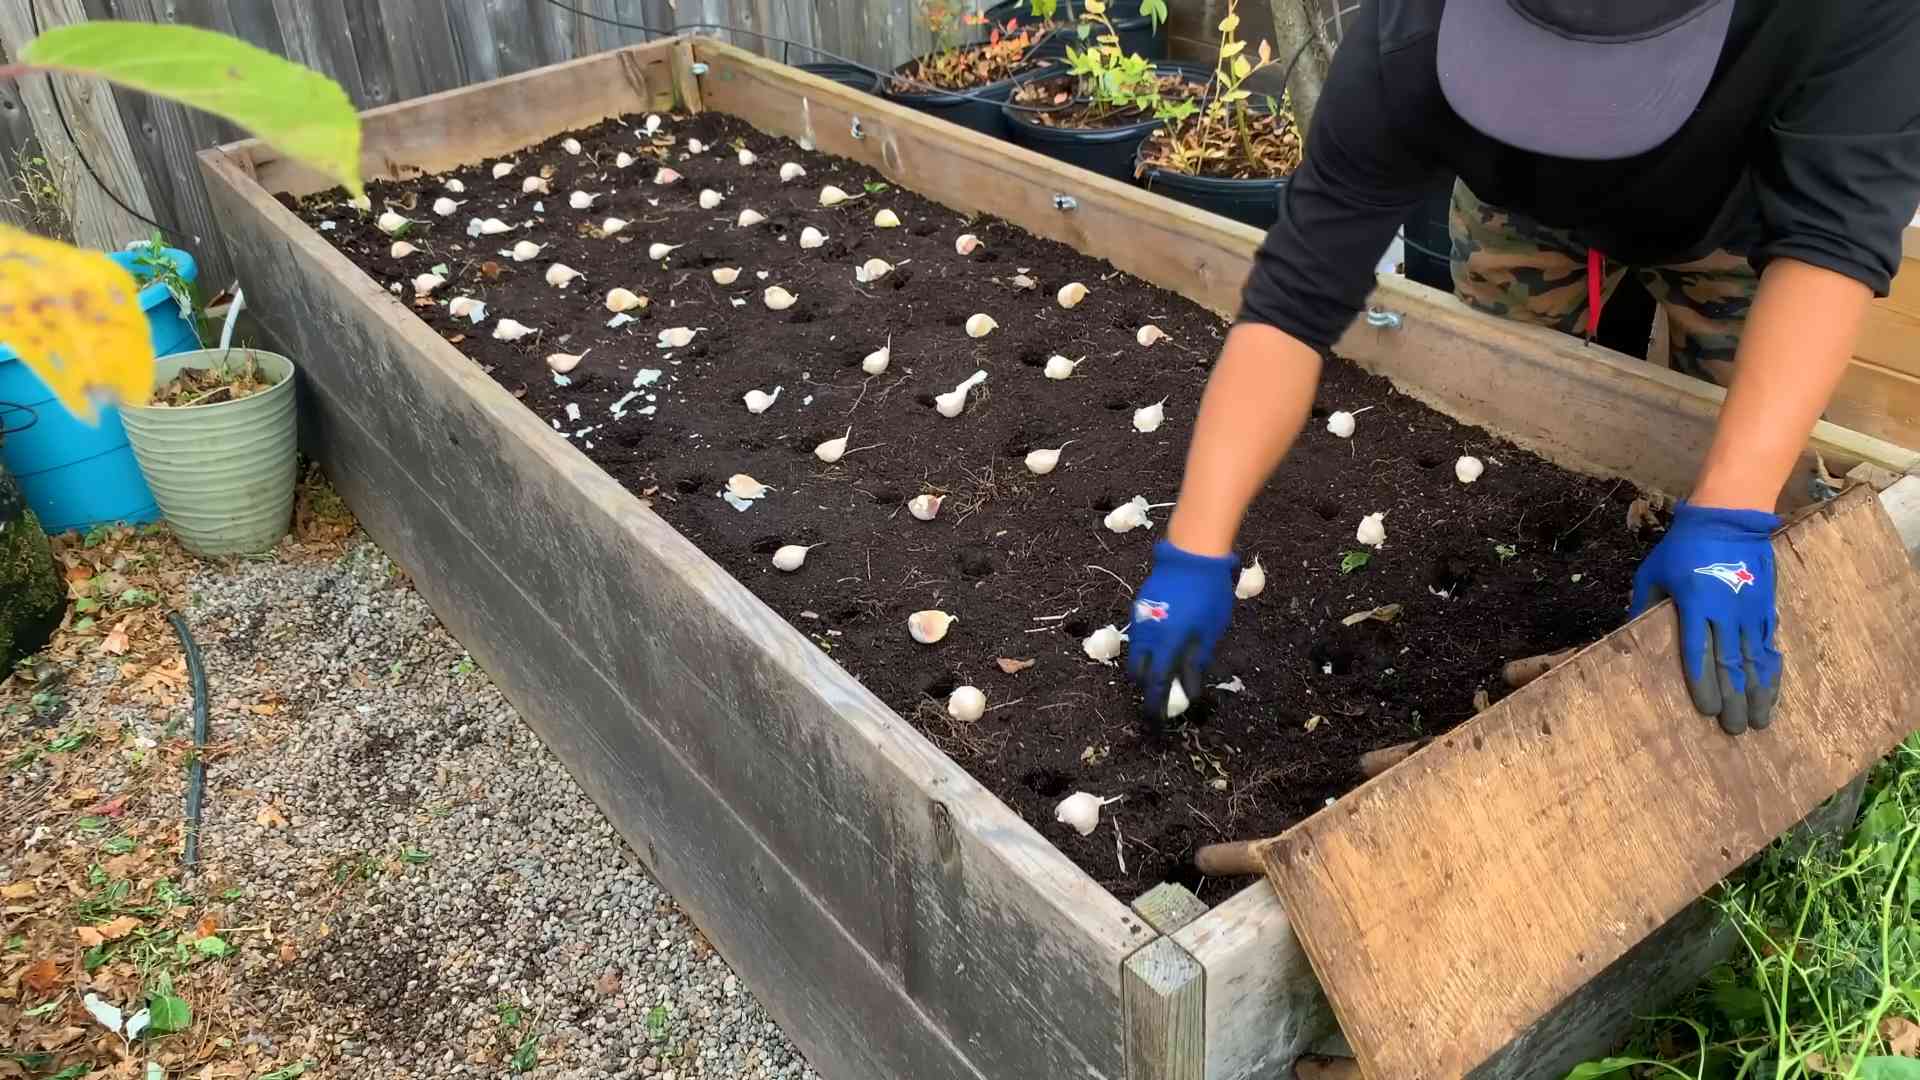
Growing your own homemade garlic offers numerous advantages. Firstly, you’ll have access to the freshest, most flavorful garlic imaginable. Secondly, you’ll be able to control the quality and avoid any potential pesticides or preservatives found in commercially grown garlic. And finally, there’s an undeniable sense of accomplishment that comes with nurturing a plant from bulb to harvest. This DIY project is perfect for beginners and seasoned gardeners alike, offering a rewarding experience and delicious results.
So, whether you’re a seasoned gardener or a complete novice, get ready to embark on this exciting journey of growing your own garlic. In this article, we’ll cover everything from selecting the right bulbs to harvesting and storing your bountiful crop of homemade garlic. Let’s get started!
Making Your Own Amazing Garlic Powder: A Step-by-Step Guide
I love garlic. Seriously, I could eat it with everything. But buying pre-made garlic powder can be expensive, and honestly, it often lacks the intense flavor of freshly-made powder. So, I decided to take matters into my own hands and make my own! It’s surprisingly easy, and the results are incredible. Here’s how I did it, and how you can too!
Phase 1: Preparing the Garlic
- Gather your supplies: You’ll need a head of garlic (or more, depending on how much powder you want to make!), a sharp knife, a cutting board, a food processor (or a very strong arm and a mortar and pestle!), and several baking sheets.
- Separate the cloves: Gently squeeze the bottom of the garlic head to loosen the cloves. Then, separate them. You can easily peel them now, or wait until after you’ve chopped them – it’s up to you!
- Chop the cloves: If you’re using a food processor, this step is super quick. Just toss in the cloves (peeled or unpeeled) and pulse until they’re finely chopped. If you’re using a knife, be careful! Chop the cloves as finely as possible. The smaller the pieces, the faster they’ll dry.
Phase 2: Drying the Garlic
- Spread the garlic: Once your garlic is chopped, spread it evenly across your baking sheets. Make sure the pieces aren’t piled on top of each other; they need good airflow to dry properly. A thin layer is key.
- Low and slow: Preheat your oven to the lowest setting possible – ideally around 170°F (77°C). You want to dehydrate the garlic, not bake it. Higher temperatures will burn it and ruin the flavor.
- Monitor closely: Place the baking sheets in the oven and let them dry for at least 2-3 hours. Check on them every 30 minutes or so. The garlic is done when it’s completely dry and crumbly. It should easily crumble when you touch it. This can take anywhere from 2-6 hours depending on your oven and the humidity.
- Dealing with humidity: If you live in a humid area, drying time will increase significantly. You might need to leave the oven door slightly ajar to help with ventilation. A dehydrator is a great alternative if you have one, as it provides better control over temperature and airflow.
- Alternative drying methods: If you don’t want to use your oven, you can also dry the garlic in a well-ventilated area. Spread it on a screen or tray and leave it for several days, turning it occasionally. This method takes much longer, but it works well.
Phase 3: Making the Powder
- Let it cool: Once the garlic is completely dry, remove it from the oven (or drying area) and let it cool completely. This is crucial to prevent clumping.
- Grind it up: Once cool, use a food processor or a spice grinder to pulverize the dried garlic into a fine powder. If you’re using a mortar and pestle, be prepared for some arm work! A food processor is much faster and easier.
- Sift (optional): For an extra-fine powder, you can sift it through a fine-mesh sieve. This removes any larger pieces that didn’t fully grind.
- Store it properly: Store your homemade garlic powder in an airtight container in a cool, dark, and dry place. This will help preserve its flavor and aroma for several months.
Phase 4: Troubleshooting and Tips
- Clumpy powder: If your powder is clumpy, it likely wasn’t completely dry before grinding. Try drying it further in a low oven or dehydrator.
- Uneven drying: If some pieces are dry and others aren’t, spread the garlic more thinly on the baking sheets next time. Ensure good airflow around each piece.
- Stronger flavor: For a more intense garlic flavor, roast the garlic cloves before drying them. Simply toss them with a little olive oil and roast at 350°F (175°C) for about 20-30 minutes, until softened and slightly caramelized.
- Experiment with other ingredients: Once you’ve mastered basic garlic powder, try adding other herbs and spices to create custom blends. Onion powder, parsley, or even a touch of chili flakes can add extra depth of flavor.
- Quantity: Adjust the quantities based on your needs. One large head of garlic will yield approximately 1/4 to 1/2 cup of garlic powder.
Important Note:
Always supervise children when using the oven or sharp knives. Adult supervision is essential for this project.
Enjoy your homemade garlic powder!
I hope this guide helps you create your own delicious and flavorful garlic powder. Let me know how it turns out!
Conclusion
This homemade garlic recipe is a true game-changer for any kitchen. Forget the bland, sometimes weak flavor of store-bought garlic – this method unlocks the potent, vibrant essence of fresh garlic, elevating your dishes to a whole new level. The process itself is incredibly simple, requiring minimal effort and ingredients, yet the results are astonishing. You’ll be amazed by the depth of flavor this simple DIY trick provides. Making your own garlic powder is not just about convenience; it’s about unlocking a superior flavor profile that will transform your cooking. The intense aroma and robust taste will leave you wondering why you ever settled for anything less. This homemade garlic powder is a testament to the power of simple ingredients and a little bit of patience, resulting in a pantry staple that’s far superior to anything you can buy.
Beyond the basic recipe, the possibilities are endless! Experiment with different types of garlic – try using elephant garlic for a milder, sweeter flavor, or roasted garlic for a deeper, more caramelized taste. You can also adjust the drying time depending on your preference and the humidity of your environment. For a finer powder, simply pulse the dried garlic cloves in a spice grinder or food processor after they’ve completely dried. If you prefer a coarser texture, you can skip this step and simply crush the dried cloves before storing. Consider adding other herbs and spices to your garlic powder for unique flavor combinations. A blend of garlic, onion, and herbs like rosemary or thyme would make a fantastic all-purpose seasoning. The possibilities are truly limitless!
We strongly encourage you to try this homemade garlic powder recipe. It’s a simple yet rewarding project that will significantly enhance your culinary skills and the flavor of your dishes. Share your experience with us! Let us know how you used your homemade garlic powder, what variations you tried, and what your favorite dishes are to use it in. We’d love to hear your feedback and see your culinary creations. Join the conversation on social media using #HomemadeGarlicPower and let’s inspire each other to embrace the deliciousness of homemade ingredients. Don’t just cook; create culinary masterpieces with the superior flavor of homemade garlic!
Frequently Asked Questions
What type of garlic is best for making homemade garlic powder?
While any type of garlic will work, we recommend using hardneck garlic for its robust flavor and larger cloves. Softneck garlic also works well, but may result in a slightly milder powder. Elephant garlic is a great option for a sweeter, milder flavor profile.
How long does homemade garlic powder last?
Properly stored in an airtight container in a cool, dark, and dry place, your homemade garlic powder should last for up to a year. However, for optimal flavor, we recommend using it within six months.
Can I use a dehydrator to dry the garlic?
Absolutely! A dehydrator is a fantastic tool for drying garlic cloves evenly and quickly. Follow the manufacturer’s instructions for drying garlic, but generally, a lower temperature setting is recommended to prevent burning.
What if my garlic cloves are not completely dry?
If your garlic cloves are not completely dry, they may mold or become sticky. Ensure the cloves are completely dry before grinding them into a powder. You can leave them out to dry for a longer period, or use a dehydrator to speed up the process. If you notice any signs of moisture or mold, discard the garlic.
Can I add other ingredients to my homemade garlic powder?
Yes! Experiment with different herbs and spices to create custom blends. Popular additions include onion powder, paprika, chili powder, oregano, rosemary, and thyme. The possibilities are endless!
Is homemade garlic powder healthier than store-bought?
While both homemade and store-bought garlic powder provide similar nutritional benefits, homemade garlic powder often contains fewer additives and preservatives. You also have complete control over the ingredients used, ensuring a higher quality product.
My garlic powder is clumping. What should I do?
Garlic powder can clump due to moisture. To prevent clumping, ensure your garlic is completely dry before grinding. Store your garlic powder in an airtight container in a cool, dry place. If your garlic powder has already clumped, you can try breaking up the clumps with a fork or mortar and pestle.
How much homemade garlic powder should I use in my recipes?
Start with a small amount and adjust to your taste. Generally, you can use homemade garlic powder in the same quantity as store-bought garlic powder. Remember that homemade garlic powder often has a more intense flavor, so you may need to use slightly less.
Can I use this method to make other powdered herbs and spices?
Yes! This method can be adapted to dry and powder other herbs and spices, such as onion, parsley, oregano, and thyme. Just remember to adjust the drying time depending on the herb or spice.
Where can I find more recipes using homemade garlic powder?
We encourage you to explore various online resources and cookbooks for recipes that utilize garlic powder. Many recipes can be easily adapted to incorporate your homemade garlic powder for an enhanced flavor experience. Don’t be afraid to experiment and discover your own culinary creations!


Leave a Comment