

Summer Squash Gardening: Your Guide to a Bountiful Harvest
Summer Squash Gardening is more than just planting seeds; it’s about nurturing a connection with nature and enjoying the fruits (or rather, vegetables!) of your labor. I’ve always loved the idea of homegrown food, the taste of sun-ripened vegetables bursting with flavor, far surpassing anything you can buy at the store. That’s why I’m so excited to share my tried-and-true Summer Squash Gardening tricks and DIY projects with you!
From my own experience, and the wisdom passed down through generations of gardeners, I’ve learned that growing summer squash isn’t just about following instructions; it’s about understanding the plant’s needs and adapting to the unique conditions of your garden. Historically, squash has held a significant place in many cultures, representing abundance and prosperity. Think of the vibrant colors and impressive sizes of some varieties – they’re truly a sight to behold!
Why You Need These Summer Squash Gardening Hacks
In today’s fast-paced world, many of us crave a connection to something more natural and fulfilling. Summer Squash Gardening offers a fantastic opportunity to reconnect with the earth, reduce your reliance on commercially grown produce, and enjoy incredibly fresh, flavorful squash all season long. These DIY tricks and tips will help you overcome common challenges, maximize your yield, and ensure a successful harvest, even if you’re a complete beginner. Whether you’re aiming for a small patio patch or a larger garden plot, these Summer Squash Gardening techniques will empower you to grow your own delicious squash.
So, let’s dive in and unlock the secrets to a bountiful summer squash harvest! Get ready to transform your garden into a vibrant, productive space, brimming with delicious homegrown goodness.
My Summer Squash Gardening Adventure: A Bumper Crop Guide
I’ve always loved summer squash – zucchini, yellow squash, pattypan… the list goes on! There’s nothing quite like biting into a freshly picked squash, still warm from the sun. This year, I decided to grow my own, and let me tell you, it’s been a rewarding experience. Here’s how I did it, from seed to delicious summer meals.
Phase 1: Planning and Preparation
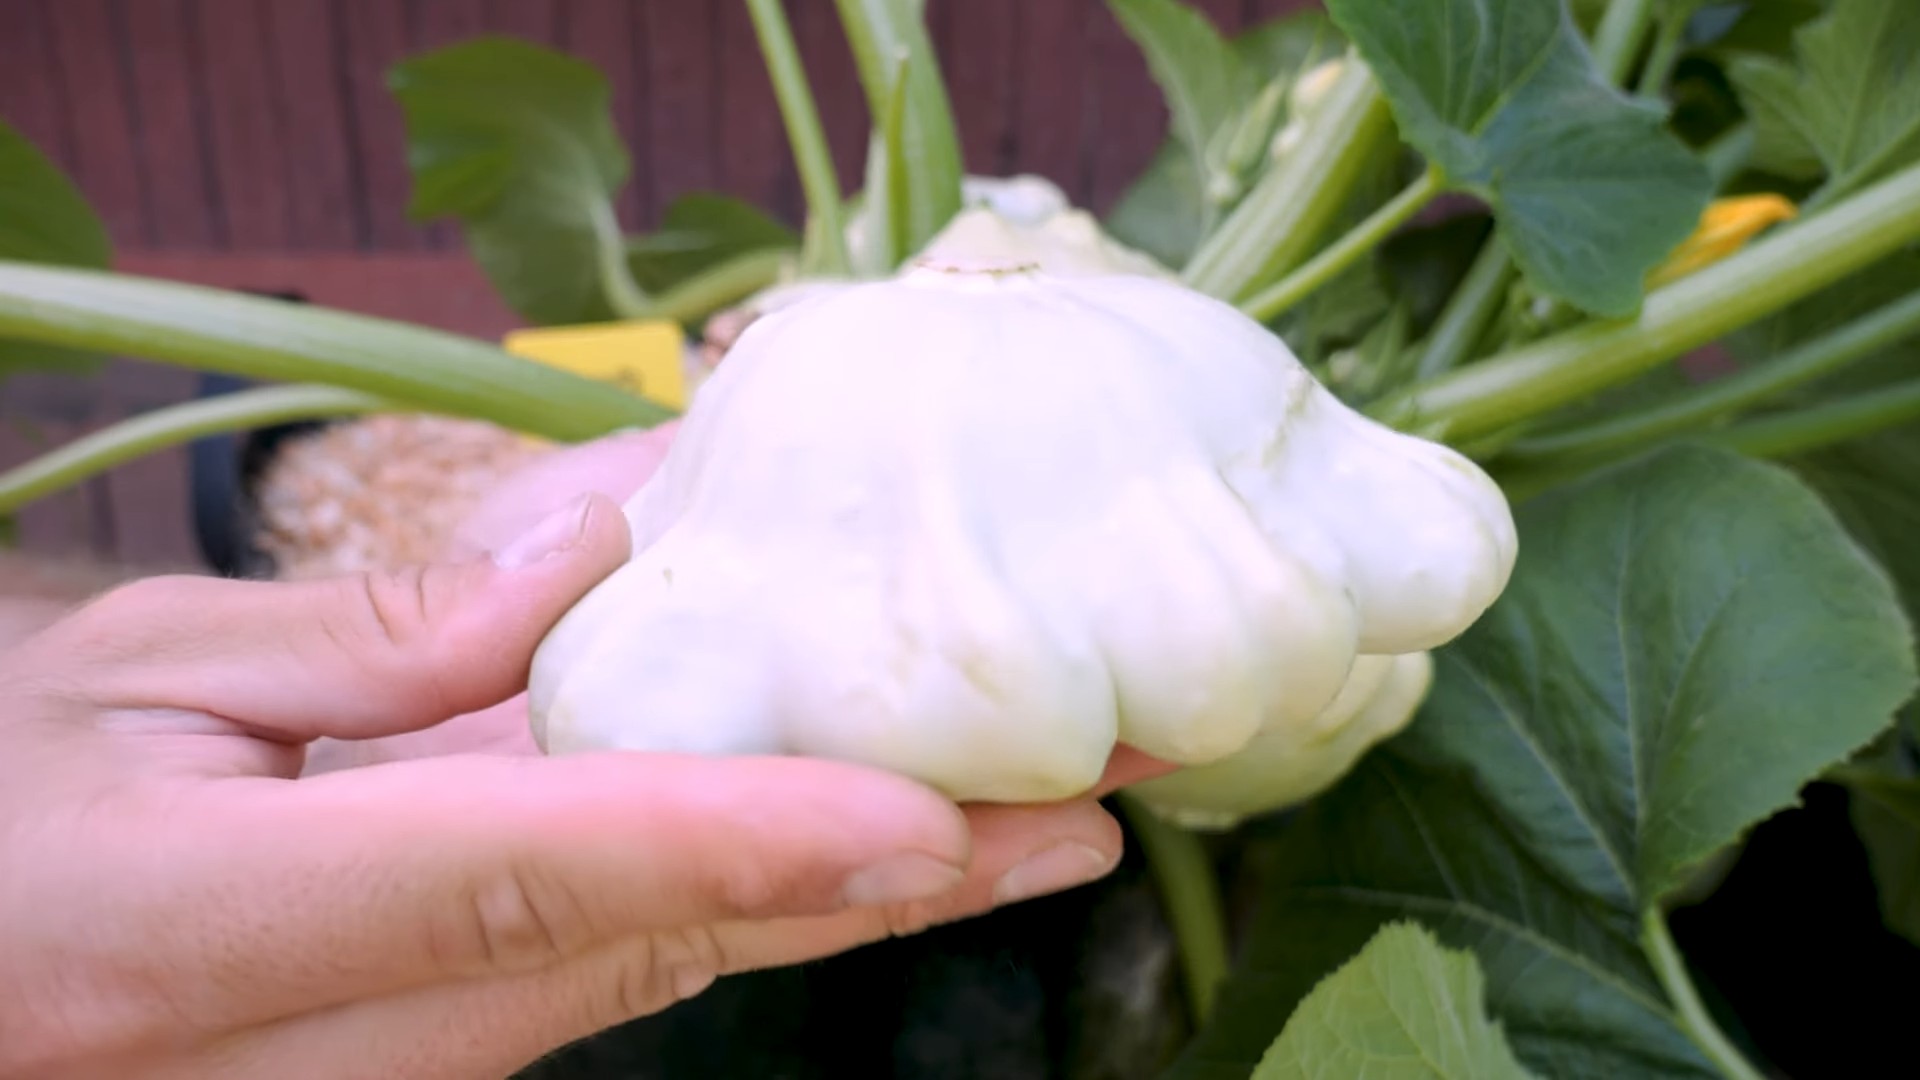
- Choose your varieties: I opted for a mix of zucchini (for its prolific nature), yellow squash (for its vibrant color and slightly sweeter taste), and a few pattypan squash for their unique shape. Research different varieties to find ones that suit your climate and growing season.
- Select your location: Summer squash needs at least six hours of direct sunlight daily. Choose a sunny spot in your garden with well-drained soil. They also need plenty of space to sprawl, so plan accordingly.
- Prepare the soil: Summer squash thrives in rich, fertile soil. Amend your soil with compost or well-rotted manure to improve drainage and nutrient content. A soil test can help determine if you need to add any specific nutrients.
- Gather your supplies: You’ll need seeds or seedlings, gardening gloves, a trowel or hand cultivator, a watering can, and perhaps some plant supports (depending on the variety).
Phase 2: Planting Your Summer Squash
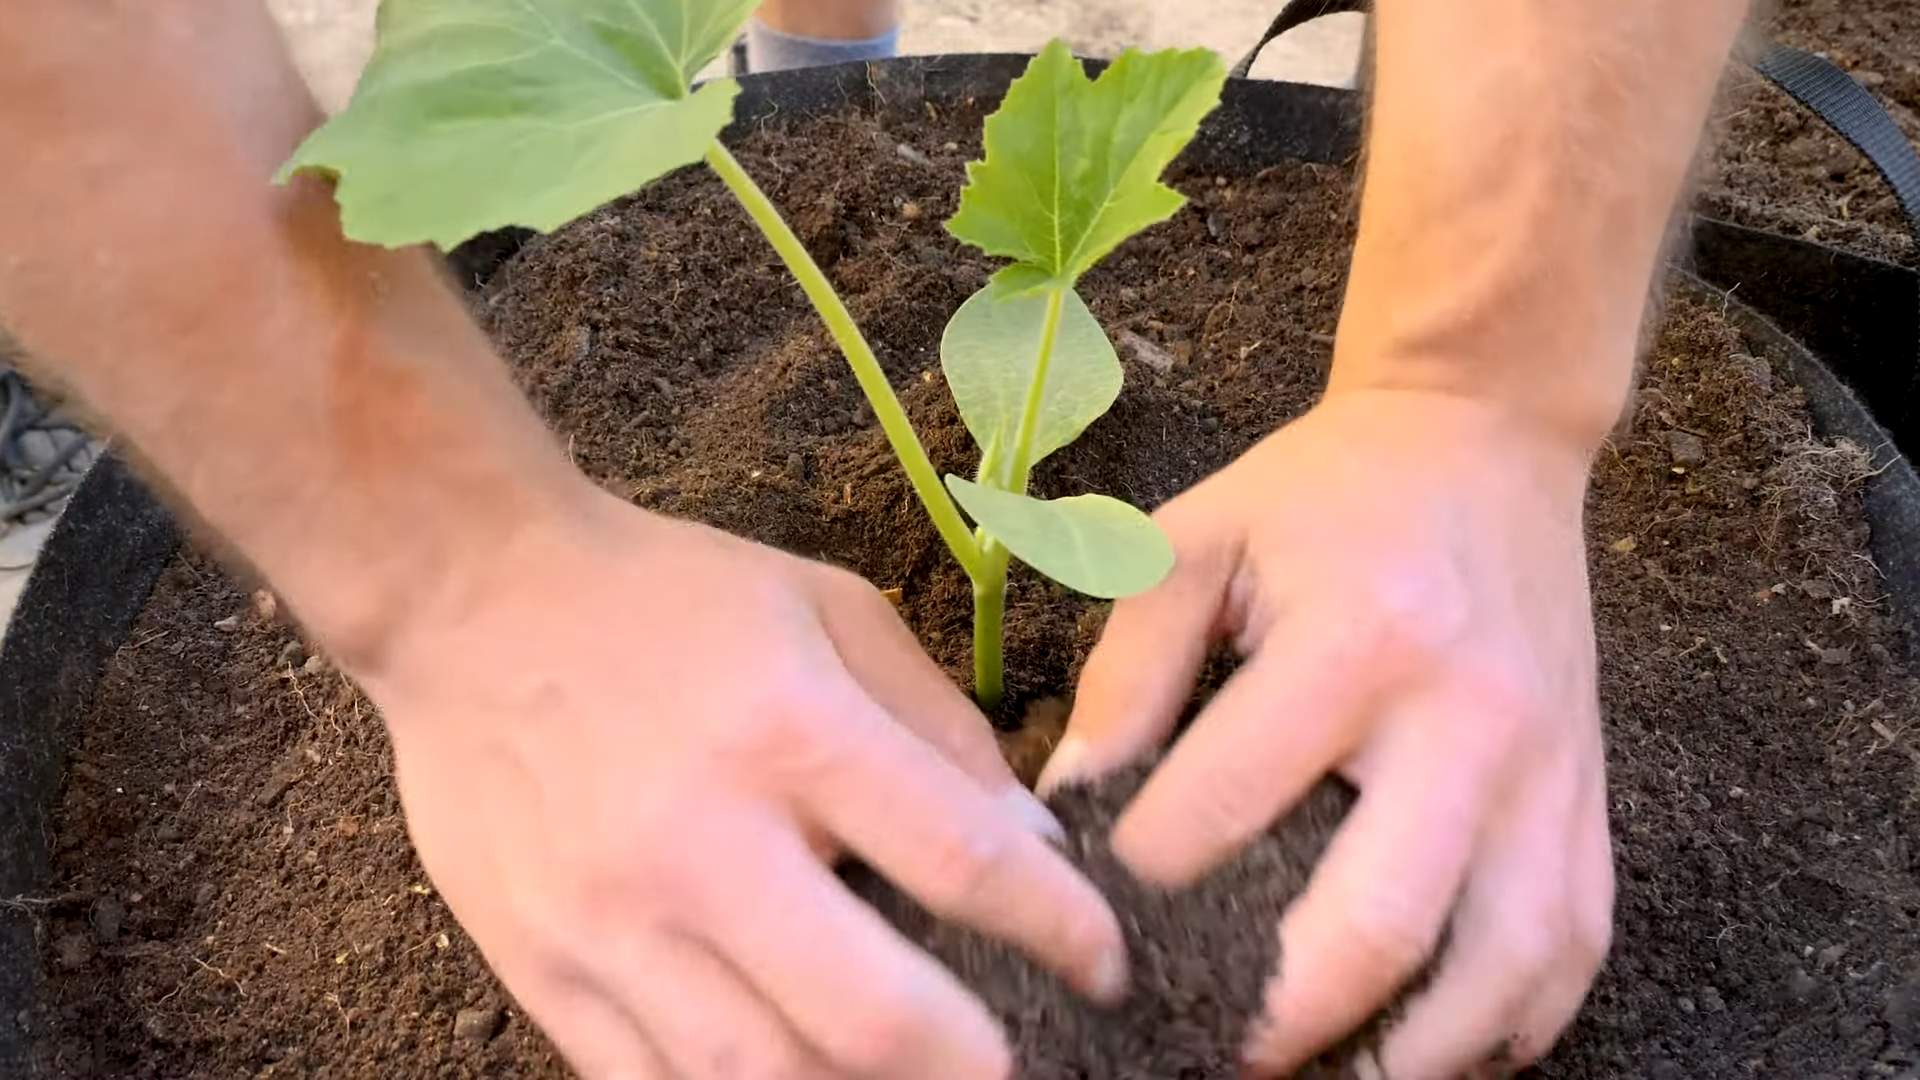
- Direct sowing vs. seedlings: I chose to direct sow my seeds, as it’s a simple method for summer squash. However, starting seeds indoors a few weeks before the last frost can give you a head start. If starting indoors, use peat pots to avoid disturbing the roots during transplanting.
- Planting depth and spacing: Plant seeds about an inch deep and 18-24 inches apart, depending on the mature size of the plant. For larger varieties, you might need to space them further apart. I planted my seeds in hills, which helps with drainage and warmth.
- Watering: After planting, water thoroughly but gently. Avoid overwatering, as this can lead to root rot. Keep the soil consistently moist, but not soggy.
- Mulching: I added a layer of mulch around the plants to help retain moisture, suppress weeds, and regulate soil temperature. Straw or shredded leaves work well.
Phase 3: Ongoing Care and Maintenance
- Watering consistently: Regular watering is crucial, especially during hot and dry periods. Aim for about an inch of water per week, either through rainfall or supplemental watering. Water deeply at the base of the plants to avoid wetting the leaves, which can increase the risk of fungal diseases.
- Weed control: Keep the area around your squash plants free of weeds, as they compete for water and nutrients. Regular weeding is essential, especially in the early stages of growth.
- Fertilizing: While summer squash are not heavy feeders, a side dressing of compost or a balanced fertilizer can boost their growth and yield. Follow the instructions on the fertilizer package carefully.
- Pest and disease control: Keep an eye out for common pests like squash bugs, squash vine borers, and aphids. Inspect your plants regularly and take action if you notice any infestations. Organic pest control methods, such as insecticidal soap or neem oil, are effective and safer for the environment.
- Pollination: Summer squash plants are usually self-pollinating, but you can help by gently shaking the plants to encourage pollination. Bees also play a vital role in pollination, so planting flowers nearby can attract them to your garden.
- Support structures: Depending on the variety, you may need to provide support for the plants, especially as they grow larger and produce more fruit. Trellises or stakes can help prevent the plants from sprawling on the ground and rotting.
Phase 4: Harvesting Your Bounty
- Harvesting time: Summer squash is ready for harvest when it’s young and tender. Zucchini and yellow squash are typically harvested when they are 6-8 inches long. Pattypan squash can be harvested when they are still relatively small and tender.
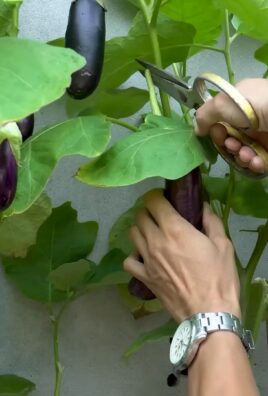
- Harvesting technique: Use a sharp knife or garden shears to cut the squash from the vine, leaving about an inch of stem attached. Avoid pulling the squash, as this can damage the plant.
- Storage: Summer squash is best eaten fresh, but it can be stored in the refrigerator for a few days. Avoid washing the squash before storing, as this can promote spoilage.
- Successive planting: To ensure a continuous harvest, consider planting seeds or seedlings in succession every few weeks. This will stagger the harvest and provide a steady supply of fresh squash throughout the summer.
Phase 5: Dealing with Common Problems
Squash Bugs
These pests suck the sap from the plants, causing wilting and stunted growth. Handpicking them is effective for small infestations. You can also use insecticidal soap or neem oil.
Squash Vine Borers
These borers tunnel into the stems of the plants, causing them to wilt and die. Monitor your plants for signs of wilting and carefully inspect the stems for borer holes. If you find borers, you can try to remove them with a wire or knife. Prevention is key – cover the base of the plants with row covers to prevent the moths from laying eggs.
Powdery Mildew
This fungal disease appears as a white powdery coating on the leaves. Good air circulation and avoiding overhead watering can help prevent it. If you see powdery mildew, you can try using a fungicide.
Remember: Gardening is an ongoing learning process. Don’t be discouraged if you encounter challenges along the way. Each season brings new experiences and opportunities to improve your gardening skills. Happy gardening!
Conclusion
So there you have it! Your guide to achieving a bountiful summer squash harvest using simple, effective DIY techniques. This isn’t just about growing squash; it’s about connecting with nature, understanding the subtle nuances of plant care, and experiencing the immense satisfaction of harvesting your own homegrown vegetables. This DIY approach to summer squash gardening offers unparalleled control over the growing process, resulting in healthier plants and a significantly higher yield compared to store-bought squash. The cost savings alone make it worthwhile, but the taste difference? That’s truly transformative. You’ll savor the sweetness and freshness of squash picked straight from your garden, a flavor that simply can’t be replicated.
Beyond the core techniques outlined, there’s a world of possibilities to explore. Experiment with different varieties of summer squash – from the classic zucchini and yellow squash to more unique options like pattypan or crookneck. Consider companion planting, incorporating herbs like basil or borage to deter pests and attract beneficial insects. If space is limited, explore vertical gardening techniques or container gardening to maximize your yield in a smaller area. For those with particularly challenging soil conditions, amending your soil with compost or other organic matter is crucial for optimal growth. Don’t be afraid to get creative and adapt these methods to your specific environment and preferences. The beauty of DIY gardening is its adaptability.
We strongly encourage you to try this DIY approach to summer squash gardening this season. It’s a rewarding experience that connects you to the land and provides delicious, healthy food for your family. Share your experiences with us! We’d love to hear about your successes, challenges, and any innovative techniques you develop along the way. Post your photos on social media using #DIYSummerSquashGardening and tag us – we can’t wait to see your flourishing gardens and the amazing summer squash you grow!
Remember, the key to success lies in consistent care and observation. Pay attention to your plants, address any issues promptly, and enjoy the journey of nurturing life from seed to harvest. This DIY summer squash gardening method is not just about the end result; it’s about the process, the learning, and the deep satisfaction of growing your own food. So grab your seeds, get your hands dirty, and embark on this rewarding adventure. Happy gardening!
Frequently Asked Questions
What type of soil is best for summer squash?
Summer squash thrives in well-drained, fertile soil with a slightly acidic to neutral pH (6.0-7.0). Amend heavy clay soils with compost or other organic matter to improve drainage and aeration. Sandy soils may benefit from the addition of organic matter to retain moisture.
How much sunlight do summer squash plants need?
Summer squash plants are sun-worshippers! They need at least 6-8 hours of direct sunlight per day to produce a bountiful harvest. Choose a location in your garden that receives ample sunlight throughout the day.
How often should I water my summer squash plants?
Consistent watering is crucial, especially during dry periods. Aim for deep, infrequent watering rather than shallow, frequent watering. Water deeply at the base of the plants, avoiding wetting the foliage to prevent fungal diseases. The frequency will depend on your climate and soil conditions, but generally, aim to keep the soil consistently moist but not soggy.
What are some common pests and diseases that affect summer squash?
Squash plants can be susceptible to pests like squash bugs, squash vine borers, and aphids. Regularly inspect your plants for signs of infestation and take appropriate action, such as handpicking pests or using insecticidal soap. Diseases like powdery mildew can also be a problem; good air circulation and avoiding overhead watering can help prevent this.
When is the best time to harvest summer squash?
Summer squash is ready for harvest when it’s young and tender, typically 6-8 weeks after planting. The size will vary depending on the variety, but generally, harvest when the squash are 6-8 inches long for zucchini and yellow squash. Harvest frequently to encourage continued production.
Can I save seeds from my summer squash for next year?
While you can technically save seeds from your summer squash, it’s generally not recommended for hybrid varieties, as the resulting plants may not exhibit the same desirable traits. If you’re growing open-pollinated varieties, you can save seeds by allowing some squash to mature fully on the vine until they turn yellow or brown. Allow the seeds to dry completely before storing them in a cool, dry place.
What should I do if my summer squash plants are not producing fruit?
Several factors can contribute to poor fruit production, including insufficient sunlight, inadequate watering, nutrient deficiencies, or pest infestations. Review the growing conditions and address any potential issues. Ensure your plants are receiving enough sunlight and water, and consider soil testing to check for nutrient deficiencies. Regularly inspect for pests and diseases and take appropriate action.
Is this DIY method suitable for beginners?
Absolutely! This DIY summer squash gardening method is designed to be accessible to gardeners of all skill levels, including beginners. The step-by-step instructions and helpful tips make it easy to follow, even if you’ve never grown squash before. Don’t be afraid to give it a try – you might be surprised at how rewarding it is!

Leave a Comment