

Growing Snack Peppers at home is easier than you might think, and trust me, the reward of popping a sweet, crunchy pepper straight from your garden is absolutely worth it! For centuries, peppers have been cultivated across the globe, from their origins in South America where indigenous cultures revered them not only for their flavor but also for their medicinal properties. Now, you can bring that rich history and vibrant flavor right to your backyard or even your windowsill.
Let’s be honest, who doesn’t love a healthy, delicious snack? But store-bought peppers can sometimes be bland or, worse, treated with chemicals we’d rather avoid. That’s where the magic of DIY comes in! Growing Snack Peppers yourself gives you complete control over what goes into your food, ensuring you and your family enjoy the freshest, most flavorful peppers possible. Plus, it’s incredibly satisfying to nurture a plant from seed to harvest. In this article, I’m going to share some simple, effective DIY tricks and hacks that will have you enjoying a bountiful harvest of snack peppers in no time, even if you’re a complete beginner. Get ready to unleash your inner gardener!
Growing Snack Peppers: A DIY Guide to a Bountiful Harvest
Okay, pepper lovers, let’s dive into the wonderful world of growing your own snack peppers! I’m talking about those sweet, crunchy, and oh-so-satisfying little peppers that are perfect for dipping, snacking, or adding a pop of color to your salads. Trust me, once you taste a homegrown snack pepper, you’ll never want to go back to the store-bought kind. This guide will walk you through every step, from seed to harvest, ensuring you have a thriving pepper patch.
Choosing Your Snack Pepper Varieties
Before we get our hands dirty, let’s talk about pepper varieties. There are tons of amazing snack peppers out there, each with its own unique flavor and appearance. Here are a few of my personal favorites:
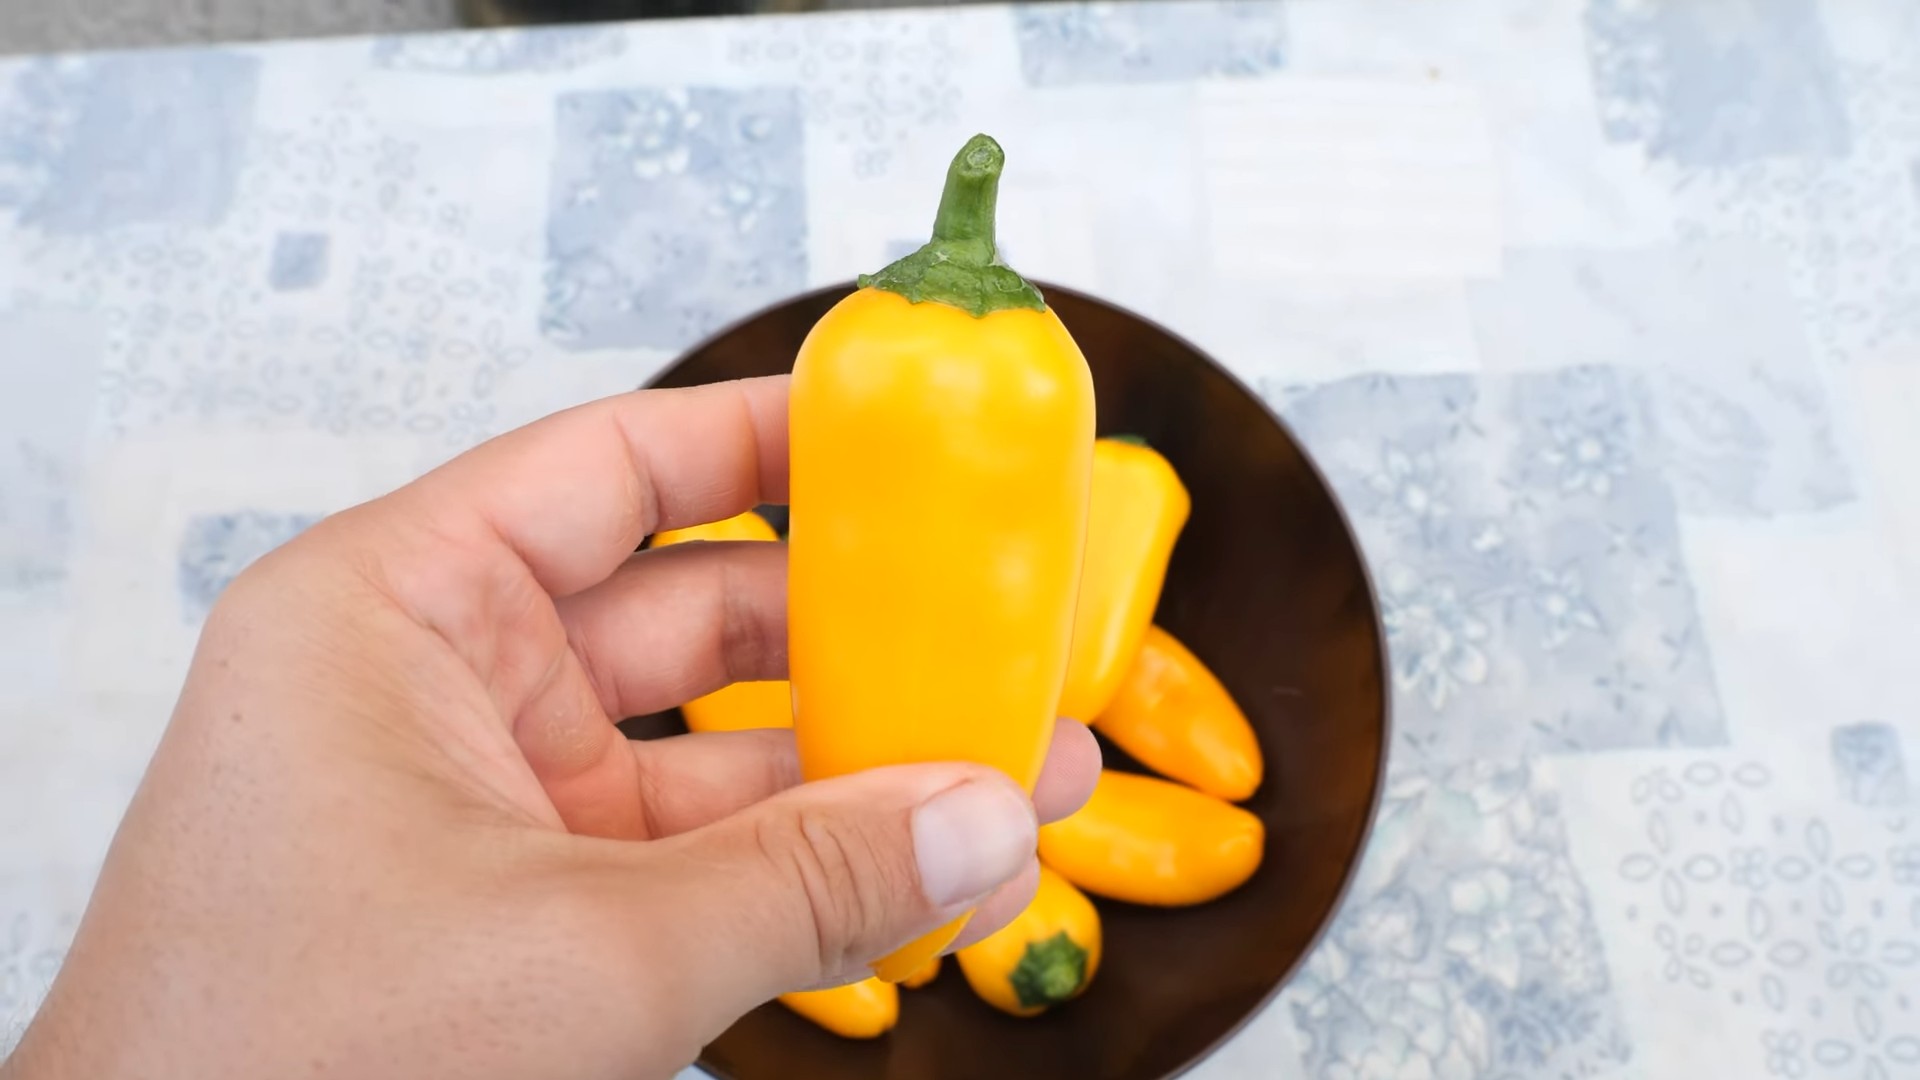
* Mini Bell Peppers: These are the classic choice, coming in vibrant colors like red, yellow, and orange. They’re sweet, mild, and perfect for stuffing.
* Sweet Palermo Peppers: These long, slender peppers are incredibly sweet and have a thin skin, making them a joy to eat. They’re also super productive!
* Shishito Peppers: While technically not always sweet (about 1 in 10 can be spicy!), Shishitos are a fun and flavorful option. They’re great blistered in a pan with a little olive oil and sea salt.
* Pimiento Peppers: These heart-shaped peppers are sweet and mild, often used for stuffing olives or making pimento cheese.
Consider your taste preferences and growing conditions when choosing your varieties. Some peppers prefer warmer climates, while others are more tolerant of cooler temperatures.
Starting Your Snack Pepper Seeds Indoors
If you live in a region with a shorter growing season, starting your pepper seeds indoors is a must. This gives them a head start and ensures you’ll have a harvest before the first frost.
Here’s what you’ll need:
* Snack pepper seeds
* Seed starting trays or small pots
* Seed starting mix (a light, well-draining mix is essential)
* A heat mat (optional, but highly recommended)
* A grow light (also optional, but provides the best results)
* A spray bottle filled with water
Step-by-Step Instructions:
1. Prepare your seed starting trays: Fill each cell of your seed starting tray or each small pot with seed starting mix. Gently tap the tray to settle the mix.
2. Sow your seeds: Make a small indentation (about ¼ inch deep) in the center of each cell or pot. Place 2-3 seeds in each indentation. This increases the chances of at least one seed germinating.
3. Cover the seeds: Gently cover the seeds with a thin layer of seed starting mix.
4. Water gently: Use a spray bottle to moisten the soil. Avoid overwatering, as this can lead to damping off (a fungal disease that can kill seedlings).
5. Provide warmth: Place your seed starting tray on a heat mat. Peppers need warm soil to germinate successfully (around 75-85°F).
6. Provide light: Place your seed starting tray under a grow light. If you don’t have a grow light, place the tray in a sunny window, but be aware that the seedlings may become leggy (tall and spindly) if they don’t receive enough light.
7. Maintain moisture: Keep the soil consistently moist, but not soggy. Check the soil daily and water as needed.
8. Be patient: Pepper seeds can take anywhere from 7 to 21 days to germinate, so don’t get discouraged if you don’t see sprouts right away.
9. Thin the seedlings: Once the seedlings have developed their first true leaves (the second set of leaves that appear after the cotyledons), thin them to one seedling per cell or pot. Choose the strongest, healthiest-looking seedling and snip off the others at the soil line.
Transplanting Your Snack Pepper Seedlings Outdoors
Once the danger of frost has passed and the soil has warmed up, it’s time to transplant your pepper seedlings outdoors.
Here’s what you’ll need:
* Your pepper seedlings
* A garden trowel
* Compost or well-rotted manure
* All-purpose fertilizer
* Watering can or hose
* Mulch (optional, but recommended)
Step-by-Step Instructions:
1. Harden off your seedlings: Before transplanting your seedlings outdoors, you need to harden them off. This process gradually acclimates them to the outdoor environment, preventing transplant shock. Start by placing your seedlings outdoors in a sheltered location for a few hours each day, gradually increasing the amount of time they spend outdoors over the course of a week.
2. Choose a sunny location: Peppers need at least 6-8 hours of sunlight per day to thrive. Choose a location in your garden that receives plenty of sunlight.
3. Prepare the soil: Peppers prefer well-drained soil that is rich in organic matter. Amend the soil with compost or well-rotted manure before planting.
4. Dig the holes: Dig holes that are slightly larger than the root balls of your seedlings. Space the holes about 18-24 inches apart.
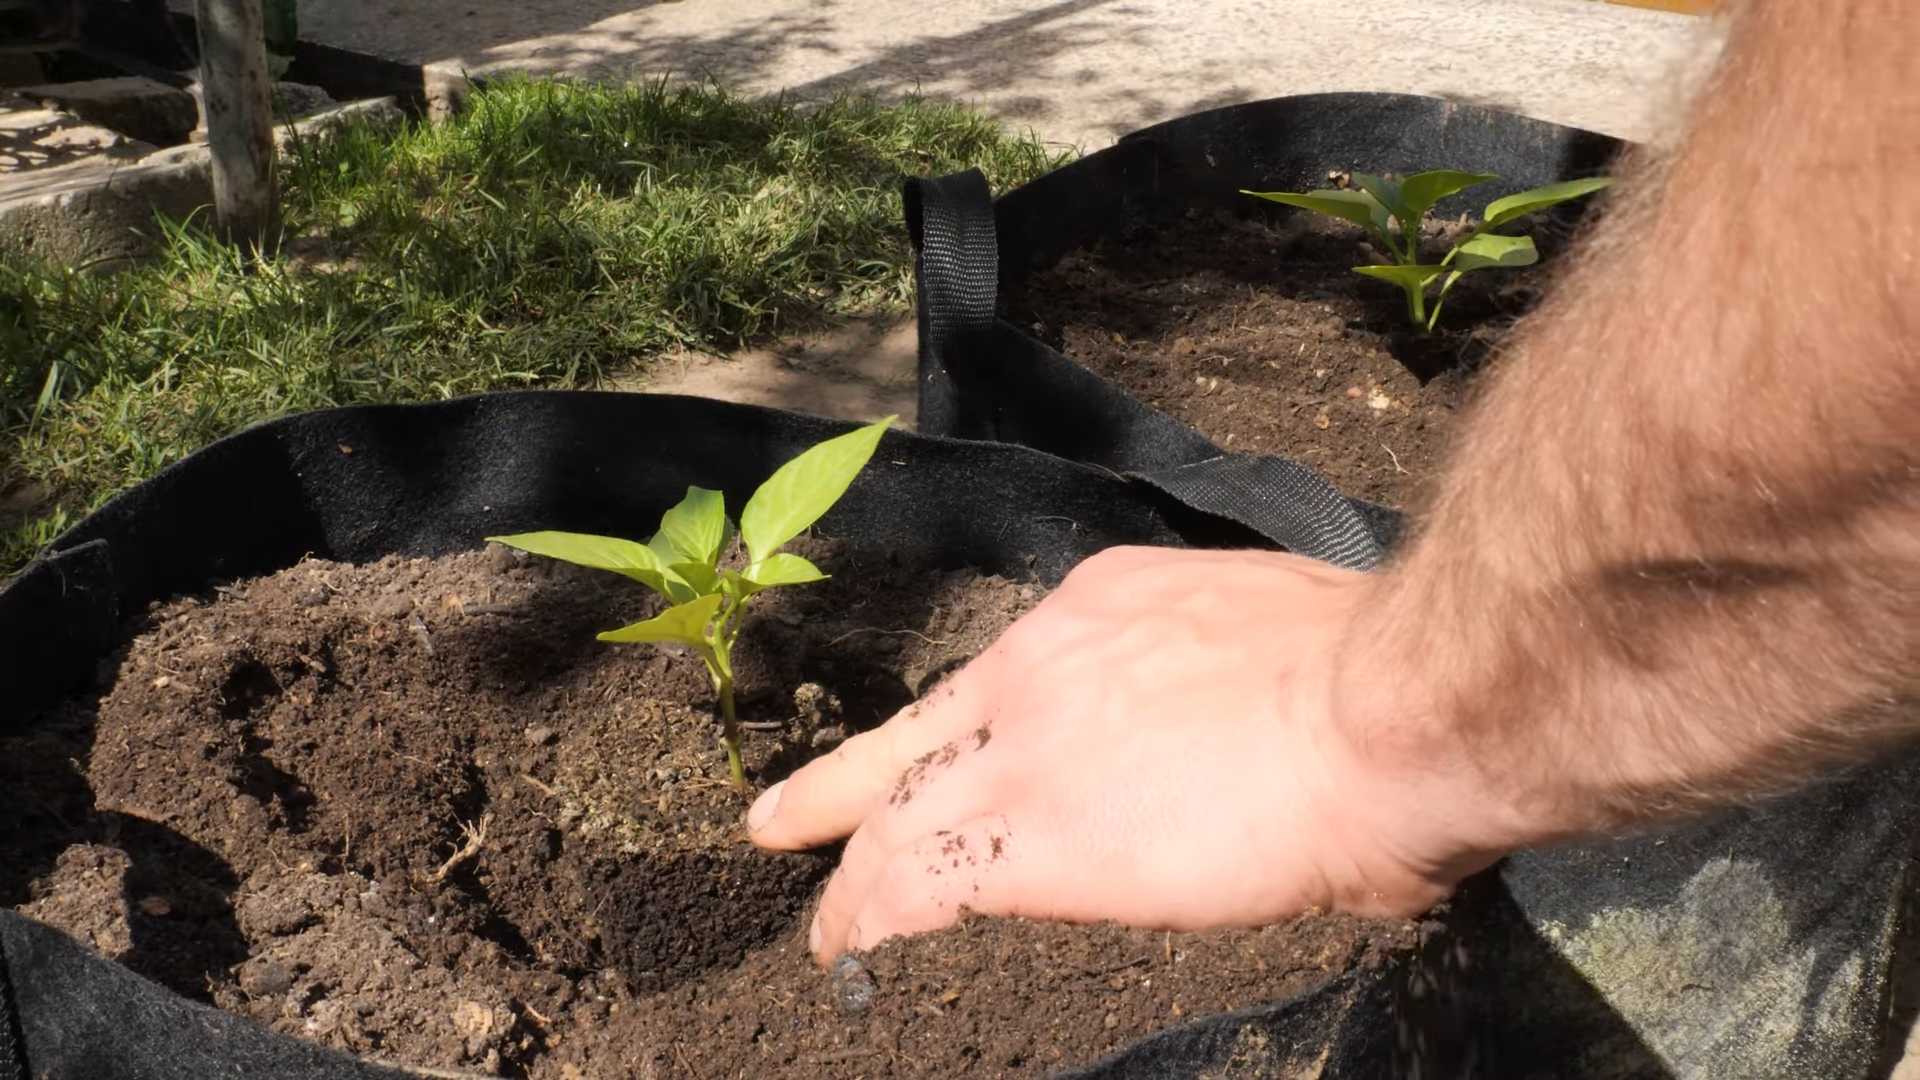
5. Plant the seedlings: Gently remove the seedlings from their cells or pots. Loosen the roots slightly and place the seedlings in the holes. Make sure the top of the root ball is level with the surrounding soil.
6. Fill the holes: Fill the holes with soil and gently firm the soil around the seedlings.
7. Water thoroughly: Water the seedlings thoroughly after planting.
8. Fertilize: Apply an all-purpose fertilizer according to the package directions.
9. Mulch (optional): Apply a layer of mulch around the base of the plants to help retain moisture, suppress weeds, and regulate soil temperature.
Caring for Your Snack Pepper Plants
Once your pepper plants are in the ground, it’s important to provide them with the care they need to thrive.
Here are some tips for caring for your snack pepper plants:
* Water regularly: Peppers need consistent moisture, especially during hot, dry weather. Water deeply whenever the top inch of soil feels dry.
* Fertilize regularly: Peppers are heavy feeders and benefit from regular fertilization. Use an all-purpose fertilizer or a fertilizer specifically formulated for peppers. Follow the package directions for application rates.
* Prune (optional): Pruning your pepper plants can encourage bushier growth and increased fruit production. Remove any suckers (small shoots that grow from the base of the plant) and any yellowing or diseased leaves.
* Provide support: As your pepper plants grow, they may need support to prevent them from falling over. Use stakes or cages to support the plants.
* Watch out for pests and diseases: Peppers can be susceptible to a variety of pests and diseases, such as aphids, flea beetles, and blossom end rot. Inspect your plants regularly and take action if you notice any problems.
Harvesting Your Snack Peppers
The best part of growing snack peppers is, of course, harvesting them!
Here are some tips for harvesting your snack peppers:
* Harvest when they are fully colored: Snack peppers are typically harvested when they are fully colored and have reached their mature size.
* Use pruning shears or scissors: Use pruning shears or scissors to cut the peppers from the plant. This will prevent you from damaging the plant.
* Handle with care: Peppers are delicate and can bruise easily. Handle them with care when harvesting.
* Store properly: Store your harvested peppers in the refrigerator for up to a week.
Troubleshooting Common Problems
Even with the best care, you may encounter some problems while growing your snack peppers. Here are some common problems and how to fix them:
* Blossom End Rot: This is a condition that causes the bottom of the peppers to rot. It’s usually caused by a calcium deficiency. To prevent blossom end rot, make sure your soil is rich in calcium and water your plants consistently. You can also add calcium to the soil by using bone meal or eggshells.
* Aphids: These small, sap-sucking insects can weaken your pepper plants. To get rid of aphids, spray your plants with insecticidal soap or neem oil.
* Flea Beetles: These small, jumping beetles can damage the leaves of your pepper plants. To control flea beetles, use row covers or spray your plants with insecticidal soap or neem oil.
* Sunscald: This is a condition that occurs when peppers are exposed to too much direct sunlight. To prevent sunscald, provide your plants with some shade during the hottest part of the day.
Growing snack peppers is a rewarding experience that will provide you with a delicious and healthy harvest. With a little bit of care and attention, you can enjoy fresh, homegrown snack peppers
Conclusion
So, there you have it! Growing your own snack peppers is not only achievable, but it’s also incredibly rewarding. From the vibrant colors adorning your garden to the burst of fresh, sweet flavor in every bite, these little peppers offer a delightful experience from seed to table. We’ve walked you through the essential steps, from selecting the right seeds and providing optimal growing conditions to harvesting your bounty at the peak of ripeness.
But why is this DIY trick a must-try? Beyond the sheer satisfaction of nurturing life and reaping the rewards of your labor, growing your own snack peppers offers several compelling advantages. First and foremost, you have complete control over the growing process. You can choose organic methods, avoiding harmful pesticides and herbicides, ensuring that your peppers are as healthy and wholesome as possible. This is particularly important when growing food for children or those with dietary sensitivities.
Secondly, the flavor of homegrown snack peppers is simply unmatched. Commercially grown peppers are often harvested before they are fully ripe to extend their shelf life, sacrificing flavor in the process. When you grow your own, you can wait until the peppers are bursting with sweetness and flavor, resulting in a truly exceptional culinary experience. Imagine the difference in taste between a store-bought pepper and one you’ve just plucked from your own garden, still warm from the sun. It’s a difference you can taste and feel.
Furthermore, growing snack peppers can be a surprisingly economical endeavor. While there is an initial investment in seeds, soil, and perhaps some basic gardening supplies, the yield from even a small number of plants can be substantial, saving you money on groceries in the long run. Plus, you can save seeds from your best peppers to grow even more the following year, creating a sustainable and cost-effective food source.
Variations and Suggestions:
Don’t be afraid to experiment with different varieties of snack peppers. There’s a whole world of flavors and colors to explore, from the classic bell pepper to the sweet and tangy banana pepper. Try growing a mix of different varieties to add visual interest to your garden and create a diverse range of flavors for your culinary creations.
Consider companion planting to enhance the growth and flavor of your snack peppers. Basil, for example, is known to repel pests and improve the flavor of peppers. Marigolds are another excellent companion plant, attracting beneficial insects that prey on harmful pests.
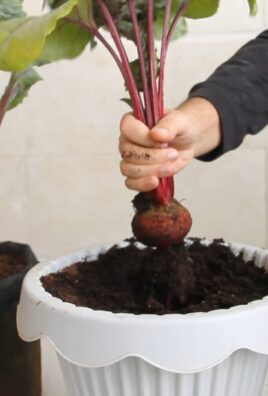
If you’re short on space, you can easily grow snack peppers in containers on a balcony or patio. Just be sure to choose a pot that is large enough to accommodate the plant’s root system and provide adequate drainage.
And finally, don’t forget to get creative with your harvest! Snack peppers are incredibly versatile and can be used in a wide variety of dishes. Stuff them with rice and vegetables for a hearty meal, slice them into salads for a burst of color and flavor, or simply enjoy them raw as a healthy and delicious snack. You can even pickle them for a tangy treat that will last for months.
We wholeheartedly encourage you to embark on this rewarding journey of growing your own snack peppers. It’s a simple, sustainable, and incredibly satisfying way to connect with nature and enjoy the fruits (or rather, vegetables) of your labor. So, grab some seeds, get your hands dirty, and experience the joy of growing your own delicious snack peppers.
We’re confident that you’ll be amazed by the results. And once you’ve harvested your first crop, we’d love to hear about your experience! Share your photos, tips, and recipes with us in the comments below. Let’s create a community of snack pepper enthusiasts and inspire others to discover the joys of homegrown goodness. Happy gardening!
Frequently Asked Questions (FAQ)
What are the best varieties of snack peppers to grow for beginners?
For beginners, some excellent and easy-to-grow snack pepper varieties include:
* Sweet Palermo: These are long, pointed peppers with a very sweet flavor and thin skin, making them perfect for snacking. They are relatively easy to grow and produce a high yield.
* Mini Bell Peppers: These are smaller versions of bell peppers, available in a variety of colors like red, yellow, and orange. They are sweet, crunchy, and easy to grow in containers or in the ground.
* Banana Peppers: These mild, slightly tangy peppers are great for pickling, grilling, or adding to salads. They are relatively low-maintenance and produce a good harvest.
* Shishito Peppers: While technically not always sweet (about 1 in 10 are spicy), Shishito peppers are fun to grow and easy to prepare. Simply blister them in a pan with some oil and sprinkle with salt.
These varieties are generally disease-resistant and forgiving, making them ideal for novice gardeners.
How much sunlight do snack peppers need?
Snack peppers thrive in full sun, requiring at least 6-8 hours of direct sunlight per day. Insufficient sunlight can lead to leggy growth, reduced fruit production, and smaller, less flavorful peppers. If you’re growing peppers indoors, supplement with grow lights to ensure they receive adequate light.
What kind of soil is best for growing snack peppers?
Snack peppers prefer well-draining, fertile soil with a slightly acidic pH (around 6.0-6.8). Amend your soil with compost or other organic matter to improve drainage, fertility, and water retention. Avoid heavy clay soils, as they can become waterlogged and lead to root rot. A good potting mix for container-grown peppers should contain a blend of peat moss, perlite, and vermiculite.
How often should I water my snack peppers?
Water your snack peppers regularly, especially during hot, dry weather. Aim to keep the soil consistently moist but not waterlogged. Water deeply at the base of the plant, avoiding wetting the foliage, which can increase the risk of fungal diseases. Check the soil moisture regularly by sticking your finger into the soil about an inch deep. If it feels dry, it’s time to water.
When should I fertilize my snack peppers?
Fertilize your snack peppers regularly throughout the growing season. Start with a balanced fertilizer (e.g., 10-10-10) when transplanting seedlings. Once the plants start to flower and produce fruit, switch to a fertilizer that is higher in phosphorus and potassium (e.g., 5-10-10) to promote fruit development. Follow the instructions on the fertilizer package carefully to avoid over-fertilizing, which can damage the plants.
How do I protect my snack peppers from pests and diseases?
To protect your snack peppers from pests and diseases:
* Inspect plants regularly: Check for signs of pests or diseases, such as aphids, whiteflies, or leaf spots.
* Use organic pest control methods: Introduce beneficial insects like ladybugs or use insecticidal soap or neem oil to control pests.
* Practice good sanitation: Remove any dead or diseased leaves or fruit to prevent the spread of disease.
* Provide good air circulation: Space plants adequately to allow for good air circulation, which can help prevent fungal diseases.
* Rotate crops: Avoid planting peppers in the same location year after year to prevent the buildup of soilborne diseases.
How do I know when my snack peppers are ripe?
The ripeness of snack peppers depends on the variety. Generally, peppers are ripe when they have reached their mature color (e.g., red, yellow, orange) and are firm to the touch. The skin should be smooth and glossy. You can also taste-test a small piece of the pepper to check for sweetness and flavor.
Can I grow snack peppers indoors?
Yes, you can grow snack peppers indoors, but you’ll need to provide them with adequate light and warmth. Use grow lights to supplement natural sunlight, and maintain a consistent temperature of around 70-75°F (21-24°C). Choose a pot that is large enough to accommodate the plant’s root system, and use a well-draining potting mix.
How do I save seeds from my snack peppers?
To save seeds from your snack peppers:
* Choose ripe, healthy peppers: Select peppers that are fully ripe and free from disease.
* Remove the seeds: Cut the pepper open and remove the seeds.
* Dry the seeds: Spread the seeds out on a paper towel and let them dry completely for several days.
* Store the seeds: Store the dried seeds in an airtight container in a cool, dark, and dry place.
Properly stored seeds can remain viable for several years.
My snack pepper plants are flowering, but not producing fruit. What could be the problem?
There are several reasons why your snack pepper plants might be flowering but not producing fruit:
* Lack of pollination: Peppers are self-pollinating, but they may need some help from wind or insects to transfer pollen. Gently shake the plants or use a small brush to transfer pollen from one flower to another.
* High temperatures: Temperatures above 90°F (32°C) can inhibit fruit set. Provide shade during the hottest part of the day.
* Insufficient watering: Water stress can also prevent fruit set. Water regularly to keep the soil consistently moist.
* Nut
Leave a Comment