

Grow mini carrots at home? Absolutely! Imagine plucking perfectly petite, sweet carrots straight from your own garden, ready to add a vibrant crunch to your salads or a healthy snack for the kids. Forget those bland, store-bought carrots – we’re talking about homegrown goodness, bursting with flavor and packed with nutrients.
For centuries, cultivating our own food has been a cornerstone of human civilization. From ancient kitchen gardens to modern-day urban farms, the desire to nurture and harvest has remained a constant. While large-scale agriculture feeds the masses, there’s something incredibly satisfying about tending to your own little patch of earth, even if it’s just a container on your balcony.
But let’s be honest, not everyone has acres of land or the time for extensive gardening. That’s where these DIY tricks come in! I’m going to show you how to grow mini carrots at home, even if you’re short on space or experience. This guide is packed with simple, effective techniques that will help you achieve a bountiful harvest of these adorable root vegetables. Why spend money on pre-packaged baby carrots when you can easily grow your own, knowing exactly what went into them? Plus, it’s a fantastic way to reduce your carbon footprint and connect with nature. So, grab your gardening gloves, and let’s get started!
Grow Your Own Tiny Treats: A Guide to Growing Mini Carrots at Home
Hey there, fellow gardening enthusiasts! Ever dreamt of plucking perfectly petite carrots straight from your own garden? Well, dream no more! Growing mini carrots at home is surprisingly easy and incredibly rewarding. Not only are they adorable, but they’re also packed with flavor and nutrients. Plus, it’s a fantastic project for beginners and seasoned gardeners alike. Let’s dive in and get our hands dirty!
Choosing the Right Carrot Variety
First things first, you need to pick the right carrot variety. Not all carrots are created equal, especially when it comes to growing them small. Here are a few of my favorite varieties that are perfect for mini carrots:
* ‘Parisian’ or ‘Thumbelina’: These are round, almost radish-like carrots that are super cute and mature quickly. They’re ideal for containers and small spaces.
* ‘Little Finger’: As the name suggests, these are small and slender, reaching only about 3-4 inches in length. They’re sweet and tender, making them a great choice for snacking.
* ‘Short n Sweet’: This variety is known for its sweet flavor and compact size, typically growing to around 4-5 inches.
* ‘Adelaide’: Another great option for small spaces, producing short, cylindrical carrots.
Tip: When selecting your seeds, make sure they are fresh. Carrot seeds have a relatively short shelf life, so check the expiration date on the packet.
Preparing Your Growing Space
Carrots need loose, well-drained soil to thrive. Rocky or compacted soil will result in stunted or misshapen carrots. Here’s how I prepare my growing space:
* Choose a sunny location: Carrots need at least 6 hours of sunlight per day.
* Prepare the soil: This is the most crucial step! Carrots need loose, well-draining soil.
* For garden beds: Dig down at least 12 inches and remove any rocks, stones, or debris. Amend the soil with plenty of compost or well-rotted manure to improve drainage and fertility. Avoid using fresh manure, as it can cause forked roots.
* For containers: Choose a container that is at least 8-10 inches deep. Fill it with a high-quality potting mix specifically formulated for vegetables. I like to add a bit of perlite to improve drainage.
* Ensure proper drainage: Carrots don’t like soggy soil. Make sure your garden bed or container has good drainage to prevent root rot.
Sowing the Seeds
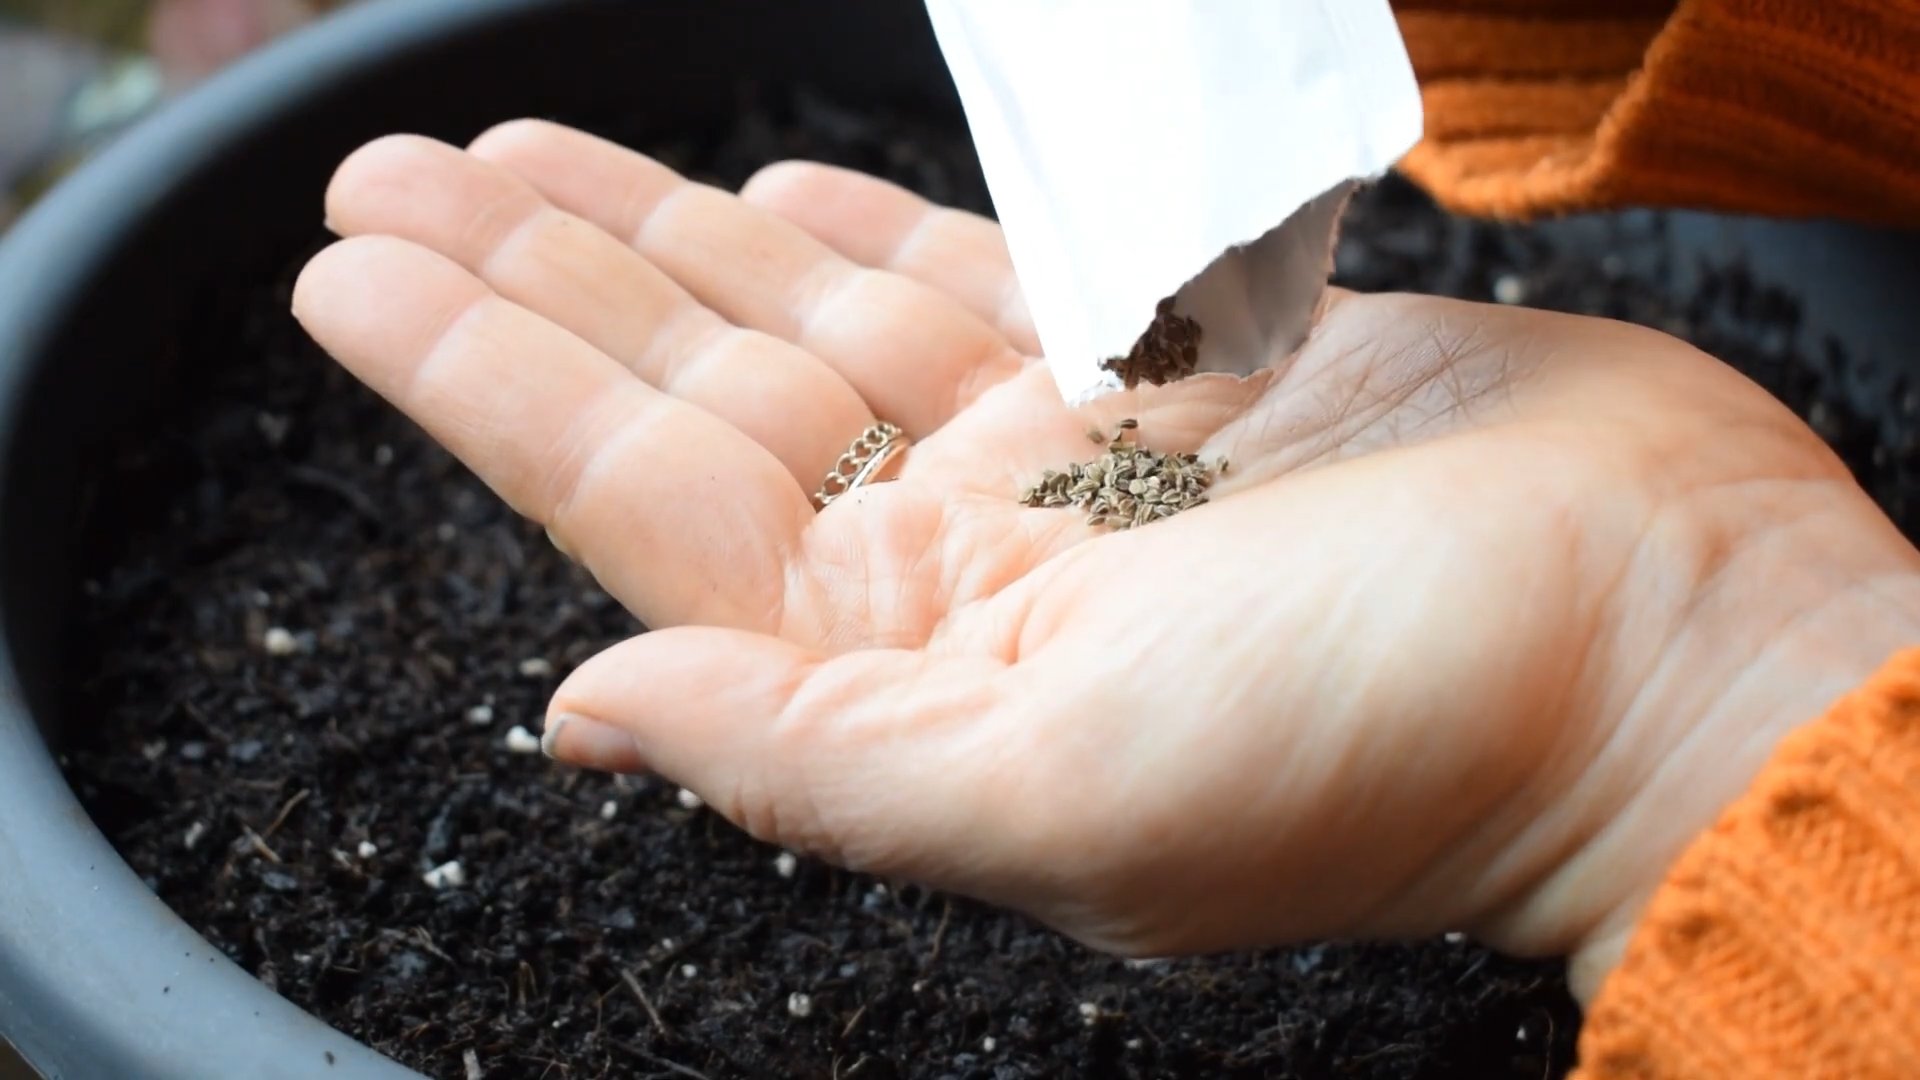
Now comes the fun part – planting the seeds! Carrot seeds are tiny, so it can be a bit tricky to sow them evenly. Here’s my method:
1. Moisten the soil: Before sowing, lightly water the soil to ensure it’s evenly moist.
2. Create shallow furrows: Make shallow furrows about 1/4 to 1/2 inch deep and 1-2 inches apart.
3. Sow the seeds: Sprinkle the seeds thinly along the furrows. Don’t worry about being too precise; you can always thin them out later.
4. Cover the seeds: Gently cover the seeds with a thin layer of soil or vermiculite.
5. Water gently: Water the area gently using a watering can with a fine rose or a spray bottle to avoid disturbing the seeds.
6. Keep the soil moist: Keep the soil consistently moist until the seeds germinate, which usually takes about 7-21 days. You can cover the area with a piece of burlap or shade cloth to help retain moisture.
Tip: To make sowing easier, you can mix the tiny carrot seeds with sand or coffee grounds. This will help you spread them more evenly.
Caring for Your Mini Carrots
Once your carrot seedlings emerge, it’s time to provide them with the care they need to thrive.
1. Thinning: This is crucial for growing healthy mini carrots. When the seedlings are about 1-2 inches tall, thin them out so that they are about 1-2 inches apart. This will give them enough space to develop properly. Don’t be afraid to pull out the weaker seedlings.
2. Watering: Water your carrots regularly, especially during dry spells. Aim for about 1 inch of water per week. Avoid overwatering, as this can lead to root rot.
3. Weeding: Keep the area around your carrots free of weeds. Weeds compete with carrots for nutrients and water. Gently hand-pull any weeds that emerge.
4. Fertilizing: Carrots are not heavy feeders, but they will benefit from a light feeding of fertilizer. Use a balanced fertilizer or one that is specifically formulated for root vegetables. Follow the instructions on the fertilizer package. I like to use a liquid seaweed fertilizer diluted in water every few weeks.
5. Sunlight: Ensure your carrots are getting at least 6 hours of sunlight per day. If you’re growing them in containers, you may need to move them around to follow the sun.
6. Pest Control: Keep an eye out for pests such as carrot rust flies and aphids. You can use organic pest control methods, such as insecticidal soap or neem oil, to control these pests. Covering your carrots with row covers can also help prevent pest infestations.
Harvesting Your Mini Carrots
The best part of growing mini carrots is, of course, harvesting them! Mini carrots typically mature in about 50-70 days, depending on the variety.
1. Check for maturity: You can tell when your mini carrots are ready to harvest by gently pulling back the soil around the base of the plant to check the size of the carrot. They should be about 1-2 inches in diameter, depending on the variety.
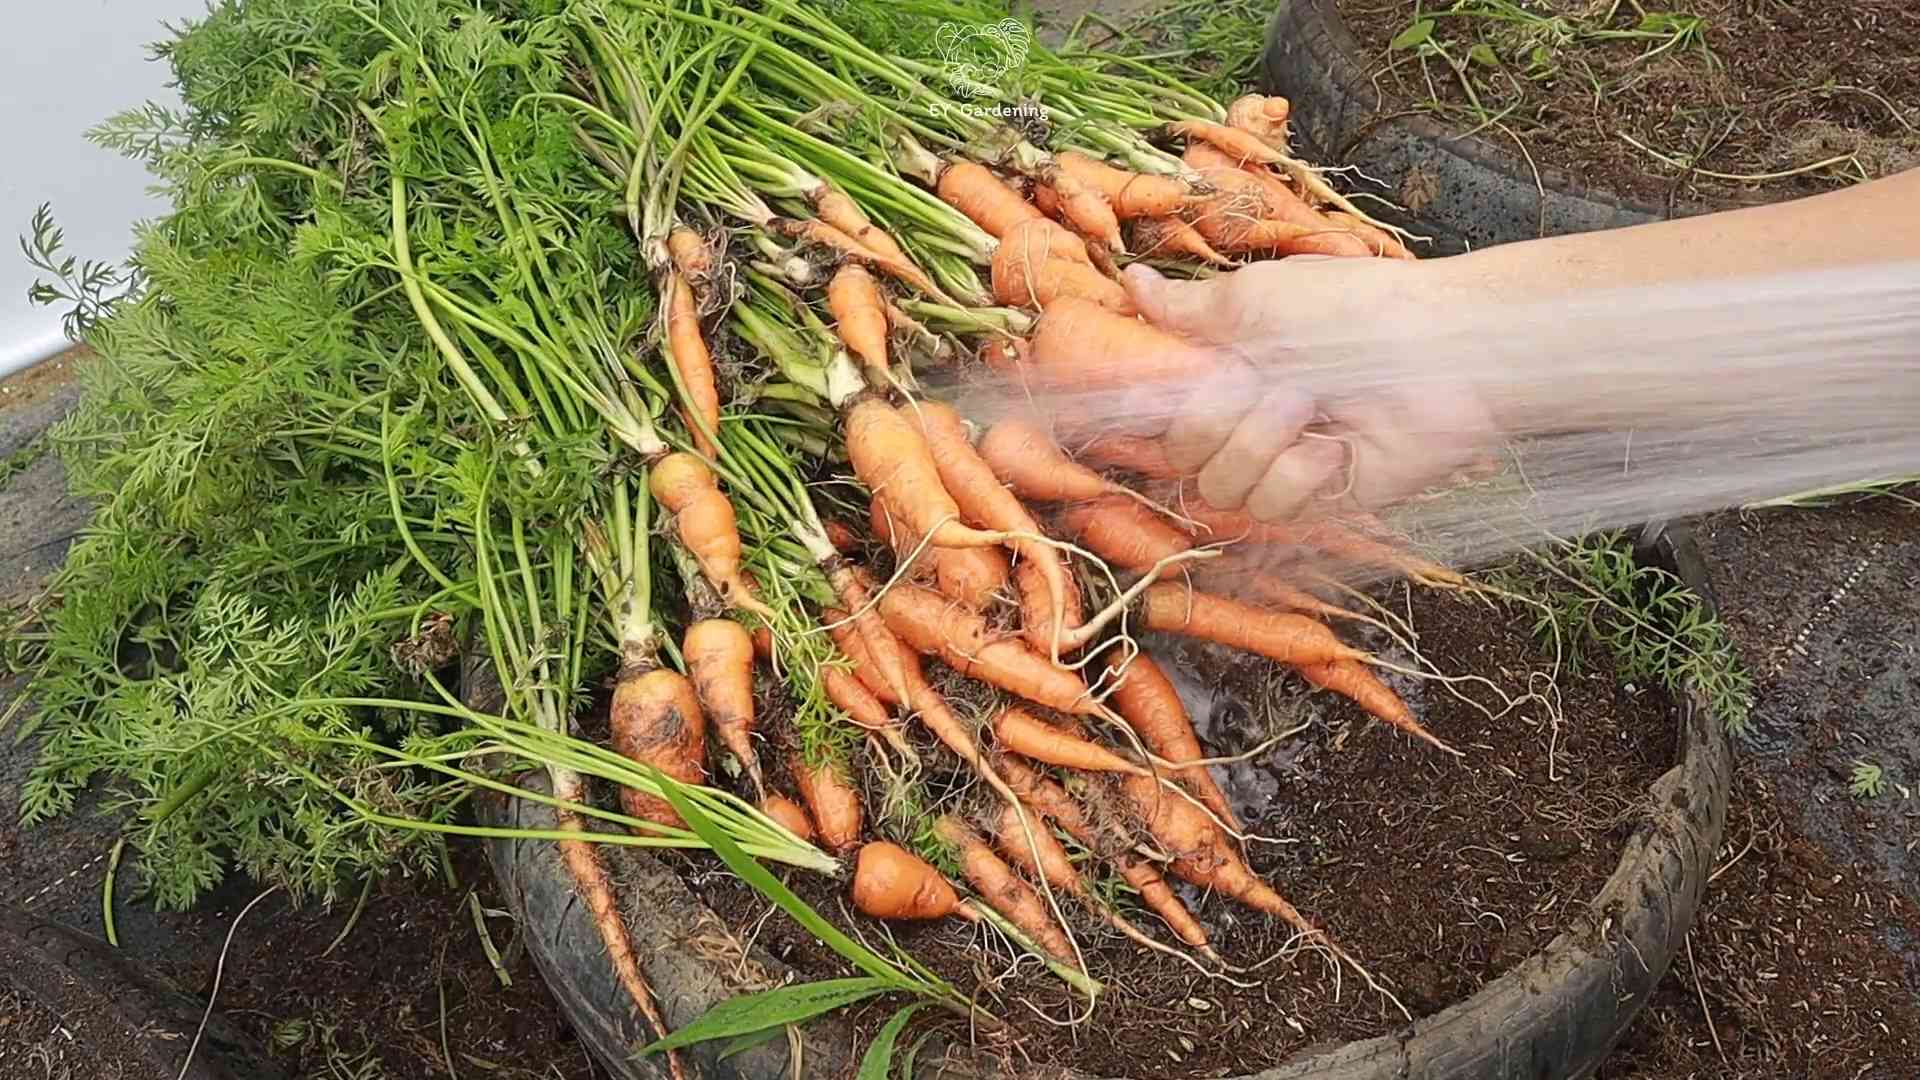
2. Harvest carefully: Gently loosen the soil around the carrots with a garden fork or trowel. Then, carefully pull the carrots out of the ground by the greens.
3. Wash and enjoy: Wash the carrots thoroughly to remove any dirt. You can eat them raw, roasted, steamed, or added to salads and other dishes.
Tip: Harvest your carrots in the evening or early morning when the soil is cooler. This will help prevent them from wilting.
Troubleshooting
Even with the best care, you may encounter some challenges when growing mini carrots. Here are a few common problems and how to address them:
* Forked roots: This is usually caused by compacted soil or rocks in the soil. Make sure to prepare your soil properly before planting.
* Stunted growth: This can be caused by poor soil, lack of sunlight, or overcrowding. Make sure your carrots are getting enough sunlight and nutrients, and thin them out properly.
* Root rot: This is caused by overwatering or poor drainage. Make sure your soil is well-draining and avoid overwatering.
* Pest infestations: Keep an eye out for pests and take action promptly to control them.
Growing Carrots in Containers: A Closer Look
Growing mini carrots in containers is a fantastic option if you have limited space or want to keep them closer to your kitchen. Here’s a more detailed look at container gardening for mini carrots:
* Choosing the Right Container: Opt for a container that’s at least 8-10 inches deep and wide. This gives the carrots enough room to develop. Make sure the container has drainage holes to prevent waterlogging.
* Potting Mix Matters: Use a high-quality potting mix specifically designed for vegetables. Avoid using garden soil in containers, as it can become compacted and doesn’t drain well. I often mix in some perlite or vermiculite to improve drainage and aeration.
* Watering Wisely: Container plants tend to dry out faster than those in the ground. Check the soil moisture regularly by sticking your finger about an inch deep. If it feels dry, it’s time to water. Water deeply until water drains out of the bottom of the container.
* Fertilizing Regularly: Because container plants rely solely on you for nutrients, regular fertilization is key. Use a balanced liquid fertilizer every 2-3 weeks, following the instructions on the package.
* Sunlight is Essential: Place your container in a spot that receives at least 6 hours of direct sunlight per day. If you don’t have a sunny spot, consider using grow lights.
* Rotating the Container: To ensure even growth, rotate the container every few days. This will prevent the carrots from leaning towards the sun.
Extending Your Carrot Harvest
Want to enjoy fresh mini carrots for as long as possible? Here are a few tips for extending your harvest:
* Succession Planting: Sow a new batch of seeds every 2-3 weeks to ensure a continuous harvest.
* Choose Different Varieties: Some carrot varieties mature faster than others. By planting a mix of varieties, you can extend your harvest season.
* Cold Frames or Greenhouses:
Conclusion
So, there you have it! Growing mini carrots at home is not only achievable but also incredibly rewarding. Forget those bland, store-bought baby carrots; with this simple DIY trick, you can cultivate a vibrant, flavorful harvest right in your own kitchen or garden. The satisfaction of nurturing these tiny orange gems from seed to table is unparalleled, and the taste difference is truly remarkable.
Why is this a must-try? Because it empowers you to take control of your food source, even in limited spaces. It’s a fantastic project for families, teaching children about the wonders of gardening and the importance of fresh produce. Plus, it’s a sustainable way to reduce your reliance on commercially grown vegetables, minimizing your environmental footprint. And let’s be honest, who can resist the charm of perfectly petite, homegrown carrots?
But the fun doesn’t stop there! Feel free to experiment with different carrot varieties. Nantes carrots are known for their sweetness and uniform shape, making them ideal for mini cultivation. Consider trying Parisian carrots, which are round and adorable, or even rainbow carrots for a colorful twist. You can also play around with container sizes and soil mixtures to find what works best for your specific environment.
For an extra boost, try adding a diluted seaweed solution to your watering routine. Seaweed is packed with micronutrients that can enhance growth and flavor. Companion planting is another great way to improve your mini carrot yield. Marigolds, for example, can deter pests, while rosemary can enhance the flavor of your carrots.
Don’t be afraid to get your hands dirty and embrace the learning process. Gardening is all about experimentation, and even if you encounter a few bumps along the way, the end result – a bounty of delicious, homegrown mini carrots – is well worth the effort.
We wholeheartedly encourage you to try this DIY trick and experience the joy of growing your own mini carrots. It’s a simple, satisfying, and sustainable way to add a touch of homegrown goodness to your meals. Once you’ve harvested your first batch, we’d love to hear about your experience! Share your tips, tricks, and photos with us in the comments below. Let’s create a community of mini carrot enthusiasts and inspire others to embrace the magic of homegrown produce. Happy gardening!
Frequently Asked Questions (FAQs)
What kind of container should I use to grow mini carrots?
The ideal container for growing mini carrots should be at least 6-8 inches deep to allow the roots to develop properly. A wide container is also preferable, as it will give the carrots more space to spread out. You can use plastic pots, terracotta pots, raised beds, or even repurposed containers like buckets or tubs. Just make sure the container has drainage holes to prevent waterlogging. Avoid using containers that are too small, as this can stunt the growth of your carrots.
What type of soil is best for growing mini carrots?
Mini carrots thrive in loose, well-draining soil that is rich in organic matter. A sandy loam soil is ideal, as it allows the roots to penetrate easily. Avoid heavy clay soils, as they can become compacted and restrict root growth. You can amend your soil with compost, aged manure, or peat moss to improve its drainage and fertility. A slightly acidic soil pH of 6.0 to 6.8 is also optimal for carrot growth. Before planting, make sure to remove any rocks or debris from the soil, as these can interfere with root development.
How often should I water my mini carrots?
Mini carrots need consistent moisture to thrive, but it’s important to avoid overwatering, which can lead to root rot. Water your carrots deeply whenever the top inch of soil feels dry to the touch. During hot, dry weather, you may need to water them more frequently. Use a gentle watering can or hose to avoid disturbing the seedlings. Mulching around the plants can help retain moisture and suppress weeds.
How much sunlight do mini carrots need?
Mini carrots need at least 6 hours of direct sunlight per day to grow properly. Choose a sunny location for your container or garden bed. If you live in a hot climate, you may need to provide some afternoon shade to prevent the carrots from overheating. Insufficient sunlight can result in stunted growth and pale, underdeveloped carrots.
When is the best time to plant mini carrots?
The best time to plant mini carrots is in early spring or late summer, depending on your climate. Carrots are cool-season crops that prefer temperatures between 60°F and 70°F. In warmer climates, you can plant them in the fall for a winter harvest. Avoid planting them during the hottest months of the year, as high temperatures can inhibit germination and growth.
How long does it take for mini carrots to mature?
Mini carrots typically mature in 50-70 days, depending on the variety and growing conditions. You can start harvesting them when they reach about 2-3 inches in length. To harvest, gently loosen the soil around the carrots and pull them out by the tops.
What are some common pests and diseases that affect mini carrots?
Some common pests that can affect mini carrots include carrot rust flies, aphids, and nematodes. Diseases that can affect them include leaf blight and root rot. To prevent pests and diseases, practice good garden hygiene, such as removing weeds and debris, and avoid overwatering. You can also use organic pest control methods, such as insecticidal soap or neem oil.
Can I grow mini carrots indoors?
Yes, you can grow mini carrots indoors, but you’ll need to provide them with adequate light and ventilation. Place your container near a sunny window or use grow lights to supplement the natural light. Make sure the room is well-ventilated to prevent fungal diseases.
How do I prevent my mini carrots from splitting?
Splitting carrots are often caused by inconsistent watering. To prevent this, water your carrots regularly and deeply, especially during dry periods. Avoid letting the soil dry out completely between waterings.
What are some creative ways to use my homegrown mini carrots?
Homegrown mini carrots are incredibly versatile and can be used in a variety of dishes. They’re delicious raw as a snack, dipped in hummus or ranch dressing. You can also roast them with herbs and spices, add them to salads, or use them in soups and stews. They make a beautiful and flavorful addition to any meal. Consider pickling them for a tangy treat or juicing them for a nutrient-rich beverage. The possibilities are endless!


Leave a Comment