

DIY Home Fragrance Boosters: Are you tired of expensive store-bought air fresheners that fade quickly and are often filled with harsh chemicals? I know I am! There’s something so satisfying about creating a welcoming and fragrant home environment yourself, and that’s exactly what we’re diving into today.
The desire to scent our homes is nothing new. Throughout history, cultures have used natural elements like herbs, flowers, and spices to create pleasant aromas. Think of ancient Egyptians burning incense or Victorian ladies using potpourri to freshen their parlors. These practices weren’t just about masking odors; they were about creating a specific atmosphere and enhancing well-being.
In our modern, fast-paced lives, creating a calming and inviting home is more important than ever. But who has the time or budget for constant refills of pricey air fresheners? That’s where these DIY Home Fragrance Boosters come in. I’m going to share some simple, effective, and budget-friendly tricks to keep your home smelling amazing using ingredients you probably already have. From simmering stovetop potpourri to crafting your own reed diffusers, these hacks will transform your space into a fragrant oasis. Get ready to ditch the chemicals and embrace the power of natural scents!
DIY Home Fragrance Boosters: Elevate Your Senses on a Budget
Hey there, fragrance fanatics! Are you tired of expensive air fresheners that fade faster than your enthusiasm for cleaning? Well, I’ve got some fantastic news: you can create your own amazing home fragrance boosters using simple ingredients and a little bit of DIY magic. These projects are not only budget-friendly but also allow you to customize scents to perfectly match your mood and style. Let’s dive in and transform your home into an olfactory paradise!
Scented Pine Cone Fire Starters
These are perfect for adding a cozy, woodsy aroma to your home, especially during the colder months. Plus, they make fantastic gifts!
What You’ll Need:
* Pine cones (naturally dried)
* Soy wax flakes (or old candle remnants)
* Essential oils (cedarwood, pine, cinnamon, orange – your choice!)
* Double boiler or heat-safe bowl and saucepan
* Tongs
* Wax paper or parchment paper
* Optional: Dried herbs (rosemary, lavender, thyme)
* Optional: Twine or ribbon for decoration
Step-by-Step Instructions:
1. Prepare the Pine Cones: Make sure your pine cones are clean and completely dry. If they’ve been outside, you might want to bake them at a low temperature (around 200°F or 93°C) for about an hour to kill any bugs and ensure they’re thoroughly dried. Let them cool completely before moving on.
2. Melt the Wax: This is where the magic begins! Fill the bottom of your double boiler with water and bring it to a simmer. Place the top part of the double boiler (or your heat-safe bowl) on top. Add the soy wax flakes and let them melt slowly, stirring occasionally. If you’re using old candle remnants, remove any wicks or debris before melting.
3. Add the Essential Oils: Once the wax is completely melted, remove it from the heat. Now it’s time to add your essential oils. I usually go for a concentration of about 10-15 drops of essential oil per cup of melted wax, but feel free to experiment to find your perfect scent strength. Stir well to combine. Remember, a little goes a long way!
4. Dip the Pine Cones: Using tongs, carefully dip each pine cone into the melted wax, ensuring it’s thoroughly coated. You can dip them multiple times for a thicker coating, letting the wax cool slightly between dips.
5. Add Herbs (Optional): While the wax is still wet, sprinkle dried herbs onto the pine cones for added visual appeal and a subtle fragrance boost. Rosemary and lavender are my personal favorites.
6. Dry and Cool: Place the dipped pine cones on wax paper or parchment paper to dry completely. This usually takes a few hours.
7. Decorate (Optional): Once the pine cones are dry, you can tie a piece of twine or ribbon around them for a rustic, decorative touch. These look beautiful displayed in a basket or used as fire starters in your fireplace.
DIY Reed Diffuser
Reed diffusers are a fantastic way to continuously fragrance a room without any open flames. They’re perfect for bathrooms, bedrooms, or any space where you want a subtle, consistent scent.
What You’ll Need:
* A small glass bottle or jar with a narrow opening
* Diffuser reeds (rattan reeds work best)
* Carrier oil (fractionated coconut oil, safflower oil, or sweet almond oil)
* Essential oils (lavender, eucalyptus, lemon, grapefruit – again, your choice!)
* Optional: Vodka or rubbing alcohol (to help the scent travel)
* Optional: Decorative elements (ribbon, beads)
Step-by-Step Instructions:
1. Prepare the Bottle: Make sure your glass bottle or jar is clean and dry. A narrow opening will help prevent the fragrance from evaporating too quickly.
2. Mix the Diffuser Oil: In a separate container, combine the carrier oil and essential oils. A good starting ratio is about 75% carrier oil and 25% essential oils. For a stronger scent, you can increase the amount of essential oils. If you’re using vodka or rubbing alcohol, add a tablespoon or two to the mixture. This will help the essential oils disperse more effectively. I usually use about 30-40 drops of essential oil per 1/2 cup of carrier oil.
3. Fill the Bottle: Carefully pour the diffuser oil mixture into the glass bottle.
4. Insert the Reeds: Place the diffuser reeds into the bottle, making sure they are submerged in the oil.
5. Flip the Reeds: After a few hours, flip the reeds so that the dry ends are now submerged in the oil. This will saturate the reeds and start the diffusion process.
6. Maintain the Diffuser: Flip the reeds every week or two to refresh the scent. You may also need to add more diffuser oil as it evaporates.
7. Decorate (Optional): Add a ribbon or beads around the neck of the bottle to personalize your diffuser.
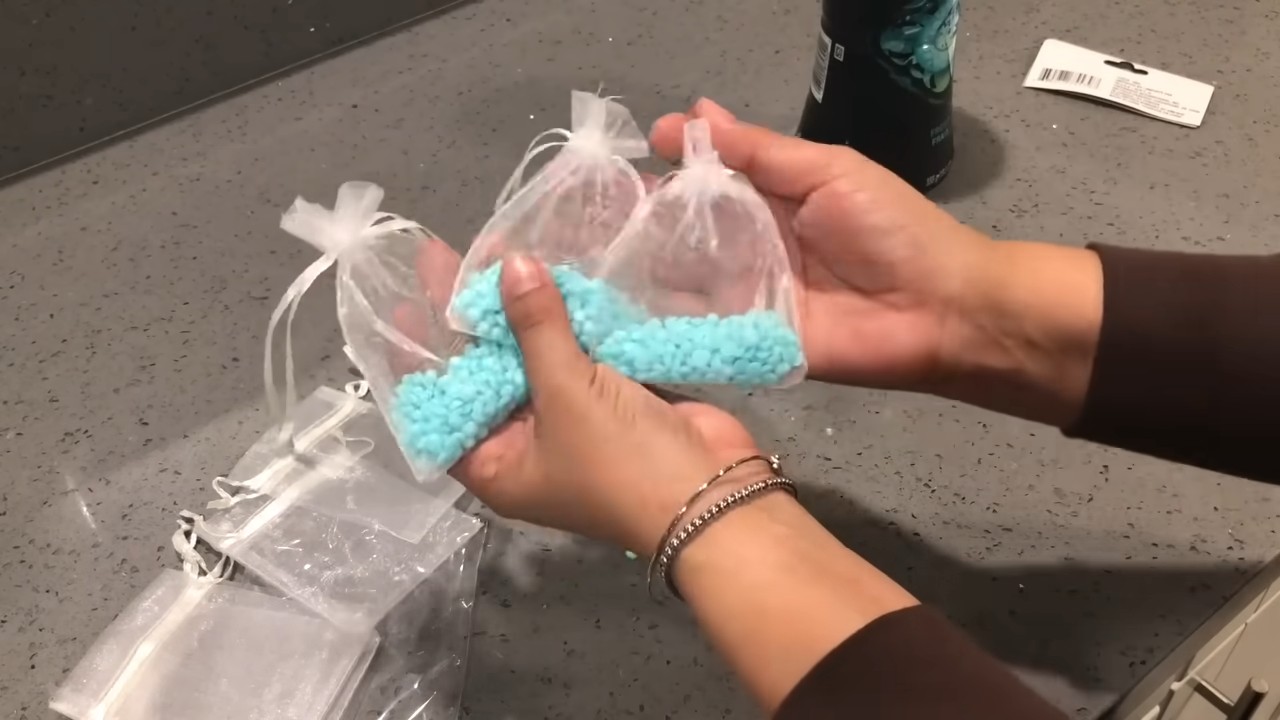
Scented Drawer Sachets
These little pouches are perfect for keeping your drawers, closets, and even your car smelling fresh and inviting.
What You’ll Need:
* Small fabric bags (muslin, organza, or even small drawstring bags)
* Dried lavender buds, rose petals, or other dried flowers
* Essential oils (lavender, rose, chamomile, sandalwood – choose scents that complement your dried flowers)
* Rice or other filler (optional, to add bulk)
* Optional: Ribbon or twine for tying the bags
Step-by-Step Instructions:
1. Prepare the Dried Flowers: If you’re using fresh flowers, make sure they are completely dried before using them in your sachets. You can dry them by hanging them upside down in a cool, dark place or by using a dehydrator.
2. Mix the Scent: In a bowl, combine the dried flowers and a few drops of essential oil. Gently mix them together, making sure the essential oil is evenly distributed. I usually use about 5-10 drops of essential oil per cup of dried flowers.
3. Fill the Bags: Carefully fill the fabric bags with the scented flower mixture. If you want to add bulk, you can mix the flowers with rice or another filler.
4. Tie the Bags: Tie the bags securely with ribbon or twine.
5. Place the Sachets: Place the sachets in your drawers, closets, or car to enjoy the fragrance. You can also hang them in your bathroom or near your bed for a relaxing aroma.
DIY Gel Air Fresheners
These are a fun and easy way to create long-lasting air fresheners in your favorite scents.
What You’ll Need:
* Unflavored gelatin
* Water
* Salt
* Essential oils (your choice!)
* Food coloring (optional)
* Small jars or containers
* Optional: Decorative elements (dried flowers, glitter)
Step-by-Step Instructions:
1. Prepare the Gelatin Mixture: In a saucepan, combine 1 cup of water and 2 packets of unflavored gelatin. Let it sit for a few minutes to soften the gelatin.
2. Heat the Mixture: Heat the mixture over low heat, stirring constantly, until the gelatin is completely dissolved.
3. Add Salt and Essential Oils: Remove the saucepan from the heat and stir in 1 cup of cold water and 1 tablespoon of salt. The salt helps prevent mold growth. Then, add your essential oils. I usually use about 20-30 drops of essential oil per batch, but you can adjust the amount to your liking.
4. Add Food Coloring (Optional): If you want to add color to your air fresheners, add a few drops of food coloring to the mixture.
5. Pour into Jars: Pour the gelatin mixture into your small jars or containers.
6. Add Decorative Elements (Optional): Before the gelatin sets, you can add decorative elements like dried flowers or glitter to the jars.
7. Let it Set: Let the jars sit at room temperature for several hours, or overnight, until the gelatin is completely set.
8. Enjoy the Fragrance: Once the gelatin is set, your DIY gel air fresheners are ready to use! Place them in your bathroom, kitchen, or any other room where you want to add a fresh scent.
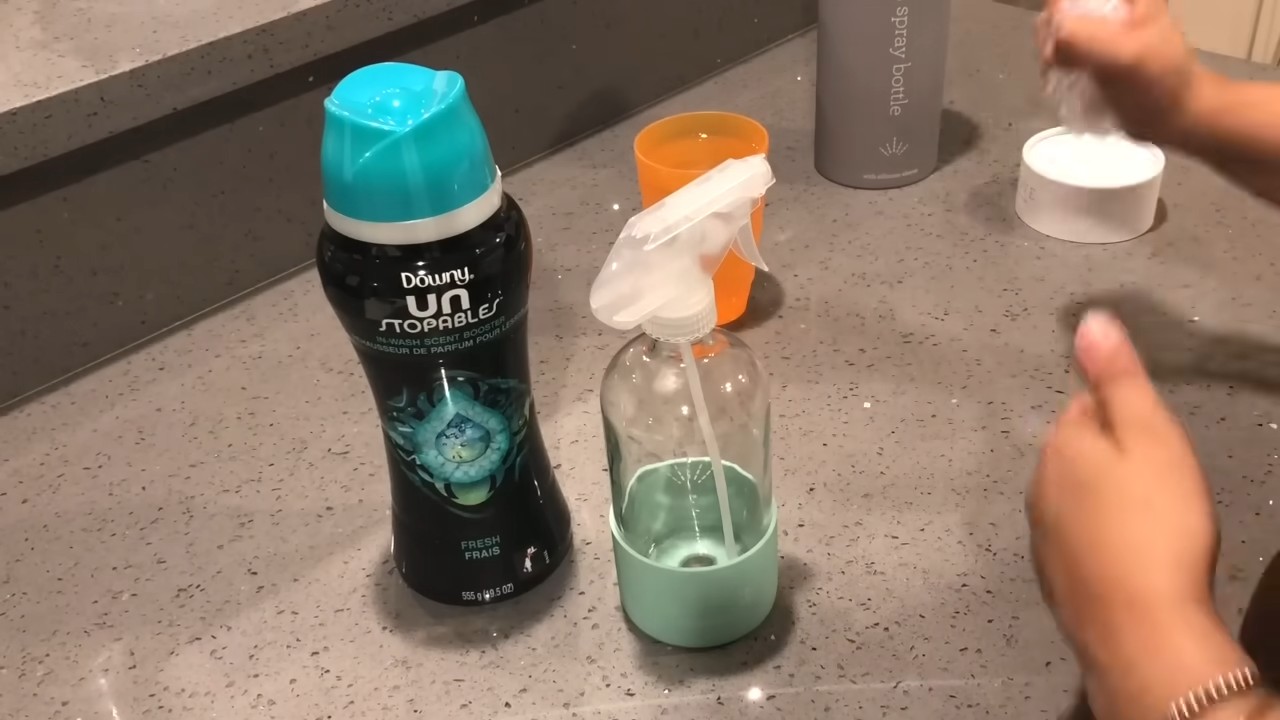
Scented Cleaning Spray
Why not make cleaning a more pleasant experience? This scented cleaning spray is easy to make and will leave your home smelling amazing.
What You’ll Need:
* Spray bottle
* Water
* White vinegar
* Essential oils (lemon, tea tree, lavender, eucalyptus – choose scents with antibacterial properties)
Step-by-Step Instructions:
Conclusion
So, there you have it! Ditching those expensive, chemical-laden air fresheners and embracing the world of DIY home fragrance boosters is not just a trend; it’s a lifestyle upgrade. We’ve explored simple, effective ways to infuse your home with delightful scents, all while saving money and knowing exactly what ingredients are circulating in your air.
Why is this a must-try? Because it’s customizable, cost-effective, and conscious. You control the fragrance, tailoring it to your mood, the season, or even a specific event. Imagine welcoming guests with the warm, inviting aroma of cinnamon and cloves during the holidays, or creating a calming oasis with lavender and chamomile in your bedroom. The possibilities are truly endless.
Beyond the basic recipes, don’t be afraid to experiment! Try different essential oil blends. For a more invigorating scent, combine citrus oils like lemon, grapefruit, and orange. For a relaxing atmosphere, consider lavender, cedarwood, and bergamot. You can also adjust the intensity of the fragrance by adding more or fewer essential oil drops.
Consider using dried herbs and spices in your simmering pots for a more rustic and natural aroma. Rosemary, thyme, and bay leaves can add a savory touch, while star anise and cardamom offer a warm, spicy fragrance. You can even add slices of fresh fruit like apples or oranges to your simmering pot for a burst of fruity goodness.
Another variation involves using different types of carriers for your essential oils. Instead of cotton balls, try using wooden clothespins or small terracotta pots. The porous nature of these materials allows them to absorb the essential oils and slowly release the fragrance into the air. You can even paint or decorate the clothespins or pots to match your home decor.
For a longer-lasting fragrance, consider making a reed diffuser. Simply combine essential oils with a carrier oil like fractionated coconut oil or sweet almond oil in a glass bottle and insert reed diffuser sticks. The reeds will absorb the oil and release the fragrance into the air over time.
The beauty of these DIY home fragrance boosters lies in their simplicity and versatility. They are a fantastic way to create a welcoming and inviting atmosphere in your home without breaking the bank or exposing yourself to harmful chemicals.
We wholeheartedly encourage you to give these DIY tricks a try. Start with one or two of the recipes that resonate with you and see how they transform your living space. And most importantly, we want to hear about your experience! Share your favorite scent combinations, your creative variations, and any tips or tricks you discover along the way. Let’s build a community of fragrance enthusiasts who are passionate about creating healthy and beautiful homes. Don’t forget to share your creations on social media using #DIYHomeFragrance and tag us! We can’t wait to see what you come up with. Embrace the power of natural scents and create a home that smells as good as it feels!
Frequently Asked Questions (FAQ)
What are the benefits of using DIY home fragrance boosters compared to store-bought air fresheners?
DIY home fragrance boosters offer several advantages over commercial air fresheners. Firstly, you have complete control over the ingredients. Store-bought air fresheners often contain harmful chemicals like phthalates, formaldehyde, and volatile organic compounds (VOCs), which can trigger allergies, asthma, and other health problems. With DIY options, you can use natural ingredients like essential oils, herbs, and spices, ensuring a healthier environment for you and your family. Secondly, DIY boosters are significantly more cost-effective. Essential oils and other natural ingredients are generally cheaper than purchasing air fresheners regularly. Thirdly, you can customize the scent to your liking. Commercial air fresheners offer limited fragrance options, while DIY allows you to create unique blends that suit your preferences and needs. Finally, DIY is more environmentally friendly, reducing plastic waste from disposable air freshener containers.
How long do DIY home fragrance boosters typically last?
The longevity of DIY home fragrance boosters depends on the method used. Simmering pots typically last for a few hours, requiring occasional water refills. Cotton ball diffusers can last for a few days, depending on the amount of essential oil used and the airflow in the room. Reed diffusers, on the other hand, can last for several weeks or even months, depending on the size of the bottle and the type of carrier oil used. Room sprays typically last for a few hours, requiring reapplication as needed. To extend the lifespan of your DIY boosters, store them in a cool, dark place when not in use and refresh the essential oils regularly.
Are essential oils safe to use around pets and children?
While essential oils offer numerous benefits, it’s crucial to exercise caution when using them around pets and children. Some essential oils can be toxic to pets, especially cats, if ingested or applied topically. Common culprits include tea tree oil, peppermint oil, and citrus oils. Always research the safety of essential oils before using them around pets and keep them out of reach. For children, it’s best to dilute essential oils significantly and avoid using them on infants under six months old. Consult with a veterinarian or pediatrician if you have any concerns. When in doubt, opt for milder essential oils like lavender or chamomile and always supervise children when using DIY fragrance boosters.
Can I use fragrance oils instead of essential oils?
While fragrance oils may seem like a cheaper alternative to essential oils, they are not recommended for DIY home fragrance boosters. Fragrance oils are synthetic and do not offer the same therapeutic benefits as essential oils. They often contain artificial chemicals that can be harmful to your health. Essential oils, on the other hand, are derived from natural plant sources and possess various therapeutic properties, such as stress relief, mood enhancement, and immune support. While fragrance oils might provide a pleasant scent, they lack the holistic benefits of essential oils. For a healthier and more beneficial experience, always opt for pure, high-quality essential oils.
What are some common mistakes to avoid when making DIY home fragrance boosters?
Several common mistakes can hinder the effectiveness of your DIY home fragrance boosters. Firstly, using too much essential oil can be overpowering and even irritating. Start with a small amount and gradually add more until you achieve the desired scent intensity. Secondly, neglecting to dilute essential oils properly can cause skin irritation or allergic reactions. Always dilute essential oils with a carrier oil like coconut oil or almond oil before applying them to your skin or using them in a diffuser. Thirdly, using low-quality essential oils can result in a weak or unpleasant scent. Invest in pure, high-quality essential oils from reputable sources. Finally, failing to clean your diffuser or simmering pot regularly can lead to the buildup of bacteria and mold. Clean your equipment thoroughly after each use to maintain hygiene and prevent unpleasant odors.
How can I customize my DIY home fragrance boosters for different seasons?
Customizing your DIY home fragrance boosters for different seasons is a fun and creative way to enhance your home’s ambiance. For spring, opt for light and floral scents like lavender, rose, and jasmine. For summer, choose refreshing and citrusy scents like lemon, grapefruit, and orange. For autumn, embrace warm and spicy scents like cinnamon, clove, and nutmeg. For winter, create a cozy and comforting atmosphere with scents like pine, cedarwood, and frankincense. You can also incorporate seasonal ingredients like fresh herbs, spices, and fruits into your simmering pots for a more authentic and festive fragrance. Experiment with different combinations to create unique scents that capture the essence of each season.

Leave a Comment