

Grow Thyme Indoors? Absolutely! Imagine stepping into your kitchen and snipping fresh, fragrant thyme to elevate your culinary creations. No more trips to the grocery store or settling for dried herbs that lack that vibrant, earthy punch. This isn’t just a dream; it’s an achievable reality with a few simple DIY tricks, and I’m here to guide you every step of the way.
Thyme, with its rich history dating back to ancient Egypt where it was used for embalming, and its significance in ancient Greece as a symbol of courage, has always been more than just a herb. It’s a connection to the past, a flavor enhancer, and now, a delightful addition to your indoor garden. For centuries, people have cherished thyme for its medicinal properties and culinary versatility. Now, you can bring that tradition into your home, regardless of your outdoor space.
Why should you learn to grow thyme indoors? Because it’s incredibly rewarding! Not only will you have a constant supply of fresh thyme at your fingertips, but you’ll also enjoy the therapeutic benefits of nurturing a living plant. Plus, let’s be honest, a little greenery can brighten up any space, especially during those long winter months. This DIY guide will provide you with the essential knowledge and practical tips to successfully cultivate thyme indoors, even if you’re a complete beginner. Get ready to unleash your inner gardener and transform your home into a fragrant, thriving oasis!
Growing Thyme Indoors: A Comprehensive DIY Guide
Hey there, fellow plant enthusiasts! I’m so excited to share my tried-and-true method for growing thyme indoors. Fresh thyme is a game-changer in the kitchen, and having it readily available is a real treat. Plus, the aroma is just divine! This guide will walk you through everything you need to know, from choosing the right variety to harvesting your fragrant bounty. Let’s get started!
Choosing the Right Thyme Variety
Not all thyme is created equal, especially when it comes to indoor growing. Some varieties are better suited for containers and indoor environments than others. Here’s a breakdown of my favorites:
* English Thyme (Thymus vulgaris): This is the classic culinary thyme, and it’s a great choice for beginners. It’s relatively easy to grow and has a strong, recognizable flavor.
* Lemon Thyme (Thymus citriodorus): If you’re looking for a citrusy twist, lemon thyme is your answer. It adds a bright, refreshing flavor to dishes and has a lovely lemon scent.
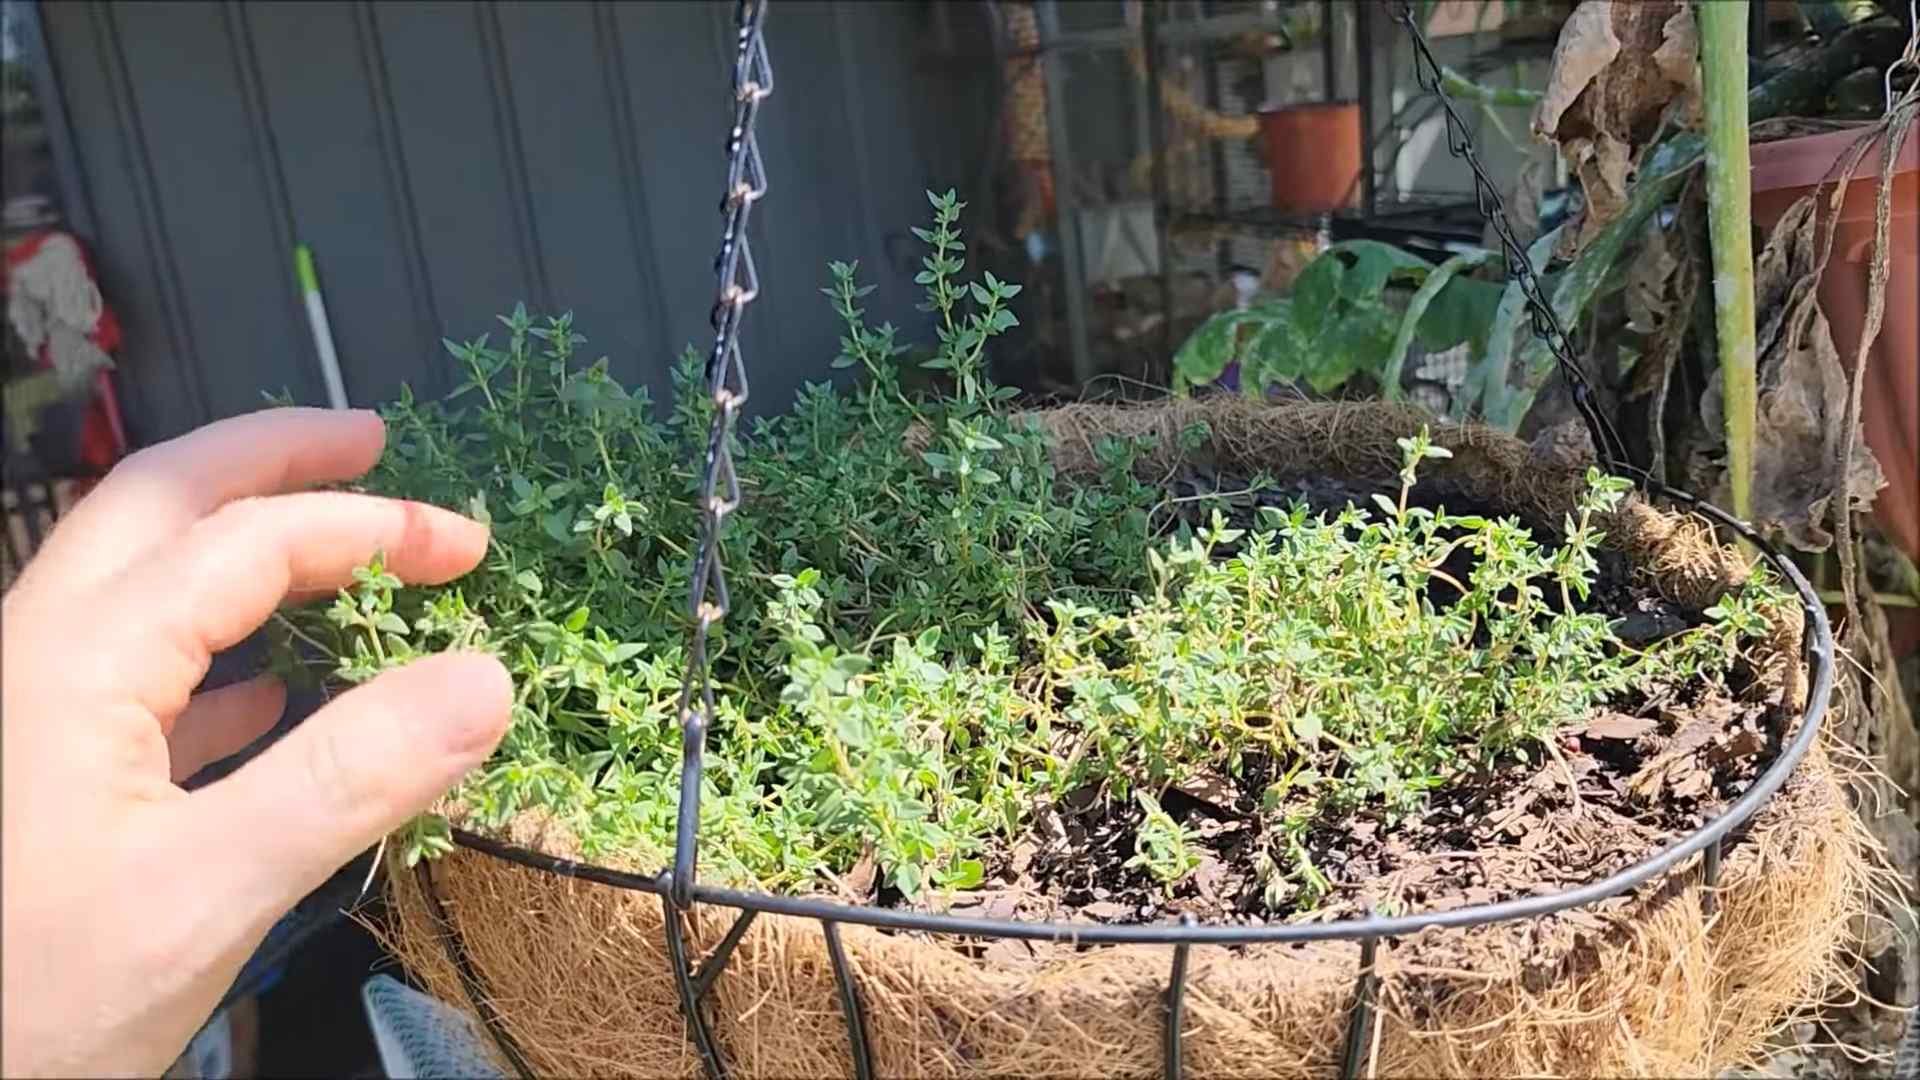
* Creeping Thyme (Thymus serpyllum): While primarily used as a ground cover outdoors, creeping thyme can also thrive indoors in hanging baskets or containers where it can cascade over the edges. It has a milder flavor than English thyme.
Materials You’ll Need
Before we dive into the planting process, let’s gather all the necessary materials. Having everything on hand will make the process much smoother.
* Thyme Seeds or Seedlings: You can start from seeds or purchase established seedlings from a local nursery. Seedlings are faster and easier, especially for beginners.
* Potting Mix: Use a well-draining potting mix specifically formulated for herbs or vegetables. Avoid using garden soil, as it can become compacted and doesn’t drain well in containers.
* Container: Choose a pot that’s at least 6 inches in diameter and has drainage holes. Terracotta pots are excellent because they allow the soil to breathe.
* Grow Lights (Optional): If you don’t have a sunny windowsill, you’ll need grow lights to provide adequate light for your thyme.
* Watering Can or Spray Bottle: For gentle watering.
* Small Trowel or Spoon: For planting and transplanting.
* Pebbles or Gravel: To improve drainage in the bottom of the pot.
* Fertilizer (Optional): A balanced liquid fertilizer diluted to half strength can be used sparingly during the growing season.
Planting Your Thyme
Now for the fun part – planting! Whether you’re starting from seeds or seedlings, the process is relatively straightforward.
Starting from Seeds:
1. Prepare the Pot: Fill your chosen container with well-draining potting mix, leaving about an inch of space at the top. Gently pat down the soil.
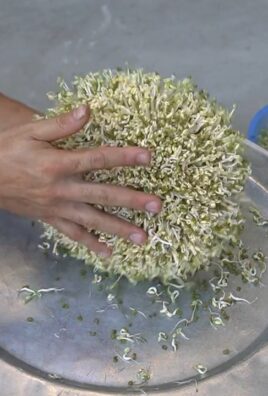
2. Sow the Seeds: Sprinkle the thyme seeds evenly over the surface of the soil. Thyme seeds are tiny, so don’t overcrowd them.
3. Cover Lightly: Cover the seeds with a very thin layer of potting mix or vermiculite. Thyme seeds need light to germinate, so don’t bury them too deep.
4. Water Gently: Use a spray bottle to mist the soil thoroughly. Be careful not to dislodge the seeds.
5. Create a Humid Environment: Cover the pot with plastic wrap or a clear plastic bag to create a humid environment. This will help the seeds germinate.
6. Place in a Warm Location: Place the pot in a warm location with indirect sunlight. The ideal temperature for germination is between 70-75°F (21-24°C).
7. Monitor and Water: Check the soil moisture daily and mist as needed to keep it consistently moist.
8. Remove the Cover: Once the seeds germinate (usually within 14-21 days), remove the plastic wrap or bag.
9. Provide Adequate Light: Place the seedlings in a sunny windowsill or under grow lights.
10. Thin the Seedlings: Once the seedlings have developed a few sets of true leaves, thin them out, leaving the strongest plants spaced about 2-3 inches apart.
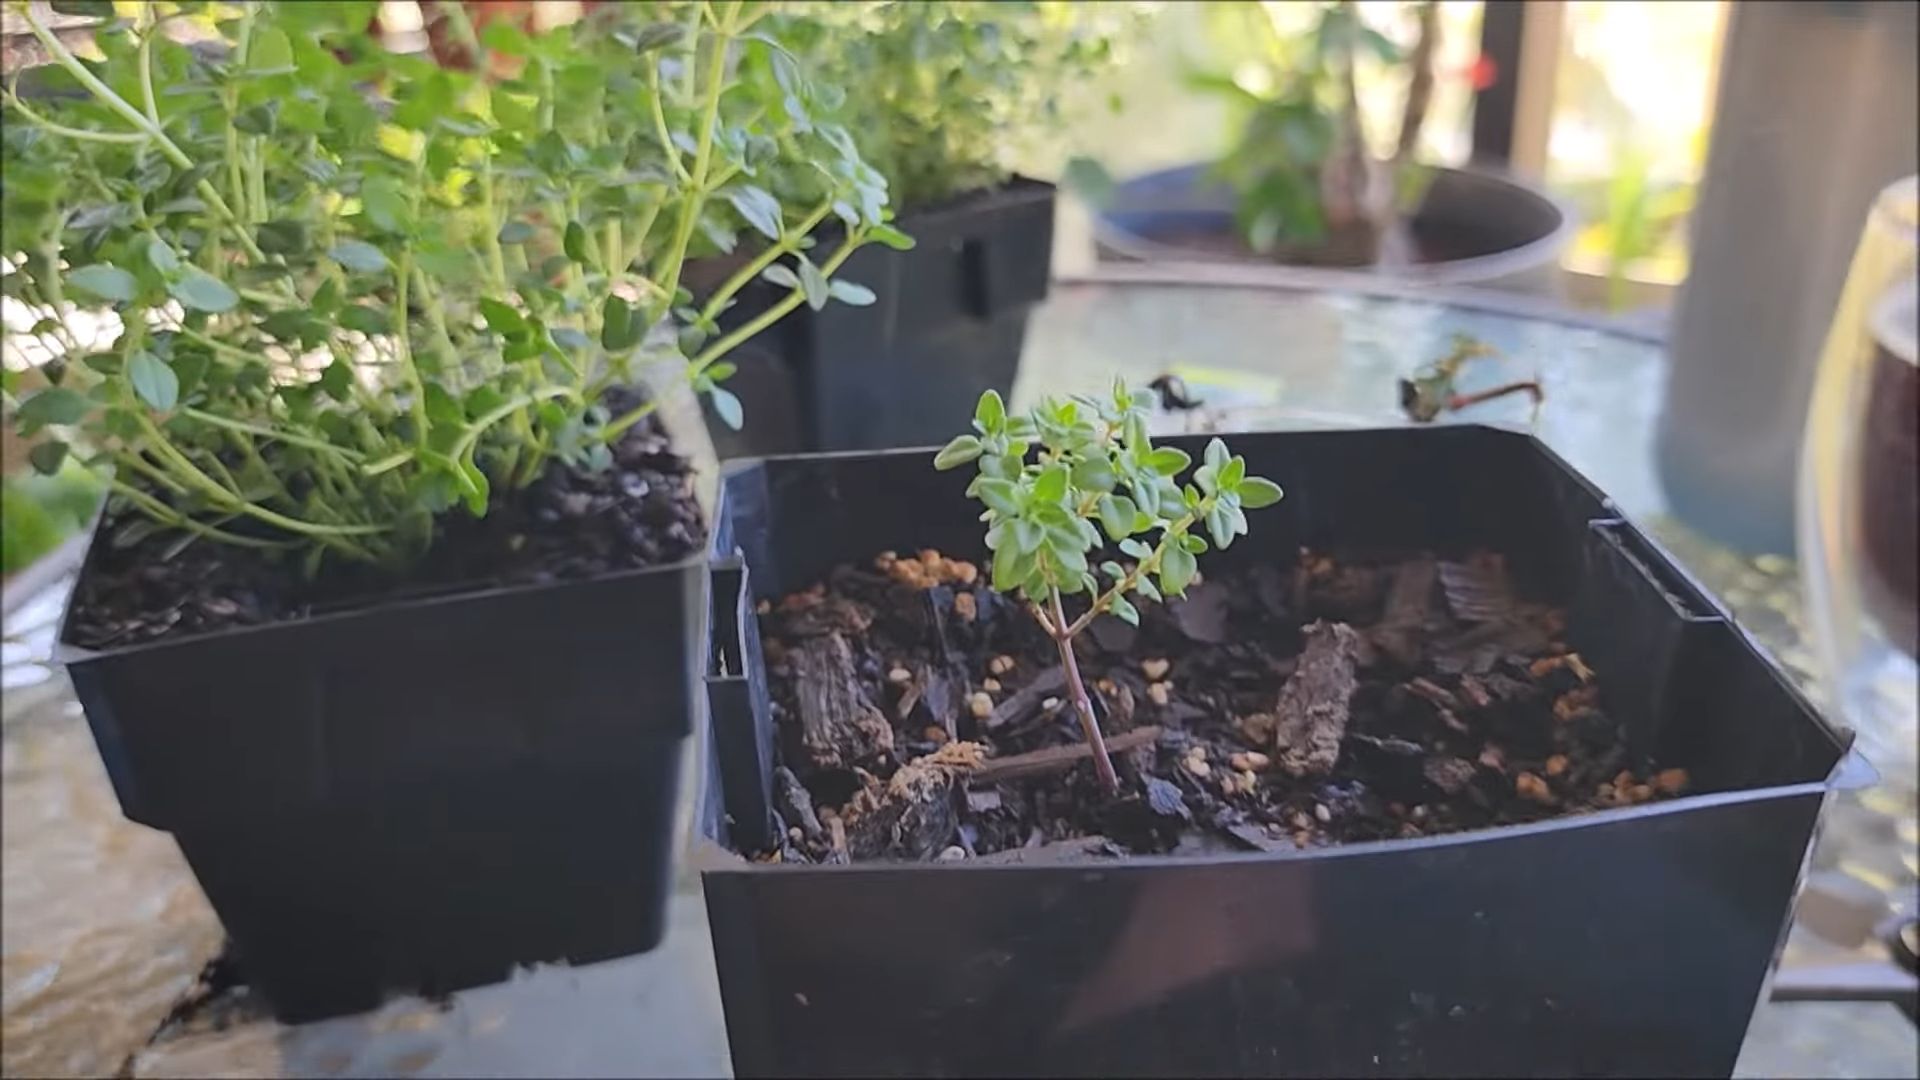
Starting from Seedlings:
1. Prepare the Pot: Fill your chosen container with well-draining potting mix, leaving about an inch of space at the top. Gently pat down the soil.
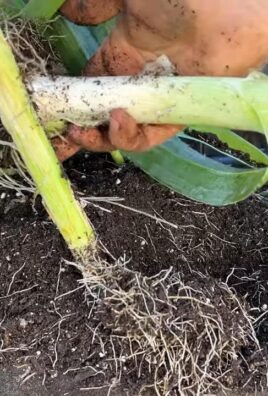
2. Remove Seedling from Container: Gently remove the thyme seedling from its nursery container. If the roots are tightly bound, gently loosen them with your fingers.
3. Plant the Seedling: Dig a small hole in the potting mix large enough to accommodate the seedling’s root ball. Place the seedling in the hole, ensuring that the top of the root ball is level with the surrounding soil.
4. Fill and Pat: Fill in the hole with potting mix and gently pat down the soil around the seedling.
5. Water Thoroughly: Water the seedling thoroughly until water drains out of the drainage holes.
6. Place in a Sunny Location: Place the pot in a sunny windowsill or under grow lights.
Caring for Your Indoor Thyme
Once your thyme is planted, proper care is essential for its health and productivity. Here’s what you need to know:
Light:
Thyme needs at least 6-8 hours of sunlight per day. A south-facing windowsill is ideal. If you don’t have enough natural light, use grow lights to supplement. Position the grow lights about 6-12 inches above the plants.
Watering:
Thyme prefers well-drained soil and doesn’t like to be constantly wet. Water thoroughly when the top inch of soil feels dry to the touch. Avoid overwatering, as this can lead to root rot. Make sure your pot has drainage holes to allow excess water to escape. During the winter months, you’ll likely need to water less frequently.
Temperature:
Thyme thrives in temperatures between 60-70°F (15-21°C). Avoid placing your thyme near drafts or extreme temperature fluctuations.
Humidity:
Thyme prefers relatively low humidity. Avoid placing it in overly humid environments, such as bathrooms. If your home is very dry, you can increase humidity by placing a tray of water near the plant or using a humidifier.
Fertilizing:
Thyme doesn’t require heavy fertilization. However, you can feed it with a balanced liquid fertilizer diluted to half strength every 2-4 weeks during the growing season (spring and summer). Avoid fertilizing during the winter months when the plant is dormant.
Pruning:
Pruning is essential for keeping your thyme plant healthy and productive. Regular pruning encourages bushier growth and prevents the plant from becoming leggy.
* Pinch Back Tips: Pinch back the tips of the stems regularly to encourage branching.
* Remove Dead or Yellowing Leaves: Remove any dead or yellowing leaves to prevent disease.
* Shape the Plant: Prune the plant to maintain its desired shape and size.
* Avoid Over-Pruning: Don’t remove more than one-third of the plant at a time.
Harvesting Your Thyme
Harvesting thyme is easy and rewarding! You can start harvesting once the plant is about 6-8 inches tall.
1. Choose Stems: Select stems that are healthy and have plenty of leaves.
2. Cut the Stems: Use sharp scissors or pruning shears to cut the stems just above a leaf node. This will encourage new growth.
3. Harvest Regularly: Harvest thyme regularly to encourage bushier growth.
4. Preserve Your Harvest: You can use fresh thyme immediately or dry it for later use. To dry thyme, tie the stems together and hang them upside down in a cool, dry place. Once the leaves are dry and brittle, you can crumble them and store them in an airtight container.
Troubleshooting Common Problems
Even with the best care, you might encounter some problems while growing thyme indoors. Here are some common issues and how to address them:
* Yellowing Leaves: This can be caused by overwatering, underwatering, nutrient deficiencies, or pests. Check the soil moisture and adjust your watering accordingly. Fertilize if necessary. Inspect the plant for pests.
* Leggy Growth: This is usually caused by insufficient light. Move the plant to a sunnier location or provide supplemental light with grow lights. Prune the plant to encourage bushier growth.
* Root Rot: This is caused by overwatering and poor drainage. Make sure your pot has drainage holes and that you’re not overwatering. Repot the plant in fresh, well-draining potting mix.
* Pests: Thyme can be susceptible to pests such as aphids, spider mites, and whiteflies. Inspect the plant regularly for pests. If
Conclusion
So, there you have it! Growing thyme indoors is not only achievable, but it’s also incredibly rewarding. Imagine having fresh, fragrant thyme readily available whenever you need it, adding a burst of flavor to your culinary creations. No more last-minute trips to the grocery store or settling for dried herbs that lack the vibrant taste of fresh thyme.
This DIY trick is a must-try for several reasons. First, it’s cost-effective. A single packet of thyme seeds or a small starter plant is far cheaper than constantly buying fresh thyme from the store. Second, it’s convenient. Having thyme growing right in your kitchen means you can snip off exactly what you need, when you need it. Third, it’s sustainable. You’re reducing your carbon footprint by growing your own herbs and avoiding the packaging and transportation associated with store-bought thyme. Finally, and perhaps most importantly, it’s incredibly satisfying to nurture a plant from seed to harvest.
But the benefits don’t stop there. You can experiment with different varieties of thyme to discover your favorite flavors. Lemon thyme adds a citrusy zing to dishes, while creeping thyme is perfect for ground cover and releasing its aroma when stepped on. You could even create a small indoor herb garden, combining thyme with other easy-to-grow herbs like basil, oregano, and rosemary. Think of the possibilities!
Consider using different types of containers to match your home decor. Terracotta pots offer excellent drainage, while decorative ceramic pots can add a touch of elegance to your kitchen windowsill. You can also explore different potting mixes to find the one that works best for your thyme. Some gardeners prefer a mix of perlite, vermiculite, and peat moss, while others opt for a commercially available herb-growing mix.
Don’t be afraid to experiment with different lighting conditions. While thyme thrives in bright sunlight, you can supplement natural light with a grow light if needed. This is especially helpful during the winter months when sunlight is scarce. Observe your thyme plants closely and adjust their environment as needed to ensure they’re getting the right amount of light, water, and nutrients.
We strongly encourage you to give this DIY trick a try. It’s a simple, affordable, and rewarding way to bring the flavors of the Mediterranean into your home. Once you’ve successfully grown your own thyme indoors, we’d love to hear about your experience! Share your tips, tricks, and photos with us in the comments below. Let’s create a community of indoor thyme growers and inspire others to embrace the joys of homegrown herbs. Remember, mastering how to grow thyme indoors is easier than you think, and the rewards are well worth the effort. Happy growing!
Frequently Asked Questions (FAQ)
What kind of thyme is best for growing indoors?
While most varieties of thyme can be grown indoors, some are better suited than others. Common thyme (Thymus vulgaris) is a popular choice due to its robust flavor and ease of growth. Lemon thyme (Thymus citriodorus) is another excellent option, offering a delightful citrusy aroma and flavor. Creeping thyme (Thymus serpyllum) can also be grown indoors, but it may require more space as it tends to spread. Ultimately, the best type of thyme for you will depend on your personal preferences and the space you have available. Consider trying a few different varieties to see which ones thrive best in your indoor environment.
How much sunlight does indoor thyme need?
Thyme thrives in bright sunlight, requiring at least six hours of direct sunlight per day. If you don’t have a sunny windowsill, you can supplement natural light with a grow light. Place the grow light a few inches above the thyme plants and leave it on for 12-14 hours per day. Rotate your thyme plants regularly to ensure that all sides receive adequate sunlight. Signs of insufficient sunlight include leggy growth, pale leaves, and a lack of fragrance.
What kind of soil is best for growing thyme indoors?
Thyme prefers well-draining soil that is slightly alkaline. A mixture of perlite, vermiculite, and peat moss is a good option. You can also use a commercially available herb-growing mix. Avoid using heavy, clay-based soils, as they can retain too much moisture and lead to root rot. Ensure that your pot has drainage holes to allow excess water to escape.
How often should I water my indoor thyme?
Water your thyme plants when the top inch of soil feels dry to the touch. Avoid overwatering, as this can lead to root rot. Thyme prefers to be on the drier side, so it’s better to underwater than to overwater. When watering, water deeply until water drains out of the drainage holes. Allow the soil to dry out slightly between waterings.
How do I fertilize my indoor thyme?
Thyme doesn’t require a lot of fertilizer. Fertilize your thyme plants every 2-3 months with a balanced liquid fertilizer diluted to half strength. Avoid over-fertilizing, as this can lead to leggy growth and a loss of flavor. You can also add compost to the soil to provide a slow-release source of nutrients.
How do I harvest thyme from my indoor plants?
Harvest thyme by snipping off stems with scissors or pruning shears. Avoid cutting more than one-third of the plant at a time, as this can stress the plant. Regular harvesting will encourage bushier growth. You can use fresh thyme immediately or dry it for later use. To dry thyme, hang the stems upside down in a cool, dry place until they are brittle.
How do I propagate thyme from cuttings?
Thyme can be easily propagated from cuttings. Take a 4-6 inch cutting from a healthy thyme plant. Remove the lower leaves and dip the cut end in rooting hormone. Plant the cutting in a pot filled with well-draining soil. Water the cutting and cover it with a plastic bag to create a humid environment. Place the pot in a warm, bright location and keep the soil moist. After a few weeks, the cutting should develop roots.
What are some common problems with growing thyme indoors?
Some common problems with growing thyme indoors include root rot, spider mites, and aphids. Root rot is caused by overwatering and can be prevented by using well-draining soil and avoiding overwatering. Spider mites and aphids are common pests that can be controlled with insecticidal soap or neem oil. Regularly inspect your thyme plants for signs of pests or diseases.
Can I grow thyme indoors from seed?
Yes, you can grow thyme indoors from seed. Sow thyme seeds in a pot filled with well-draining soil. Lightly cover the seeds with soil and water gently. Place the pot in a warm, bright location and keep the soil moist. Thyme seeds can take several weeks to germinate. Once the seedlings are large enough to handle, transplant them into individual pots.
How long will my indoor thyme plant last?
With proper care, your indoor thyme plant can last for several years. Regularly prune your thyme plant to encourage bushier growth and prevent it from becoming leggy. Repot your thyme plant every year or two to refresh the soil and provide more space for the roots to grow.
Leave a Comment