

DIY Cleaning Solution: Unlock the secrets to a sparkling home without breaking the bank or exposing your family to harsh chemicals! Have you ever wondered if there’s a better way to clean than relying on those expensive, store-bought products with ingredients you can’t even pronounce? I certainly have! For generations, resourceful homemakers have been crafting their own cleaning solutions, drawing on the power of simple, natural ingredients. Think of your grandmother’s lemon-infused vinegar or your great-aunt’s baking soda paste – these weren’t just old wives’ tales; they were effective, eco-friendly cleaning powerhouses!
Today, with growing concerns about the environment and the potential health risks associated with commercial cleaners, the art of making your own DIY cleaning solution is making a huge comeback. And for good reason! Not only are these homemade concoctions often cheaper and safer, but they’re also incredibly versatile. From tackling stubborn grease to disinfecting surfaces, a few simple ingredients can handle almost any cleaning challenge.
In this article, I’m going to share my favorite DIY cleaning solution recipes and tips, so you can ditch the chemicals and embrace a cleaner, healthier home. Get ready to discover how easy and rewarding it is to create your own effective cleaning arsenal!
DIY All-Purpose Cleaning Solution: Sparkling Clean Without the Chemicals!
Hey everyone! I’m so excited to share my go-to recipe for an all-purpose cleaning solution that’s not only incredibly effective but also super easy to make and completely natural. I’ve been using this for years, and it’s replaced almost all of the harsh chemical cleaners I used to buy. Plus, it saves me a ton of money!
This cleaner is fantastic for wiping down countertops, cleaning bathroom surfaces, mopping floors (with a little adjustment), and even tackling greasy stovetops. Let’s dive in!
What You’ll Need: The Essential Ingredients
Before we get started, let’s gather our supplies. The beauty of this recipe is that you probably already have most of these ingredients in your pantry!
* White Vinegar: This is the workhorse of our cleaner. Vinegar is a natural disinfectant and degreaser. I usually buy a large jug of distilled white vinegar for cleaning purposes.
* Water: Distilled water is best to avoid mineral buildup, but tap water works just fine too.
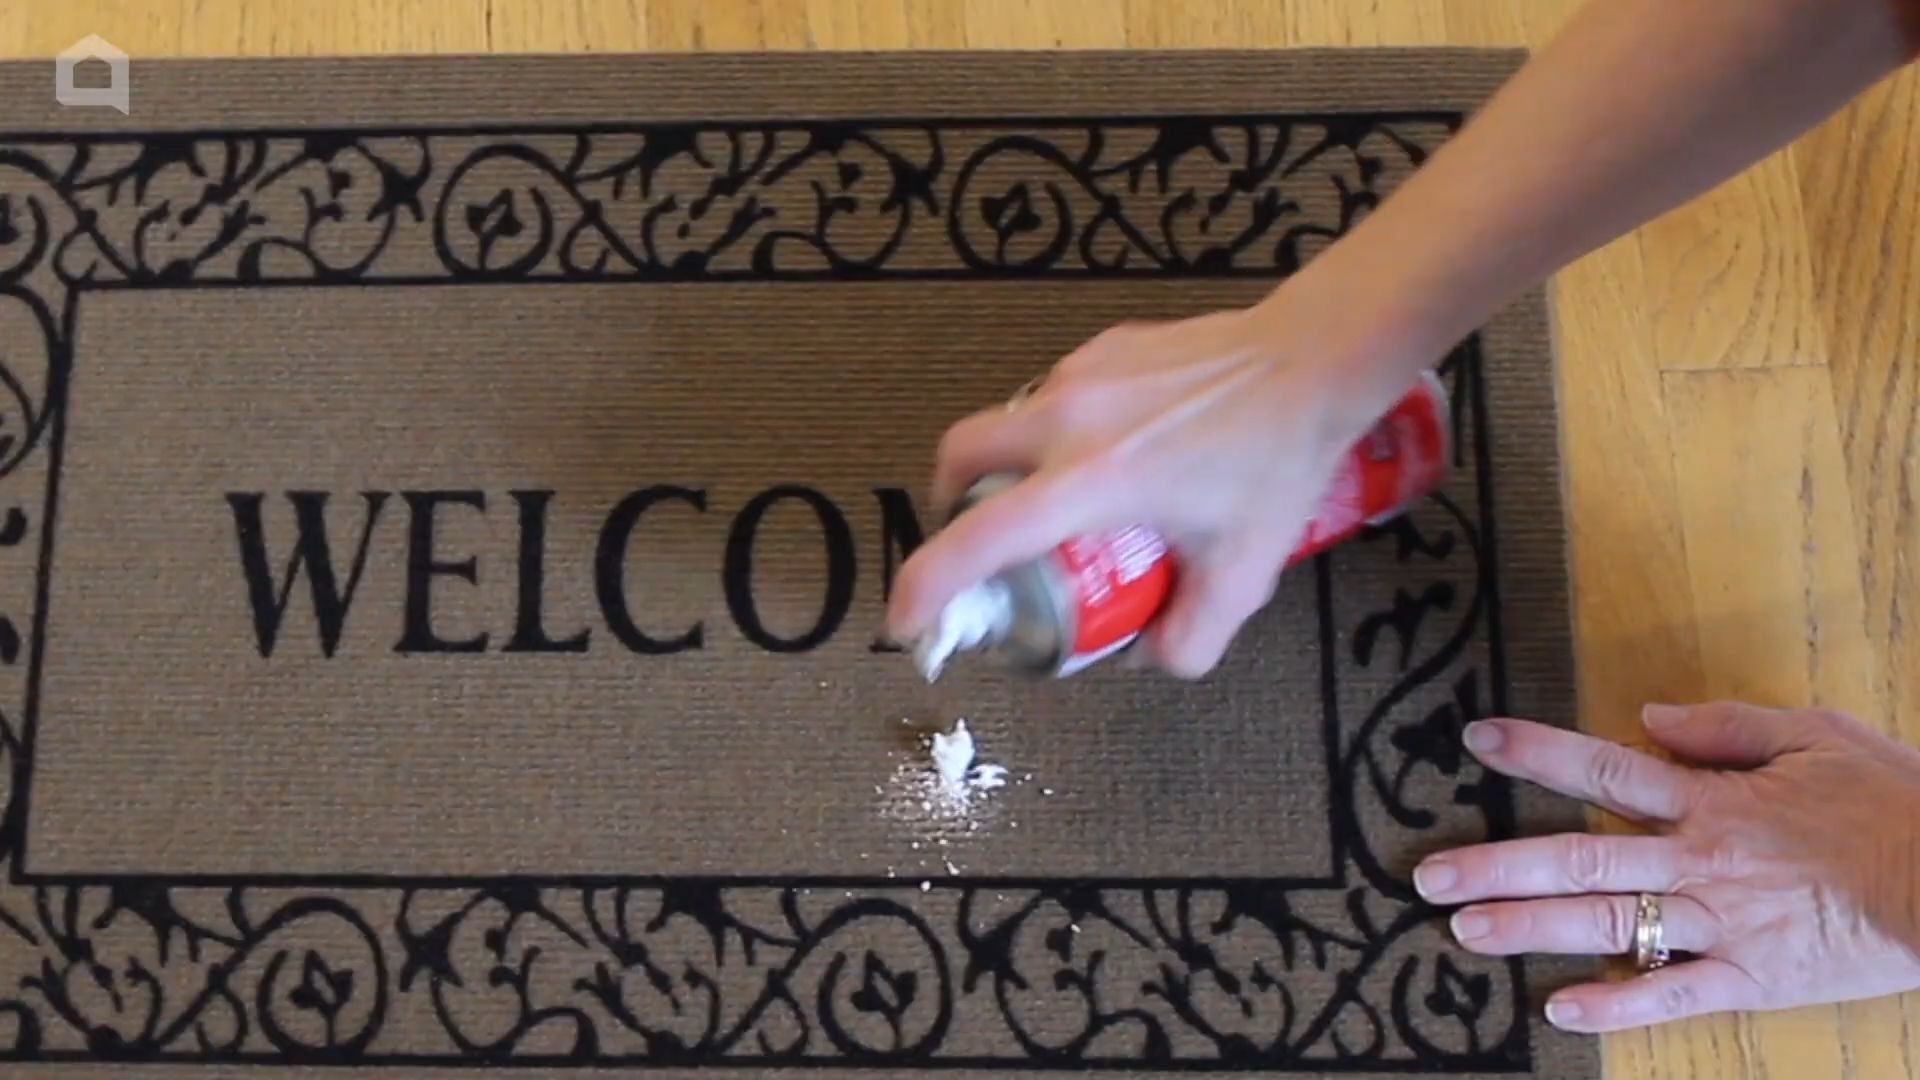
* Baking Soda: A mild abrasive and deodorizer. It helps to scrub away grime without scratching surfaces.
* Essential Oils (Optional): These add a pleasant scent and can also boost the cleaning power. My favorites are lemon, tea tree, lavender, and eucalyptus.
* Spray Bottle: A clean, empty spray bottle is essential for dispensing the cleaner. I recommend using a dark-colored bottle to protect the essential oils from light degradation, but any spray bottle will do.
* Measuring Cups and Spoons: For accurate measurements.
* Funnel (Optional): Makes pouring liquids into the spray bottle much easier.
The Basic Recipe: All-Purpose Cleaning Power
This is my standard recipe that I use for most cleaning tasks. It’s simple, effective, and smells great (thanks to the essential oils!).
Ingredients:
* 1 cup White Vinegar
* 1 cup Water
* 1 tablespoon Baking Soda
* 10-20 drops Essential Oil (your choice!)
Step-by-Step Instructions: Mixing Your Magic Potion
Now for the fun part – creating our cleaning solution!
1. Prepare the Spray Bottle: Make sure your spray bottle is clean and dry. This will prevent any unwanted contamination of your cleaning solution.
2. Add the Vinegar: Pour 1 cup of white vinegar into the spray bottle.
3. Add the Water: Add 1 cup of water to the spray bottle.
4. Add the Baking Soda (Slowly!): This is important! Slowly add 1 tablespoon of baking soda to the spray bottle. It will fizz, so add it gradually to prevent overflow. I usually add it in small increments, letting the fizz subside before adding more.
5. Add the Essential Oils: Add 10-20 drops of your favorite essential oil(s). I love using a combination of lemon and tea tree for their antibacterial and refreshing properties. Lavender is great for a calming scent, and eucalyptus is perfect for cleaning bathrooms.
6. Close and Shake Gently: Secure the spray bottle lid tightly and gently shake the mixture to combine all the ingredients. Avoid shaking too vigorously, as this can cause excessive fizzing.
7. Label Your Bottle: This is crucial! Label your spray bottle clearly with “All-Purpose Cleaner” and the date you made it. This will prevent any confusion and ensure you know when to make a fresh batch.
Using Your All-Purpose Cleaner: Tips and Tricks
Now that you have your homemade cleaner, let’s talk about how to use it effectively.
* Test on a Small Area First: Before using the cleaner on a large surface, always test it on a small, inconspicuous area to ensure it doesn’t damage or discolor the material. This is especially important for delicate surfaces like wood or painted walls.
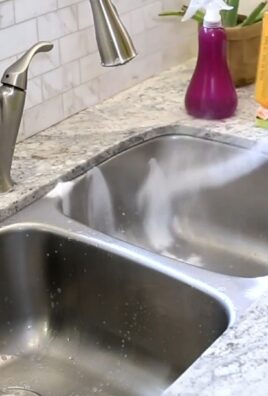
* Spray and Wipe: Simply spray the cleaner onto the surface you want to clean and wipe it down with a clean cloth or sponge. For stubborn stains, let the cleaner sit for a few minutes before wiping.
* Rinse if Necessary: For some surfaces, like countertops or floors, you may want to rinse with clean water after wiping with the cleaner. This will remove any residue and leave the surface sparkling clean.
* Avoid Using on Certain Surfaces: While this cleaner is generally safe for most surfaces, avoid using it on natural stone surfaces like marble or granite, as the vinegar can etch the stone. Also, avoid using it on waxed wood, as it can strip the wax.
* Storage: Store your cleaning solution in a cool, dark place. It should last for several months. If you notice any changes in color or smell, it’s best to discard it and make a fresh batch.
Adapting the Recipe: Customizing for Specific Needs
The beauty of this recipe is that it’s easily customizable to suit your specific cleaning needs. Here are a few variations I’ve tried and loved:
For Extra Degreasing Power:
If you’re tackling greasy stovetops or ovens, you can add a squirt of dish soap to the recipe. Just be sure to use a natural dish soap to avoid harsh chemicals.
Ingredients:
* 1 cup White Vinegar
* 1 cup Water
* 1 tablespoon Baking Soda
* 1 tablespoon Natural Dish Soap
* 10-20 drops Essential Oil (optional)
For a Floor Cleaner:
To use this cleaner on floors, I dilute it further with water. This prevents the vinegar from being too strong and potentially damaging the floor finish.
Ingredients:
* 1/4 cup White Vinegar
* 1 gallon Warm Water
* 10-20 drops Essential Oil (optional)
Simply mix the ingredients in a bucket and use a mop to clean your floors.
For a Bathroom Cleaner:
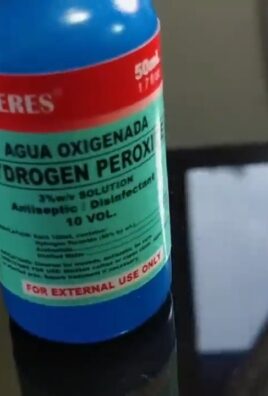
For bathrooms, I like to use essential oils with antibacterial properties, such as tea tree, eucalyptus, and lavender. I also sometimes add a bit of hydrogen peroxide for extra disinfecting power.
Ingredients:
* 1 cup White Vinegar
* 1 cup Water
* 1 tablespoon Baking Soda
* 1/4 cup Hydrogen Peroxide
* 10-20 drops Essential Oil (tea tree, eucalyptus, lavender)
Important Note: Never mix vinegar and bleach, as this can create toxic fumes.
Troubleshooting: Common Issues and Solutions
Sometimes, things don’t go exactly as planned. Here are a few common issues you might encounter and how to fix them:
* Clogging Spray Nozzle: If your spray nozzle gets clogged, it’s likely due to the baking soda. Try using a smaller amount of baking soda or filtering the solution through a coffee filter before pouring it into the spray bottle.
* Strong Vinegar Smell: The vinegar smell can be strong at first, but it usually dissipates quickly. If you’re sensitive to the smell, add more essential oils or open a window while cleaning.
* Cloudy Solution: A cloudy solution is usually caused by the baking soda not dissolving completely. Try using warm water to help the baking soda dissolve.
* Residue on Surfaces: If you notice a residue on surfaces after cleaning, it could be due to using too much baking soda or not rinsing properly. Try using less baking soda or rinsing the surface with clean water after wiping.
Safety Precautions: A Few Things to Keep in Mind
While this cleaning solution is natural and generally safe, it’s still important to take a few precautions:
* Keep Out of Reach of Children and Pets: Although the ingredients are natural, they can still be harmful if ingested.
* Avoid Contact with Eyes: If the solution gets in your eyes, rinse thoroughly with water.
* Do Not Mix with Bleach: As mentioned earlier, never mix vinegar with bleach, as this can create toxic fumes.
* Use in a Well-Ventilated Area: Especially when using essential oils, make sure to clean in a well-ventilated area.
Why I Love This DIY Cleaner: The Benefits
I’m a huge advocate for this DIY cleaner because it offers so many benefits:
* Natural and Non-Toxic: It’s made with natural ingredients, so you don’t have to worry about exposing yourself or your family to harsh chemicals.
* Cost-Effective: It’s much cheaper than buying commercial cleaning products.
* Environmentally Friendly: It reduces your reliance on plastic bottles and harmful chemicals that can pollute the environment.
* Customizable: You can easily customize the recipe to suit your specific cleaning needs and preferences.
* Effective: It’s just as effective as many commercial cleaners, and in some cases, even more so!
I hope you enjoy making and using this all-purpose cleaning solution as much as I do! It’s a simple, effective, and eco-friendly way to keep your home sparkling clean. Happy cleaning!

Conclusion
So, there you have it! Creating your own DIY cleaning solution is not just a cost-effective alternative to store-bought products; it’s a conscious choice to reduce your environmental impact and control the ingredients you bring into your home. We’ve explored a simple yet powerful recipe that harnesses the natural cleaning power of readily available ingredients, offering a safe and effective way to tackle everyday messes.
But why is this DIY trick a must-try? Beyond the savings and eco-friendliness, it’s about empowerment. You’re taking control of your cleaning routine, knowing exactly what’s in the solution you’re using around your family and pets. No more deciphering complicated ingredient lists filled with unpronounceable chemicals. You’re in charge.
And the beauty of this recipe lies in its adaptability. Feel free to experiment with different essential oils to create a scent that invigorates your senses. Lavender for a calming effect, lemon for a burst of freshness, or tea tree for its antibacterial properties – the possibilities are endless! You can also adjust the concentration of vinegar depending on the specific cleaning task. For tougher stains, a slightly stronger solution might be necessary. Consider adding a tablespoon of borax for extra cleaning power when dealing with particularly stubborn grime, but always remember to wear gloves and ensure proper ventilation when using borax.
Another variation to consider is infusing your vinegar with citrus peels. Simply place orange, lemon, or grapefruit peels in a jar of vinegar and let it sit for a few weeks. This will not only add a pleasant citrus scent to your cleaning solution but also enhance its degreasing abilities. Strain the vinegar before using it in the recipe.
Don’t be afraid to get creative and tailor the recipe to your specific needs and preferences. This is your chance to create a truly personalized cleaning experience.
We’re confident that once you try this DIY cleaning solution, you’ll be amazed by its effectiveness and versatility. It’s a simple change that can make a big difference in your home and the environment.
So, what are you waiting for? Gather your ingredients, mix up a batch, and experience the satisfaction of cleaning with a solution you made yourself. We encourage you to try this DIY trick and share your experiences with us! Let us know what variations you tried, what scents you loved, and how it worked on different surfaces in your home. Your feedback will not only help us improve the recipe but also inspire others to embrace the power of DIY cleaning. Share your tips and tricks in the comments below – we can’t wait to hear from you! Let’s build a community of conscious cleaners, one homemade solution at a time.
Frequently Asked Questions (FAQ)
1. What types of surfaces can I use this DIY cleaning solution on?
This DIY cleaning solution is generally safe for most hard, non-porous surfaces, including countertops (granite, quartz, laminate), tile floors, sinks, toilets, and glass. However, it’s always a good idea to test it on an inconspicuous area first, especially on delicate surfaces like marble or wood. Avoid using it on waxed furniture, as the vinegar can strip the wax. For wood surfaces, consider using a diluted solution or a specialized wood cleaner. When in doubt, consult the manufacturer’s instructions for your specific surface.
2. Can I use this cleaning solution on natural stone surfaces like marble or granite?
While some people use diluted vinegar solutions on granite, it’s generally not recommended for marble. Vinegar is acidic and can etch or dull the surface of marble over time. For granite, ensure the solution is highly diluted and test it in an inconspicuous area first. A better option for natural stone surfaces is to use a pH-neutral cleaner specifically designed for stone. These cleaners are formulated to be gentle and won’t damage the stone’s finish.
3. How long will this DIY cleaning solution last?
This DIY cleaning solution typically lasts for several months when stored in a cool, dark place. The vinegar acts as a natural preservative, preventing the growth of bacteria and mold. However, it’s always a good idea to check the solution for any signs of spoilage, such as a change in color or odor, before using it. If you notice any changes, discard the solution and make a fresh batch. To maximize its shelf life, store it in an airtight container away from direct sunlight and heat.
4. Can I use different types of vinegar for this recipe?
White vinegar is the most commonly used type of vinegar for cleaning due to its high acidity and lack of color. However, you can also use apple cider vinegar, although it may leave a slight scent. Avoid using balsamic vinegar or other colored vinegars, as they can stain surfaces. The acidity of the vinegar is what provides the cleaning power, so ensure that the vinegar you use has at least 5% acidity.
5. What essential oils are best to use in this DIY cleaning solution?
The best essential oils to use in this DIY cleaning solution depend on your personal preferences and the desired effect. Some popular choices include:
* **Lemon:** For a fresh, citrusy scent and degreasing properties.
* **Lavender:** For a calming and relaxing scent.
* **Tea Tree:** For its antibacterial and antifungal properties.
* **Eucalyptus:** For its invigorating scent and antiseptic properties.
* **Peppermint:** For a refreshing scent and insect-repelling properties.
When choosing essential oils, make sure to use high-quality, pure essential oils for the best results. Start with a small amount (5-10 drops per batch) and adjust to your liking.
6. Is this DIY cleaning solution safe to use around pets and children?
This DIY cleaning solution is generally safer than store-bought cleaners, as it doesn’t contain harsh chemicals or synthetic fragrances. However, it’s still important to take precautions when using it around pets and children. Keep the solution out of reach of children and pets, and avoid spraying it directly on them. If your pet ingests the solution, contact your veterinarian immediately. When using essential oils, be aware that some essential oils can be toxic to pets. Research the safety of specific essential oils before using them around your furry friends.
7. Can I use this DIY cleaning solution in a spray bottle?
Yes, this DIY cleaning solution is perfect for use in a spray bottle. Make sure to use a clean spray bottle and label it clearly to avoid confusion. When spraying the solution, hold the bottle a few inches away from the surface and spray evenly. Wipe the surface clean with a microfiber cloth. Avoid spraying the solution directly into your eyes or mouth.
8. How do I make a larger or smaller batch of this DIY cleaning solution?
To make a larger or smaller batch of this DIY cleaning solution, simply adjust the quantities of the ingredients proportionally. For example, if you want to double the recipe, double the amount of vinegar, water, and essential oils. If you want to halve the recipe, halve the amount of each ingredient.
9. Can I add other ingredients to this DIY cleaning solution?
Yes, you can add other ingredients to this DIY cleaning solution to customize it to your specific needs. Some popular additions include:
* **Borax:** For extra cleaning power (use with caution and wear gloves).
* **Baking Soda:** For scrubbing and deodorizing.
* **Dish Soap:** For extra degreasing power (use sparingly).
* **Hydrogen Peroxide:** For disinfecting (use with caution on colored surfaces).
When adding other ingredients, start with a small amount and test the solution on an inconspicuous area first to ensure it doesn’t damage the surface.
10. What should I do if the DIY cleaning solution leaves streaks on my windows or mirrors?
If your DIY cleaning solution leaves streaks on your windows or mirrors, try diluting the solution further with water. You can also try using a clean, dry microfiber cloth to wipe the surface after spraying. Another tip is to avoid cleaning windows and mirrors in direct sunlight, as the solution can dry too quickly and leave streaks.
Leave a Comment