

Revive Frying Pan Baking Soda: Is your trusty frying pan looking a little worse for wear? Are stubborn stains and burnt-on food clinging on for dear life, making cooking a chore instead of a joy? Don’t despair and rush out to buy a new one just yet! I’m here to tell you that you can breathe new life into your beloved cookware with a simple, inexpensive, and surprisingly effective solution: baking soda!
For generations, baking soda has been a household staple, not just for baking delicious treats, but also for its incredible cleaning power. Our grandmothers knew the secret – this humble powder is a fantastic natural abrasive and deodorizer. Think of it as a gentle scrub that can lift away even the most persistent grime.
Let’s face it, we all lead busy lives, and sometimes, despite our best intentions, food gets burned, pans get neglected, and cleaning gets put off. But a grimy frying pan isn’t just unsightly; it can also affect the taste of your food and even be a breeding ground for bacteria. That’s why learning how to revive frying pan baking soda is so essential. This DIY trick will not only save you money by extending the life of your cookware, but it will also ensure that you’re cooking in a clean and healthy environment. So, grab your baking soda, and let’s get started on this easy and rewarding project!
Revive Your Scorched Frying Pan with Baking Soda: A DIY Guide
Hey there, fellow home cooks! Ever stared in dismay at a frying pan caked with burnt-on food, wondering if it’s destined for the trash? Don’t despair! Before you toss it, I’m going to show you a simple, effective, and budget-friendly way to revive your beloved frying pan using the magic of baking soda. This method works wonders on stainless steel, cast iron (with a few modifications), and even some non-stick pans (though proceed with extra caution on non-stick). Let’s get started!
What You’ll Need:
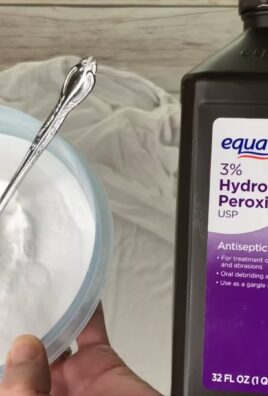
* Baking Soda (the star of the show!)
* Water
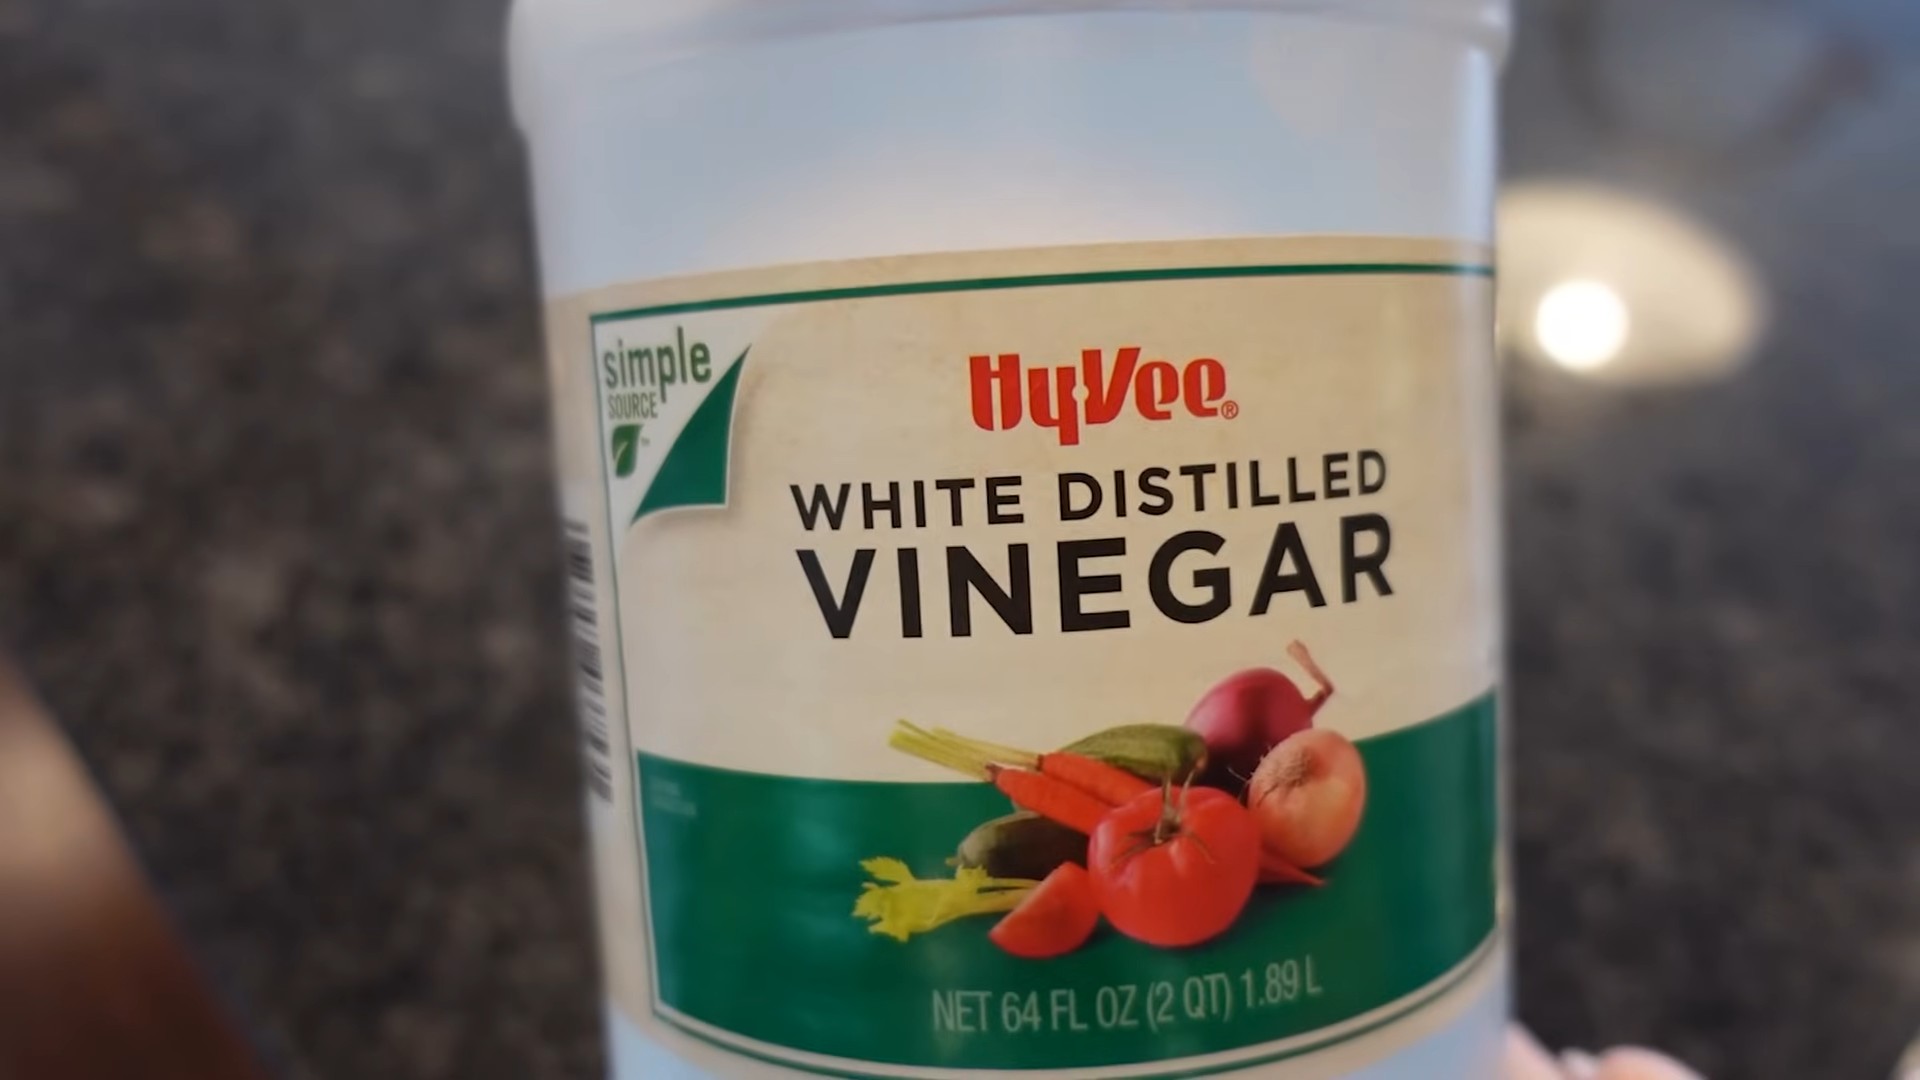
* White Vinegar (optional, but adds extra oomph)
* Dish Soap
* Scrubbing Pad (non-scratch for non-stick, steel wool or a more abrasive pad for stainless steel or cast iron)
* Spatula or Scraper (plastic or wooden to avoid scratching)
* Soft Cloth or Sponge
* Gloves (optional, but recommended if you have sensitive skin)
Safety First!
Before we dive in, a quick word on safety. Always wear gloves if you have sensitive skin, as baking soda can be a bit drying. And remember to work in a well-ventilated area.
Step-by-Step Instructions:
Here’s the breakdown of how we’re going to tackle this burnt-on mess:
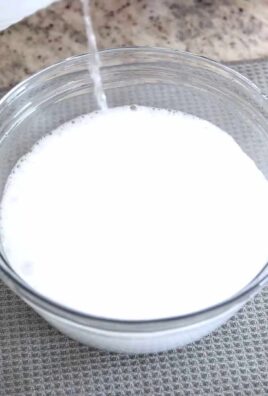
1. Initial Soak (The Gentle Approach): Fill the pan with hot water. Add a generous squirt of dish soap and let it soak for at least 30 minutes. This helps loosen some of the surface grime and makes the next steps easier. I usually do this while I’m prepping other ingredients for dinner – multitasking at its finest!
2. Drain and Assess: After soaking, drain the soapy water. Now, take a good look at the pan. How bad is the burnt-on residue? If it’s just a light layer, the soaking might have already done the trick! If not, don’t worry, we’re just getting started.
3. Baking Soda Paste Power: This is where the real magic happens.
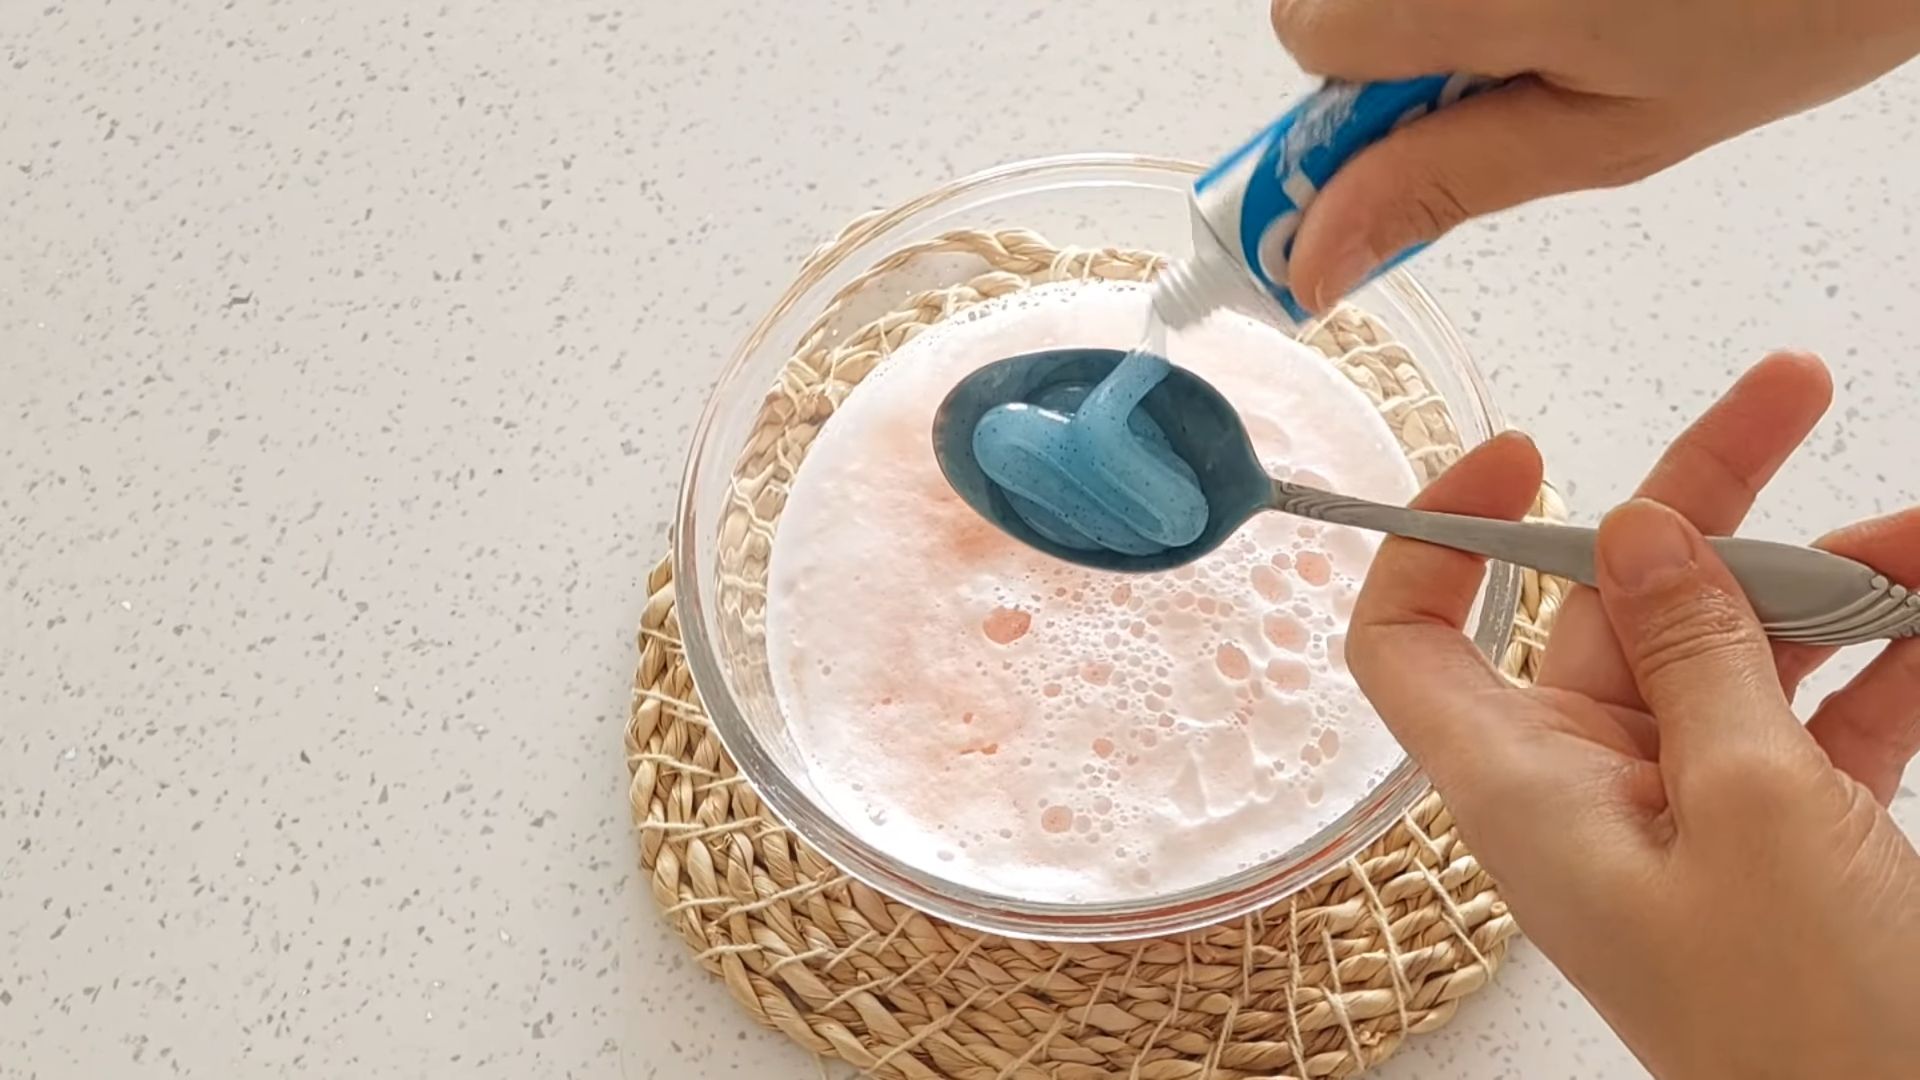
* Mixing the Paste: In a small bowl, mix baking soda with just enough water to form a thick paste. You want it to be spreadable but not too runny. Think toothpaste consistency.
* Applying the Paste: Using your fingers or a spatula, generously coat the burnt areas of the pan with the baking soda paste. Make sure to cover every bit of the residue. Don’t be shy – the thicker the layer, the better it works.
* Let it Sit (The Waiting Game): Now, patience is key. Let the baking soda paste sit on the burnt areas for at least 2-3 hours, or even overnight for really stubborn messes. The longer it sits, the more time it has to break down the burnt-on food. I often apply the paste before bed and let it work its magic while I sleep.
4. Scrubbing Time (Gentle but Firm): After the soaking and pasting, it’s time to get scrubbing!
* Choosing Your Weapon: Select your scrubbing pad based on your pan’s material. For stainless steel or cast iron, you can use a more abrasive pad like steel wool or a scouring pad. For non-stick pans, you MUST use a non-scratch scrubbing pad or a soft sponge to avoid damaging the coating.
* Scrubbing Technique: Gently but firmly scrub the burnt areas in a circular motion. You should start to see the burnt-on food lifting away. If the paste starts to dry out, add a little water to keep it moist.
* Stubborn Spots: For particularly stubborn spots, you can add a little more baking soda directly to the scrubbing pad. This will give you extra scrubbing power.
5. Vinegar Boost (Optional but Recommended): For an extra cleaning boost, especially if you’re dealing with greasy residue, try this:
* Vinegar Power: After scrubbing with the baking soda paste, rinse the pan with water. Then, pour a thin layer of white vinegar into the pan.
* Simmering Action: Place the pan on the stovetop and bring the vinegar to a simmer over medium heat. Let it simmer for 5-10 minutes. The vinegar will help to loosen any remaining burnt-on food.
* Final Scrub: After simmering, carefully remove the pan from the heat and let it cool slightly. Then, scrub the pan again with your chosen scrubbing pad. You should see even more of the residue lifting away.
6. Rinse and Repeat (If Necessary): Rinse the pan thoroughly with hot water. Inspect it carefully. If there are still some stubborn spots, repeat steps 3-5. Sometimes, it takes a couple of rounds to completely remove all the burnt-on food.
7. Drying and Seasoning (For Cast Iron):
* Drying: Thoroughly dry the pan with a clean towel. For cast iron, it’s crucial to dry it completely to prevent rust. You can even place it in a warm oven for a few minutes to ensure it’s completely dry.
* Seasoning (Cast Iron Only): After drying, lightly coat the inside of the cast iron pan with a thin layer of cooking oil (vegetable oil, canola oil, or flaxseed oil work well). Heat the pan in a preheated oven at 350°F (175°C) for about an hour. This will help to re-season the pan and protect it from rust. Let the pan cool completely in the oven before storing it.
Specific Pan Types:
* Stainless Steel: Stainless steel is pretty durable, so you can be a bit more aggressive with your scrubbing. Steel wool or a scouring pad works well.
* Cast Iron: Cast iron requires a bit more care. Avoid using soap unless absolutely necessary, as it can strip away the seasoning. After cleaning, always dry and re-season the pan.
* Non-Stick: Be extremely gentle with non-stick pans. Use only non-scratch scrubbing pads or soft sponges. Avoid using steel wool or abrasive cleaners, as they can damage the non-stick coating. Also, avoid simmering vinegar in non-stick pans, as it can also damage the coating.
Preventing Future Disasters:
Okay, so you’ve successfully revived your frying pan. Now, let’s talk about how to prevent this from happening again (or at least minimize the chances).
* Don’t Overheat: One of the biggest culprits of burnt-on food is overheating. Use medium heat for most cooking tasks.
* Use Enough Oil or Fat: Make sure there’s enough oil or fat in the pan to prevent food from sticking.
* Don’t Overcrow
Hey there, fellow home cooks! Ever stared in dismay at a frying pan caked with burnt-on food, wondering if it’s destined for the trash? Don’t despair! Before you toss it, I’m going to show you a simple, effective, and budget-friendly way to revive your beloved frying pan using the magic of baking soda. This method works wonders on stainless steel, cast iron (with a few modifications), and even some non-stick pans (though proceed with extra caution on non-stick). Let’s get started!
What You’ll Need:
* Baking Soda (the star of the show!)
* Water
* White Vinegar (optional, but adds extra oomph)
* Dish Soap
* Scrubbing Pad (non-scratch for non-stick, steel wool or a more abrasive pad for stainless steel or cast iron)
* Spatula or Scraper (plastic or wooden to avoid scratching)
* Soft Cloth or Sponge
* Gloves (optional, but recommended if you have sensitive skin)
Safety First!
Before we dive in, a quick word on safety. Always wear gloves if you have sensitive skin, as baking soda can be a bit drying. And remember to work in a well-ventilated area.
Step-by-Step Instructions:
Here’s the breakdown of how we’re going to tackle this burnt-on mess:
1. Initial Soak (The Gentle Approach): Fill the pan with hot water. Add a generous squirt of dish soap and let it soak for at least 30 minutes. This helps loosen some of the surface grime and makes the next steps easier. I usually do this while I’m prepping other ingredients for dinner – multitasking at its finest!
2. Drain and Assess: After soaking, drain the soapy water. Now, take a good look at the pan. How bad is the burnt-on residue? If it’s just a light layer, the soaking might have already done the trick! If not, don’t worry, we’re just getting started.
3. Baking Soda Paste Power: This is where the real magic happens.
* Mixing the Paste: In a small bowl, mix baking soda with just enough water to form a thick paste. You want it to be spreadable but not too runny. Think toothpaste consistency.
* Applying the Paste: Using your fingers or a spatula, generously coat the burnt areas of the pan with the baking soda paste. Make sure to cover every bit of the residue. Don’t be shy – the thicker the layer, the better it works.
* Let it Sit (The Waiting Game): Now, patience is key. Let the baking soda paste sit on the burnt areas for at least 2-3 hours, or even overnight for really stubborn messes. The longer it sits, the more time it has to break down the burnt-on food. I often apply the paste before bed and let it work its magic while I sleep.
4. Scrubbing Time (Gentle but Firm): After the soaking and pasting, it’s time to get scrubbing!
* Choosing Your Weapon: Select your scrubbing pad based on your pan’s material. For stainless steel or cast iron, you can use a more abrasive pad like steel wool or a scouring pad. For non-stick pans, you MUST use a non-scratch scrubbing pad or a soft sponge to avoid damaging the coating.
* Scrubbing Technique: Gently but firmly scrub the burnt areas in a circular motion. You should start to see the burnt-on food lifting away. If the paste starts to dry out, add a little water to keep it moist.
* Stubborn Spots: For particularly stubborn spots, you can add a little more baking soda directly to the scrubbing pad. This will give you extra scrubbing power.
5. Vinegar Boost (Optional but Recommended): For an extra cleaning boost, especially if you’re dealing with greasy residue, try this:
* Vinegar Power: After scrubbing with the baking soda paste, rinse the pan with water. Then, pour a thin layer of white vinegar into the pan.
* Simmering Action: Place the pan on the stovetop and bring the vinegar to a simmer over medium heat. Let it simmer for 5-10 minutes. The vinegar will help to loosen any remaining burnt-on food.
* Final Scrub: After simmering, carefully remove the pan from the heat and let it cool slightly. Then, scrub the pan again with your chosen scrubbing pad. You should see even more of the residue lifting away.
6. Rinse and Repeat (If Necessary): Rinse the pan thoroughly with hot water. Inspect it carefully. If there are still some stubborn spots, repeat steps 3-5. Sometimes, it takes a couple of rounds to completely remove all the burnt-on food.
7. Drying and Seasoning (For Cast Iron):
* Drying: Thoroughly dry the pan with a clean towel. For cast iron, it’s crucial to dry it completely to prevent rust. You can even place it in a warm oven for a few minutes to ensure it’s completely dry.
* Seasoning (Cast Iron Only): After drying, lightly coat the inside of the cast iron pan with a thin layer of cooking oil (vegetable oil, canola oil, or flaxseed oil work well). Heat the pan in a preheated oven at 350°F (175°C) for about an hour. This will help to re-season the pan and protect it from rust. Let the pan cool completely in the oven before storing it.
Specific Pan Types:
* Stainless Steel: Stainless steel is pretty durable, so you can be a bit more aggressive with your scrubbing. Steel wool or a scouring pad works well.
* Cast Iron: Cast iron requires a bit more care. Avoid using soap unless absolutely necessary, as it can strip away the seasoning. After cleaning, always dry and re-season the pan.
* Non-Stick: Be extremely gentle with non-stick pans. Use only non-scratch scrubbing pads or soft sponges. Avoid using steel wool or abrasive cleaners, as they can damage the non-stick coating. Also, avoid simmering vinegar in non-stick pans, as it can also damage the coating.
Preventing Future Disasters:
Okay, so you’ve successfully revived your frying pan. Now, let’s talk about how to prevent this from happening again (or at least minimize the chances).
* Don’t Overheat: One of the biggest culprits of burnt-on food is overheating. Use medium heat for most cooking tasks.
* Use Enough Oil or Fat: Make sure there’s enough oil or fat in the pan to prevent food from sticking.
* Don’t Overcrowd the Pan: Overcrowding the pan can lower the temperature and cause food to steam instead of sear, which can lead to sticking.
* Deglaze the Pan: After cooking, deglaze the pan with a little water, broth, or wine. This will loosen any stuck-on bits and make cleanup easier.
* Clean Immediately: The sooner you clean the pan after cooking, the easier it will be to remove any residue.
Troubleshooting:
* Still Seeing Burnt Residue? Don’t give up! Repeat the baking soda paste and scrubbing process. You might need to let the paste sit for a longer period of time.
* Pan is Discolored? Sometimes, after cleaning, stainless steel pans can develop a slight discoloration. This is usually just a mineral buildup and can be removed with a stainless steel cleaner.
* Non-Stick Coating Damaged? If the non-stick coating is damaged, it’s probably time to replace the pan. Using a damaged non-stick pan can release harmful chemicals into your food.
Extra Tips and Tricks:
* Dry Baking Soda: For lightly burnt food, you can sprinkle dry baking soda directly onto the pan and scrub with a damp sponge.
* Baking Soda and Lemon Juice: For extra cleaning power, mix baking soda with lemon juice to form a paste. The acidity of the lemon juice will help to break down the burnt-on food.
* Boiling Baking Soda Solution: For really tough messes, fill the pan with water, add a few tablespoons of baking soda, and bring it to a boil. Let it boil for 10-15 minutes, then scrub the pan.
I hope this guide helps you revive your scorched frying pan and get back to cooking delicious meals! Remember, patience and persistence are key. Happy cooking!
Conclusion
So, there you have it! Reviving a seemingly hopeless frying pan with the simple power of baking soda is not just a clever trick; it’s a kitchen game-changer. We’ve all been there – staring down at a beloved pan coated in stubborn, burnt-on residue, contemplating whether to toss it and buy a new one. But before you resign yourself to that fate, give this method a try. It’s cost-effective, environmentally friendly, and surprisingly effective.
Why is this DIY trick a must-try? Because it saves you money, extends the life of your cookware, and reduces waste. Think about it: replacing frying pans can be expensive, especially if you prefer high-quality, durable options. This baking soda solution offers a way to restore your pans to near-new condition, allowing you to continue enjoying your favorite recipes without breaking the bank. Furthermore, by reviving your existing pans, you’re contributing to a more sustainable lifestyle by reducing the amount of cookware that ends up in landfills.
Beyond the basic method we’ve outlined, there are several variations you can explore to tailor the cleaning process to your specific needs. For instance, if you’re dealing with particularly stubborn stains, you can add a splash of white vinegar to the baking soda paste. The fizzing action of the vinegar can help to loosen the residue even further. Alternatively, for pans with delicate surfaces, you might want to use a non-abrasive sponge or cloth to avoid scratching. You can also try letting the baking soda paste sit on the pan for a longer period, even overnight, for maximum effectiveness. Experiment with different combinations of baking soda, water, and vinegar to find the perfect solution for your specific frying pan and the type of residue you’re dealing with.
Don’t be afraid to get creative! Some people have found success by adding a few drops of lemon juice to the baking soda paste for its degreasing properties and pleasant scent. Others have used a combination of baking soda and dish soap for a more powerful cleaning action. The key is to start with the basic method and then adjust it based on your observations and the results you’re achieving.
We are confident that this baking soda frying pan revival technique will become a staple in your kitchen cleaning routine. It’s a simple, effective, and affordable way to keep your cookware in top condition.
Now, it’s your turn! We encourage you to try this DIY trick on your own stubborn frying pans and see the amazing results for yourself. Don’t just take our word for it – experience the satisfaction of restoring your cookware to its former glory. And most importantly, we want to hear about your experience! Share your before-and-after photos, tips, and variations in the comments section below. Let’s create a community of resourceful cooks who are passionate about keeping their kitchens clean and their cookware in excellent shape. Your insights and experiences can help others discover the power of baking soda and transform their own cleaning routines. So, go ahead, give it a try, and let us know how it goes! We can’t wait to hear your success stories.
Frequently Asked Questions
What kind of frying pans can I clean with baking soda?
This method is generally safe for most types of frying pans, including stainless steel, cast iron (seasoned), non-stick, and ceramic. However, it’s always a good idea to test a small, inconspicuous area first, especially if you’re dealing with a pan that has a delicate coating. For cast iron, be mindful of removing the seasoning. You may need to re-season the pan after cleaning. For non-stick pans, avoid using abrasive scrubbers that could damage the coating.
How often should I clean my frying pan with baking soda?
The frequency depends on how often you use your frying pan and how much residue builds up. For pans that are used frequently, a weekly cleaning with baking soda can help prevent stubborn stains from forming. For pans that are used less often, you can clean them as needed. It’s always better to clean your pan regularly to prevent residue from hardening and becoming more difficult to remove.
What if the baking soda paste doesn’t remove all the burnt-on food?
If the baking soda paste doesn’t completely remove all the burnt-on food, don’t give up! You can try a few things. First, let the paste sit on the pan for a longer period, even overnight. Second, add a splash of white vinegar to the paste to create a fizzing action that can help loosen the residue. Third, you can try gently scrubbing the pan with a non-abrasive sponge or cloth. If the residue is still stubborn, you may need to repeat the process a few times. In extreme cases, you can try boiling a solution of baking soda and water in the pan for a few minutes to help loosen the residue.
Can I use this method on other cookware besides frying pans?
Yes, this method can be used on other cookware as well, such as pots, baking sheets, and casserole dishes. The same principles apply: create a paste of baking soda and water, apply it to the affected area, let it sit, and then scrub gently. You may need to adjust the amount of baking soda and water depending on the size of the cookware.
Is baking soda safe to use on non-stick surfaces?
Yes, baking soda is generally safe to use on non-stick surfaces, but it’s important to be gentle. Avoid using abrasive scrubbers or scouring pads that could scratch or damage the non-stick coating. Use a soft sponge or cloth and apply gentle pressure when scrubbing. Also, avoid letting the baking soda paste sit on the non-stick surface for extended periods, as it could potentially dull the coating over time.
Will this method remove scratches from my frying pan?
No, this method will not remove scratches from your frying pan. Baking soda is primarily effective for removing burnt-on food and residue. Scratches are physical damage to the surface of the pan and cannot be repaired with baking soda.
Can I use this method on enameled cast iron?
Yes, you can use this method on enameled cast iron, but be extra careful. Avoid using abrasive scrubbers that could scratch the enamel coating. Use a soft sponge or cloth and apply gentle pressure when scrubbing. Also, avoid letting the baking soda paste sit on the enameled surface for extended periods, as it could potentially dull the finish over time.
What are some other uses for baking soda in the kitchen?
Baking soda is a versatile ingredient with many uses in the kitchen beyond cleaning frying pans. It can be used to deodorize your refrigerator, clean your microwave, remove stains from coffee mugs, and even leaven baked goods. It’s a natural and effective cleaning agent that can help you keep your kitchen clean and fresh.
How do I prevent food from sticking to my frying pan in the first place?
Preventing food from sticking to your frying pan is key to avoiding the need for extensive cleaning. Make sure your pan is properly preheated before adding food. Use enough oil or butter to coat the bottom of the pan. Avoid overcrowding the pan, as this can lower the temperature and cause food to stick. Use the correct heat setting for the type of food you’re cooking. And finally, use high-quality cookware that is designed to prevent sticking.
Where can I buy baking soda?
Baking soda is readily available at most grocery stores and supermarkets. You can find it in the baking aisle, usually near the flour and sugar. It’s also available online from various retailers.
Leave a Comment