

Toothpaste stain removal hacks – who knew such a simple bathroom staple could be your secret weapon against stubborn stains? I’m always amazed by the unexpected uses for everyday items, and toothpaste is definitely one of those unsung heroes. For generations, toothpaste has been primarily known for keeping our pearly whites sparkling, but its stain-fighting power extends far beyond the bathroom sink.
Think about it: toothpaste is designed to gently scrub away plaque and discoloration from our teeth. That same mild abrasive quality makes it surprisingly effective at lifting stains from various surfaces. From removing pesky water rings on wooden furniture to tackling scuff marks on your favorite sneakers, toothpaste can be a game-changer.
Let’s be honest, life is messy! Spills happen, accidents occur, and stains are just a part of the package. Instead of reaching for harsh chemicals or expensive stain removers, why not try these simple and effective toothpaste stain removal hacks first? Not only will you save money, but you’ll also be using a gentler, more readily available solution. I’m excited to share these easy DIY tricks that will help you conquer those everyday stains and keep your home looking its best!
DIY Toothpaste Stain Removal Hacks: A Comprehensive Guide
Hey there, fellow DIY enthusiasts! I’m here to share my tried-and-true methods for tackling those pesky toothpaste stains that seem to appear out of nowhere. We’ve all been there – a little too enthusiastic with the brushing, a rogue splatter, and bam! A stain on your favorite shirt, bathroom mirror, or even the carpet. Don’t fret! With a few simple household items and these easy-to-follow steps, you can banish those toothpaste stains for good.
Understanding Toothpaste Stains
Before we dive into the hacks, let’s understand what we’re dealing with. Toothpaste stains are usually a combination of:
* Abrasives: These help scrub your teeth clean but can leave a residue on surfaces.
* Binders: These hold the toothpaste together and can create a sticky mess.
* Flavoring agents: These can sometimes contain dyes that contribute to staining.
* Fluoride: While beneficial for your teeth, it can leave a white, chalky residue.
Knowing this helps us choose the right cleaning method!
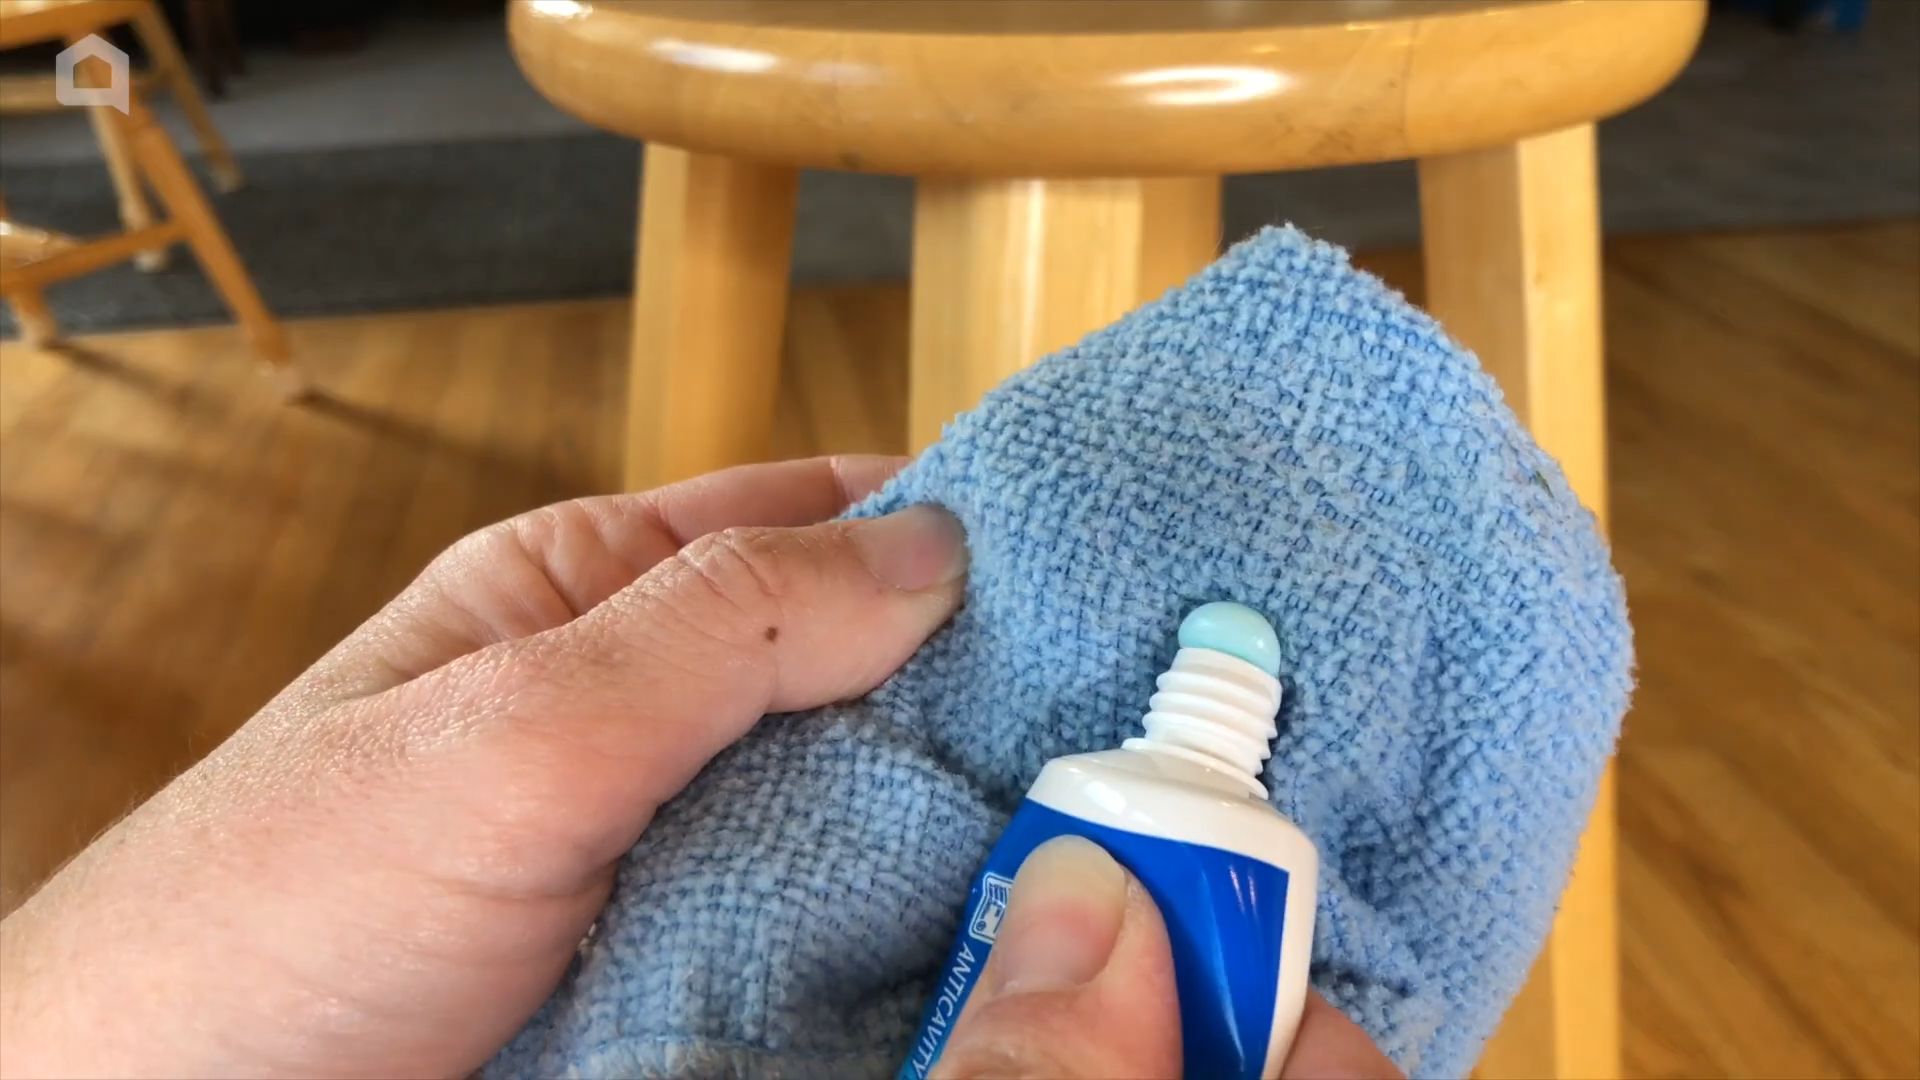
Hack #1: The Classic Water and Cloth Method (For Fresh Stains)
This is your first line of defense and works best on fresh toothpaste stains. The key is to act fast!
What you’ll need:
* Clean, damp cloth (microfiber works great!)
* Clean, dry cloth
Step-by-step instructions:
1. Blot, Don’t Rub: As soon as you notice the stain, grab your damp cloth and gently blot the area. Rubbing can spread the stain and make it harder to remove. Think of it like dabbing away tears – gentle and targeted.
2. Work from the Outside In: Start blotting from the outer edges of the stain and work your way towards the center. This prevents the stain from spreading further.
3. Rinse and Repeat: Rinse the cloth frequently with clean water to avoid re-depositing the toothpaste.
4. Dry Thoroughly: Once you’ve removed as much of the stain as possible, use a clean, dry cloth to blot the area dry. This helps prevent watermarks.
5. Inspect and Repeat (If Necessary): Take a good look at the area. If you still see a faint stain, repeat steps 1-4.
Hack #2: Vinegar Power (For Stubborn Stains on Hard Surfaces)
Vinegar is my go-to for so many cleaning tasks, and it works wonders on toothpaste stains on hard surfaces like bathroom counters, mirrors, and tiles.
What you’ll need:
* White vinegar
* Spray bottle
* Clean cloth or sponge
* Water
Step-by-step instructions:
1. Prepare the Vinegar Solution: Dilute white vinegar with water in a spray bottle. A 1:1 ratio is usually effective, but for tougher stains, you can use undiluted vinegar.
2. Spray the Stain: Generously spray the vinegar solution onto the toothpaste stain.
3. Let it Sit: Allow the vinegar to sit on the stain for 5-10 minutes. This gives it time to break down the toothpaste residue.
4. Wipe Clean: Use a clean cloth or sponge to wipe away the vinegar solution and the toothpaste stain.
5. Rinse with Water: Rinse the area with clean water to remove any lingering vinegar smell.
6. Dry Thoroughly: Use a clean, dry cloth to dry the surface.
Hack #3: Baking Soda Paste (For Textured Surfaces and Grout)
Baking soda is a gentle abrasive that’s perfect for tackling toothpaste stains on textured surfaces like grout or textured countertops.
What you’ll need:
* Baking soda
* Water
* Small bowl
* Old toothbrush or scrub brush
* Clean cloth
Step-by-step instructions:
1. Make a Paste: In a small bowl, mix baking soda with enough water to form a thick paste.
2. Apply the Paste: Apply the baking soda paste to the toothpaste stain, making sure to cover it completely.
3. Scrub Gently: Use an old toothbrush or scrub brush to gently scrub the stain. For grout, focus on scrubbing along the grout lines.
4. Let it Sit: Allow the paste to sit on the stain for 10-15 minutes.
5. Rinse Thoroughly: Rinse the area thoroughly with water to remove all traces of the baking soda paste.
6. Dry with a Cloth: Use a clean cloth to dry the surface.
Hack #4: Dish Soap Solution (For Fabric Stains)
Dish soap is a great degreaser and can help lift toothpaste stains from fabrics like clothing, carpets, and upholstery.
What you’ll need:
* Dish soap (clear, non-bleach)
* Water
* Clean cloth or sponge
* Spray bottle (optional)
Step-by-step instructions:
1. Prepare the Solution: Mix a small amount of dish soap (about a teaspoon) with a cup of water. You can either mix it in a bowl or in a spray bottle.
2. Test in an Inconspicuous Area: Before applying the solution to the entire stain, test it on a hidden area of the fabric to ensure it doesn’t cause discoloration.
3. Apply the Solution: Apply the dish soap solution to the toothpaste stain. If using a spray bottle, spray the stain generously. If using a bowl, dip a clean cloth or sponge into the solution and blot the stain.
4. Blot, Don’t Rub: Gently blot the stain with the cloth or sponge, working from the outside in.
5. Rinse with Water: Rinse the area with clean water to remove the dish soap solution. You may need to blot the area with a clean, damp cloth several times to remove all the soap.
6. Dry Thoroughly: Allow the fabric to air dry completely. You can also use a clean, dry cloth to blot the area dry.
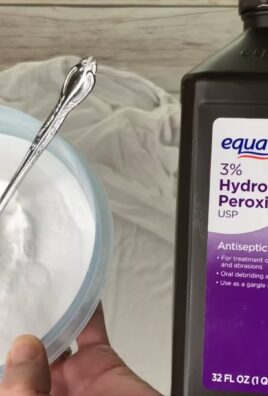
Hack #5: Hydrogen Peroxide (Use with Caution on Light Fabrics)
Hydrogen peroxide is a mild bleaching agent that can be effective on stubborn toothpaste stains, especially on white or light-colored fabrics. However, use it with caution as it can lighten darker fabrics. Always test in an inconspicuous area first!
What you’ll need:
* 3% hydrogen peroxide
* Clean cloth or cotton ball
* Water
Step-by-step instructions:
1. Test in an Inconspicuous Area: This is crucial! Apply a small amount of hydrogen peroxide to a hidden area of the fabric and wait a few minutes to see if it causes any discoloration.
2. Apply Hydrogen Peroxide: If the test is successful, apply a small amount of hydrogen peroxide to the toothpaste stain using a clean cloth or cotton ball.
3. Blot Gently: Gently blot the stain, working from the outside in.
4. Let it Sit: Allow the hydrogen peroxide to sit on the stain for 5-10 minutes.
5. Rinse with Water: Rinse the area thoroughly with cold water to remove the hydrogen peroxide.
6. Dry Thoroughly: Allow the fabric to air dry completely.
Hack #6: The Magic Eraser (For Smooth Surfaces)
Magic Erasers are fantastic for removing all sorts of stains, including toothpaste stains on smooth surfaces like walls and countertops.
What you’ll need:
* Magic Eraser
* Water
Step-by-step instructions:
1. Wet the Magic Eraser: Wet the Magic Eraser with water and squeeze out the excess.
2. Gently Rub the Stain: Gently rub the Magic Eraser over the toothpaste stain. Avoid applying too much pressure, as it can damage the surface.
3. Wipe Away Residue: Wipe away any residue with a clean, damp cloth.
4. Dry Thoroughly: Use a clean, dry cloth to dry the surface.
Important Considerations:
* Act Fast: The sooner you treat a toothpaste stain, the easier it will be to remove.
* Test First: Always test any cleaning solution on an inconspicuous area before applying it to the entire stain.
* Be Gentle: Avoid rubbing or scrubbing too hard, as this can damage the surface.
* Repeat if Necessary: If the stain doesn’t come out completely the first time, repeat the process.
* Professional Help: For very stubborn or delicate stains, consider seeking professional cleaning services.
Preventing Toothpaste Stains:
Prevention is always better than cure! Here are a few tips to minimize toothpaste stains:
* Be Mindful While Brushing: Pay attention to where you’

Conclusion
So, there you have it! Unveiling the surprisingly effective power of toothpaste for stain removal. We’ve explored how this everyday bathroom staple can be your secret weapon against a variety of common household stains, from pesky clothing marks to stubborn blemishes on your furniture. This isn’t just another cleaning fad; it’s a practical, budget-friendly, and readily accessible solution that leverages the mild abrasive and cleaning properties of toothpaste to lift and dissolve stains.
Why is this DIY toothpaste stain removal trick a must-try? Because it’s simple, safe for many surfaces (always test in an inconspicuous area first!), and incredibly convenient. No more rushing to the store for specialized stain removers or spending a fortune on professional cleaning services for minor mishaps. With a tube of toothpaste and a little elbow grease, you can tackle those annoying stains head-on.
But the magic doesn’t stop there! Feel free to experiment with different types of toothpaste to find what works best for specific stains. For instance, a whitening toothpaste might be particularly effective on light-colored fabrics, while a gel toothpaste might be gentler on delicate surfaces. Consider adding a touch of baking soda to your toothpaste paste for an extra boost of cleaning power on tougher stains, but remember to test this mixture carefully to avoid any potential damage. You can also try using an old toothbrush for more precise application and scrubbing, especially in hard-to-reach areas.
Remember, patience is key. Some stains may require multiple applications and gentle scrubbing to fully disappear. Don’t be discouraged if the stain doesn’t vanish immediately. Keep at it, and you’ll likely be amazed by the results.
We’re confident that once you experience the stain-fighting prowess of toothpaste, you’ll wonder why you didn’t try it sooner. It’s a game-changer for anyone looking for a quick, easy, and affordable way to keep their home and belongings looking their best.
Now, it’s your turn! We wholeheartedly encourage you to put this DIY toothpaste stain removal trick to the test. Whether it’s a coffee stain on your favorite shirt, a crayon mark on the wall, or a scuff on your shoes, grab a tube of toothpaste and see the magic unfold.
And most importantly, we want to hear about your experiences! Share your before-and-after photos, your tips and tricks, and any variations you’ve discovered in the comments below. Let’s create a community of stain-fighting experts and help each other conquer those everyday messes with the power of toothpaste! Your insights could be invaluable to others who are just discovering this amazing cleaning hack. Let us know what kind of toothpaste worked best for you and what kind of stain you were able to remove. We are excited to hear from you!
Frequently Asked Questions (FAQs)
1. What types of stains can toothpaste remove?
Toothpaste is surprisingly versatile and can be effective on a wide range of stains. It works well on:
* **Clothing stains:** Including ink, coffee, makeup, grass, and food stains.
* **Surface stains:** Such as crayon marks on walls, scuff marks on shoes, and water rings on furniture.
* **Jewelry:** Toothpaste can help polish silver and remove tarnish.
* **Bathroom fixtures:** It can clean and brighten sinks, faucets, and shower doors.
* **Car interiors:** Toothpaste can be used to remove minor scuffs and stains from dashboards and upholstery (test in an inconspicuous area first).
However, it’s important to note that toothpaste may not be effective on all types of stains, especially those that are deeply embedded or have been left untreated for a long time. Always test in a hidden area before applying to the entire stain.
2. What kind of toothpaste should I use for stain removal?
The best type of toothpaste to use depends on the stain and the surface you’re cleaning. Here are some general guidelines:
* **For most stains:** A standard white toothpaste (not gel) is usually the best option. The mild abrasives in white toothpaste help to lift and remove stains without being too harsh.
* **For whitening:** Whitening toothpaste can be effective on light-colored fabrics or surfaces that need a little brightening. However, use caution on delicate materials, as the extra whitening agents could potentially cause damage.
* **For delicate surfaces:** Gel toothpaste is generally gentler than white toothpaste and may be a better choice for delicate fabrics or surfaces that are easily scratched.
* **Avoid:** Toothpastes with added colors or strong flavors, as these could potentially stain the surface you’re trying to clean.
3. How do I use toothpaste to remove stains?
The process is simple:
1. **Test:** Always test the toothpaste in an inconspicuous area first to ensure it doesn’t damage or discolor the surface.
2. **Apply:** Apply a small amount of toothpaste directly to the stain.
3. **Rub:** Gently rub the toothpaste into the stain using a soft cloth or toothbrush. Use circular motions and avoid applying too much pressure.
4. **Rinse:** Rinse the area thoroughly with water to remove the toothpaste residue.
5. **Repeat:** If the stain is still visible, repeat the process until it disappears.
6. **Dry:** Pat the area dry with a clean cloth.
4. Are there any surfaces or materials I should avoid using toothpaste on?
Yes, there are certain surfaces and materials that you should avoid using toothpaste on, including:
* **Leather:** Toothpaste can dry out and damage leather.
* **Delicate fabrics:** Such as silk or lace, as the abrasives in toothpaste can be too harsh.
* **Painted surfaces:** Especially those with a glossy finish, as toothpaste can scratch the paint.
* **Electronics:** Avoid getting toothpaste inside electronic devices, as it can cause damage.
* **Certain metals:** Avoid using toothpaste on gold or other soft metals, as it can scratch the surface.
Always err on the side of caution and test in an inconspicuous area before applying toothpaste to any surface you’re unsure about.
5. Can I use toothpaste to remove stains from my teeth?
While toothpaste is designed for cleaning teeth, it’s important to use a toothpaste specifically formulated for oral hygiene. Using other types of toothpaste on your teeth could be harmful. Consult with your dentist for recommendations on the best toothpaste for your dental needs.
6. What if the toothpaste doesn’t remove the stain completely?
If the toothpaste doesn’t completely remove the stain, don’t give up! Here are a few things you can try:
* **Repeat the process:** Apply another layer of toothpaste and scrub gently.
* **Let it sit:** Allow the toothpaste to sit on the stain for a longer period of time (up to 30 minutes) before rinsing.
* **Try a different type of toothpaste:** As mentioned earlier, different types of toothpaste may be more effective on certain stains.
* **Combine with baking soda:** Mix a small amount of baking soda with the toothpaste for an extra boost of cleaning power.
* **Seek professional help:** If the stain is particularly stubborn or on a delicate surface, consider consulting a professional cleaner.
7. How does toothpaste actually remove stains?
Toothpaste contains several ingredients that contribute to its stain-removing abilities:
* **Abrasives:** These tiny particles help to scrub away surface stains.
* **Detergents:** These help to lift and dissolve stains.
* **Fluoride:** While primarily for dental health, fluoride can also help to brighten surfaces.
* **Humectants:** These help to keep the toothpaste moist and prevent it from drying out too quickly.
The combination of these ingredients works together to effectively remove a variety of stains from different surfaces.
8. Is there a difference between using toothpaste and a dedicated stain remover?
Yes, there are differences. Dedicated stain removers are often formulated with specific chemicals designed to target particular types of stains. They may be more effective on certain stains than toothpaste. However, toothpaste is a readily available and affordable alternative that can be surprisingly effective on many common household stains. It’s also generally considered to be a gentler option than some harsh chemical stain removers.
9. Can I use toothpaste on colored clothing?
Yes, you can use toothpaste on colored clothing, but it’s crucial to test it in an inconspicuous area first to ensure it doesn’t cause any fading or discoloration. Apply a small amount of toothpaste to a hidden seam or hem, let it sit for a few minutes, and then rinse. If there’s no noticeable change in color, you can proceed with using it on the stain.
10. How long should I leave the toothpaste on the stain?
The amount of time you should leave the toothpaste on the stain depends on the severity of the stain and the surface you’re cleaning. For light stains, a few minutes may be sufficient. For more stubborn stains, you can leave it on for up to 30 minutes. Just be sure to check the area periodically to ensure the toothpaste isn’t causing any damage or discoloration.

Leave a Comment