

Grow Brussels Sprouts Home – and unlock a world of fresh, homegrown goodness right outside your door! Have you ever dreamt of plucking perfectly formed Brussels sprouts straight from the stalk, knowing exactly where they came from and how they were grown? It’s more achievable than you think, and this DIY guide is your key to making that dream a reality.
For centuries, Brussels sprouts have been a staple in European cuisine, with their cultivation dating back to 13th-century Belgium – hence the name! While they might have a reputation for being a bit… divisive, freshly grown Brussels sprouts, bursting with flavor and nutrients, are a far cry from the often-bitter, overcooked versions many of us have encountered.
Why should you bother learning how to grow Brussels Sprouts Home? Well, for starters, you’ll have access to a superfood packed with vitamins, fiber, and antioxidants. Plus, gardening is incredibly therapeutic! But more importantly, in a world where we’re increasingly conscious of where our food comes from, growing your own Brussels sprouts offers a sustainable and rewarding way to connect with nature and nourish yourself and your family. This DIY guide will provide you with easy-to-follow steps and tips to ensure a bountiful harvest, even if you’re a beginner gardener. Let’s get started!

Growing Brussels Sprouts Yourself: Your Comprehensive DIY Guide
Hello garden friends! Brussels sprouts, those small, green vegetables that are either loved or hated, are surprisingly easy to grow yourself. I’ll show you how, with a little patience and the right steps, you can harvest your own fresh Brussels sprouts. Let’s get started!
What you need:
- Seeds: Choose a Brussels sprout variety that suits your climate. There are early, mid-season, and late varieties.
- Seedling pots or trays: For starting seeds indoors.
- Seed starting mix: Special, low-nutrient soil for starting seeds.
- Garden soil: Well-draining, nutrient-rich soil.
- Compost or organic fertilizer: For soil improvement.
- Watering can or spray bottle: For watering.
- Plant stakes: To support the plants.
- Slug pellets or fences: To protect against slugs.
- Patience: Brussels sprouts take time to grow!
The Right Timing:
- Starting indoors: Start the seeds indoors or in a greenhouse about 6-8 weeks before the last frost. This is usually in March or April.
- Planting out: The young plants can then be moved outdoors from mid-May, after the last frost (the “Ice Saints”).
- Direct sowing: Direct sowing in the open ground is also possible, but less recommended, as the plants will then take longer to mature. Start direct sowing in May or June.
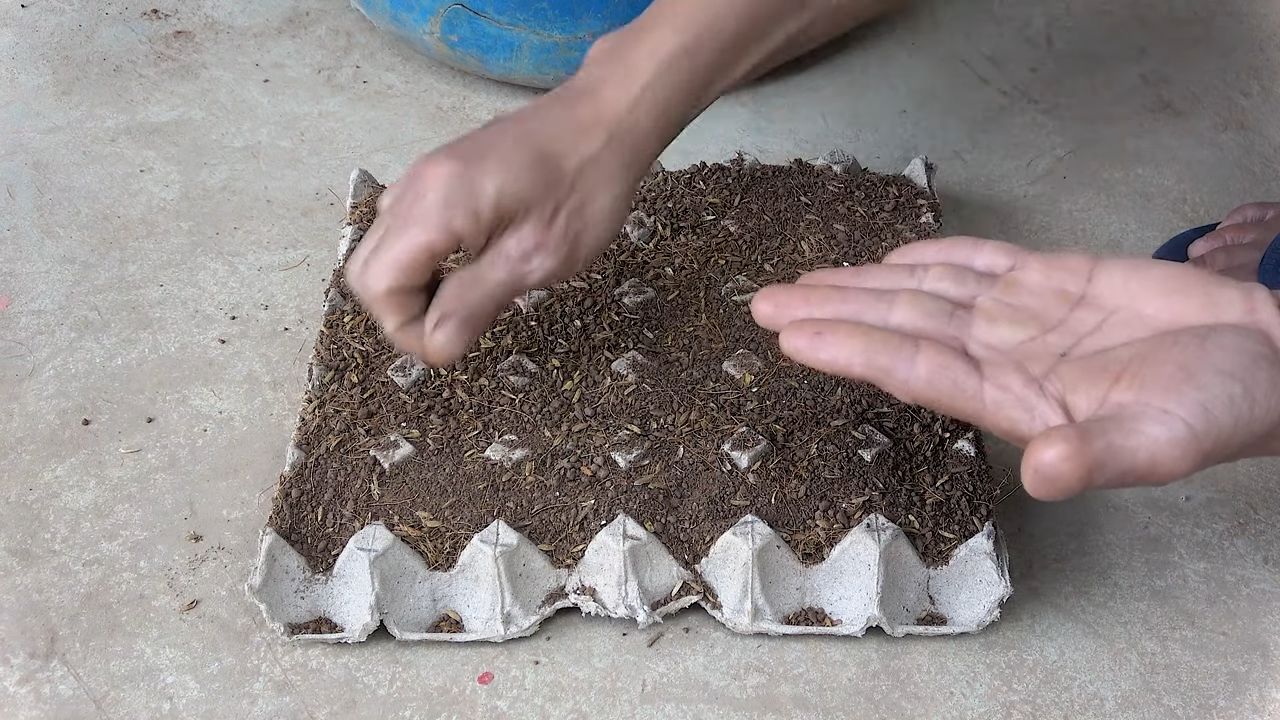
Phase 1: Starting the Seeds Indoors
Starting the seeds indoors is the first step to your own Brussels sprouts. I find it’s a great way to give the plants a head start and ensure they are strong and healthy when they go into the open ground.
Step 1: Sowing
- Fill your seedling pots or trays with seed starting mix. Press the soil down lightly.
- Place 2-3 seeds per pot or cell. Brussels sprouts are dark germinators, meaning the seeds need darkness to sprout. Therefore, cover them with about 1 cm of soil.
- Moisten the soil carefully with a spray bottle. Avoid waterlogging!
- Place the pots in a bright, warm place (approx. 18-20°C). A windowsill or a greenhouse is ideal.
- Keep the soil moist, but not wet.
Step 2: Germination
- After about 5-10 days, the first seedlings should appear.
- Once the seedlings are there, move the pots to a slightly cooler place (approx. 15-18°C). This prevents the plants from shooting up too quickly and becoming weak.
- Remove the weakest seedling per pot or cell, so that only the strongest one remains.
Step 3: Caring for the Young Plants
- Water the young plants regularly, but avoid waterlogging.
- Rotate the pots regularly so that the plants grow evenly and do not lean towards the light.
- When the plants have 2-3 true leaves, you can transplant them into larger pots. Use regular potting soil for this.
- Harden off the young plants before planting them out. To do this, place them outside for a few hours during the day and bring them back in at night. Increase the time outdoors each day until the plants have acclimated to the conditions.
Phase 2: Planting Out in the Open Ground
After you have successfully started your young plants, it’s time to plant them in the open ground. This is an important step that can determine success or failure.
Step 1: Soil Preparation
- Choose a sunny location for your Brussels sprouts. Brussels sprouts need at least 6 hours of sun per day.
- Loosen the soil thoroughly and remove weeds.
- Improve the soil with compost or organic fertilizer. Brussels sprouts are heavy feeders and need a lot of nutrients.
- Aim for a pH value between 6.5 and 7.5.
Step 2: Planting
- Dig planting holes that are slightly larger than the root balls of the young plants.
- Place the plants in the holes and fill them with soil. Press the soil down lightly.
- Water the plants thoroughly.
- Plant the Brussels sprout plants at a distance of about 60 cm from each other and in rows about 70 cm apart.
- Install plant stakes to support the plants, especially as they get larger.
Step 3: Pest Protection
- Brussels sprouts are susceptible to various pests, especially slugs and cabbage white butterflies.
- Protect your plants from slugs by scattering slug pellets or setting up slug fences.
- Cover the plants with insect netting to protect them from cabbage white butterflies.
Phase 3: Care in the Open Ground
After planting out, it is important to take good care of the Brussels sprouts so that they grow healthily and form many sprouts.
Step 1: Watering
- Water the Brussels sprouts regularly, especially during dry periods.
- Avoid waterlogging, as this can lead to root rot.
- It’s best to water in the morning so that the leaves can dry off during the day.
Step 2: Fertilizing
- Fertilize the Brussels sprouts regularly with an organic fertilizer or compost.
- Start fertilizing about 4 weeks after planting out.
- Repeat the fertilization every 2-3 weeks.
Step 3: Pruning
- Regularly remove the lower leaves that turn yellow or touch the ground.
- This pruning promotes air circulation and prevents diseases.
- It also allows the plants to better focus their energy on forming the sprouts.
Step 4: Support
- Brussels sprout plants can grow very tall and can be knocked over by the wind.
- Support the plants with plant stakes or a trellis.
Phase 4: The Harvest
The harvest is the reward for your hard work! Finally, you can enjoy your own fresh Brussels sprouts.
Step 1: The Right Time
- Brussels sprouts are ready for harvest when the sprouts are firm and closed.
- The harvest season usually begins in autumn and can extend into winter.
- Harvest the sprouts from the bottom up.
Step 2: Harvesting
- Carefully break the sprouts off the plant.
- You can also cut the sprouts with a knife.
- Remove the yellow leaves around the sprouts.
Step 3: Storage
- Brussels sprouts can be kept in the refrigerator for about a week.
- You can also freeze Brussels sprouts. To do this, blanch them briefly in boiling water and then freeze them.
Additional Tips and Tricks:
Companion Planting: Plant Brussels sprouts in a mixed…
Variety Selection: Choose a variety that suits your climate. There are early, mid-season, and late varieties. Find out which varieties grow well in your region.
Soil Analysis: A soil analysis can help you determine the pH and nutrient content of your soil. This allows you to prepare the soil optimally.
Conclusion
So, there you have it! Growing Brussels sprouts at home isn’t just a gardening project; it’s an investment in fresh, flavorful, and incredibly rewarding meals. Forget the bland, often bitter sprouts you might find at the grocery store. When you cultivate your own, you control the entire process, from soil quality to harvest time, resulting in Brussels sprouts that are bursting with sweetness and a delightful nutty flavor.
This DIY approach is a must-try for several reasons. First and foremost, the taste difference is undeniable. Homegrown Brussels sprouts are simply superior. Secondly, you’re embracing a sustainable practice, reducing your carbon footprint by minimizing transportation and packaging. Thirdly, it’s an incredibly satisfying experience to nurture a plant from seed to table, witnessing the magic of nature unfold in your own backyard. Finally, you’ll save money in the long run, especially if you’re a frequent Brussels sprout consumer.
But the beauty of growing Brussels sprouts at home lies in its adaptability. Feel free to experiment with different varieties. Try ‘Long Island Improved’ for a classic taste, or ‘Redarling’ for a vibrant color and slightly sweeter flavor. Consider companion planting to enhance growth and deter pests. Marigolds, nasturtiums, and rosemary are excellent choices to plant alongside your Brussels sprouts.
Don’t be afraid to get creative with your harvest, too. While roasting is a classic preparation, Brussels sprouts are incredibly versatile. Shred them raw for a vibrant salad, sauté them with bacon and balsamic glaze, or even grill them for a smoky char. The possibilities are endless!
We wholeheartedly encourage you to embark on this gardening adventure and experience the joy of growing your own Brussels sprouts. It’s a project that’s accessible to gardeners of all levels, from beginners to seasoned pros. The rewards are well worth the effort.
And most importantly, we want to hear about your experiences! Share your tips, tricks, and triumphs in the comments below. Let us know which varieties you’ve tried, what challenges you’ve faced, and what delicious dishes you’ve created with your homegrown bounty. Your insights will not only inspire others but also help us all learn and grow together as a community of passionate gardeners. So, grab your seeds, get your hands dirty, and prepare to savor the unparalleled taste of homegrown Brussels sprouts. Happy gardening!
Frequently Asked Questions (FAQs)
Q: How much space do I need to grow Brussels sprouts?
A: Brussels sprouts require a fair amount of space, as they can grow quite tall and wide. Ideally, you should space your plants 18-24 inches apart in rows that are 24-36 inches apart. This allows for adequate air circulation and sunlight penetration, which are crucial for healthy growth and sprout development. If you’re growing in containers, choose pots that are at least 12 inches in diameter and depth per plant. Even though they need space, you can still grow Brussels sprouts in a small garden if you plan accordingly.
Q: What kind of soil is best for Brussels sprouts?
A: Brussels sprouts thrive in well-drained, fertile soil that is rich in organic matter. The ideal soil pH is between 6.0 and 7.5. Before planting, amend your soil with compost, aged manure, or other organic materials to improve its structure and fertility. Brussels sprouts are heavy feeders, so ensuring the soil is nutrient-rich is essential for optimal growth and sprout production. Consider a soil test to determine any nutrient deficiencies and amend accordingly.
Q: How often should I water my Brussels sprouts?
A: Brussels sprouts need consistent moisture, especially during the early stages of growth and when the sprouts are developing. Water deeply and regularly, aiming to keep the soil consistently moist but not waterlogged. A good rule of thumb is to water when the top inch of soil feels dry to the touch. Mulching around the plants can help retain moisture and suppress weeds. During hot, dry weather, you may need to water more frequently.
Q: When is the best time to plant Brussels sprouts?
A: The best time to plant Brussels sprouts depends on your climate. In regions with mild winters, you can plant them in the late summer or early fall for a winter harvest. In colder climates, start seeds indoors 6-8 weeks before the last expected frost and transplant them outdoors in the spring after the danger of frost has passed. Brussels sprouts require a long growing season (80-100 days), so starting them early is crucial for a successful harvest.
Q: What are some common pests and diseases that affect Brussels sprouts?
A: Brussels sprouts are susceptible to several pests and diseases, including cabbage worms, aphids, flea beetles, clubroot, and downy mildew. Regularly inspect your plants for signs of infestation or disease. Use organic pest control methods, such as handpicking pests, using insecticidal soap, or applying Bacillus thuringiensis (Bt) for cabbage worms. To prevent diseases, ensure good air circulation, avoid overhead watering, and practice crop rotation.
Q: How do I harvest Brussels sprouts?
A: Brussels sprouts are typically ready to harvest when the sprouts are firm, green, and about 1-2 inches in diameter. Start harvesting from the bottom of the plant upwards, twisting or cutting off the sprouts as they mature. The lower leaves of the plant may turn yellow and can be removed to encourage sprout development. Brussels sprouts taste best after a light frost, as the cold temperatures help to sweeten them.
Q: Can I grow Brussels sprouts in containers?
A: Yes, you can grow Brussels sprouts in containers, but you’ll need to choose large pots (at least 12 inches in diameter and depth) to accommodate their size and root system. Use a high-quality potting mix and ensure the containers have good drainage. Container-grown Brussels sprouts may require more frequent watering and fertilization than those grown in the ground. Choose a sunny location for your containers, and consider using a support system to prevent the plants from toppling over.
Q: How do I store Brussels sprouts after harvesting?
A: Freshly harvested Brussels sprouts can be stored in the refrigerator for up to 1-2 weeks. Store them unwashed in a plastic bag or container to prevent them from drying out. You can also freeze Brussels sprouts for longer storage. To freeze them, blanch them in boiling water for 3-5 minutes, then plunge them into ice water to stop the cooking process. Drain them thoroughly and store them in freezer-safe bags or containers.
Q: What are some creative ways to cook with homegrown Brussels sprouts?
A: The possibilities are endless! Roasting is a classic preparation that brings out the natural sweetness of Brussels sprouts. You can also shred them raw for a vibrant salad, sauté them with bacon and balsamic glaze, grill them for a smoky char, or add them to soups and stews. Experiment with different herbs, spices, and sauces to create your own unique Brussels sprout dishes. Don’t be afraid to get creative and try new things!
Q: Can I save seeds from my homegrown Brussels sprouts?
A: Saving seeds from Brussels sprouts can be a bit challenging, as they are biennials, meaning they require two growing seasons to produce seeds. If you want to save seeds, you’ll need to overwinter your plants and allow them to flower and produce seeds in the second year. Be aware that Brussels sprouts are cross-pollinated, so the seeds may not produce plants that are true to type. If you’re interested in seed saving, research the process thoroughly and take steps to prevent cross-pollination.
Leave a Comment