

Baseboard cleaning easy hack – sounds too good to be true, right? I get it! We’ve all been there, staring at those dusty, grimy baseboards, wondering how they got so bad and dreading the back-breaking work it takes to clean them. But what if I told you there’s a way to make this chore not only bearable but actually…dare I say…enjoyable?
For generations, keeping a clean home has been a sign of pride and care. While our ancestors might not have had the same cleaning products we do today, the desire for a tidy space is timeless. Think about it – a clean home is a happy home! And often, it’s the little details, like sparkling baseboards, that make the biggest difference.
Let’s face it, nobody *wants* to spend their precious free time scrubbing baseboards. That’s why I’m so excited to share this baseboard cleaning easy hack with you. It’s designed to save you time, energy, and a whole lot of frustration. We’ll ditch the harsh chemicals and awkward positions for a simple, effective method that will leave your baseboards looking brand new. Get ready to say goodbye to dust bunnies and hello to a cleaner, brighter home – without breaking a sweat!
“`html
DIY Baseboard Cleaning Hack: Sparkling Clean Baseboards with Minimal Effort
Okay, let’s be honest, cleaning baseboards is nobody’s favorite chore. It’s back-breaking, tedious, and feels like it takes forever. But fear not, my friends! I’ve discovered a game-changing hack that will have your baseboards sparkling clean with minimal effort. This isn’t just about wiping them down; it’s about deep cleaning and protecting them for longer-lasting results. Get ready to say goodbye to dust bunnies and hello to pristine baseboards!
What You’ll Need: The Arsenal of Clean
Before we dive in, let’s gather our supplies. This hack relies on a few key ingredients and tools to make the process as efficient and effective as possible.
* Microfiber Cloths: These are your best friends for dusting and wiping. I recommend having a few on hand so you can switch to a clean one when needed.
* Vacuum Cleaner with Brush Attachment: This is crucial for removing loose dust and debris before we get to the wet cleaning.
* Spray Bottle: For our cleaning solution.
* Warm Water: The base of our cleaning solution.
* Dish Soap (Mild): A gentle but effective cleaner. A few drops go a long way.
* White Vinegar: A natural disinfectant and degreaser.
* Magic Eraser (Optional): For stubborn scuff marks and stains. Use with caution!
* Old Toothbrush (Optional): For getting into tight corners and crevices.
* Dryer Sheets: This is the secret weapon for preventing dust buildup!
* Bucket (Optional): If you prefer to dip your cloth instead of spraying.
* Gloves (Optional): To protect your hands.
Step-by-Step Guide: From Dusty to Dazzling
Now that we have everything we need, let’s get down to business! Follow these steps for sparkling clean baseboards.
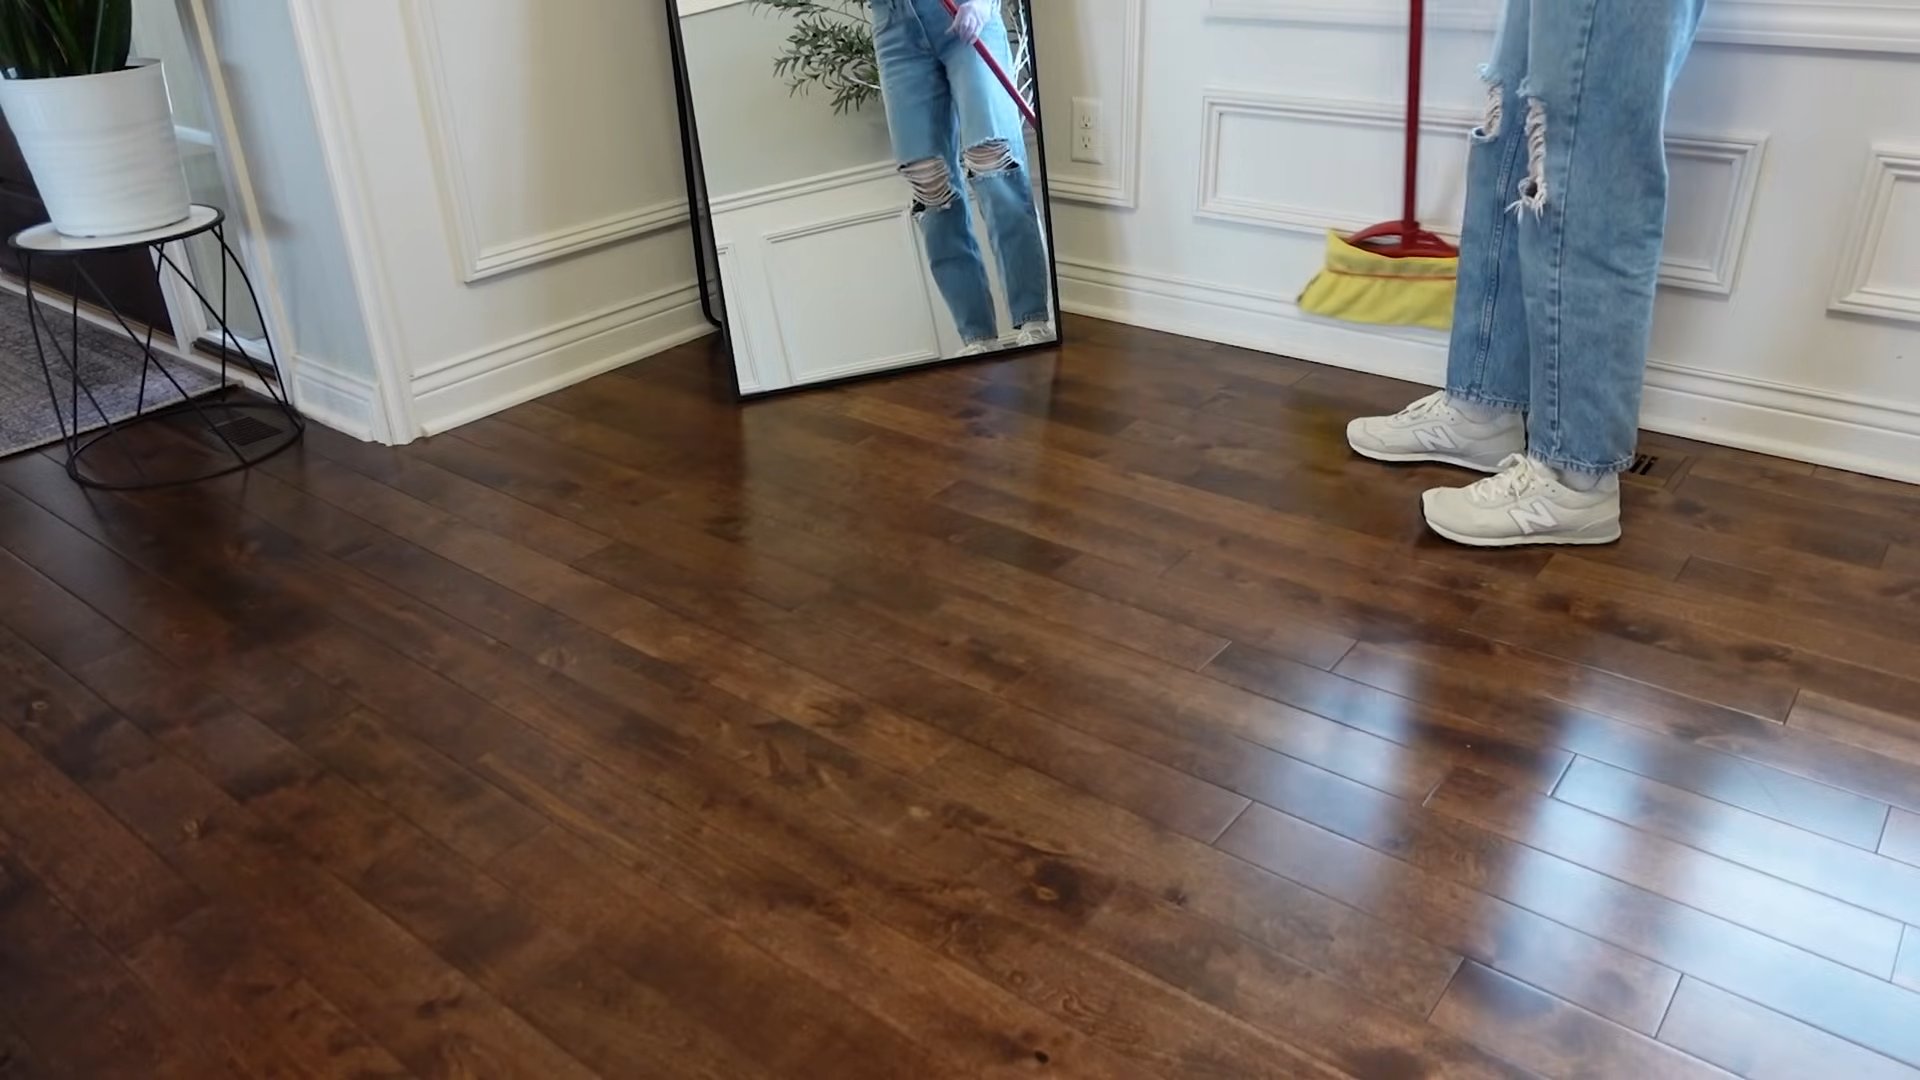
1. Prepare the Area: Before you start, clear the area around your baseboards. Move furniture, rugs, or anything else that might get in the way. This will give you plenty of room to maneuver and prevent you from accidentally bumping into things.
2. Vacuum Away the Loose Debris: This is a crucial first step. Use your vacuum cleaner with the brush attachment to thoroughly vacuum the baseboards. Pay close attention to corners and crevices where dust and debris tend to accumulate. This will remove the majority of the loose dirt and make the wet cleaning much more effective. Don’t skip this step!
3. Mix Your Cleaning Solution: In your spray bottle, combine warm water, a few drops of mild dish soap, and a splash of white vinegar. I usually go for about 2 cups of warm water, 1 teaspoon of dish soap, and 1/4 cup of white vinegar. The dish soap helps to cut through grease and grime, while the vinegar acts as a disinfectant and helps to remove any lingering odors. Shake gently to combine.
4. Spray and Wipe: Now, spray your cleaning solution directly onto a microfiber cloth. You don’t want to saturate the baseboards; just dampen the cloth. Then, wipe the baseboards thoroughly, working in sections. Apply gentle pressure to remove any stubborn dirt or stains.
5. Tackle Stubborn Stains (Optional): If you encounter any stubborn scuff marks or stains, grab your Magic Eraser. Dampen the Magic Eraser and gently rub the affected area. Be careful not to scrub too hard, as Magic Erasers can be abrasive and may damage the finish of your baseboards. Alternatively, you can use an old toothbrush dipped in your cleaning solution to scrub tight corners and crevices.
6. Dry the Baseboards: After wiping, use a clean, dry microfiber cloth to dry the baseboards. This will prevent water spots and ensure a streak-free finish.
7. The Dryer Sheet Secret: This is where the magic happens! Take a dryer sheet and wipe it along the entire length of your baseboards. The dryer sheet will create a static charge that repels dust and helps to prevent it from accumulating on your baseboards. This is the key to keeping your baseboards clean for longer!
Extra Tips and Tricks for Baseboard Bliss
* Frequency is Key: To maintain sparkling clean baseboards, aim to clean them every few months. The more often you clean them, the less dirt and grime will accumulate, and the easier the cleaning process will be.
* Protect Your Walls: When wiping your baseboards, be careful not to get your walls wet. If you do, wipe them dry immediately with a clean cloth.
* Test in an Inconspicuous Area: Before using any cleaning solution or product on your baseboards, test it in an inconspicuous area to make sure it doesn’t damage the finish.
* Consider Your Baseboard Material: The best cleaning method may vary depending on the material of your baseboards. For example, painted baseboards may require a gentler cleaning solution than vinyl baseboards.
* Don’t Forget the Corners: Corners are notorious for collecting dust and dirt. Use an old toothbrush or a cotton swab to clean these hard-to-reach areas.
* For Heavily Soiled Baseboards: If your baseboards are heavily soiled, you may need to repeat the cleaning process a few times. You can also try using a stronger cleaning solution, such as a mixture of warm water and baking soda.
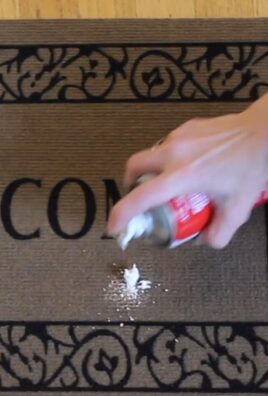
* Preventative Measures: Place mats at doorways to trap dirt and debris before they reach your baseboards. Regularly sweep or vacuum your floors to prevent dust from accumulating.
* Consider a Baseboard Buddy: There are tools specifically designed for cleaning baseboards, such as the Baseboard Buddy. These tools can make the cleaning process easier and more efficient.
* Steam Cleaning: A steam cleaner can be a great option for deep cleaning baseboards. The steam will loosen dirt and grime, making it easier to wipe away. Be sure to use a low setting and avoid saturating the baseboards.
* Homemade All-Purpose Cleaner: If you prefer a completely natural cleaning solution, you can make your own all-purpose cleaner using equal parts white vinegar and water. Add a few drops of your favorite essential oil for a pleasant scent.
* Dealing with Mold: If you find mold on your baseboards, it’s important to address it immediately. Mix a solution of bleach and water (1 part bleach to 10 parts water) and apply it to the affected area. Let it sit for a few minutes, then scrub with a brush and rinse thoroughly. Be sure to wear gloves and eye protection when working with bleach.
* Repairing Damaged Baseboards: If your baseboards are damaged, such as chipped or cracked, you may need to repair them before cleaning. Use wood filler to fill in any cracks or holes, then sand smooth and paint to match the existing baseboards.
* Regular Dusting: Even with the dryer sheet trick, regular dusting is still important. Use a duster or a microfiber cloth to dust your baseboards every week or two to prevent dust from building up.
* Enlist Help: Cleaning baseboards can be a tedious task, so don’t be afraid to enlist the help of family members or friends. Many hands make light work!
* Reward Yourself: After you’ve finished cleaning your baseboards, reward yourself with a treat or a relaxing activity. You deserve it!
Maintaining Your Sparkling Baseboards: The Long Game
Cleaning your baseboards is just the first step. To keep them looking their best, it’s important to maintain them regularly. The dryer sheet trick is a fantastic way to repel dust, but it’s not a one-time fix. Reapply a dryer sheet every few weeks to maintain the static charge and keep dust at bay. Regular dusting and vacuuming will also help to prevent dirt and grime from accumulating.
By following these tips and tricks, you can keep your baseboards sparkling clean with minimal effort. Say goodbye to back-breaking scrubbing and hello to pristine baseboards that will make your home look and feel cleaner and more inviting. Happy cleaning!
“`
Conclusion
So, there you have it! This simple, yet incredibly effective DIY baseboard cleaning hack is a game-changer for anyone looking to maintain a spotless home without spending hours on their hands and knees. We’ve shown you how to leverage readily available household items to achieve professional-level results, saving you time, money, and a whole lot of back pain.
Why is this a must-try? Because it’s efficient, affordable, and adaptable. Forget about harsh chemicals and specialized cleaning tools. This method utilizes gentle ingredients that are safe for your family, your pets, and the environment. Plus, the process is so quick and easy, you can easily incorporate it into your regular cleaning routine. No more dreading baseboard cleaning!
But the benefits don’t stop there. This DIY approach allows for customization. Feel free to experiment with different essential oils to add a pleasant fragrance to your home. Lavender, lemon, or eucalyptus oil can not only freshen up your space but also provide additional cleaning and disinfecting properties. You can also adjust the ratio of ingredients to suit your specific needs and preferences. For heavily soiled baseboards, consider adding a bit more vinegar or baking soda to the solution.
Looking for variations? Consider using a microfiber cloth wrapped around a paint edger tool for even more precise cleaning, especially in tight corners and along intricate molding. Or, if you prefer a more hands-on approach, a soft-bristled brush can be incredibly effective at scrubbing away stubborn dirt and grime.
We understand that every home is different, and what works for one person may not work perfectly for another. That’s why we encourage you to experiment and find the combination of ingredients and techniques that best suits your needs. The key is to be consistent and to make baseboard cleaning a regular part of your home maintenance routine.
Ultimately, this DIY baseboard cleaning hack is about more than just clean baseboards. It’s about creating a healthier, more comfortable living environment for you and your loved ones. It’s about taking pride in your home and enjoying the satisfaction of a job well done. And it’s about saving time and money while achieving professional-quality results.
So, what are you waiting for? Gather your supplies, follow our simple instructions, and experience the transformative power of this DIY baseboard cleaning trick. We’re confident that you’ll be amazed by the results.
We’re eager to hear about your experiences! Share your before-and-after photos, your tips and tricks, and your overall impressions in the comments section below. Let’s create a community of clean home enthusiasts who are passionate about sharing their knowledge and helping each other achieve sparkling clean homes. Your feedback is invaluable and will help us continue to improve and refine our cleaning techniques. Let us know if you have any questions or suggestions. Happy cleaning!
Frequently Asked Questions (FAQ)
What exactly is the benefit of using a DIY baseboard cleaning method compared to commercial cleaners?
DIY baseboard cleaning methods offer several advantages over commercial cleaners. First and foremost, they are often more cost-effective. You likely already have the necessary ingredients in your pantry, such as vinegar, baking soda, and dish soap. Second, DIY solutions are generally safer for your family and pets, as they avoid harsh chemicals and potentially harmful fumes found in many commercial cleaners. Third, DIY methods are more environmentally friendly, reducing your reliance on plastic packaging and potentially toxic ingredients. Finally, you have complete control over the ingredients, allowing you to customize the solution to your specific needs and preferences.
How often should I clean my baseboards using this DIY method?
The frequency of baseboard cleaning depends on several factors, including the amount of foot traffic in your home, the presence of pets, and your personal cleaning standards. As a general guideline, we recommend cleaning your baseboards at least once a month. However, if you have pets or live in a high-traffic area, you may need to clean them more frequently, perhaps every two weeks. Regular cleaning will prevent dirt and grime from building up, making the task easier and more efficient in the long run.
What if my baseboards are heavily soiled or have stubborn stains?
For heavily soiled baseboards or those with stubborn stains, you may need to adjust the DIY cleaning solution. Consider increasing the concentration of vinegar or baking soda in the mixture. You can also create a paste of baking soda and water and apply it directly to the stain, allowing it to sit for a few minutes before scrubbing gently with a soft-bristled brush. For particularly tough stains, you can try using a magic eraser, but be careful as it can be abrasive and may damage the finish of your baseboards. Always test any cleaning solution or method in an inconspicuous area first to ensure it doesn’t cause discoloration or damage.
Can I use essential oils in the DIY baseboard cleaning solution? If so, which ones are recommended?
Yes, you can definitely add essential oils to your DIY baseboard cleaning solution! Essential oils not only add a pleasant fragrance to your home but also offer additional cleaning and disinfecting properties. Some recommended essential oils for cleaning include:
* **Lemon:** Known for its degreasing and disinfecting properties.
* **Lavender:** Provides a calming scent and has antibacterial properties.
* **Eucalyptus:** Offers a refreshing scent and is effective at killing germs.
* **Tea Tree:** A powerful antiseptic and antifungal agent.
When using essential oils, add a few drops (5-10) to your cleaning solution. Be sure to use pure, high-quality essential oils for the best results.
What type of cloth or tool is best for cleaning baseboards?
The best type of cloth or tool for cleaning baseboards depends on your personal preference and the condition of your baseboards. Microfiber cloths are excellent for general cleaning as they are absorbent and effective at trapping dirt and dust. For hard-to-reach areas or intricate molding, consider using a microfiber cloth wrapped around a paint edger tool. This allows for precise cleaning and prevents you from having to bend over excessively. A soft-bristled brush can be helpful for scrubbing away stubborn dirt and grime. Avoid using abrasive scrub brushes or scouring pads, as they can damage the finish of your baseboards.
Is this DIY cleaning method safe for all types of baseboards?
While this DIY cleaning method is generally safe for most types of baseboards, it’s always a good idea to test it in an inconspicuous area first, especially if you have painted or delicate baseboards. Avoid using harsh chemicals or abrasive cleaners, as they can damage the finish. If you have wooden baseboards, be sure to dry them thoroughly after cleaning to prevent water damage. If you’re unsure about the best cleaning method for your specific type of baseboards, consult with a professional cleaner or refer to the manufacturer’s instructions.
How can I prevent my baseboards from getting dirty so quickly?
Preventing your baseboards from getting dirty quickly can save you time and effort in the long run. Here are a few tips:
* **Regular Vacuuming:** Vacuum your floors regularly, paying close attention to the edges where dust and dirt tend to accumulate.
* **Use Doormats:** Place doormats at all entrances to your home to trap dirt and debris before they reach your baseboards.
* **Wipe Up Spills Immediately:** Clean up any spills or messes on your floors promptly to prevent them from staining your baseboards.
* **Consider a Baseboard Protector:** There are baseboard protectors available that can help shield your baseboards from dirt and damage.
* **Shoe Removal:** Encourage family members and guests to remove their shoes upon entering your home.
By following these simple tips, you can significantly reduce the amount of dirt and grime that accumulates on your baseboards, making cleaning easier and less frequent.
Leave a Comment